This article was co-authored by wikiHow Staff. Our trained team of editors and researchers validate articles for accuracy and comprehensiveness. wikiHow's Content Management Team carefully monitors the work from our editorial staff to ensure that each article is backed by trusted research and meets our high quality standards.
This article has been viewed 27,606 times.
Learn more...
You can easily wash your RV and keep it clean. It is important to use the correct cleaning products for your type of RV, so check before you start! Climb onto your roof and wash it with a cleaning solution and soft-bristled brush. Then, carefully climb off your roof and start scrubbing the sides. After you've cleaned the body and roof, you can move onto the awnings and tires. If you clean your RV in manageable chunks, you can easily clean even the largest RV!
Steps
Washing the Roof
-
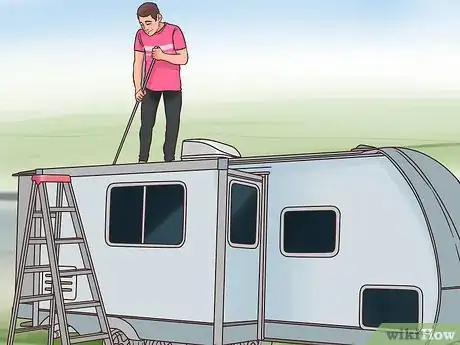
1Climb onto your roof using a ladder so you can scrub it down. You can clean your roof the easiest by getting on top of it. Use the ladder attached to your RV if you have one, or set up a ladder next to the back of your RV and climb on top. Be careful when you climb the ladder! Bring your cleaning supplies with you, or have a friend hand them to you after you get on top.
-
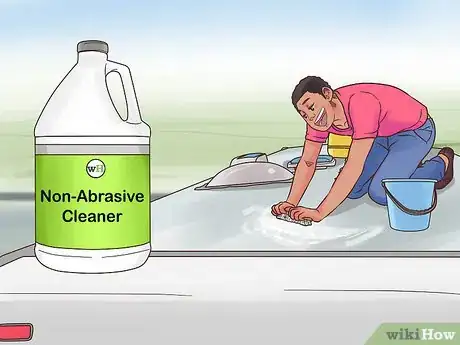
2Clean with a pre-wash and non-abrasive cleaner if you have a metal RV. Metal RVs, like Airstreams, should be washed with care. Using the incorrect cleaning products can result in rust or damages. For best results, first apply a pre-wash to get rid of the majority of dirt and grime. Spray the pre-wash over all of your RV, and scrub it using a soft-bristled brush. You can wipe away the residual dirt and grime. Then, spray a non-abrasive cleaner over all of your RV, and use your soft-bristled brush again to remove trapped dirt.This way, you will keep your metal RV looking great in between washes.[1]
- Use these products to clean both the roof and the body of your RV.
- In addition, you can check your manufacturer instructions to ensure you are using the right product.
- Pre-wash is a highly concentrated cleaner that helps remove black streaks, road grime, and insect residue.
Advertisement -
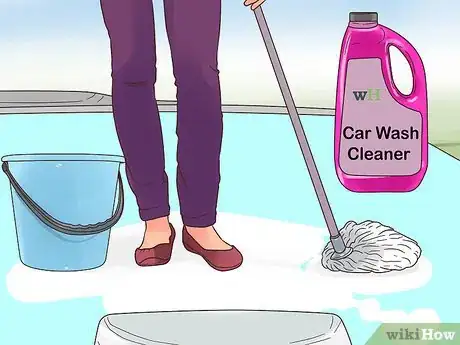
3Select a standard car wash cleaner if you have a painted metal RV. If your RV is made out of metal but has a painted exterior, then you can wash it just like you wash your car. You can use either standard car washing cleaner or a cleaner specifically made for metal-bodied RVs.[2]
- Purchase these products at either car supply or camping supply stores.
-
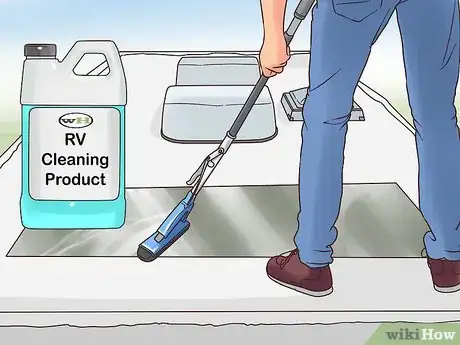
4Use an RV cleaning product if you are cleaning a fiberglass RV. You can either purchase separate cleaning products for your roof and your RV body, or you can use a wash-and-wax product that cleans your RV and protects it for the future. To use, spray it directly onto your roof in thin, even layers.[3]
- If your cleaning solution does not come in a spray bottle, you can either pour it into one, or you can apply it to a clean towel and rub in the cleaner by hand.
- You can purchase these cleaning supplies from camping stores.
-
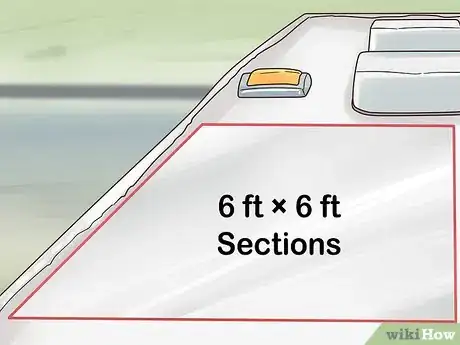
5Work in 6 ft × 6 ft (1.8 m × 1.8 m) sections when cleaning your roof. Cleaning your RV in smaller sections breaks down the job into smaller chunks so you can easily clean all dirt and debris from your RV. It is also easier and safer to clean your RV in small sections at a time.[4]
-
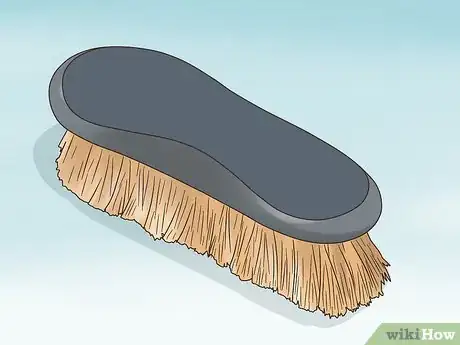
6Use a soft-bristled brush on an extension pole to scrub your roof. You can purchase brushes at most home supply or camping supply stores. Look for a soft-bristled brush so you don’t scratch your roof, and get an extension pole about 3–5 ft (0.91–1.52 m) long. After you’ve sprayed cleaning product on your roof, hold the extension pole in your hand, and move your brush back in forth in quick, small movements to scrub away dirt.[5]
- The extension pole helps you easily scrub the roof while you are standing on top of it.
- Scrub over all of your roof until all dirt is lifted away. If you need to, apply more cleaning solution as you go.
-
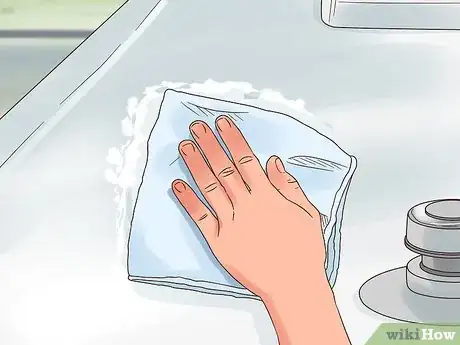
7Wipe away any dirt or debris using a dry, clean cloth. It is helpful to clean your roof using a towel rather than a hose, so you do not squirt dirty water over the sides of your RV. To do this, lay a clean towel flat on your roof, and rub it over the surface in a wide, circular motion. Do this for the entirety of your roof until it is completely clean.[6]
- You can use multiple towels if your roof is very dirty. When your towel is mainly black with dirt, swap it out with a fresh one.
-
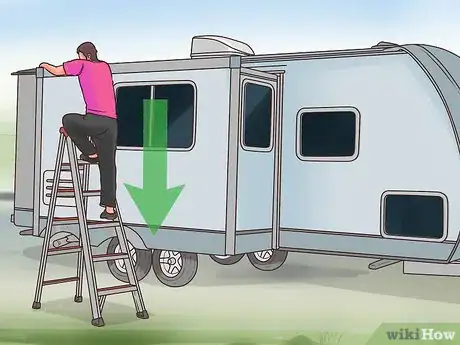
8Climb down from the roof when you are finished cleaning your RV. After your roof is completely clean, carefully place your feet on your ladder and lower yourself to the ground. You can easily clean the sides of your RV from the ground, with the help of your extension pole and scrub brush.
- Be very cautious when you climb down! Your roof may be slightly slippery from your cleaning products.
Cleaning the RV Body
-
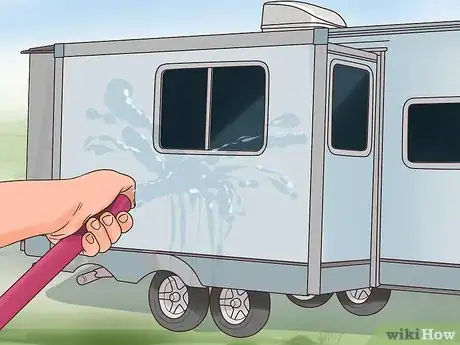
1Rinse off all sides of your RV using your hose. To easily scrub down your RV, it is helpful to spray it down with water. This removes any surface dirt and helps the cleaning solution lift up additional dirt and debris. Try to cover all sections of your RV with a hose.[7]
-
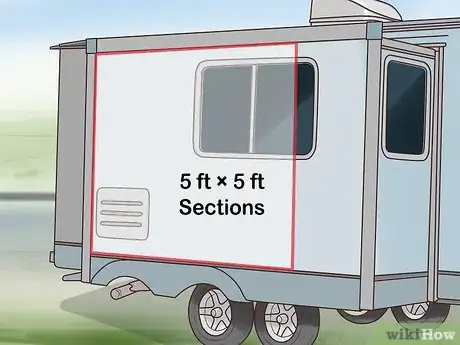
2Work in 5 ft × 5 ft (1.5 m × 1.5 m) sections at a time. To easily wash the sides of your RV, you can work in smaller sections. Start at the front of your RV, and work around in sections going clockwise until you completely clean all sides.[8]
- Having a friend or 2 to help you clean your RV will drastically decrease the time it takes to clean it. They can wash the RV from the opposite side you are cleaning.
-
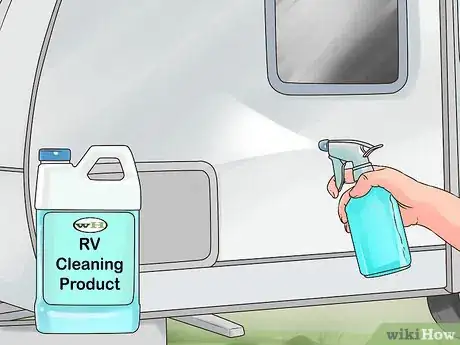
3Spray your RV cleaning product from a squirt bottle. You can purchase RV washing soap from most camping supply stores. In small sections, spray the cleaning product onto the sides of your RV. Using a squirt bottle easily applies the cleaner.[9]
- If you are cleaning a metal RV, use a pre-wash and non-abrasive cleaner. For painted metal RVs, use any cash wash or RV cleaning solution. For fiberglass RVs, you can use an all-purpose RV cleaner or wash-and-wax product.
- In addition, you can use liquid cleaning solution. Purchase cleaning solution for your RV from camping supply stores. Dump 1-3 cups in a bucket, and dip a clean rag into your cleaner. Then, rub the towel over all of your RV in small sections. You can use a circular motion to rub in your cleaner.
-
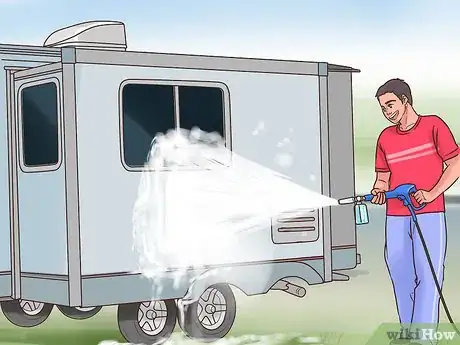
4Use a hose-mounted foam gun if you want a professional wash. A hose-mounted foam gun is an attachment for your hose that makes it easy to apply a cleaning solution. Do this if you want a professional, spotless clean. Fill the cleaning tank up to the indicated line with your RV cleaning product, and attach it to your hose. Then, pull the trigger to release both the cleaning solution and water onto your RV. Your cleaner will come out in a foamy, even application.[10]
- Purchase a hose-mounted foam gun from most home supply stores or camping stores.
-
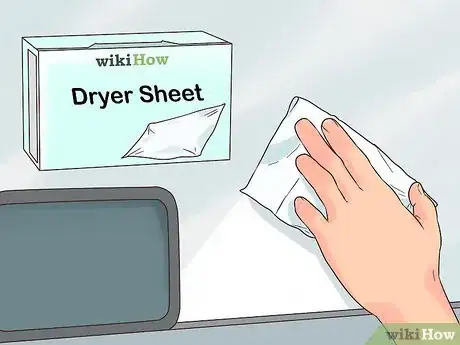
5Try using dryer sheets to clean away bugs stuck to the front of your RV. If the front of your RV has many small bugs stuck to the surface, wet a dryer sheet and scrub in a circular motion to lift up bugs. The bugs will easily come off using the dryer sheets. Be sure to rinse the front of your RV thoroughly after you remove the bugs.[11]
- Wet your dryer sheet using either your sink or your hose.
- Alternatively, spray a bug cleaning product on your RV if you need to remove bugs. You can find these at most camping supply stores in the cleaning section.
-
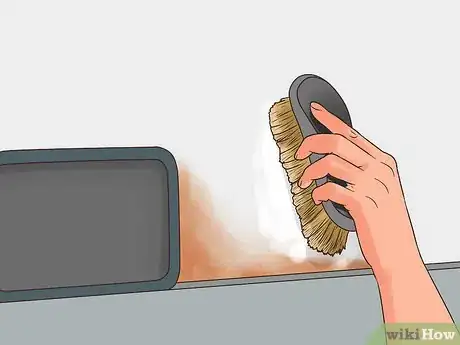
6Use a soft-bristled brush on an extension pole to scrub away dirt. After you’ve applied RV washing solution and removed any bugs, use your soft-bristled brush and scrub the sides on your RV in small sections. The extension pole helps you reach difficult areas at the top of your RV. Move your brush in quick, back-and-forth motions to remove stubborn dirt and debris.[12]
- If you do not have a brush on an extension pole, you can scrub with a hand brush instead.
-
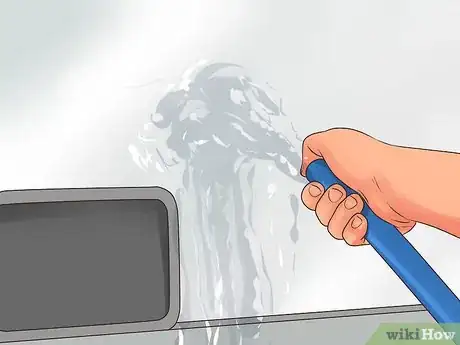
7Rinse each section completely using your hose. Take off the hose-mounted foam gun if you used one, and spray down all surfaces of your RV to rinse away any remaining dirt or bugs. Be sure to wash off any soap residue and dirty spots. After you’ve rinsed your RV, it will look shiny and spotless![13]
- Alternatively, wipe away the dirt and cleaner with a dry, clean towel if you are not using a hose. Hold the towel flat against your palm, and rub it in a wide, circular motion over all of your RV.
Washing the Wheels and Rims
-
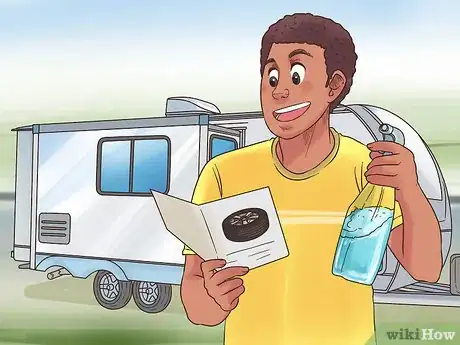
1Check your tire manufacturer instructions so you use the right cleaner. Purchase a cleaning product made specifically for tires to remove dirt and grime. It is best to check the manufacturer instructions for your particular tires. Some will recommend using UV-rated protection spray, while others will recommend soap and water. Follow the outlined cleaning instructions, and purchase a proper tire cleaner.
- Most tire companies recommend using a spray tire cleaner.
-
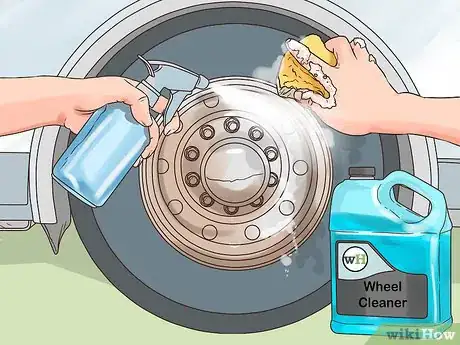
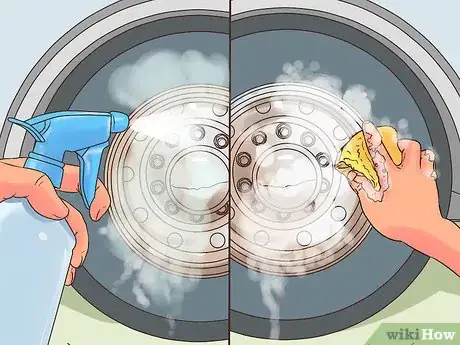
2Scrub your wheels using a wheel cleaner and foam sponge. You can spray your cleaner directly onto your wheels, or apply it to your sponge and then rub it over the wheels. Clean the rubber wheels thoroughly, and use your sponge to scrub away dirt in a small, circular motion.[14]
- You can also use a soft-bristled brush if you do not have a sponge. Make sure you use a gentle brush so you do not damage your tires.
-
3Apply your cleaning solution and scrub the tires with a foam sponge. If your cleaner has a spray bottle, spray it directly to the metal of your rims. If you are using a gel cleaner, squirt a quarter-sized dollop onto your sponge, and apply it directly to your tires. Then, scrub the entire surface of your rims using a soft, foam sponge.[15]
- Be sure to remove any grime built-up in the corners of your rims.
-
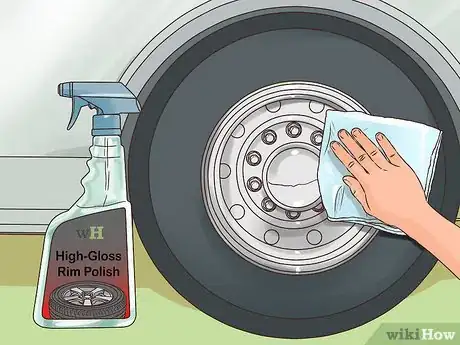
4Apply a high-gloss polish to make your rims shine. Once your wheels and rims are clean, spray a wheel polish to the metal of your rims to make them shiny and beautiful. Spray the polish onto your rims, and rub it into the metal using a clean, dry towel.[16]
-
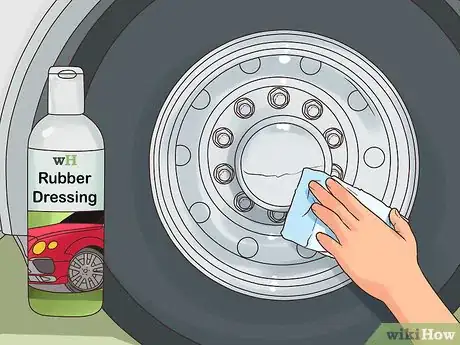
5Use a rubber dressing on your tires to protect them from UV rays. Spray the dressing onto a clean hand towel, and rub it into the sides and tops of your rubber wheels. Rub the dressing in a small, circular motion so it evenly spreads across the entirety of your wheel. Repeat this for all 4 of your wheels. The rubber will look slightly shiny after you apply it.[17]
- It is best to avoid using dressings with petroleum distillates or silicone, as they can sometimes damage your rubber over time.
- Purchase rubber dressing from most camping supply stores.
Scrubbing Your Awnings
-
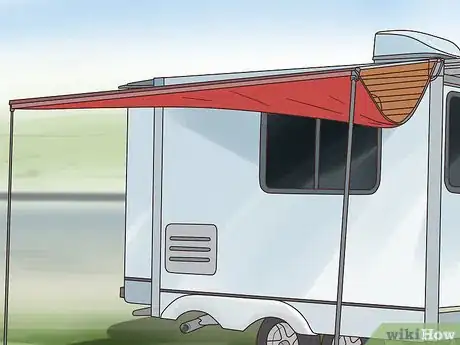
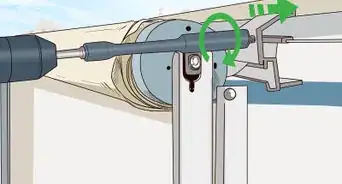
1Open your awnings so you can easily clean them. Most awnings are controlled by automatic buttons on the inside of the RV. Flip the correct switch to open up your awnings.[18]
-
2Use a cleaning product safe for fabric to clean your awnings. You can use cleaners for automotive tops or all-purpose cleaner safe for fabrics. Purchase this at most camping, car, and home supply stores.[19]
- Either product will clean the dirt off of your awnings adequately. Cleaners for automotive tops are often used to clean the roof of a convertible.
- If your awnings are heavily stained, look at your manufacturer instructions regarding how to launder them.
-
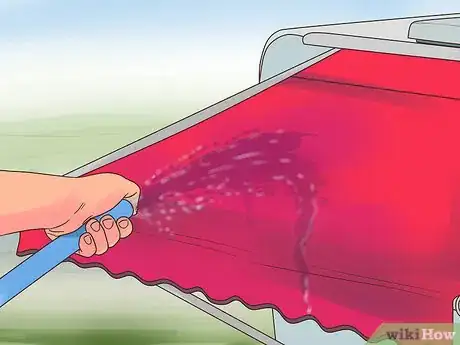
3Wet the awnings using your hose before you apply a cleaning solution. Rinsing off your awnings before you clean them helps remove dirt and grime. Spray water from your hose onto the awnings until they are completely damp.[20]
- If you are not using a hose, fill a bucket up with water from your sink, and dip a clean towel into your water. Then, rub the damp cloth over the surface of your awnings.
-
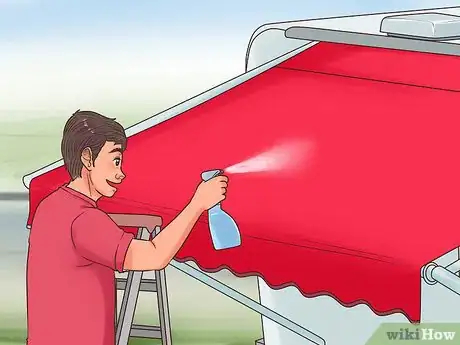
4Spray your cleaning solution onto the surface of your awnings. You want an even, thin layer over the entire surface of your awning. Pull the trigger to release the cleaning product, and do this repetitively until all of your awnings are sprayed with cleaning solution.[21]
-
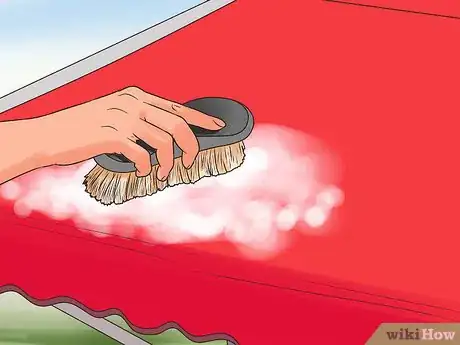
5Scrub away dirt using a clean foam sponge or soft-bristled brush. Both soft-bristled brushes or foam sponges work well when cleaning awnings. Move your brush or sponge in a quick, circular motion to pull up any dirt or debris from the fabric. Repeat this for all of your awnings.[22]
- You can attach your soft-bristled brush to your extension pole if you’d like.
-
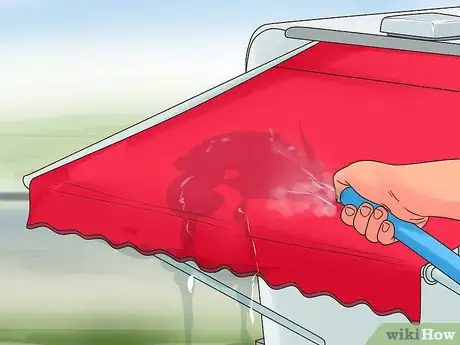
6Rinse away any remaining cleaning product or dirt using your hose. After you’ve scrubbed your awnings, turn on your hose and spray it over all of your awning. This gets rid of any remaining cleaner and washes away any dirt you lifted up.
- If you did not use a hose, use a clean towel and fresh water to wash your awnings. Dip your towel in your bucket, and rub the towel over your awnings in a circular motion. This will still remove the dirt even if you aren’t using a hose.
Community Q&A
-
QuestionHow do you keep soapy wash water out of the storm sewer system? In my state, it is considered an illicit discharge to the storm sewer system.
 21BizarreNerdsCommunity AnswerUse a commercial car wash (machine wash or self serve) or wash your RV/car on the grass.
 -
QuestionDo I need to wax my RV for the winter? Or would just washing the RV be sufficient?
 Gina KyreneCommunity AnswerYes. Winter is a good time to wax your RV. But you should know the right temperature to wax, which is 30-40°C/86-104°F.
Warnings
- Use caution when climbing onto the roof of your RV. When you wash the roof, it will be very slippery and slick. Wear shoes with good gripping soles, and walk with care.⧼thumbs_response⧽
- Take your time when cleaning an RV. Your RV is a large vehicle and will take some practice to get used to cleaning a vehicle this size.⧼thumbs_response⧽
- Do not use dish soap when cleaning your RV. The chemicals in dish soap are harsh and will strip away the coating on the sides of your RV.⧼thumbs_response⧽
- If your RV has decals, avoid using a pressure washer. It will peel off your decals.⧼thumbs_response⧽
References
- ↑ https://blog.campingworld.com/rv-basics/how-to-wash-your-rv/
- ↑ https://blog.campingworld.com/rv-basics/how-to-wash-your-rv/
- ↑ https://blog.campingworld.com/rv-basics/how-to-wash-your-rv/
- ↑ http://www.loveyourrv.com/wash-wax-and-detail-the-rv/
- ↑ http://www.loveyourrv.com/wash-wax-and-detail-the-rv/
- ↑ http://www.loveyourrv.com/wash-wax-and-detail-the-rv/
- ↑ http://www.motorhome.com/tech/diy/detailing-your-rv-like-a-pro/
- ↑ http://www.loveyourrv.com/wash-wax-and-detail-the-rv/
- ↑ https://axleaddict.com/rvs/Washing-Your-RV
- ↑ http://www.motorhome.com/tech/diy/detailing-your-rv-like-a-pro/
- ↑ https://wheelingit.us/2010/10/01/washing-the-rv-how-the-beast-gets-gleaming-clean/
- ↑ http://www.loveyourrv.com/wash-wax-and-detail-the-rv/
- ↑ http://www.loveyourrv.com/wash-wax-and-detail-the-rv/
- ↑ http://www.motorhome.com/tech/diy/detailing-your-rv-like-a-pro/
- ↑ http://www.motorhome.com/tech/diy/detailing-your-rv-like-a-pro/
- ↑ http://www.motorhome.com/tech/diy/detailing-your-rv-like-a-pro/
- ↑ http://www.motorhome.com/tech/diy/detailing-your-rv-like-a-pro/
- ↑ http://www.motorhome.com/tech/diy/detailing-your-rv-like-a-pro/
- ↑ http://www.motorhome.com/tech/diy/detailing-your-rv-like-a-pro/
- ↑ http://www.motorhome.com/tech/diy/detailing-your-rv-like-a-pro/
- ↑ http://www.motorhome.com/tech/diy/detailing-your-rv-like-a-pro/
- ↑ http://www.motorhome.com/tech/diy/detailing-your-rv-like-a-pro/
