X
wikiHow is a “wiki,” similar to Wikipedia, which means that many of our articles are co-written by multiple authors. To create this article, volunteer authors worked to edit and improve it over time.
The wikiHow Tech Team also followed the article's instructions and verified that they work.
This article has been viewed 11,553 times.
Learn more...
The clipboard on Windows 10 is packed with more features than ever before! Some of the neat features include clipboard history and the ability to sync the clipboard across your devices. This wikiHow article will show you how to make use of all of the features of the Windows 10 clipboard.
Steps
Part 1
Part 1 of 3:
Copy and Paste
-
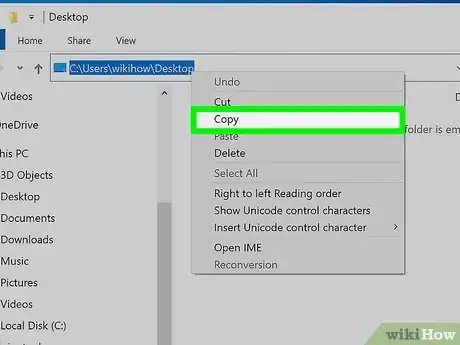
1Copy text. To copy text, highlight it, then right click it and select, "Copy".
- You can also press Ctrl+C instead of right clicking.
- Another option is to cut text. When you cut text, the text that you highlighted is deleted and moved to the clipboard. You can then paste it. To cut text, select, "Cut" instead of, "Copy". You can also press Ctrl+X
-
2Paste text. Right click the location where you want the text to go. Then, select, "Paste".
- You can also press Ctrl+V.
Advertisement
Part 2
Part 2 of 3:
Using Clipboard History
-
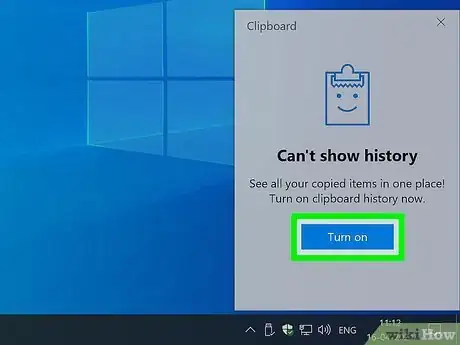
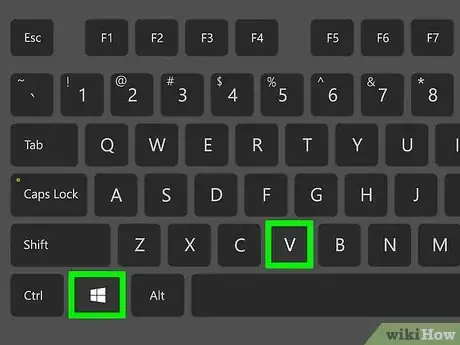
1Enable clipboard history. Press the Windows key (it looks like the Windows 10 logo , or the Windows flag ), and V together. Then, click Turn on.
- If clipboard history is already enabled, then you can skip this step. It's easy to tell if it's enabled or not. If the Turn on button is not displayed, then clipboard history is already enabled.
-
2Access clipboard history. Press the Windows key and V. This will open a box that shows your clipboard history.
-
3Change the current item in your clipboard. Click on the item that you want to make the current item. This will allow you to paste the item.
-
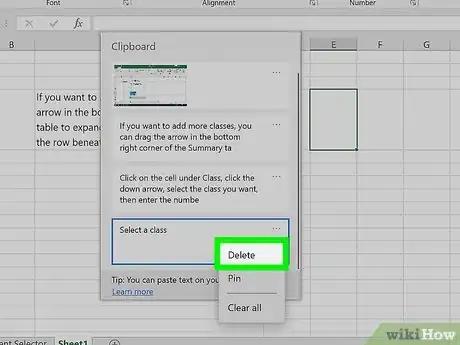
4Delete an item from your clipboard history. Click on the three dots next to the item, and then select, "Delete". This will remove the item from clipboard history. This is not reversible.
-
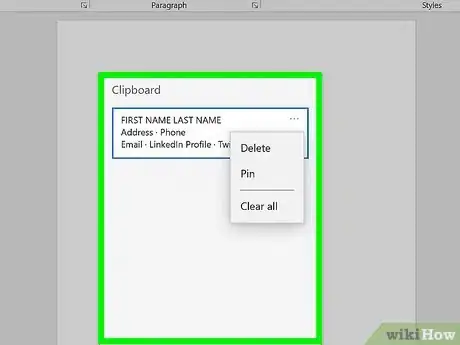
5Pin an item in clipboard history. By default, items that are not pinned are deleted whenever you turn off or restart your computer. When you pin items in clipboard history, they will not be deleted. To pin an item to the clipboard, click on the three dots next to the item, and then select, "Pin".
-
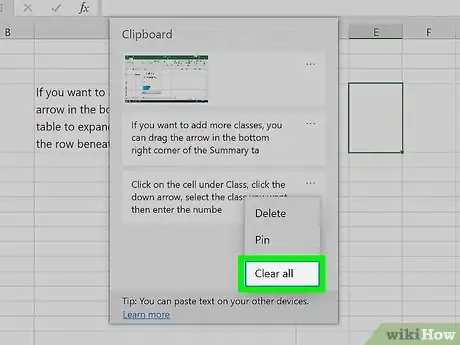
6Clear your clipboard history. Click on the three dots next to an item, and then select, "Clear all". This will immediately delete all non-pinned items in your clipboard history. This action is not reversible.
- To delete a pinned item, click on the three dots next to it, and then select, "Delete".
Advertisement
Part 3
Part 3 of 3:
Syncing Your Clipboard
-
1Enable clipboard syncing. Open the Start menu , and select settings . Then, open the "System" options and select "Clipboard" in the left pane. Then, turn the "Sync across devices" switch on .
- You need to be signed into your Microsoft account on all of the devices that you want to sync your clipboard to. If you do not have a Microsoft account, then you can create one for free.[1]
-
2Select how you want to sync your clipboard history. There are two options to choose from. You can select, "Automatically sync text that I copy", and, "Never automatically sync text that I copy".
- If you select, "Automatically sync text that I copy", then everything that you copy will be shared will be synced across your devices.
- If you select, "Never automatically sync text that I copy", then you will need to open clipboard history, click on the three dots next to the item that you want to sync, and then click, "Sync".
-
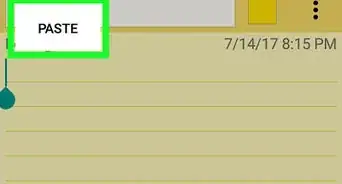
3Paste the item on your other device. Press Ctrl+V on the other device to paste the synced item. You will also be able to see it when you open clipboard history.
- It may take a while for the item to sync, especially if you have slow internet.
Advertisement
Warnings
- If you copy a password to your clipboard, then you may want to make sure that you delete it once you are done, especially if clipboard syncing is enabled.⧼thumbs_response⧽
Advertisement
References
About This Article
Advertisement






-Step-17.webp)


-Step-17.webp)


