This article was co-authored by wikiHow Staff. Our trained team of editors and researchers validate articles for accuracy and comprehensiveness. wikiHow's Content Management Team carefully monitors the work from our editorial staff to ensure that each article is backed by trusted research and meets our high quality standards.
There are 13 references cited in this article, which can be found at the bottom of the page.
This article has been viewed 79,981 times.
Learn more...
When it comes to securing thin sheets of plastic or metal together, especially in situations where you can't access the back end of the joint, rivets are a very effective method of fastening with low installation costs. Whether you use a pop rivet gun or a stronger pneumatic gun, be sure to follow the right procedures.
Steps
Choosing Rivets for a Pop Gun
-
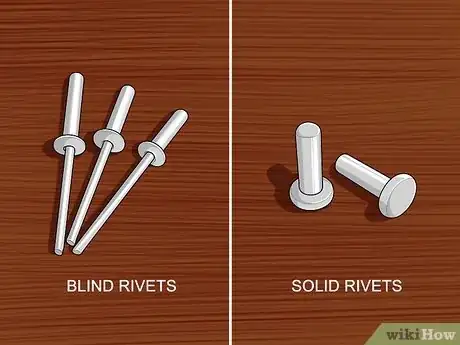
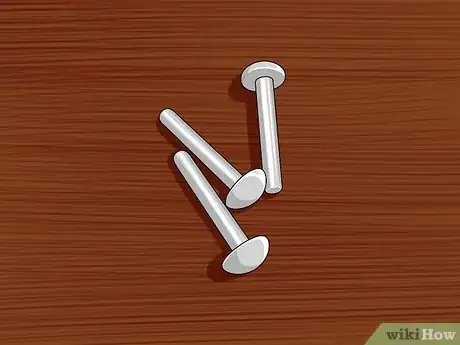
1Opt for blind rivets instead of solid rivets. Blind rivets can be installed from 1 side and create secure fastenings without the hammering process necessary for solid rivet installation. Standard blind rivets are the most affordable type and are great for holes that are regularly shaped and aligned properly.[1]
- Use standard blind rivets for securing metal pieces that aren't going to carry lots of weight. To determine the maximum weight your rivets can hold, look at the back of the package for their shear strength.
- Never use standard rivets for situations that require a water-proof seal.
- If you're working with important structural joints, don't use blind rivets. Instead, use solid rivets with a pneumatic rivet gun.
-
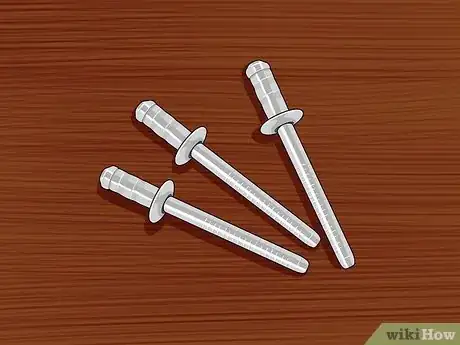
2Select multi-grip rivets for situations that require high-strength fastening. These rivets have a wider grip range and always completely fill the holes in your metal due to their "bulbing" action. They are best suited for irregular, oversized, or misaligned holes, as well as situations where you're unsure of the optimal rivet length.
- Multi-grip rivet seals are weather and vibration-proof.
Advertisement -
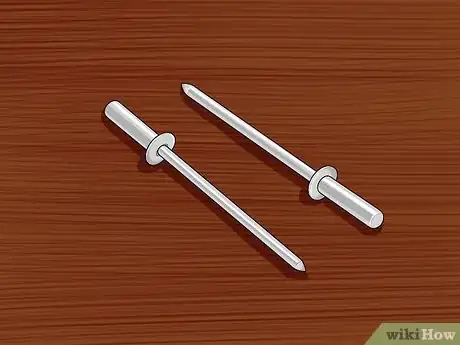
3Purchase sealed rivets when you need a tight seal that resists leaking. Sealed rivets possess an enclosed mandrel (the longer end) that creates a water-tight seal upon installation. They can fasten many kinds of materials and perform well across varying temperature fluctuations and thicknesses.
- If you don't need a water-tight seal, opt for standard rivets instead—they're typically cheaper than sealed products.
-
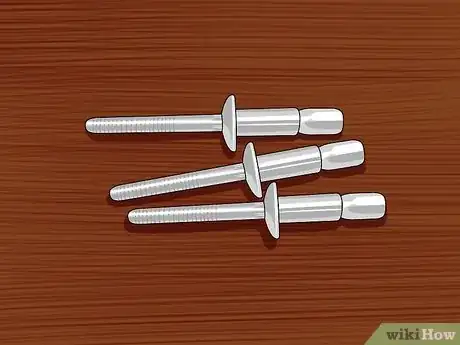
4Select interlock rivets for situations that require high-strength fastening. Interlock rivets are best if you need increased pull-out and shear strength, such as in structural applications. They come in large sizes that typically don't fit the smaller rivet guns.
- Interlock rivets work great for closing big gaps and preventing sheet movement.
-
5Purchase dome head rivets for standard materials and situations. Dome head rivets are the most common type for pop guns due to their versatility and simple application. They're best used for situations that require reliability and safety. For example, thousands of dome head rivets are used to create the structural frame of modern aircraft.
- If you're unsure of the applicability of dome heads for your situation, take a look at their packaging to determine the shear strength (listed as weight in pounds) that they can support.
- Use dome heads when connecting material similar to carbon steel, when the rivet is close to the edge of the material you are fastening.
- These blind rivets are also called round heads.
-
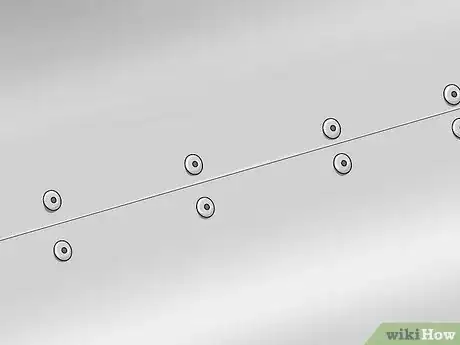
6Opt for flat head rivets to ensure a flush, tight fit. Flat rivets are countersunk and ideal for soft materials, which are defined as anything easily deformed by temperature extremes or fluctuations, such as polymers, granular materials, and soft biological materials. This is due to their large head that increases their load-bearing area. They are also ideal for situations where nearby rivets and structures make it impossible to accommodate round heads.
- Load-bearing area is the region that the load-bearing structure can reliably hold up.
-
7Select a rivet made from the same material as the metal you're joining. There are many different kinds of rivet materials. Always match the rivet to the type of metal you're attaching whenever possible. For example, aluminum metal should be fastened with aluminum rivets.[2]
- If you're fastening leather with a rivet, always use copper, aluminum, or brass. Steel rivets will rust due to leather's tendency to retain moisture.
- Steel mandrels have a tendency to corrode, and can also create a reaction with surrounding materials. Avoid purchasing rivets that are made from steel mandrels paired with a stainless steel or aluminum body.[3]
- Purchase a variety pack for a wide selection of rivets of different sizes and materials.
Using a Pop Rivet Gun
-
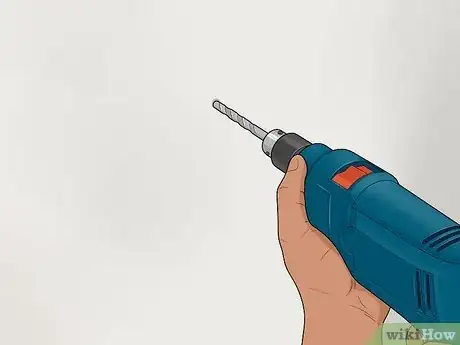
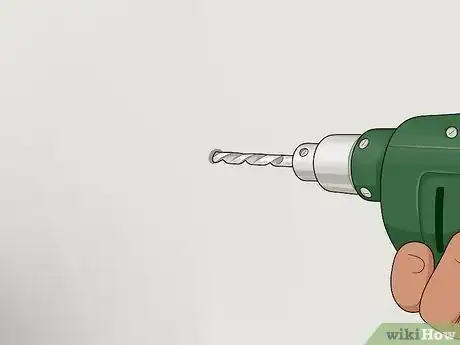
1Drill a rivet hole using a standard twist drill. The size of the hole you drill into your materials determines the appropriate rivet size. For example, a 5⁄32 inch (0.40 cm) hole is created with a number 21 drill bit, and you'll need a 5⁄32 inch (0.40 cm) rivet with the proper nozzle attachment.
- Electric twist drills are considered fire hazards when used on or near an aircraft. If you're installing rivets near an aircraft, use a pneumatic twist drill.[4]
- Take a look at the following chart for rivet sizes and their corresponding drill numbers and drill sizes: http://navyaviation.tpub.com/14018/css/Drilling-Rivet-Holes-548.htm.
-
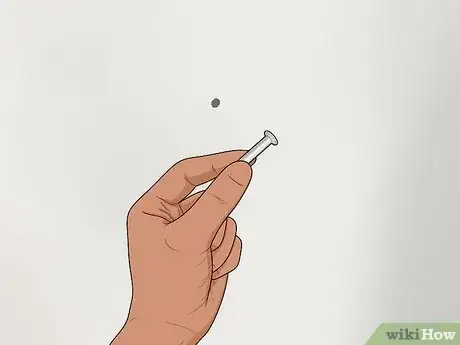
2Select a rivet size suitable for your materials. If you're installing the rivet around your home, chances are you will be using a 1⁄8 inch (0.32 cm) sized rivet. Larger rivets come in 5⁄32 inch (0.40 cm) and 3⁄16 inch (0.48 cm) lengths, but are typically used for outdoor applications. Make sure the size of the rivet matches the drill holes you made.
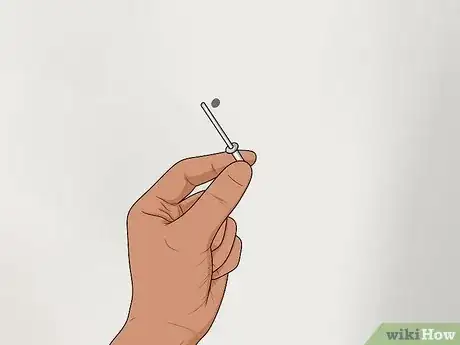
- Each rivet is made of 2 preassembled parts: the body (tubular in shape) and the setting mandrel (the long side pulled out of the body).
-
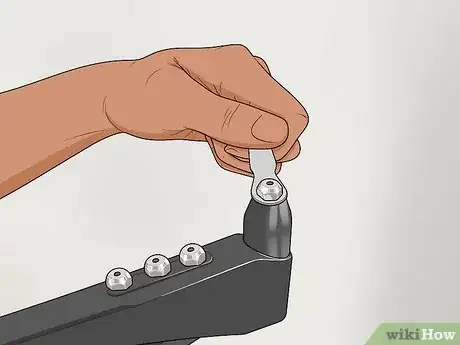
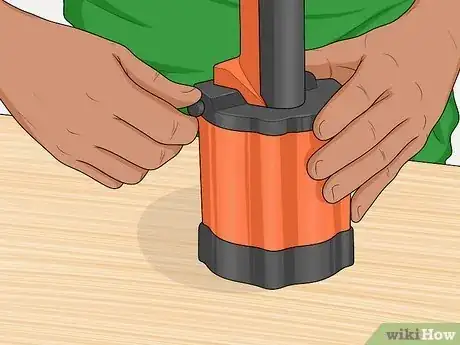
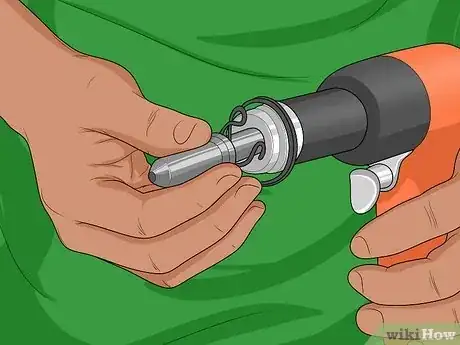
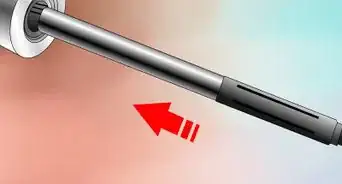
3Attach the proper nozzle attachment tip based on your rivet size. The nozzle of your gun holds an attachment that secures your rivets. Most rivet guns come with 3 nozzle attachments located in their handle. These attachments can be removed using the small wrench also located inside their handle.[5]
- To remove the attachments, use the wrench to turn them counterclockwise. After removing an attachment from the gun's handle, gently screw it into the nozzle by turning it clockwise with your hand.
- Use the small wrench to tighten it by continuing to turn it counterclockwise.
-
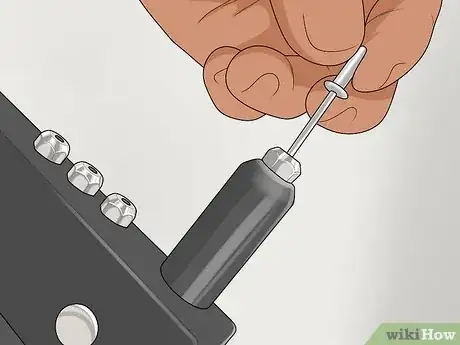
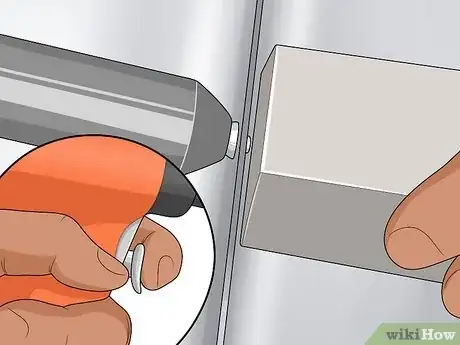
4Slide the rivet long-side first into the nozzle of your gun. Place the longer side of the rivet into the nozzle of your gun. The shorter piece is the end that is inserted through the 2 pieces of material you're attaching.[6]
-
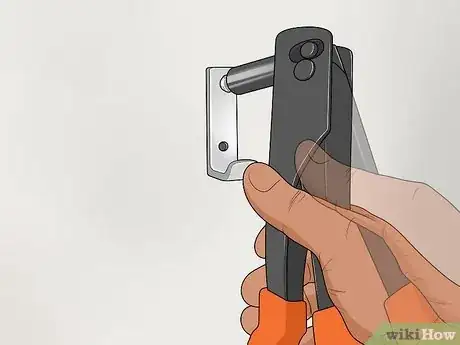
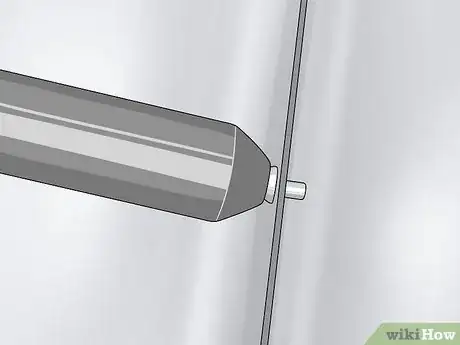
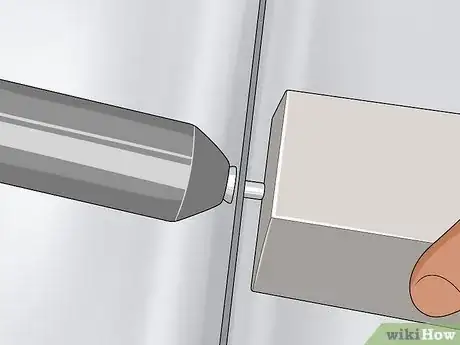
5Place the rivet through both materials and press the gun against it. Make sure that the shorter side of the rivet is fully through the holes in both of your 2 materials and your gun is parallel to the piece of metal. Put pressure on the gun so that the large end of the rivet is tightly pressed against the metal, and place your thumb on the top of the gun to hold it steady.[7]
- Keep steady and apply consistent pressure before squeezing the trigger.
-
6Squeeze the handle trigger of the gun until the rivet attaches. Put pressure on the rivet as you squeeze the handle. Every squeeze will pull the metal pin in the rivet through the body. Once the pin's head reaches the small end of the rivet, it will begin compressing the 2 metal pieces together. Keep squeezing until you hear a pop and the pin snaps.[8]
- If you make a mistake, remove the rivet using an electric drill or with a rivet removal tool.
- Discard the pin (the longer side of the rivet) after your gun pops and the rivet has secured both materials.
Using a Pneumatic Rivet Gun
-
1Drill a hole for your rivet with a standard twist drill. After drilling your hole, you can determine the best rivet size. For example, 3⁄16 inch (0.48 cm) holes are created with a number 41 drill and accommodate a 3⁄16 inch (0.48 cm) rivet with the appropriate nozzle attachment.[9]
- Never use an electric twist drill if you're working on or near an aircraft—they are considered to be a fire hazard. Use pneumatic twist drills instead.
- The following chart lists rivet sizes and the applicable drill numbers and drill sizes: http://navyaviation.tpub.com/14018/css/Drilling-Rivet-Holes-548.htm.
-
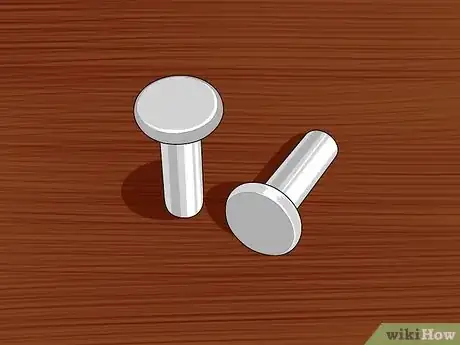
2Purchase solid rivets that match the size of the drill hole. Solid rivets are used for situations that require more safety and reliability than blind rivets can provide. Although they are more expensive, they are invaluable when working with important structural joints.
- Solid rivets cannot be used if 1 side of the structure is inaccessible.
-
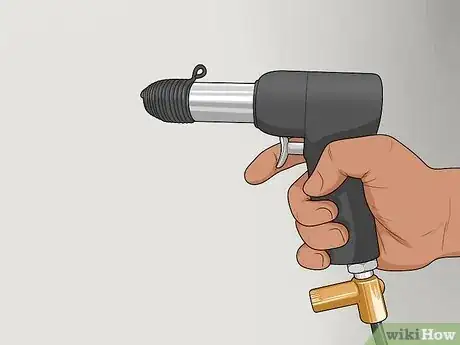
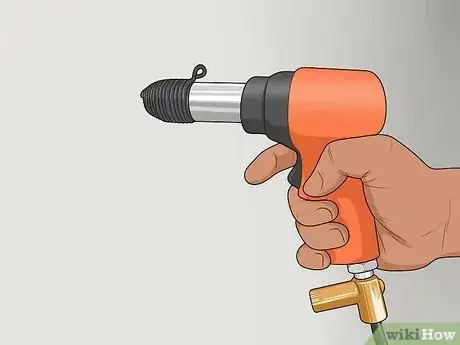
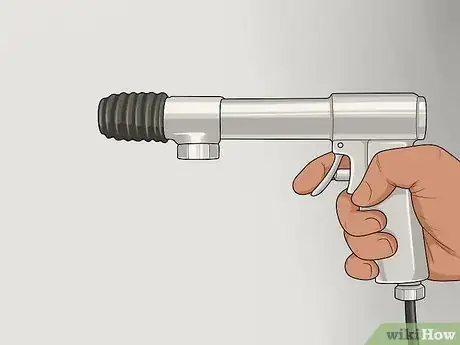
3Opt for a slow-hitting gun for medium-sized rivets. Also called 3X guns, slow-hitting guns are the most common type of pneumatic rivet gun and are best for medium-sized rivets. They are easiest to control, and recommended for first-time users.[10]
- Medium-sized rivets will be labeled as such.
- Slow-hitting guns typically have a repetition rate of around 2,500-blows-per-minute (bpm) and strike heavier blows.
-
4Select a fast-hitting gun when using soft rivets. Also known as 2X guns or vibrators, fast-hitting rivet guns are ideal for soft rivets (which are made of soft aluminum alloy). They continue to hammer as long as the trigger is held down. Keep in mind that they are harder to control than slow-hitting guns.
- Fast-hitting guns strike lighter blows at around 2,500 to 5,000 bpm.[11]
-
5Purchase a one-shot gun if you're working with heavy-gauge metals. One-shot guns strike 1 blow with each squeeze of the trigger and are ideal when working with heavier materials (such as iron) and materials that crack easily (such as aluminum sheet metal) from repeated hammering.
- Use a one-shot gun to hammer aluminum alloy rivets, which are brittle and crack easier when driven with other rivet guns.
-
6Set your rivet gun's air pressure to match your rivet size. Air pressure (PSI) influences how much pressure you need to put on the trigger when using your gun. The bigger your rivet, the more air pressure you need. Always make sure that you change air pressures when switching between rivet sizes.[12]
- A 3⁄32 inch (0.24 cm) rivet requires 25 PSI, 1⁄8 inch (0.32 cm) rivets require 40 PSI, and 5⁄32 inch (0.40 cm) rivets require 60 PSI.
-
7Attach a cup set that matches your rivet. Pneumatic guns come with cup sets designed for particular rivet sizes. They are made of 2 parts: a shaft that inserts into the gun, and a polished area that meets the head of the rivet. Use flush cup sets for flush rivets and universal sets (also known as domed head sets) for universal rivets.[13]
- A spring on the end of the gun holds your rivet sets in place, allowing you to swap set sizes as needed.
-
8Insert the rivet through its hole and hold it in place with the tip of the cup set. Slide the rivet into the hole using your hand. Afterwards, hold the rivet gun so it is horizontal with the top side of the metal.
- The tip of the cup set is the polished area that attaches to the shaft inserted into the gun.
-
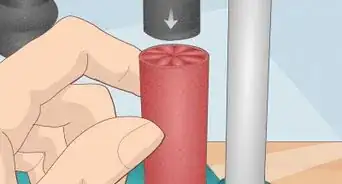
9Hold a bucking bar against the shop head of the rivet to absorb impact. The shop head refers to the end of the rivet that initially has no head. The bucking bar is held against this end with 1 hand, while the factory head on other side of your metal piece is held against the rivet gun.[14]
- Bucking bars are made of a few pounds of steel and possess a polished face. They come in many shapes and sizes to accommodate a variety of areas.
- Purchase a bucking bar from an online supplier or head to the closest industrial tool and supply company.
-
10Engage the gun squarely with the rivet head and squeeze the trigger. With your bucking bar held firmly in place and the gun engaged with the rivet head, squeeze the trigger for a few moments until your rivet is in place. Triggers are designed to tease airflow, giving you precise control over the strength and duration of the impacts delivered through each rivet set to its head.[15]
- The amount of time you need to hold the trigger depends on the power of your gun and its air pressure.
- You can remove the rivet using an electric drill or rivet removal tool if you make a mistake.
Things You'll Need
Using a Pop Rivet Gun
- Standard twist drill (electric or pneumatic)
- Pop rivet gun
- Blind rivet
- Electric drill
Using a Pneumatic Rivet Gun
- Solid rivets
- Standard twist drill (electric or pneumatic)
- Pneumatic rivet gun
- Bucking bar
Warnings
- Never use a rivet gun near explosive or combustible materials.⧼thumbs_response⧽
- Never attempt to repair a rivet gun by yourself – always bring it to your local hardware store for maintenance.⧼thumbs_response⧽
References
- ↑ https://youtu.be/1fzMZQCbHPc?t=23s/
- ↑ https://youtu.be/1fzMZQCbHPc?t=23s
- ↑ https://www.steelconstruction.info/Corrosion_of_structural_steel
- ↑ http://navyaviation.tpub.com/14018/css/Drilling-Rivet-Holes-548.htm
- ↑ https://youtu.be/yW3k3_sbkyc?t=1m20s
- ↑ https://www.youtube.com/watch?v=yW3k3_sbkyc
- ↑ https://youtu.be/yW3k3_sbkyc?t=2m3s/
- ↑ https://youtu.be/yW3k3_sbkyc?t=2m17s
- ↑ http://navyaviation.tpub.com/14018/css/Drilling-Rivet-Holes-548.htm
About This Article
To use a rivet gun, start by using a standard twist drill to drill a hole in your material to fit the rivet. Then, attach the appropriate nozzle to your gun, such as a 1/8-inch nozzle if your rivet is 1/8 inch in diameter. Insert the longer part of the rivet into the gun and make sure the shorter end is already in the hole. Next, squeeze the handle trigger on the gun until the rivet pops into place. Once you've secured both materials with the rivet, discard the pin from the long side. For tips on how to choose the right kind of rivets for your project, keep reading!
