This article was co-authored by Brad Hurvitz and by wikiHow staff writer, Hunter Rising. Brad Hurvitz is a Certified Swimming Instructor for My Baby Swims, an adolescent swimming school based in La Jolla, California. Brad is trained as an Infant Swimming Resource (ISR) instructor with ISR's Self-Rescue® program. He specializes in training children aged six months to six years of age survival skills like floating on their back to breathe and swimming back to the wall, while also educating parents on how to better keep their kids safe. He has a Master of Business Administration from Oregon State University.
This article has been viewed 47,184 times.
A pull buoy is a piece of foam swimming equipment shaped like a figure 8 that keeps your lower body and legs close to the surface of the water. Practicing regularly with a pull buoy can help you build arm strength and correct poor swimming form for many different strokes so you can swim faster and more efficiently. While you shouldn’t be dependent on using a pull buoy, including one in your training routine adds more variety to the exercises in each session. Working with a pull buoy can help you swim with more speed and power!
Steps
Positioning the Pull Buoy
-
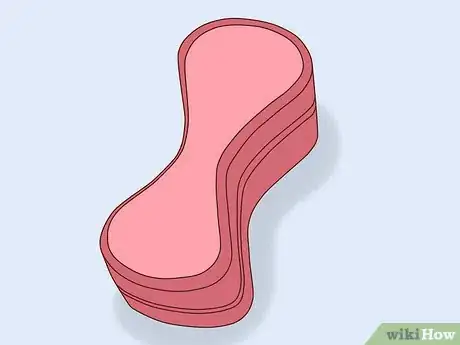
1Pick a foam pull buoy that fits comfortably between your legs. Foam buoys come in 2 different designs: a solid foam figure 8 shape or 2 foam pieces connected by ropes. Either design will work, but try putting the buoy between your upper thighs to see if it fits well. Test out different sizes to see what is the most comfortable for you.[1]
- You can buy pull buoys online or from sporting goods stores.
- Some pools will have pull buoys that you can use or rent while you’re training.
- If the pull buoy has ropes, you can adjust their length until they’re comfortable.
EXPERT TIPBrad Hurvitz is a Certified Swimming Instructor for My Baby Swims, an adolescent swimming school based in La Jolla, California. Brad is trained as an Infant Swimming Resource (ISR) instructor with ISR's Self-Rescue® program. He specializes in training children aged six months to six years of age survival skills like floating on their back to breathe and swimming back to the wall, while also educating parents on how to better keep their kids safe. He has a Master of Business Administration from Oregon State University.Certified Survival Swimming Instructor
 Brad Hurvitz
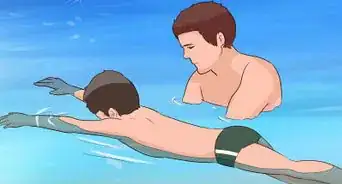
Certified Survival Swimming InstructorExpert Warning: Do not teach children to swim with a pull buoy. When children learn to swim with a flotation device, it changes the form of their swim from a horizontal to a more angled or vertical swim. Unfortunately, that's a dangerous position that can lead to drowning if the child jumps into the water without that flotation device.
-
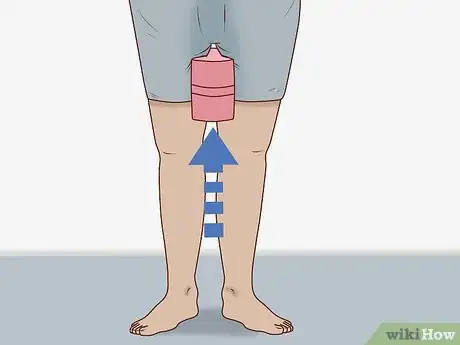
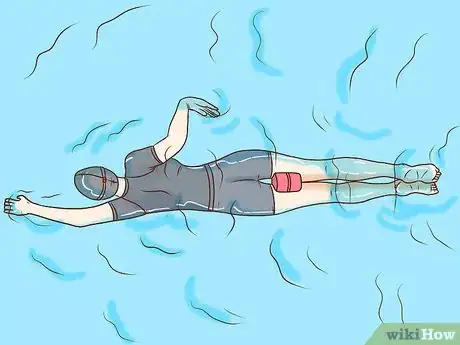
2Slide the pull buoy between your thighs. When you’re at the pool, sit at the edge of the water so you can easily position the pull buoy. Spread your legs far enough apart so you can place the buoy in between your thighs as high as you can. Squeeze your legs together so you have a firm grip on the buoy.[2]
- If one side of your pull buoy is larger than the other, have the larger end facing the front.
- If your buoy has ropes connecting the foam pieces, hold the ropes in between your thighs so the foam is in front of and behind you.
Advertisement -
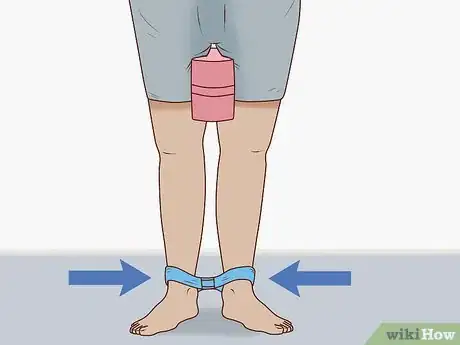
3Band your ankles together if you want to prevent kicking your feet. Even though pull buoys make it so you don’t have to use your legs while swimming, you still may feel the urge to kick. Kicking while using a pull buoy can lead to poor form when you swim without one. If you think that you’ll start kicking while using the buoy, secure a swimming band around your ankles. This prevents you from kicking your legs individually and helps you build more arm strength.[3]
- You can buy ankle bands online or from a sporting goods store.
- If you don’t have an ankle band, you can also use a small inner tube.
Tip: If you want to add more resistance to your training, tie a hand towel around your ankle band and let it hang freely while you swim.
-
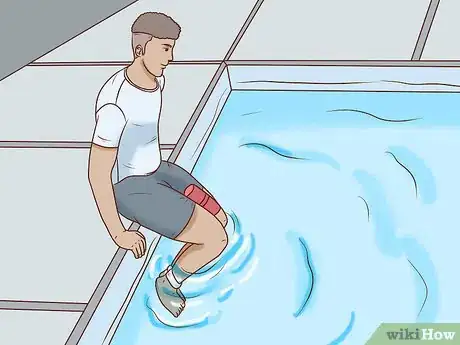
4Ease yourself into the water. Don’t jump into the water since the pull buoy might slip out or you could lose balance. Slide into the pool from the edge, keeping your legs underneath you until you’re ready to swim. Hang onto the wall if you can’t touch the bottom of the pool.
- The pull buoy will try to float once you’re in the water so make sure to keep it underneath you until you’re reading to start swimming.
Training with the Buoy
-
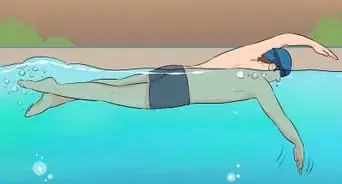
1Pull your body through the water using your arms. When you’re ready to start swimming, push off from the wall with your feet. Start with the front crawl, or freestyle, using only your arms to propel yourself through the water. Rock your hips from side to side with each pull forward to perfect your form, but don’t use your legs at all. Swim 100 m (330 ft) with the pull buoy.[4]
- Use hand paddles to give your upper body more of a workout.
Warning: If you swim slowly, your upper body may sink into the water because of the pull buoy. If this happens, either increase your speed or let go of the buoy.
-
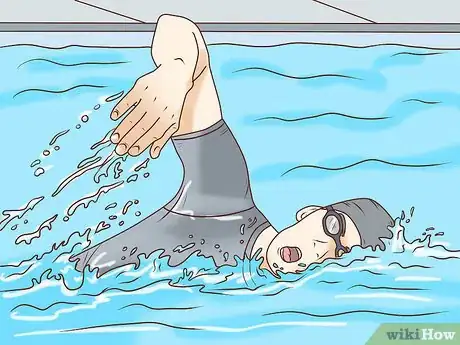
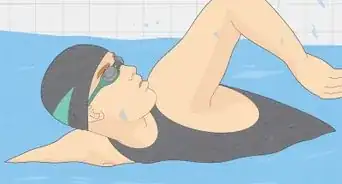
2Practice bilateral breathing to improve your swimming pace. While doing the front crawl, many swimmers only turn their head to one side to breathe. Bilateral breathing, or turning your head to the left and right during your stroke, can allow you to swim faster. When you lift your arm out of the water during your stroke, turn your head to the same side and take a breath. Practice breathing on the left and right side of your body throughout your exercise.[5]
- It’s easier to practice bilateral breathing while using a pull buoy because your legs aren’t using up as much oxygen when you aren’t kicking.[6]
-
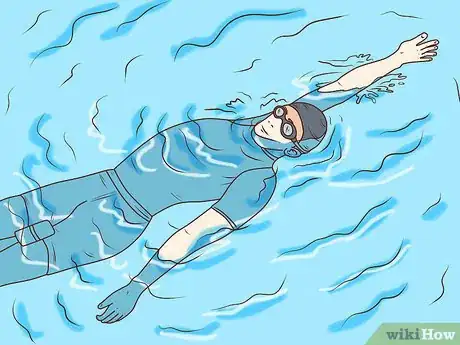
3Try different swimming strokes to practice various arm movements. Pull buoys can help you perfect your arm movement while you do the backstroke, breaststroke, or sidestroke. Keep the pull buoy in between your legs for each stroke you practice so you can work on your core and upper body. Try swimming at least 100 m (330 ft) in each stroke.[7]
- Don’t kick during any of the strokes since it could give you poor form.
-
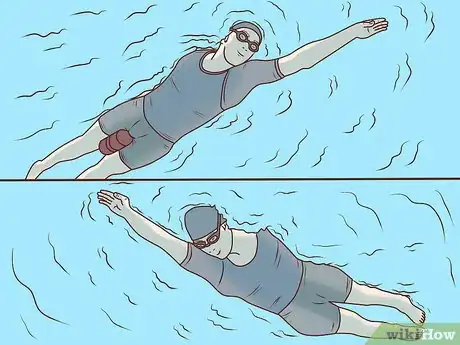
4Alternate between swimming with and without the pull buoy. Swimming with the pull buoy at all times can limit your hip rotation and make you reliant on using it. After you go about 100 m (330 ft) with the pull buoy, take it out from between your legs and incorporate kicking back into your stroke. Continue alternating between exercises with and without the pull buoy to stay balanced.[8]
- Scale your workout over time so you’re swimming or pulling a further distance each time. For example, start by swimming 100 m (330 ft) with and without the pull buoy, and then increase the distance to 200 m (660 ft) for exercise.
Expert Q&A
-
QuestionDo you kick when using a pull buoy?
 Brad HurvitzBrad Hurvitz is a Certified Swimming Instructor for My Baby Swims, an adolescent swimming school based in La Jolla, California. Brad is trained as an Infant Swimming Resource (ISR) instructor with ISR's Self-Rescue® program. He specializes in training children aged six months to six years of age survival skills like floating on their back to breathe and swimming back to the wall, while also educating parents on how to better keep their kids safe. He has a Master of Business Administration from Oregon State University.
Certified Survival Swimming Instructor No, a pull buoy will help lift your lower body, so you don't have to worry about your kick. It is used to work on your upper body, and focus on your rotations and arms opposed to the entire swim. If you want to focus on your kick, use its opposite — a kickboard that will make your upper body more buoyant.
 -
QuestionIs the thicker end at the back or front of the body?
 Kristina MlynarovaCommunity AnswerIt's at the back of the body because it stays in place easier that way. The thinner end goes at the front.
 -
QuestionIs a pool buoy only used for the legs?
 Community AnswerPull buoys are actually used more for your upper body. They help the swimmer focus on his upper body and pull while the legs drag behind him. So essentially, pull buoys are not used for your legs at all. The only purpose is to keep your legs afloat.
Warnings
- If you have trouble keeping your head above the water while using the pull buoy, let go of it so your legs aren’t floating anymore.⧼thumbs_response⧽
- Avoid kicking your feet while using a pull buoy since it could lead to bad form.⧼thumbs_response⧽
References
- ↑ https://beginnertriathlete.com/cms/article-detail.asp?articleid=2106
- ↑ https://www.yourswimlog.com/pull-buoy/
- ↑ https://beginnertriathlete.com/cms/article-detail.asp?articleid=2106
- ↑ https://www.yourswimlog.com/pull-buoy/
- ↑ https://www.yourswimlog.com/pull-buoy/
- ↑ https://www.yourswimlog.com/bilateral-breathing-faster-freestyler/
- ↑ https://www.enjoy-swimming.com/pull-buoys.html
- ↑ https://triathlonmagazine.ca/training/how-to-train-with-a-pull-buoy/
- ↑ https://www.yourswimlog.com/pull-buoy/
