wikiHow is a “wiki,” similar to Wikipedia, which means that many of our articles are co-written by multiple authors. To create this article, 17 people, some anonymous, worked to edit and improve it over time.
wikiHow marks an article as reader-approved once it receives enough positive feedback. In this case, 84% of readers who voted found the article helpful, earning it our reader-approved status.
This article has been viewed 102,060 times.
Learn more...
In order to use new rosin on a new violin bow, you'll need to be gentle with both the rosin and the bow. The new bow isn't yet used to the tension of heavy playing, and the rosin doesn't yet have a groove for the bow to slide smoothly. Make sure to prepare the rosin before you use it!
Steps
Choosing Rosin
-
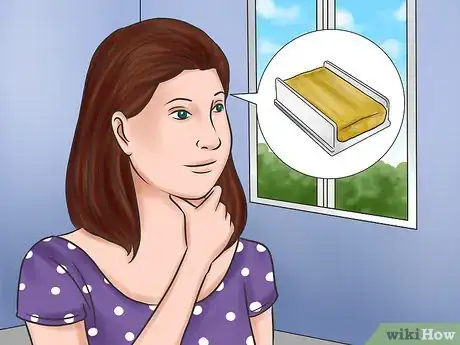
1Understand why violinists use rosin. Rosin is a mild adhesive that's used in string instrument playing to increase the friction between the hair of the bow and the string.[1] The rosin temporarily "sticks" to the string until its limit of adhesion is reached, and then releases. When a bow is new, or has been rehaired, the initial layer of base rosin may take some time to get in place, depending on the "roughness" of the hair-string (stallion vs. mare, cold vs. warm climate, what the horses ate, etc.) it may take very little time, or quite a bit more time.
- Rosin is basically the same substance that you see pitchers use on the pitching mound in a baseball game to increase their grip on the ball. It is generally produced as a refining by-product while distilling turpentine from tree saps (mostly various species of pine) - it's the goo that's left after the spirits have been evaporated off.
- Contrary to many old beliefs, the hair does not have microscopic hooks that are raised up by rosin. Under a microscope, the hair looks like a swamp reed, with slightly ragged growth rings that themselves don't have enough friction to do any more that just tickle a whisper from a string. However, they do have enough friction to provide a way for the rosin to transfer and hold to the hair. Once there, the rosined hair will begin a succession of "grab and release" catches of the string to cause a somewhat sustained vibration of the string.
-
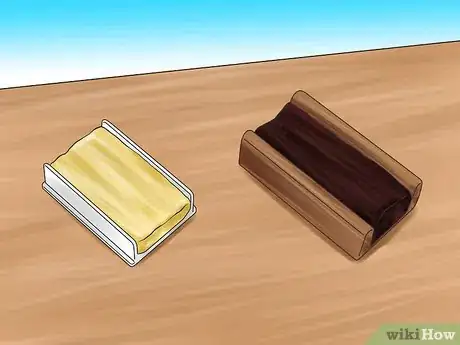
2Choose a rosin. There are also various types of rosins, most notably by color: some are lighter, and some darker. The best rosin is the one that works best under the playing conditions you are presently experiencing, which is why many advanced players carry a variety of rosins with them to meet the needs of varying playing conditions.[2]
- As a somewhat general rule, darker rosins tend to be softer, melt at a lower temperature (like in the summer sun), and grip better in colder weather.
- Very light rosins tend to be just the opposite: harder, work better in warmer weather where a darker rosin might tend to soften and became gooey while playing.
Advertisement -
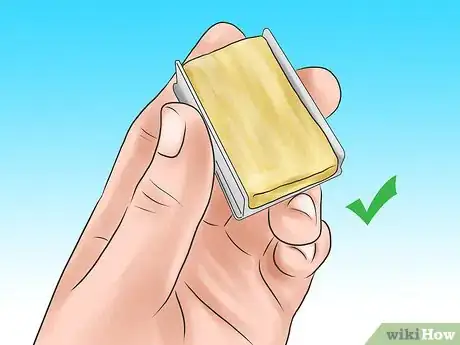
3Make sure that you are using violin rosin. Using new rosin on a bow depends on what instrument you have. You cannot use the same rosin from a cello or a bass on a violin's bow.[3] The result would be a change in tone in your violin playing. If continued, this will render the violin's bow useless. However, it's okay to use a viola's rosin for a violin – or vice versa.
Applying the Rosin
-
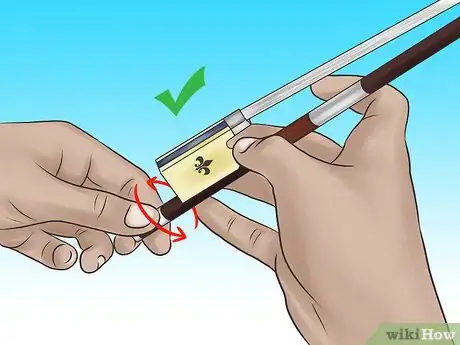
1Prepare the bow. Gently take the bow out of its container and tighten the horse hairs (which are white) until they are taut. Look at the wood of the bow: it should not be bent downward or upward.
- If too tight, move the peg of the bow left until the wood is straight. If too loose, move the peg right so that the wood does not sag.
-
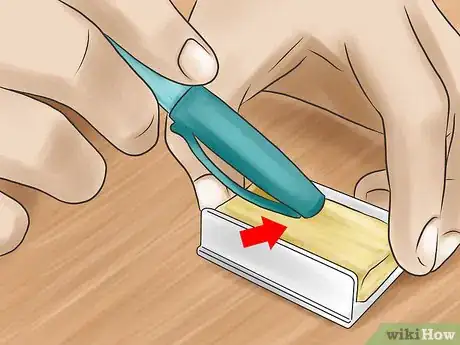
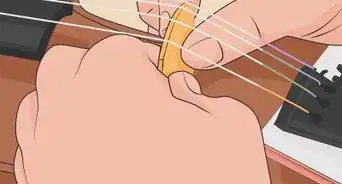
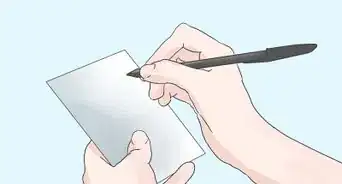
2Prepare the rosin. Once you have the correct rosin, uncap or slide it out of its container. Use a closed pen to scratch your rosin until it is rough and gritty. Try to rub gently so you don't damage your rosin. Once the rosin is exposed, you're ready to apply the rosin to your bow.[4]
- Wash your hands beforehand so you don't get your rosin dirty. Be sure you also wash your hands after because your hands will be sticky and messy with rosin dust.
-
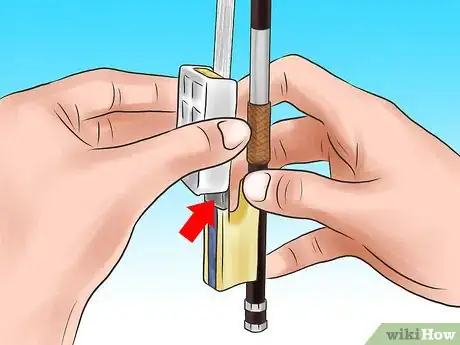
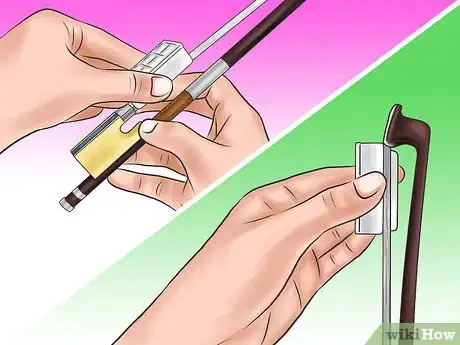
3Lift the bow onto the other rosin. The frog, which is the dark part of the bow near the peg, should be next to the rosin. The horse hair should be on top of the rosin.
-
4Rub the rosin onto your bow. The application is simple: from frog to tip and back, "play" the rosin back and forth until you feel the bow gripping and no longer slipping. The heat created by the friction of the back and forth motion will cause the surface of the rosin to soften enough to allow the transfer of rosin to hair to take place.[5]
- Gently, and with little pressure, brush the hair of the bow against the rosin. One stroke down should end with the tip of the bow (the other end) next to the rosin. Then, go backwards so that the frog is next to the rosin again. Repeat up and down strokes five times.
- Be careful. Don't "play" the rosin very quickly, or you'll risk breaking the bow. The new bow is not yet used to the high tension.
-
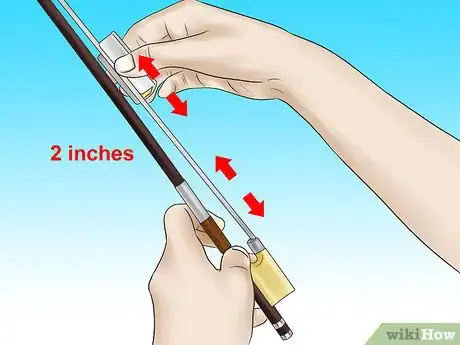
5Apply the rosin to the entire bow. Keep "playing" the rosin until the entire bow is coated in rosin. Rub the rosin back and forth over a 2 inch (5.1 cm) area, several times quickly. When you've thoroughly coated this part of the bow, move to the next 2 inch (5.1 cm) section.
Finishing the Job
-
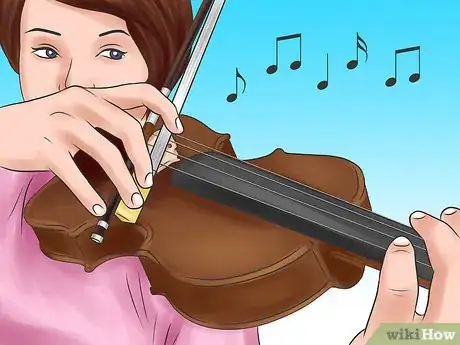
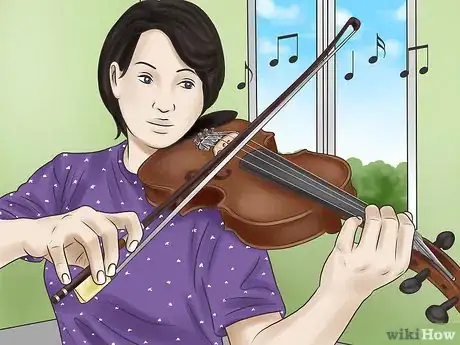
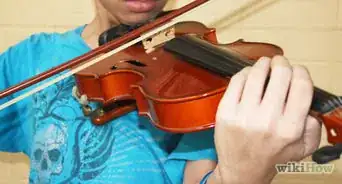
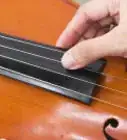
1Test the bow. Lift your violin onto the curvature of your shoulder. Then, lift the bow and place the frog on one string of the violin. Make sure the bow is not dragging on any other string or the wood of the violin. Stroke back and forth with gentle pressure while listening for a note.
- Remember to maintain the same amount of pressure through out the strokes. Change in pressure will cause some parts of the bow to play notes clearly and others not as clear.
-
2Be patient. Once a base layer of rosin is on the hair, achieving maximum playability is somewhat accomplished by feel. If you aren't getting the response you need, apply a few quick strokes of rosin to reestablish the friction level needed. Rosin will flake off the surface of the hair while playing, so it's common to re-apply.
- If the violin still does not make noise again after rosin is put on, put more rosin on until notes are heard clearly.
-
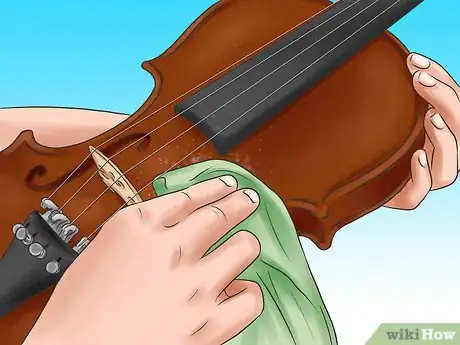
3Clean off the rosin dust as soon as possible. Because of its origins, rosin dust should be wiped off the surface of the instrument as soon as practical. Remember that it came from a refining process to get turpentine, and that there will always remain a small residual fraction of that turpentine in the rosin. Turpentine is a very effective solvent for removing paints and varnishes, including the varnish on the top of your instrument.
Community Q&A
-
QuestionThe violin will not make a sound. Is it because I haven't used rosin on it yet?
 Community AnswerRosin increases the friction between the bow and the strings, allowing the string to vibrate more and make a sound. If you are using a new bow, you are playing the violin correctly, and there is still no noise, then you should apply rosin to the bow.
 -
QuestionCan I over-rosin a violin?
 Community AnswerYes, in some cases. If you over-rosin your bow, the sound off the string can sound too loud and gritty, like sandpaper. However, do not under-rosin. Move the rosin up and down the bow about 20 times to get it just right.
 -
QuestionHow can I make the strings play if I applied rosin and there is still no sound?
 Community AnswerTry using sandpaper to get the first layer of sealant off of your rosin, and then spend three minutes or so trying to get the rosin on your bow. If you press your bow very carefully and a white powder comes off, but your violin still will not play, something is probably off with your strings. Make sure they are tight and in tune, and make sure your bow is somewhat tightened too.
Warnings
- Make sure you handle your bow delicately.⧼thumbs_response⧽
References
- ↑ https://www.violinonline.com/rosinandsound.html
- ↑ https://www.connollymusic.com/stringovation/how-to-rosin-your-bow
- ↑ https://www.connollymusic.com/stringovation/differences-among-rosin-types-and-whats-best-for-your-instrument
- ↑ https://www.youtube.com/watch?v=mnDrzKsDOdI
- ↑ https://www.youtube.com/watch?v=mnDrzKsDOdI
