This article was co-authored by Dalia Miguel. Dalia Miguel is a violinist and violin instructor based in the San Francisco Bay Area. She is studying Music Education and Violin Performance at San Jose State University and has been playing violin for over 15 years. Dalia teaches students of all ages and performs with a variety of symphonies and orchestras in the Bay Area.
There are 9 references cited in this article, which can be found at the bottom of the page.
This article has been viewed 55,411 times.
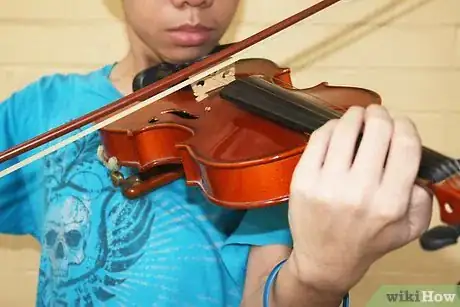
So you've gotten a violin! Whether it's in close to playable condition or needs considerable work, this article will help you know what to do to get it set up and start playing as soon as possible.
Steps
Readying the violin
-
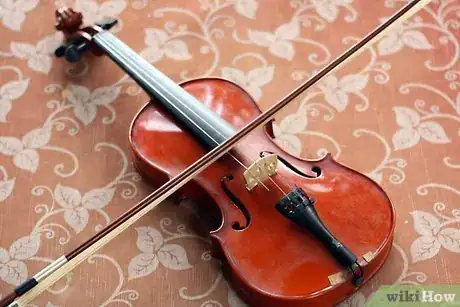
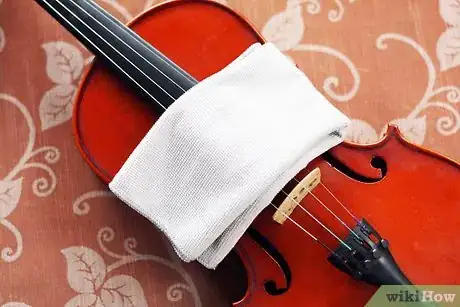
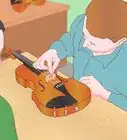
1Check over the violin and bow visually.[1] Make sure there are no missing parts or visible structural damage like cracks or open seams. From top to bottom, the violin should have a scroll, 4 pegs, a black fingerboard that is firmly attached to the neck of the instrument, a bridge, a tailpiece, and a chin rest.
- Some parts are easily replaceable, like the bridge or chin rest, while some more serious repairs will require a specialist. If in doubt, ask a violin teacher whether your instrument needs anything special; they will usually help with setup and will let you know if it needs any additional work done.
EXPERT TIPDalia Miguel is a violinist and violin instructor based in the San Francisco Bay Area. She is studying Music Education and Violin Performance at San Jose State University and has been playing violin for over 15 years. Dalia teaches students of all ages and performs with a variety of symphonies and orchestras in the Bay Area.Experienced Violin Instructor
 Dalia Miguel
Experienced Violin InstructorMake sure you're storing your violin correctly. Dalia Miguel, a violin teacher, says where you keep your violin makes a difference: "Because a violin is made of wood, which expands when it's hot and contracts when it's cold, you always want to keep it in a cool place. Also, you should always keep your violin in a case when you're not playing it. This will protect it from temperature fluctuations, and it will protect it from getting scratched, chipped, or bent."
-
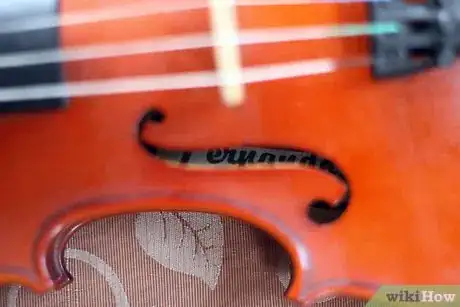
2Look inside the f-holes. You should find the manufacturer's tag, which will give you more information about where and when the instrument was made, and by whom. You should also see a small wooden dowel inside called a sound post. It should be sticking straight up. If it is crooked, bent, warped, fallen, missing, or is causing obvious strain to the belly of the instrument, then you will need to have it looked at. It looks tiny, but it's actually extremely important in terms of both structure and sound.[2]
- A sound post tool is used to remove and replace sound posts, and it's usually professionals who handle this.
Advertisement -
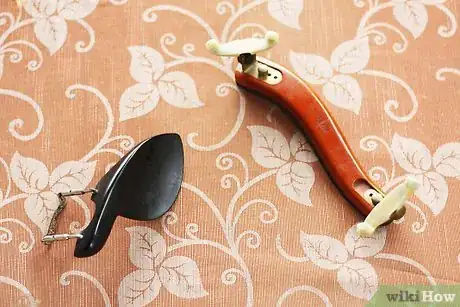
3Obtain any parts or accessories you may need. Make sure you get everything in the right size for your violin (e.g., 3/4, 4/4).
- Chin rests, shoulder rests (or a soft sponge with a rubber band keeping it in place will do if not immediate access to a shoulder rest), bridges and strings are typically sold at music shops, or you can buy them online.
- You should also buy a new set of strings, even if your violin came with all 4 strings, because those might be old and are more likely to unravel or break. Strings should be replaced at least once a year anyway.
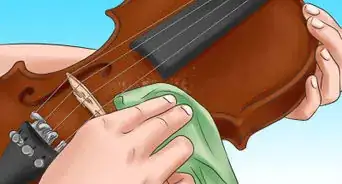
- You will also need rosin, instrument cleaning cloth, polish, a tuner/metronome, and maybe some peg drops in case you have trouble with your pegs slipping out of place.
-
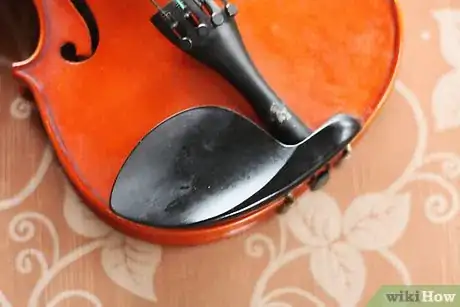
4If needed, put the chin rest on the instrument using the chin rest tool. Most violins are sold with chin rests already on them, but they are removable. There are a variety of chin rests on the market, so if you're on a 4/4 violin and you're looking for something a little different, try asking a teacher which chin rest they recommend.[3]
-
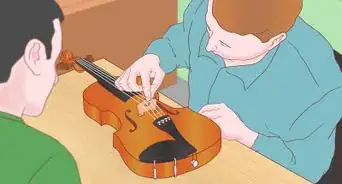
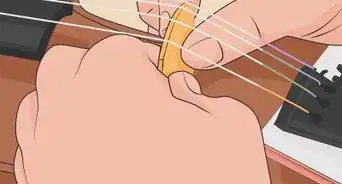
5Clean and re-string your violin, or take it to someone who knows how to put violin strings on. It's not terribly complicated if you want to try your hand at it, but just make sure you look at which peg goes with which string before you take the old strings off.[4]
- It is necessary to put the two middle strings on first (A and D) in order to hold the bridge on, and it is also advisable to re-string one string at a time so that the bridge never actually has to come off.
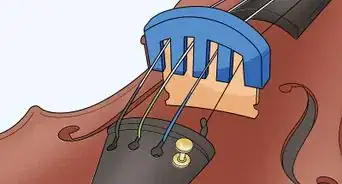
- The bridge should go halfway between the f-holes, and you can use the little crosses in the fs to line it up. Make sure it lays flat and isn't noticeably warped or crooked. (The downward sloped side is the E side.) Once there is enough tension to hold the bridge on, take out your tuner and tune the strings starting with A.
Checking the bow
-
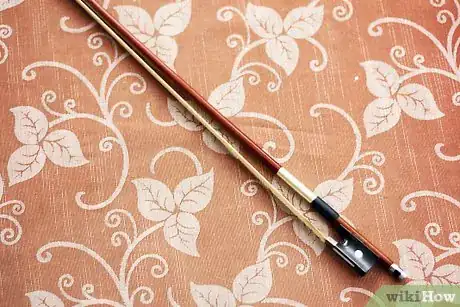
1Check over the bow visually. Be careful not to touch the horsehair. Horsehair is sensitive to the oils on your hands and it will ruin it very quickly, making it dirty and slick. Make sure there is enough horsehair on the bow (about thumbnail-width) and it looks new or light in color.[5]
- Tighten the bow screw (about 10 turns, or until you feel the slightest resistance) and make sure the bow stick bends inward, not straight or outward. You can also check and make sure it has a grip, and you can just put a pencil grip on there if it's missing.[6]
- More expensive bows can be rehaired if necessary, but cheaper bows are usually just replaced if the hair becomes too sparse and oily. This is because cheaper bows are more difficult to take apart.[7]
-
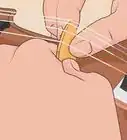
2Add rosin to the bow. If your bow is fresh-off-the-presses new, it does not make a sound yet when bowed across the strings. You need rosin, and lots of it! To start a new rosin block, take some car keys and scratch the smooth surface to release some rosin dust for the bow. Be careful not to break it. Then rub the rosin against the horsehair with slow, small motions from frog to tip, until the bow will make a sound against the strings. (If you see dust flying, you've done too much!).[8]
Expert Q&A
Did you know you can get expert answers for this article?
Unlock expert answers by supporting wikiHow
-
QuestionHow much should I pay for a beginner violin?
 Dalia MiguelDalia Miguel is a violinist and violin instructor based in the San Francisco Bay Area. She is studying Music Education and Violin Performance at San Jose State University and has been playing violin for over 15 years. Dalia teaches students of all ages and performs with a variety of symphonies and orchestras in the Bay Area.
Experienced Violin Instructor
-
QuestionHow do I clean a bow on my own?
 Community AnswerThe bow hair should not ever need to be cleaned. You may occasionally need to wipe the rosin off of the wooden arch, but never the hair. To clean the wood, just use the same cloth you use to wipe the rosin dust off of your strings. You should never need to use any liquid or soap, just the cloth.
 -
QuestionWhen I play, no sound comes out. What do I do?
 Fire WraithCommunity AnswerHave you tried rosining your bow? A new bow needs to be rosined for about 10 minutes.
Warnings
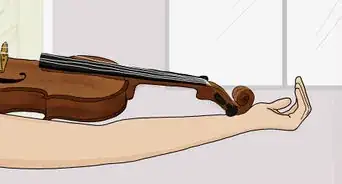
- Before you begin, double check to make sure you have the right size violin for the student who is learning. Violins come in 1/8, 1/4, 1/2, 3/4 and 4/4 sizes, with 4/4 being the adult size. Have the student stand with their left arm out to the side, palm facing up, and place the violin against their neck. If the scroll of the violin falls neatly in the palm of the student's hand, the violin is the right size. (You should be able to go to any music shop for assistance with this free of charge, and they will often have a special yardstick measuring tool for this purpose.)⧼thumbs_response⧽
- Do not attempt to repair a violin with glue. There is a special kind of glue luthiers use for string instruments, so if serious repairs are necessary, you will need to take it in.⧼thumbs_response⧽
References
- ↑ https://stringsmagazine.com/a-guide-to-buying-a-bow/
- ↑ https://stringsmagazine.com/an-insiders-guide-to-violin-labels/
- ↑ https://stringsmagazine.com/how-to-select-the-right-chin-rest-for-violin-or-viola/
- ↑ http://www.get-tuned.com/how-to-string-a-violin.php
- ↑ https://stringsmagazine.com/a-guide-to-buying-a-bow/
- ↑ https://www.youtube.com/watch?v=eeBZ4eN9hVI
- ↑ https://stringsmagazine.com/how-to-tell-if-you-need-a-rehair/
- ↑ https://www.youtube.com/watch?v=05Dg07prVGw
- ↑ https://www.youtube.com/watch?v=dYfMQF0-pHU
