This article was co-authored by wikiHow staff writer, Eric McClure. Eric McClure is an editing fellow at wikiHow where he has been editing, researching, and creating content since 2019. A former educator and poet, his work has appeared in Carcinogenic Poetry, Shot Glass Journal, Prairie Margins, and The Rusty Nail. His digital chapbook, The Internet, was also published in TL;DR Magazine. He was the winner of the Paul Carroll award for outstanding achievement in creative writing in 2014, and he was a featured reader at the Poetry Foundation’s Open Door Reading Series in 2015. Eric holds a BA in English from the University of Illinois at Chicago, and an MEd in secondary education from DePaul University.
There are 18 references cited in this article, which can be found at the bottom of the page.
This article has been viewed 4,452 times.
Learn more...
Got some infusible ink transfer sheets and wondering how to use them with your Cricut machine? Looking at some infusible ink pens but trying to figure out how you’d use them with your machine and heat press? We’ve got you covered! Infusible ink sheets and pens are an awesome way to transfer colorful and detailed images to clothing, paper, canvas, or more. In this article we’ll break down everything you need to know about how to use infusible ink with your Cricut machine.
Steps
Select and size your image.
-
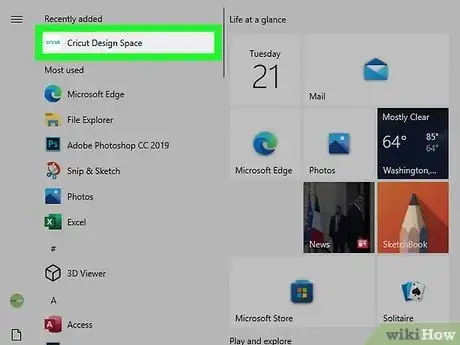
Open the Cricut app and craft your design. Like all Cricut projects, you’ll need to use the Cricut app to compose your project. Once you’ve got your machine synced, open the Design Space to pull up your workspace.[1] X Research source Either upload your own design or pull an image from the categories tab on the left.[2] X Research source
- You can also use a digital drawing pad or your mouse to craft a 100% original image.[3] X Research source
- If your mirroring setting isn’t turned on, be sure to flip it in the design menu before moving on.
Choose infusible ink on the materials page.
-
You must select “infusible ink” or the image won’t transfer correctly. Once you’re happy with your design, press the “Continue” button to go on to the materials page. Here, search for “infusible ink” in the materials menu. Select this and press “continue” again.[4] X Research source
- If you’re using an infusible ink marker or pen, select whatever material you’re printing on from the dropdown menu (i.e. if you’re using cardstock, select “cardstock”).[5] X Research source
Load the infusible transfer paper on your grip mat.
-
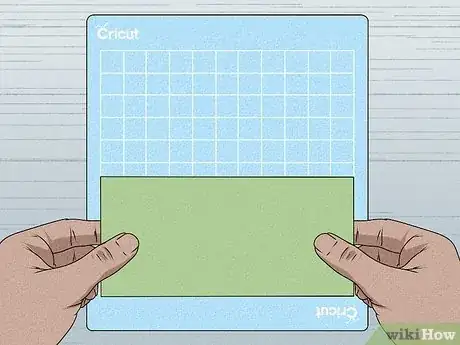
Place the sheet with the liner side down. Grab your normal grip mat. Place the infusible ink transfer sheet in the center of the mat so that you’re looking at the inked side of the paper.[6] X Research source
- If you are using an infusible marker or pen instead of a transfer sheet, attach the pen or marker to “clamp A” on your machine and load your paper, vinyl, or whatever material you’re printing on.[7] X Research source
- The design will come out a little lighter than it looks on your transfer sheet; this process never extracts 100% of the dye, so don’t worry if you think the sheet is a little dark for your tastes.
Run the Cricut maker.
-
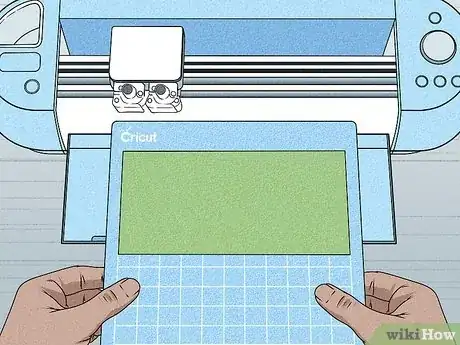
Place the mat in the feed and press the start button. Load the grip mat in the tray at the bottom of the machine. Press the start button and wait. Depending on the complexity of the design, this can take anywhere from a few seconds to a minute or so. Don’t disturb your transfer sheet while the Cricut machine is running.[8] X Research source
- This is the same process if you’re using an infusible ink pen or marker.
Clean your hands.
-
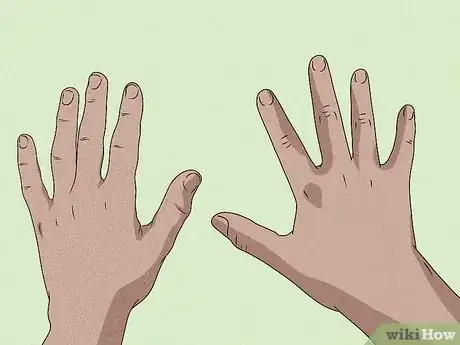
Your hands must be 100% dry, clean, and lotion-free. Anything that’s on your hands will transfer over to the sheet when you’re cutting the design out and setting it on your shirt, paper, or whatever material you’re using. Scrub thoroughly with soap and dry your hands before touching the sheet.[9] X Research source
- You can use infusible ink on any material, but it works best on polyester. The transfer will be clean on natural fibers, like cotton, but it may fade quickly after you wash it.[10] X Research source
Cut the excess paper off.
-
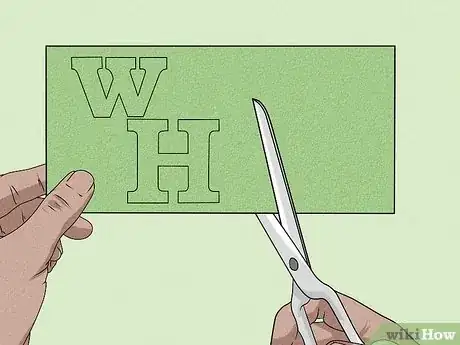
If you have enough material, save the scraps! Remove your infusible transfer sheet from the grip mat. If there are any unused sections of the infusible transfer sheet, cut them away with standard scissors so that you can use them in the future.[11] X Research source
- For example, if you only used the top 4 inches (10 cm) of a 9 by 11 in (23 by 28 cm) sheet, cut the bottom 7 inches (18 cm) off. You can even use that scrap to print another version of your 4 in (10 cm) design!
Peel your design up.
-
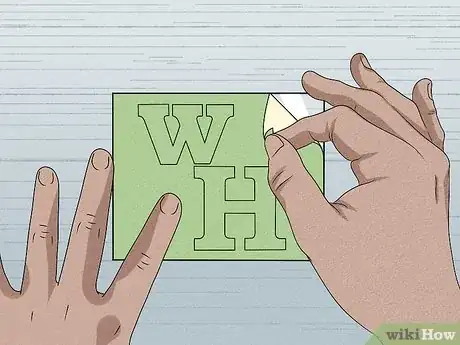
Use your fingers to weed off the parts of the transfer sheet you aren’t using. The Cricut maker etched your design into the paper, so peel the parts around it off. Use your fingers to weed away the sections off the same way you’d peel a sticker. Work slowly and make sure you aren’t accidentally peeling off anything that’s essential to your design.[12] X Research source
- If you need help peeling an edge up, use the weeding tool that came with your Cricut machine, or tweezers.
- If you used a marker or pen, cut the design out to your liking with a utility knife or rotary cutter.
- If you’re having a hard time peeling pieces up, it might be a sign that it’s time to change your Cricut blade.
Clean and preheat the fabric with a press.
-
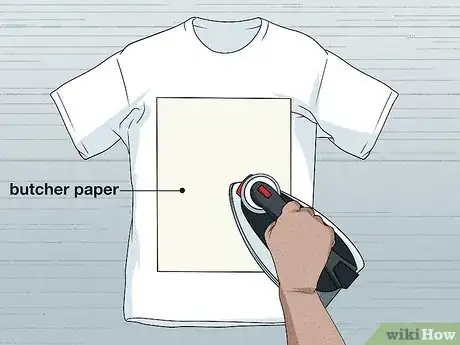
This will ensure a clean transfer to the fabric. Put an Easy pass mat down, lay your fabric on top, and smooth it out by hand. Put a sheet of butcher paper on top. Then, grab a heat press and set it to 350 °F (177 °C). Let it preheat and then place the press on the fabric for 45 seconds. Once the fabric is preheated, run a lint roller over it to remove any fuzz.[13] X Research source
- You can use a regular iron if you don’t have a heat press. Preheating the fabric may require a little trial and error but so long as the fabric gets hot, you’re all good.
Put cardstock behind the fabric.
-
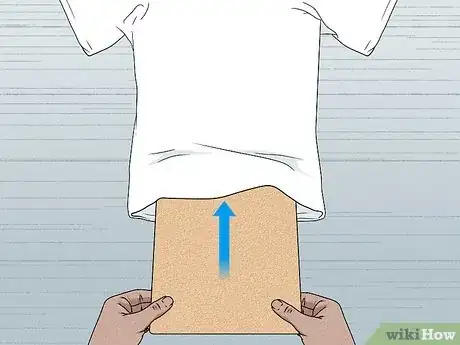
Cardstock will protect the underside of the fabric and prevent bleeding. If you just set the infusible ink transfer sheet on top of the fabric without any backing, the dye will bleed through the back. Pull on the edges of the fabric to keep the fabric flat, even, and uniform. This will ensure a clean transfer.[14] X Research source
- Don’t use anything with an uneven texture, like cardboard, to protect the fabric. The image may not transfer over correctly.
- Let the fabric cool entirely now. If you set the design on a hot material, some of the design may peel off immediately.[15] X Research source
Set the infusible ink sheet in place.
-
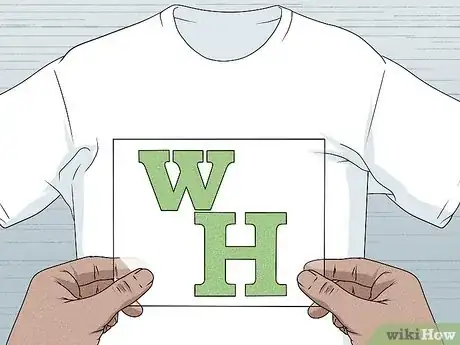
Line your design up where you want to place it. Set the transfer sheet or cut-out infusible ink design on top of the fabric with the liner side facing up and the printed side facing the fabric or other material. Avoid pressing it down, or you may accidentally start setting the design before you’re ready.[16] X Research source
- The transfer sheet may feel like it has a bit of a “sticky” texture on the fabric. So long as you haven’t pressed the sheet down, you can make minor adjustments to the placement.
Cover the infusible ink sheet with butcher paper.
-
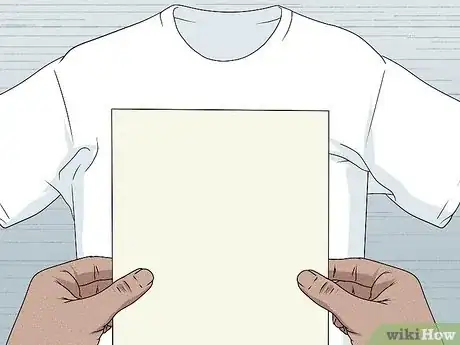
The butcher paper will prevent damage to the fabric. If you don’t protect the fabric, you might burn the fabric. Just to clarify now, the order in front of you (from bottom to top) should be:[17] X Research source
- EasyPress mat
- Back of the fabric
- Cardstock
- Front of the fabric
- Infusible ink transfer sheet
- Butcher paper
- If you're transferring an infusible ink pen or marker design on an item other than fabric, like a coaster, lay your Easy press mat down, put a piece of printer paper on top, put your coaster or item down, place your design ink-side down on the item, then cover it with a piece of butcher paper.
Set the heat press on top and turn it on.
-
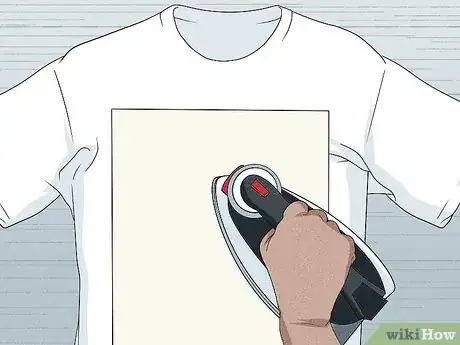
Press the start button and apply light pressure to the press. Take your Circuit heating press and place it on top of the butcher paper. Press the start button and gently apply pressure down into the material. Don't let the material slide around. Once the press beeps and turns off, lift it up and your design will be infused with the fabric.[18] X Research source
- The neat thing about infusible ink is that your design is now embedded in the actual fibers of the fabric. You didn’t just stick something on top!
- If you’re using an iron, you’ll have to rely on some trial and error to infuse the ink into the fabric. Try ironing the sheet for 1-2 minutes on high heat.
Peel off the clear plastic off.
-
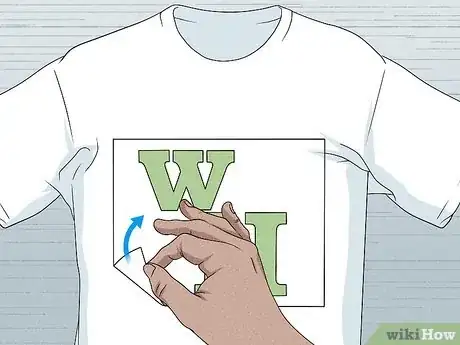
Let the paper cool completely before peeling it off by hand. The design will stick to the fabric, but you’ll still need to peel the liner off. Use your hands to gently peel the liner off of the design and discard it. You can now wear your gear or package it for sale![19] X Research source
Things You’ll Need
- Cricut machine
- Cricut app
- Infusible ink transfer sheets or Infusible ink pens and markers
- Cricut press, heat press, or iron
You Might Also Like

References
- ↑ https://youtu.be/KDroSxMOfnE?t=32
- ↑ https://help.cricut.com/hc/en-us/articles/360009552733-How-do-I-find-the-free-images-of-the-Week
- ↑ https://youtu.be/nvTSnPWx7I0?t=547
- ↑ https://youtu.be/KDroSxMOfnE?t=188
- ↑ https://youtu.be/q-CGiKUA-m8?t=176
- ↑ https://help.cricut.com/hc/en-us/articles/360020886394-How-to-use-Infusible-Ink-Transfer-Sheets-with-Cricut-Square-Coaster-blanks
- ↑ https://help.cricut.com/hc/en-us/articles/4416311911191-How-to-use-Infusible-Ink-Pens-and-Markers-with-Cricut-hat-blanksL
- ↑ https://youtu.be/q-CGiKUA-m8?t=223
- ↑ https://youtu.be/KDroSxMOfnE?t=268
- ↑ https://jennifermaker.com/cricut-infusible-ink-t-shirts-best/
- ↑ https://youtu.be/KDroSxMOfnE?t=305
- ↑ https://help.cricut.com/hc/en-us/articles/360024217513-Infusible-Ink-Application-FAQ
- ↑ https://youtu.be/KDroSxMOfnE?t=466
- ↑ https://youtu.be/KDroSxMOfnE?t=560
- ↑ https://help.cricut.com/hc/en-us/articles/360024217513-Infusible-Ink-Application-FAQ
- ↑ https://youtu.be/KDroSxMOfnE?t=632
- ↑ https://youtu.be/KDroSxMOfnE?t=684
- ↑ https://youtu.be/KDroSxMOfnE?t=744
- ↑ https://youtu.be/KDroSxMOfnE?t=799
About This Article

