This article was co-authored by Ryan Owsiany and by wikiHow staff writer, Hunter Rising. Ryan Owsiany is a Drywall and Painting Specialist and the Owner of Patch and Paint Pros in Conshohocken, Pennsylvania. With over two decades of experience, Ryan specializes in interior and exterior house painting as well as drywall, plaster, and water damage repair. Ryan holds a BS in Industrial Engineering from Penn State University. Patch and Paint Pros only employ experienced, friendly painters that understand proper preparation is required to ensure client satisfaction on every painting project.
There are 18 references cited in this article, which can be found at the bottom of the page.
This article has been viewed 252,517 times.
Over time, paint may get stained or damaged and need to be touched up. If the damage isn’t large and your paint is less than 1 year old, then you can easily touch up the area rather than painting the whole piece. While it can be difficult to perfectly match your existing color, cleaning and using the same type of application technique can help the patch blend in. And if you need to touch up car paint, the process is slightly different but still easy to complete. After you’ve painted your touch ups, your paint will look clean and consistent.
Steps
Cleaning and Prepping the Area
-
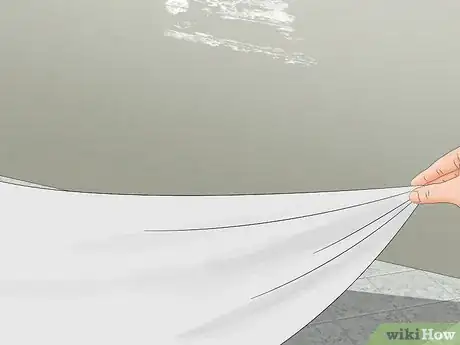
1Lay a drop cloth underneath the area you’re painting. Move items that you don’t want to get paint on so you can easily access the object you’re touching up. Place a drop cloth on the floor so it extends at least 1 foot (30 cm) out from the sides of the object so you don’t spill paint on the floor. Double-layer the drop cloth so paint doesn’t soak through or stain the area.[1]
- You can buy drop cloths from painting supply or hardware stores.
-
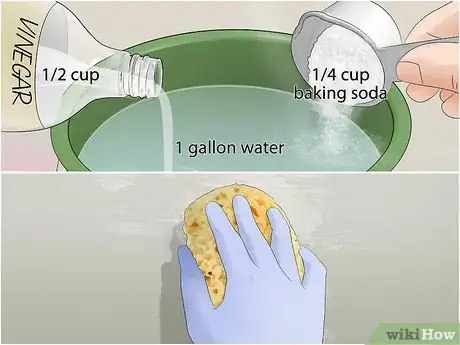
2Clean any marks or dirt around the area you’re touching up. Mix together 1 gallon (3.8 L) of warm water, 1⁄2 cup (120 ml) of white vinegar, and ¼ cup (57 g) of baking soda in a bucket. Dip a sponge in the cleaning solution and wring it out so it’s damp to the touch. Scrub the area you’re painting lightly to lift any marks or dirt that are stuck on. Don’t apply too much pressure or you may lift up some of the existing paint. Once you scrub the area, wipe it clean with another sponge soaked in clean water.[2]
- You can also use any gentle multipurpose cleaner to wash your items.
Tip: If your paint is peeling, then scrape off any raised areas with a putty knife before cleaning it.
Advertisement -
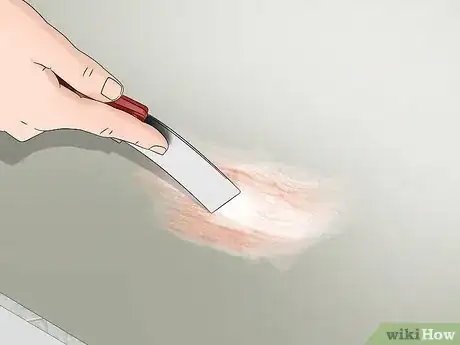
3Fill any holes with spackle or patching compound.[3] Stir your spackle so it’s thoroughly mixed and easy to spread around. Put a dab of the spackle on a flexible putty knife and apply it onto the hole. Press the spackle into the hole so it fills completely, and then scrape away the excess with the straight edge of your putty knife. Wait for the spackle to dry completely before moving on.[4]
- You can buy spackle from your local hardware store.
- You can also push wall putty into the holes if they are small and less noticeable.
- If you’re painting wood furniture, use a wood filler instead of spackle.
-
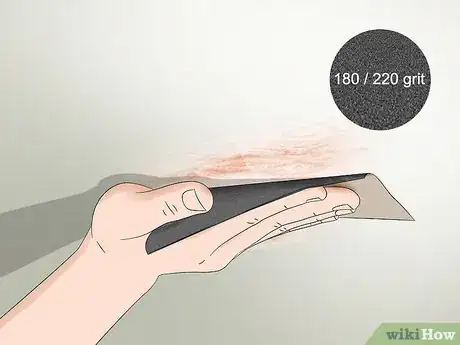
4Sand the surface that you’re touching up to smooth it. Use 180- or 220-grit sandpaper on the area you’re painting and apply light pressure while you sand. Work in small, circular motions so the paint adheres well to the object you’re painting. If there are any dents or raised areas, sand them smooth so you have a flat and level painting surface.[5]
-
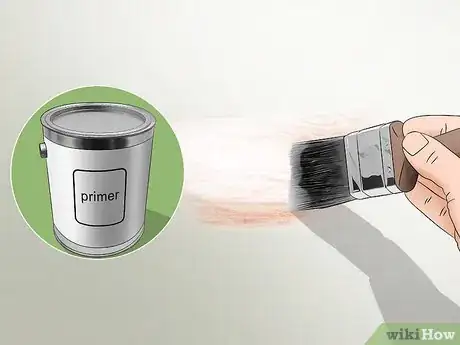
5Apply a layer of primer if the spot you’re touching up is over 3 sq in (19 cm2). Get a primer that has the same base and gloss as the paint you previously used. For example, if you have a flat latex-based paint, then use a flat latex primer. Use a roller or small paintbrush to apply a thin coat of the primer over the area you’re touching up. Make sure the primer covers the area completely so your paint has an even application.[6]
- If you had to apply primer, be sure to sand it again after it dries so it’s smooth to the touch.
- You do not need to paint a layer of primer if you’re touching up an area smaller than 3 square inches (19 cm2).
Covering Small Blemishes
-
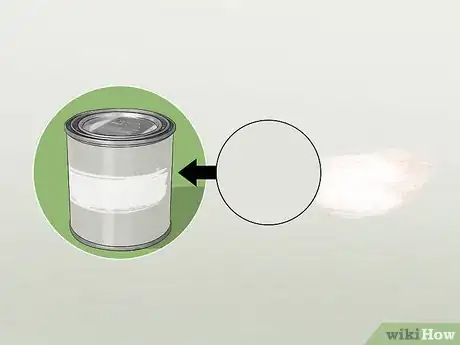
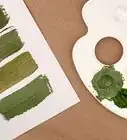
1Get a paint that matches the color and finish of your current paint.[7] Use the original paint you used if you have some available since it will match the best. If you don’t have any of the original paint left, use paint chips to find the color that matches the best. Make sure the paint you’re using has the same finish so the touch up doesn’t look matte or glossy against the rest of your item.[8]
- If your paint is older than 1 year, then the color won’t match as well and the touch up will be noticeable.
- Collect pictures or paint samples and take them to your local paint supply store to see if the employees can help you find the right color.[9]
-
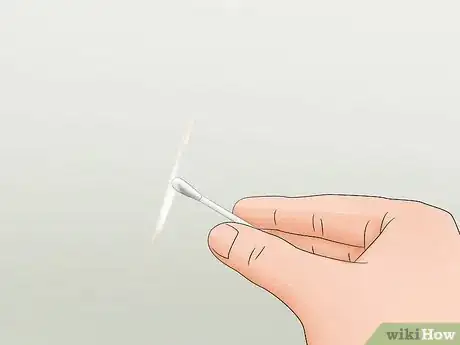
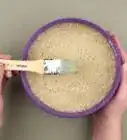
2Dab the area with a cotton swab if it’s a very small touch up.[10] Dip the end of a cotton swab in your paint and wipe off any excess. Blot the paint onto the areas you’re touching up so it imitates the texture of a roller. Work from the middle of the area you’re touching up out toward the edges to get a smooth transition between your colors.[11]
- You can also use a small blunt-ended paintbrush to get a similar pattern and texture.
- Only use a cotton swab if your touch up is 1 square inch (6.5 cm2) or smaller.
-
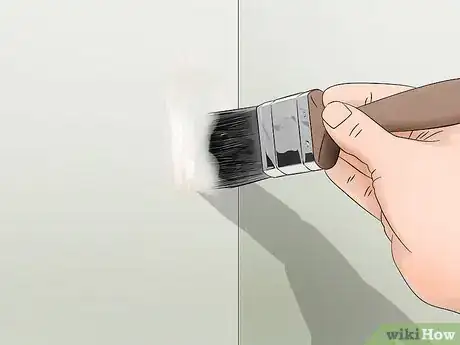
3Paint tight corners with a foam or bristle brush.[12] Dip the ends of your brush into the paint and wipe off any excess so it isn’t too thick. Only use as much paint as you need or else the touch up will be noticeable. Lightly dab or drag the brush through the area you’re painting to get a textured or smooth application.[13]
- Use foam brushes sparingly since they may not match the texture of the original paint.
-
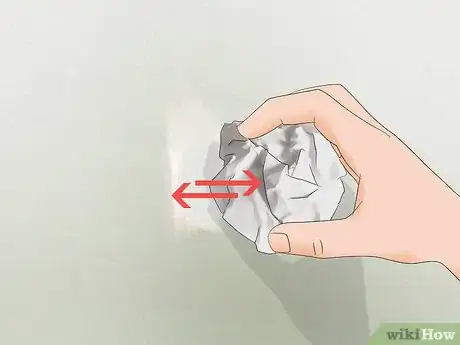
4Apply the paint with crumpled paper towels to match the texture better. Take 1-2 sheets of paper towel off the roll and crumple them together into a ball. Dip one side of the ball into your paint and dab it on the area you’re touching up. Keep working across the area so you blend the new paint into the paint already on your walls.[14]
- Use the paint that’s on the lid of your paint can so you don’t accidentally use too much.
Painting a Larger Area
-
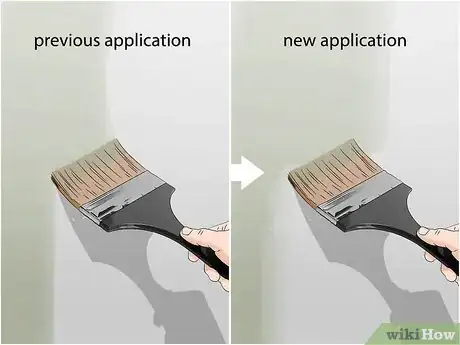
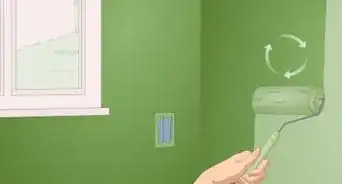
1Use the same application technique as when you first painted. If you don’t use the same method to apply your paint, then the texture and finish will look different compared to the rest of your paint. If you previously used a brush, then use a similar brush for your touch up. If you painted with a roller, be sure to use one that’s the same size and nap as the one you used before.[15]
- Touching up paint that was originally applied with a sprayer is difficult since the sprayer affects the final color of the paint. If you used an air sprayer when you painted, you may need to repaint the entire object so the application looks even.
- If you’re painting walls near your ceiling or along the floorboards, you may be able to use a different applicator without noticing the different textures.
-
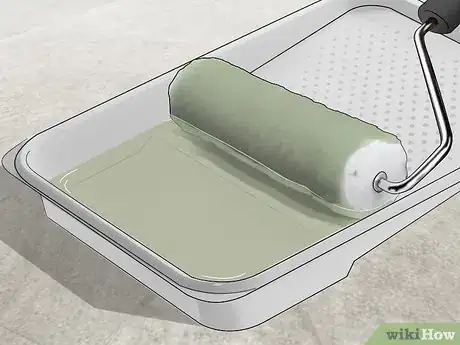
2Coat your roller or brush with the least amount of paint you need. Stir or shake the paint so it’s thoroughly mixed before pouring it into a roller tray. Dip your roller or brush into the paint to lightly coat it, and clean off any excess paint to prevent drips. Only use as much paint as you need so the paint applies and dries evenly.[16]
- If you use too much paint, then your touch up may be more noticeable once it dries.
- If you had to change the paint color, test a small amount on the object to see if it matches the original.
-
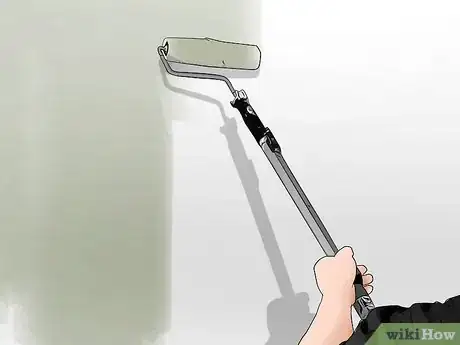
3Start in the center of your touch up and work toward the edges. Place your paint applicator in the middle of the area you’re touching up and paint outwards. That way, the brush or roller will start to dry out as you work and the paint won’t have a hard edge. Keep working across the area you’re touching up until it’s completely covered with a thin layer of paint.[17] [18]
- Avoid feathering your brushstrokes since it won’t blend into your wall as well.
- You only need to apply a second coat of paint after the first one dries if the first coat doesn’t have an even application.
Tip: Check your touch up from multiple angles while you stand 3 ft (0.91 m) away. That way, you can see if it’s noticeable from a different viewpoint.[19]
Expert Q&A
-
QuestionHow do you keep a paint touch-up from showing?
 Ryan OwsianyRyan Owsiany is a Drywall and Painting Specialist and the Owner of Patch and Paint Pros in Conshohocken, Pennsylvania. With over two decades of experience, Ryan specializes in interior and exterior house painting as well as drywall, plaster, and water damage repair. Ryan holds a BS in Industrial Engineering from Penn State University. Patch and Paint Pros only employ experienced, friendly painters that understand proper preparation is required to ensure client satisfaction on every painting project.
Drywall & Painting Specialist Use a roller to apply the paint heavier in the middle of the area that you're painting, then fan it out and pull the roller away from the wall as you work toward the edges. That way, you won't get hard lines on the edge of the repair.
 -
QuestionIf my paint has dried up, can i still use it?
 Community AnswerIt depends on the type of paint at hand. Water-based paints can be easily reused by adding water until it dissolves. Acrylic paint can be reused the same way and can be combined with Flow-Aid Fluid Additive or Acrylic Flow Improver. Oil paint can not be reused if it's dried because of the chemical changes that it has undergone.
 -
QuestionHow do I cover an acrylic paint with a water-based paint?
 TechdocgeekCommunity AnswerAcrylics are also water-based, so you can apply the next coat directly to it.
Things You’ll Need
- Drop cloth
- Sponge
- White vinegar
- Baking soda
- Bucket
- Spackle
- Putty knife
- Sandpaper
- Primer
- Paint
- Cotton swab
- Paper towel
- Roller or paintbrush
- Paint tray
References
- ↑ https://youtu.be/8lM8DH08KaI?t=80
- ↑ https://thediydreamer.com/diy/how-to-clean-walls/
- ↑ https://www.thisoldhouse.com/ideas/hole-wall-help
- ↑ https://www.unpakt.com/blog/diy-ways-to-fill-nail-holes/
- ↑ http://www.paintinfo.com/cn/cnp-016.shtml
- ↑ http://www.paintinfo.com/cn/cnp-016.shtml
- ↑ https://www.apartmenttherapy.com/how-to-touch-up-match-paint-like-a-pro-230931
- ↑ https://www.bobvila.com/articles/how-to-match-paint/
- ↑ Ryan Owsiany. Drywall & Painting Specialist. Expert Interview. 20 May 2021.
- ↑ https://www.bobvila.com/slideshow/14-ways-you-never-thought-to-use-q-tips-51354#how-to-clean-battery-corrosion
- ↑ http://www.housepaintingtutorials.com/how-to-touch-up-paint.html
- ↑ https://www.todayshomeowner.com/video/tip-for-painting-in-tight-spaces/
- ↑ https://youtu.be/-_nHPdXGxms?t=57
- ↑ https://youtu.be/bMIzPFNdTLg?t=222
- ↑ https://youtu.be/2LMgCLokecw?t=27
- ↑ https://youtu.be/KjmJr_8SQww?t=188
- ↑ Ryan Owsiany. Drywall & Painting Specialist. Expert Interview. 20 May 2021.
- ↑ https://youtu.be/2LMgCLokecw?t=100
- ↑ http://www.paintinfo.com/cn/cnp-016.shtml
- ↑ https://youtu.be/KjmJr_8SQww?t=140
- ↑ https://youtu.be/KjmJr_8SQww?t=195
About This Article
To touch up paint on a wall, start by cleaning the area with a multipurpose cleaner to get rid of any dirt and grime. Then, fill any holes in the wall with spackle so you'll be painting over an even surface. Once the spackle dries, sand the area with 180- or 220-grit sandpaper, which will help the paint adhere better. If the area you're touching up is bigger than 3 square inches, you should also apply a layer of primer over it. Either way, once everything is dry, apply a layer of matching paint using a small paintbrush or cotton swab. For tight corners, use a foam or bristle brush. If the wall you're touching up is texturized, use a crumpled up paper towel to apply the paint so the texture matches. To learn how to touch up larger areas with paint, scroll down!
