This article was co-authored by Jeff Baldwin. Jeff Baldwin is a Residential Painter and the Owner of Baldwin Custom Painting. With two decades of painting experience, Jeff specializes in high-end residential and small commercial painting projects. Dedicated to quality craftsmanship, Jeff and Baldwin Custom Painting provide bonded/insured, licensed, and lead-safe certified services in residential painting, light commercial painting, and wood refinishing.
There are 8 references cited in this article, which can be found at the bottom of the page.
This article has been viewed 82,421 times.
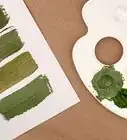
Painting over gloss paint isn’t difficult, but it does require a fair amount of time and special treatment to produce a clean and consistent finish. Start by lightly sanding the gloss paint and then cleaning the surface so you can remove the glossy surface that makes it difficult for paint to adhere to. Then, apply a base coat of bonding primer to help your paint stick to the surface. Use at least 2 coats of paint, and allow each coat to fully dry in between applications.
Steps
Creating a Safe Workspace
-
1Remove furniture, decor, or anything else that could get in your way. Clear out any obstacles that could get in your way while you’re working paint over the gloss paint. Take out chairs and furniture, take down any paintings or wall art, and keep out any people or pets who could get in the way.[1]
- If you’re painting over a small item that has gloss paint, such as a vase, make sure your workspace is clear of any obstructions.
-
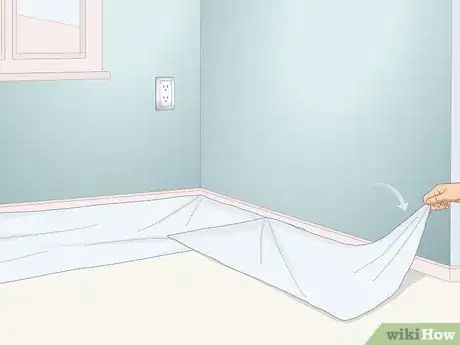
2Lay down a drop cloth to protect your floor from paint. Use plastic sheeting or drop cloths to cover the floor as well as anything else you want to keep protected from paint. Even if the area isn’t directly beneath what you’re painting, the paint can drip or splatter, so be sure to cover the area well.[2]
- If you’re painting an object at a workspace, cover the workspace so you don’t make a mess while you’re working.
- You can find plastic sheeting and drop cloths at paint supply stores, at home improvement stores, and online.
Advertisement -
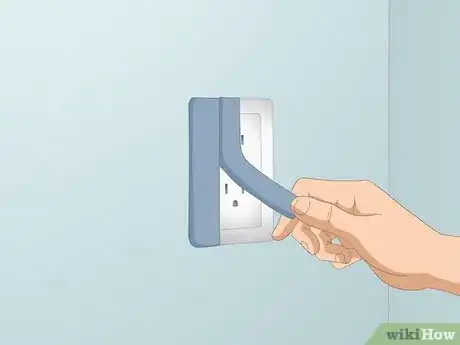
3Use painter’s tape to mask off areas you don’t want to get paint on. Tape off the floorboards and tape the edges of your plastic sheeting or drop cloths so they’re flush against the edges and will keep paint out. Apply the tape to any trim or any other areas you want to be protected.[3]
-
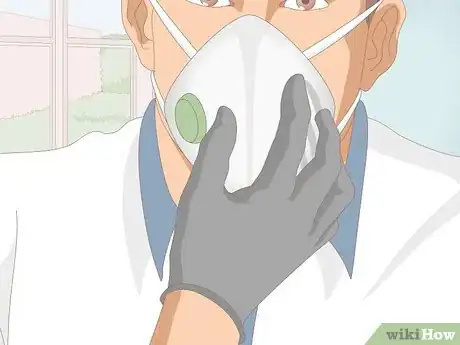
4Wear rubber gloves and a face mask for safety. Put on a pair of gloves to keep paint from getting onto your hands. Wear a face mask to avoid inhaling the dust particles produced when you sand down the gloss paint.[4]
- The flakes and dust from the gloss paint can irritate your lungs and throat.
- You can find rubber gloves and face masks at home improvement stores, at department stores, and online.
De-glossing the Paint
-
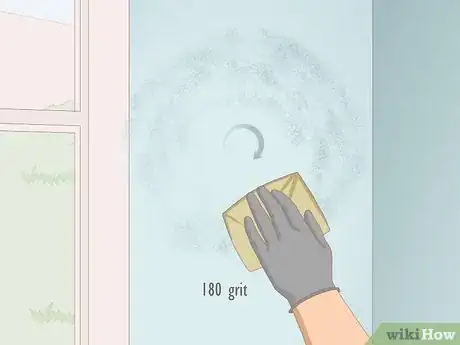
1Sand the paint in circular motions with 180-grit sandpaper. The glossy surface of the paint needs to be removed so the new paint can properly adhere to it. Lightly sand the entire surface of the paint evenly so it’s no longer slick and glossy.[5] Be sure to work the sandpaper into any corners or crevices so you can remove the glossy sheen.[6]
- Don’t try to remove or scrub off the paint, just the glossy surface.
- Use a fine-grit sandpaper between 180 and 220-grit. Rougher sandpaper will strip and damage the paint.
-
2Combine dish soap, white vinegar, and warm water. Fill a medium-sized bucket with 1 US quart (0.95 L) of warm water. Add 1 teaspoon (4.9 mL) of dish soap and 1⁄4 teaspoon (1.2 mL) of white vinegar into the bucket of water. Stir the mixture well to fully combine it.[7]
- Use warm water so the mixture fully combines and forms soapy suds that will more effectively lift dirt, dust, and grime.
Tip: If there’s a really stubborn stain that is difficult to remove, let the solution sit on the stain for 10 minutes, then rub it away with your sponge. Avoid forcefully scrubbing the stain so you don’t damage the paint.
-
3Dip a clean sponge into the solution and then wring it dry. To avoid creating streaks and oversaturating the gloss paint, use as little water as possible when you’re cleaning it. Submerge a sponge into the cleaning solution and then squeeze out the excess water so it’s almost completely dry.[8]
- Use a gentle sponge, such as a cellulose sponge, without a scrubbing surface.
- You can find gentle sponges at department stores and online.
-
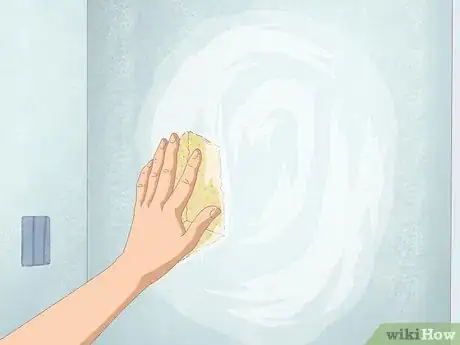
4Wipe the surface of the paint with the damp sponge. Use gentle, circular motions to clean the surface of the gloss paint and remove any dust, dirt, or grime. If there are stains on the paint, spend more time softly rubbing it to lift them off.[9]
- Focus on removing the dust left behind after sanding the paint.
- Avoid scrubbing the gloss paint so you don’t damage it.
- Be sure to clean any corner and cracks as well.
-
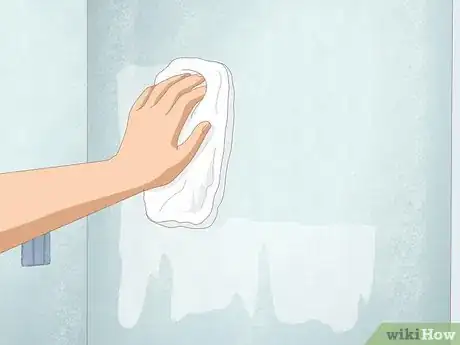
5Dry the gloss paint with a clean towel. Use a dry and clean towel or cloth to wipe away any moisture from the surface of the paint. Dry the paint gently so you don’t get any fibers from the cloth trapped in it and you don’t chip or damage the paint, which can affect the appearance of the new paint you plan to add.[10]
- You could also let the paint air dry for an hour. But touch it with your finger to make sure it’s dry before you move on.
Applying Your Primer and Paint
-
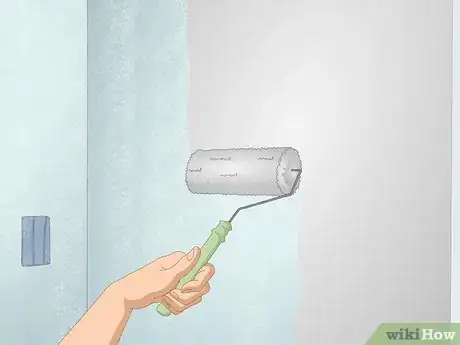
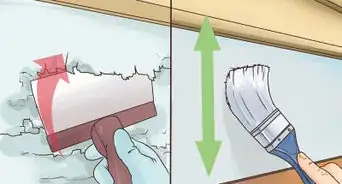
1Use a paintbrush or roller to apply a bonding primer in broad strokes. A primer will help prevent peeling and chipping when you paint over the gloss paint. Apply a thin, even layer over the entire surface with the gloss paint.[11] Start at the top of the surface and work your way down so you can cover the area evenly.[12]
- Choose a bonding primer for the best adhesion to the surface with gloss paint.
- You can find bonding primer at paint supply stores, at home improvement stores, at department stores, and online.
-
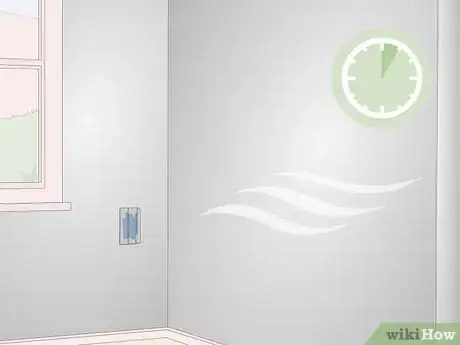
2Wait at least 1 hour to allow the primer to dry. Check the packaging of the primer to find out the recommended drying times. Leave the primer undisturbed to allow it to fully dry. Test that it’s dry by lightly touching it with your finger. If none of the primer comes off on your fingertip, then it’s dry.[13]
- Turn on a ceiling fan or place a fan in the room so you can improve airflow and help the primer dry faster.
-
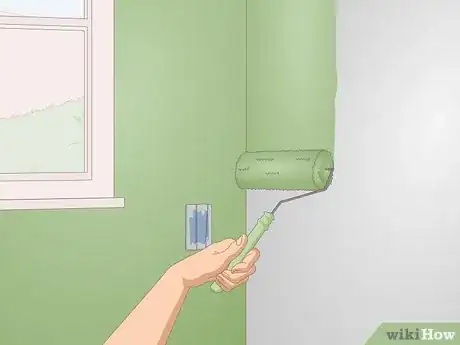
3Use broad strokes to apply an even layer of paint. Use a paintbrush, a paint roller, or a paint sprayer to apply the new coat of paint over the surface with gloss paint. Start at the top of the surface and work your way down for even coverage.[14]
- You can use oil-based, water-based latex, acrylic, or any other type of paint to paint over the gloss paint because the surface has been sanded and prepared.
- You can find paint at paint supply stores, at home improvement stores, at department stores, and online.
-
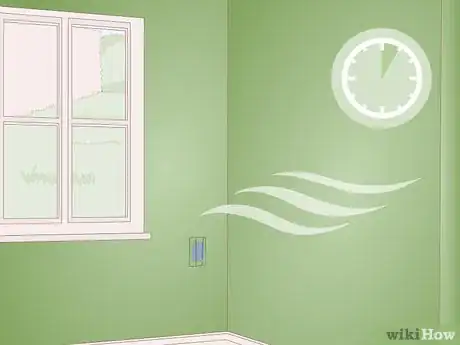
4Let the paint dry for 1 hour. Wait at least an hour and then check the paint to see if it’s dry by lightly touching it with your finger. Check the packaging of the paint for specific drying times.
Tip: Always test the paint by touching it to make sure it’s dry. Drying times can vary based on the type of paint, the surface you’re painting, and how much paint you use. For example, a wall may take longer to dry than a chair.
-
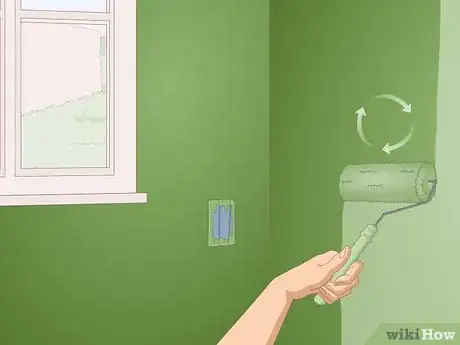
5Add a second coat of paint for complete coverage. After the first coat is completely dry, apply a second coat of paint so the gloss paint and primer aren’t visible at all. Cover the entire surface evenly with the second coat and allow it to fully dry.[15]
- If you can still see through the first 2 coats, add another once the paint is dry.
Expert Q&A
-
QuestionCan I paint over gloss paint without sanding?
 Jeff BaldwinJeff Baldwin is a Residential Painter and the Owner of Baldwin Custom Painting. With two decades of painting experience, Jeff specializes in high-end residential and small commercial painting projects. Dedicated to quality craftsmanship, Jeff and Baldwin Custom Painting provide bonded/insured, licensed, and lead-safe certified services in residential painting, light commercial painting, and wood refinishing.
Residential Painter If you're applying oil paint over the gloss, then all you have to do is clean the surface.
 -
QuestionHow do I prep gloss walls for paint?
 Jeff BaldwinJeff Baldwin is a Residential Painter and the Owner of Baldwin Custom Painting. With two decades of painting experience, Jeff specializes in high-end residential and small commercial painting projects. Dedicated to quality craftsmanship, Jeff and Baldwin Custom Painting provide bonded/insured, licensed, and lead-safe certified services in residential painting, light commercial painting, and wood refinishing.
Residential Painter Go over them with a bonding primer so to help the new coat of paint adhere to your walls.
Things You’ll Need
- Drop cloths or plastic sheeting
- Painter’s tape
- Rubber gloves
- Face mask
- 180-grit sandpaper
- Medium bucket
- Dish soap
- White vinegar
- Sponge
- Bonding primer
- Paint (any type)
- Paint roller or paintbrush
Warnings
- Wear a face mask to avoid breathing in any dust or paint particles.⧼thumbs_response⧽
References
- ↑ https://www.architecturaldigest.com/story/how-to-paint-a-room
- ↑ https://www.familyhandyman.com/painting/techniques/painting-how-to-paint-a-room-fast/?_cmp=DiyTipsHints&_ebid=DiyTipsHints6/23/2015&_mid=50606&ehid=772c5b4b2544ca4f4c8eb4898ef083fce72040f3&pmcode=DIYU_NL_062315_THNEW
- ↑ https://www.architecturaldigest.com/story/how-to-paint-a-room
- ↑ https://www.bobvila.com/articles/painting-over-oil-based-paint/
- ↑ Jeff Baldwin. Residential Painter. Expert Interview. 26 February 2021
- ↑ https://www.bobvila.com/articles/painting-over-oil-based-paint/
- ↑ https://www.bhg.com/homekeeping/house-cleaning/surface/how-to-clean-painted-walls/
- ↑ https://www.bhg.com/homekeeping/house-cleaning/surface/how-to-clean-painted-walls/
- ↑ https://www.homebuilding.co.uk/how-to-paint-gloss-properly/
- ↑ https://www.bobvila.com/articles/how-to-clean-painted-walls/
- ↑ Jeff Baldwin. Residential Painter. Expert Interview. 26 February 2021
- ↑ http://www.ledamearthub.com/high-gloss-paint/painting-over-gloss/
- ↑ http://www.ledamearthub.com/high-gloss-paint/painting-over-gloss/
- ↑ https://www.bobvila.com/articles/painting-over-oil-based-paint/
- ↑ https://www.bobvila.com/articles/painting-over-oil-based-paint/

