This article was co-authored by Amy Guerrero. Amy Guerrero is an Arts and Crafts Specialist and the Owner of Sunshine Craft Co., a crafting studio based in Phoenix, Arizona. Amy specializes in macrame, DIY crafting, and teaching fiber arts. She offers monthly in-person and online workshops along with having developed a range of DIY craft kits for at-home projects. Amy holds a BS in Industrial Design from Philadelphia University. She worked as a graphic designer before starting her own business. Sunshine Craft Co. is a creative hub that offers a wide range of workshops, tools, and resources for any craft project to inspire creativity and community engagement.
wikiHow marks an article as reader-approved once it receives enough positive feedback. In this case, several readers have written to tell us that this article was helpful to them, earning it our reader-approved status.
This article has been viewed 1,571,788 times.
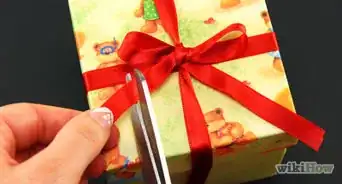
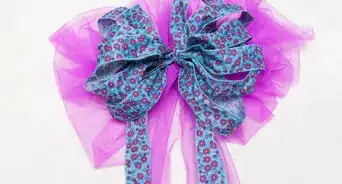
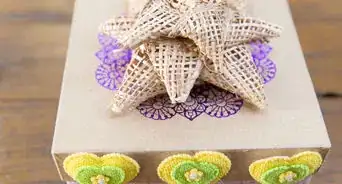
Tying a bow is an elegant, symmetrical, visually-pleasing way to finish wrapping a package. Fancier decorative bows may be used to accessorize outfits or create decorations for weddings and other special events. Learn how to tie a basic bow, a looped bow, and a floral bow.
Steps
Tying a Basic Bow
-
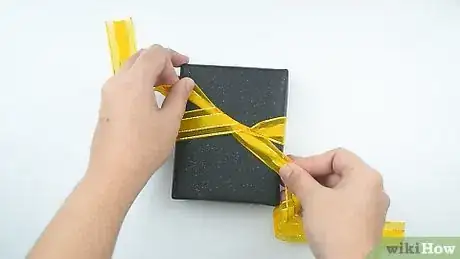
1Start with a knotted ribbon or string. The technique for tying a basic bow is the same no matter what type of ribbon you use and for what purpose you are using it. You just need a ribbon with a left end and a right end stemming from the same knotted center.
- If you're tying a bow on the top of a package, loop the ribbon under the package, bring the ends together over the package and knot the two ends together so the ends are equal in length. You now have a right side and a left side to work with.[1]
- You can tie a bow from a piece of ribbon that isn't attached to a package. Tie a knot in the center of the ribbon so the left and right sides are equal in length.
-
2Make a loop with the left side of the ribbon. Pinch the loop between your thumb and forefinger to hold it in place. If you're tying a ribbon, make sure that it isn't twisted; the loop should be smooth.Advertisement
-
3
-
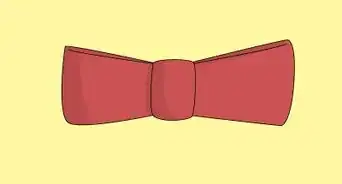
4Tighten the bow. Pull on the loops to tighten the knot at their center. Make sure the two loops are the same size and that the ends are even in length. The bow is complete.
Tying a Looped Bow
-
1Start with a long piece of ribbon. For this bow, cut a piece of ribbon about 12 inches (30.5 cm) long. Leave it straight and unknotted.
-
2Make a loop near the left end of the bow. Start about three inches from the end of the bow and make a loop. Hold it in place with your thumb and forefinger.[4]
-
3Loop the right end over the loop to create a second loop. The ribbon should now look like a backwards "S" with a tail at either end. Hold the loops with one hand so they don't come undone.[5]
-
4Continue looping the ribbon. Loop the remaining length of ribbon accordion style, so that you have a pile of loops with two ends of equal length sticking out from either side.
-
5Cinch the center. Use a piece of florist wire or a thin string to tie the loops together at the center, dividing them in two. You now have a pile of loops on the right side of the cinch and a pile of loops on the left side.
-
6Fluff the loops. Separate the loops and fluff them up so that the cinched center is no longer visible. Use a scissors to clip the ends into inverted "v" shapes for a professional touch.[6]
Tying a Floral Bow
-
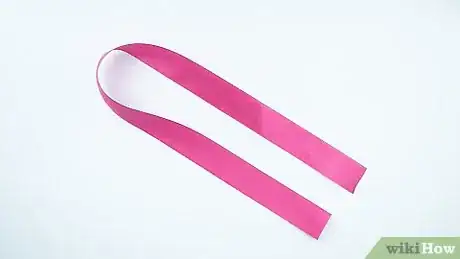
1Wrap a piece of ribbon around your hand. Hold the end against your palm with your thumb, and continue wrapping the ribbon until the entire piece has been wrapped. Each loop around your hand should be neatly placed on top of the previous loop.
-
2Slip the ribbon loops off of your hand and fold them in half. Be careful not to let the loops come undone when you slip them off.
-
3Cut the cinch. Hold the folded loop in one hand so that the center folded part is facing up. With the other hand, use a scissors to cut the corner off of either side of the cinch, the folded middle.[7]
- Make sure you cut through all of the ribbon layers. Use a careful, firm snip of the scissors to ensure the cut is even and none of the layers slip.
- Don't cut the two corners too close to the center of the ribbon.
-
4Use a second ribbon to tie the cinch. Fit the second ribbon between the notches you cut in the middle of the loops and tie a knot there. You can also use florist wire or a small string.
-
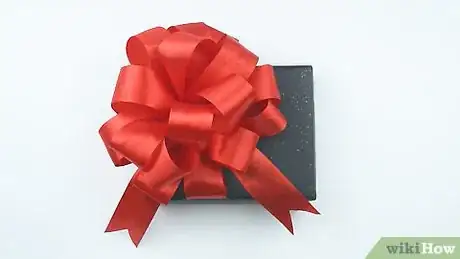
5Fan out the loops. Separate the loops one by one from the inside to the outside. Pull the loops gently from the center and twist them toward you. Arrange the loops so that they form a petal-like circular pattern. The floral bow is now complete.[8]
-
6Finished.
Community Q&A
-
QuestionHow do I tie a bow with a thin ribbon?
 Community AnswerThe same way. It should be easier to do with a thin ribbon, but obviously it won't look the same since the ribbon is different.
 -
QuestionHow do you curl a ribbon?
 Community AnswerIf this is a balloon/curling ribbon, hold the ribbon against a scissor blade with your thumb, then pull the ribbon across the blade. For a wired, floral ribbon, wrap it around a dowel, then slide the dowel out.
 -
QuestionWhat's the best way to attach the floral bow to the top of a present without showing a lot of tape?
 Community AnswerThe best way to attach the floral bow to the top without showing tape is to not use tape at all. Use bottled glue that dries clear.
References
- ↑ https://www.evermine.com/weddingblog/diy-tips-how-to-tie-a-perfect-bow/
- ↑ https://www.marthastewartweddings.com/226403/three-perfect-bows
- ↑ https://www.marthastewartweddings.com/226403/three-perfect-bows
- ↑ https://www.theknot.com/content/how-to-make-a-bow
- ↑ https://www.theknot.com/content/how-to-make-a-bow
- ↑ https://food52.com/blog/14577-how-to-tie-better-bows-3-great-ribbons-to-use
- ↑ https://www.personalcreations.com/blog/how-to-make-a-christmas-bow
- ↑ https://www.dummies.com/home-garden/decorating/how-to-make-a-beautiful-floral-bow/
About This Article
To tie a bow, start by tying a knot in the center of a piece of ribbon or string. If you're tying the bow around a package, wrap it around the package first and then tie the knot. Next, make a loop with the ribbon to the left of the knot. Then, make a second loop with the ribbon to the right of the knot and tie the 2 loops together like you would if you were tying your shoes. Finally, tighten the bow and adjust the 2 loops so they're the same size. To learn how to tie a looped bow or a floral bow, scroll down!
