This article was co-authored by Sina Kamran. Sina Kamran is a Hardscaping Specialist and the Owner of Design Scapes, Inc. in Santa Monica, California. With over 15 years of experience, he specializes in customized, site-specific hardscaping and landscaping design/build projects. He's a certified National Concrete Masonry Association (NCMA) designer, a certified installer with the Interlocking Concrete Pavement Institute (ICPI), and a Rain Bird Certified Irrigation Professional. Additionally, Design Scapes, Inc. has many 5-star rated reviews.
wikiHow marks an article as reader-approved once it receives enough positive feedback. In this case, several readers have written to tell us that this article was helpful to them, earning it our reader-approved status.
This article has been viewed 462,521 times.
Decorative concrete is an attractive and economical alternative to natural paving materials or plain poured concrete. You can achieve many different looks, and with advance planning, will be able to get just the right look for the project.
Steps
-
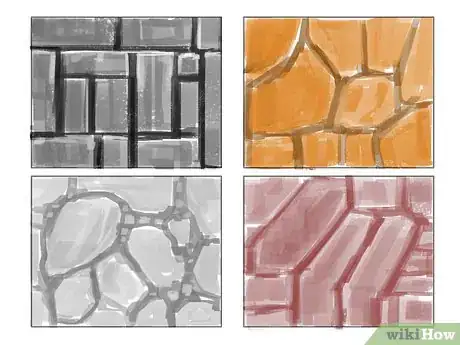
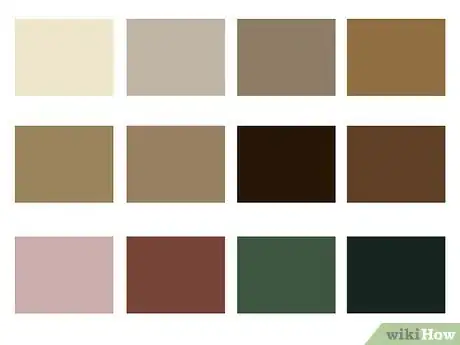
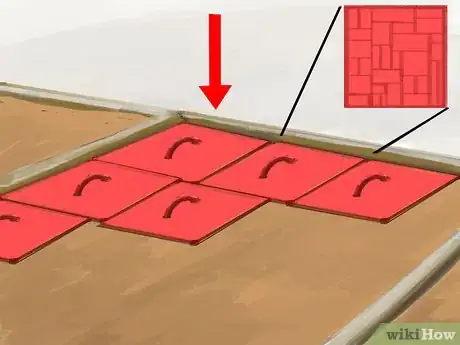
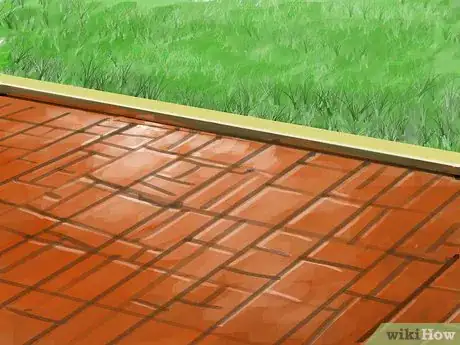
1Choose a color and texture of concrete that complements the natural surroundings and adjacent structures. Special consideration should be given to the orientation of grout lines, particularly in repetitive patterns such as running bond, brick, or cobblestone. Generally, the area should be stamped so that long lines of the pattern run perpendicular to the length of the project. This will help reduce straight-line errors and provide a more pleasant and aesthetic overall appearance. Typically texture runs in straight lines, even when walks or drives are curved. Always perform a trial run, placing mats in the area prior to the pour. The crew should know ahead of time where the first mat will be placed, as well as aware of areas where a standard mat won't fit, and in what direction stamping will proceed. Always plan accordingly to ensure best results. It is very important to bear in mind the location of expansion and control joints(the thin lines you see in just about everything concrete). These will be required and may disrupt the visual pattern you had planned for. Your installer can direct you more with the options.[1]
-
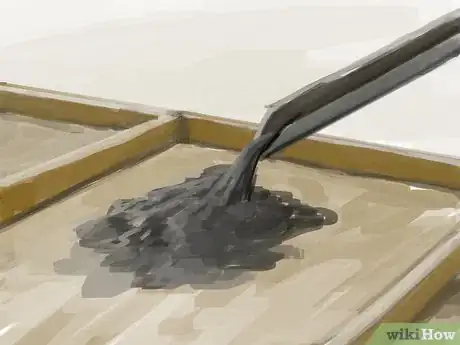
2Place the concrete. Follow normal procedures with a sub-grade and concrete base that meets the planned specifications and local requirements for mix, depth and reinforcement.[2] A normal, or slow-set, water-reducing admixture, can be used, but admixtures must not contain Calcium Chloride. Yet, non-chloride accelerators and air-retaining admixtures can still be used. Refer to the admixture manufacturer for recommendations on the type and amount of admixture to use. (Please note: Some admixtures may affect color.) The concrete should be no less than four inches in thickness.Advertisement
-
3Color the concrete. There are two basic techniques:
- Integral Color:[3] Liquid Color into the ready mix truck. This procedure combines the color with the mix prior to the pour and the slab is colored throughout, or:
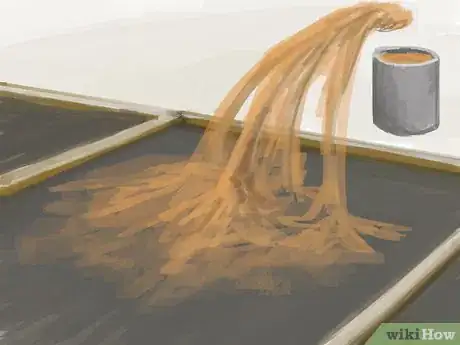
- Broadcast Method: Apply color hardener powder directly to the freshly poured concrete surface. Color hardener will penetrate the top of the concrete slab 1/8" and color thoroughly.
-
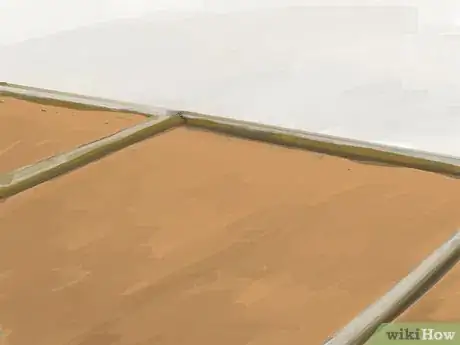
4Remember after initial floating and all excess bleed water has been absorbed, you should broadcast color hardener using a wide sweeping arm movement with the intention of covering as much concrete as possible with each throw. Allow the hardener to be absorbed for several minutes until it has moistened sufficiently to work the color in with a wood or magnesium float. One pass with the float should be sufficient; do not overwork the concrete. If necessary, repeat this process in areas where natural concrete is showing through. When you are satisfied with the color, finish with a fresno or steel trowel.
-
5Apply the color release agent. Texture mats will not work without the use of a release agent. This specially formulated powder prevents mats from sticking to freshly placed concrete. Generally 3.5 lbs. of material is required per 100 square feet. As the slab approaches its optimum set for texturing, the release agent should be applied. It should be brushed onto the mats and broadcast across the surface of the concrete. There should be a uniform layer of release between the concrete and the texture mats; thick enough to prevent damp concrete from bleeding through to the mat, yet thin enough so as not to diminish the texture detail.[4]
-
6Choose a color of release agent to complement the color of the concrete. A release agent with a darker tone than the coloring agent will provide depth and shadowing in the finished concrete. Most of the release agent will be removed when the finished project is pressure washed. The primary concrete color will dominate and approximately 20% of the release agent will adhere to the surface of the concrete.
-
7Texture the concrete.[5] At the optimum time for texturing, great force is not necessary to press the mat into the concrete. Timing is critical so work should proceed without delay once texturing begins. Likewise, inspect the area periodically so that necessary touch-up work can begin as soon as possible.
-
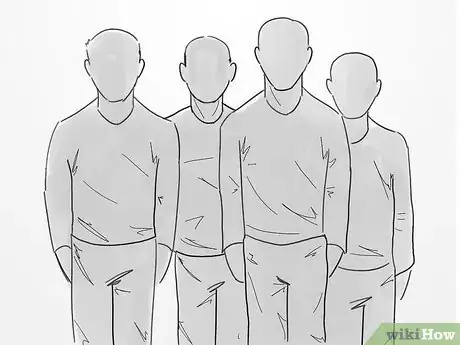
8Find a team to help you lay the mats. Below is an outline of a four-man crew as suggested for the largest recommended project pour, 400 square feet. More experienced crews may be able to color and stamp as much as 700 square feet per pour, but it is recommended to begin with smaller areas. This process can be adapted to fit specific project needs.
- Worker 1: Fluffs the release agent throughout the application process. Broadcasts release agent. Identifies areas that require touch up work. Acts as a general helper.
- Worker 2: Places the texture mats. The first mat should be carefully aligned, placed and tamped in at the starting point of the project. Repeat the process by placing the second mat next to the first. Place mats tightly together to avoid messy grout line patterns. Continue with mats on hand, leapfrogging the mats as they are removed and replaced in the concrete. A minimum of three mats should be used for smaller pours. Larger projects require additional mats.
- Worker 3: Tamps the mats as they are placed. Mats should be tamped straight down into the concrete using no more force than necessary to press the mat flush to the concrete. Do not over tamp!
- Worker 4: Carefully removes the tamped mats by lifting gradually from one side first to break the suction. Passes mats to Worker 1 for preparation of next placement.
-
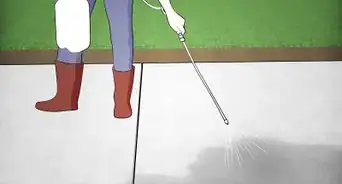
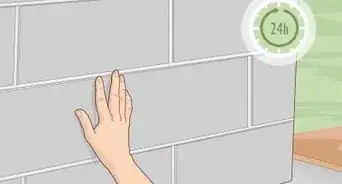
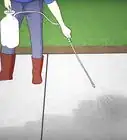
9Use a high-powered pressure washer (3000 PSI is recommended, but be careful, concrete can be damaged) approximately 24 hours after the concrete has achieved initial set. This is to remove excess release agent from the surface of the concrete. Vary the distance of the wand to the surface of the concrete so that the release is unevenly removed. Try to spray so that some of the release remains in the grout lines and deeper indentations. This will result in a more natural, aged and shadowed effect.
-
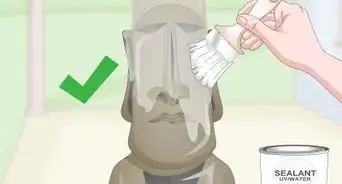
10Seal the concrete with an appropriate decorative concrete sealer according to manufacturer directions. When the slab is thoroughly dry, clear enhancer should be applied using a roller. One gallon covers approximately 200 square feet. A light coat should be applied in one direction and a second coat should be applied in a perpendicular direction in order to avoid unwanted lines. Be careful to avoid a buildup of sealer in the corners.[6]
- For patios and high foot traffic areas you should seal stamped concrete on a yearly basis.
-
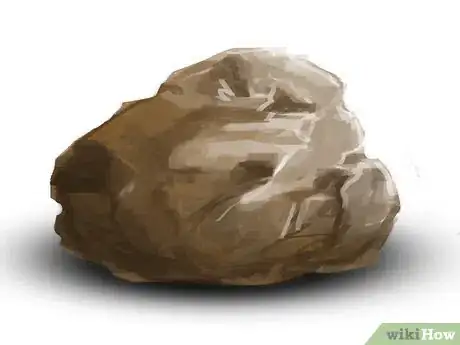
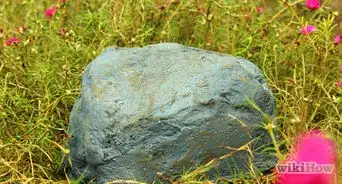
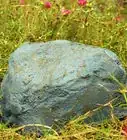
11Three dimensional stamped concrete is known as artificial rock which combines a stamped concrete technique with hand sculpting of the concrete. Integral colour is not used for this application but instead a water based paint process or acid stains are used.
Expert Q&A
Did you know you can get expert answers for this article?
Unlock expert answers by supporting wikiHow
-
QuestionHow often should you seal stamped concrete?
 Sina KamranSina Kamran is a Hardscaping Specialist and the Owner of Design Scapes, Inc. in Santa Monica, California. With over 15 years of experience, he specializes in customized, site-specific hardscaping and landscaping design/build projects. He's a certified National Concrete Masonry Association (NCMA) designer, a certified installer with the Interlocking Concrete Pavement Institute (ICPI), and a Rain Bird Certified Irrigation Professional. Additionally, Design Scapes, Inc. has many 5-star rated reviews.
Hardscape Specialist
-
QuestionDo I have to add color to the cement to stamp or can I stamp regular color cement?
 Community AnswerYou can stamp any concrete -- colored or regular concrete -- with release agent (powder) on top.
 -
QuestionCan I pressure wash stamped concrete?
 Community AnswerYes. Use a high-powered pressure washer (3000 PSI is recommended, but be careful, concrete can be damaged) approximately 24 hours after the concrete has achieved initial set.
Things You'll Need
- ACCESSORY TOOLS: While texturing, you may notice areas or grout lines that require touch up to make a deeper impression. Or, you may come across hard to reach areas that require a different type of tool to make an impression. The equipment list below outlines accessory tools you may need. Anticipate your needs before the job begins and have all the necessary tools on hand.
- Texture Mats, Floppy Mats, Release Agent, Hardener or Integral Color, Touch-up Tools, Tamper, Bull Float, Canvas Resin Hand Float, Finishing Trowel, Screed
Expert Interview
Thanks for reading our article! If you'd like to learn more about landscaping, check out our in-depth interview with Sina Kamran.
References
- ↑ https://www.concretenetwork.com/products-stamps-skins/matching.html
- ↑ https://www.familyhandyman.com/masonry/pouring-concrete/how-to-properly-mix-concrete/
- ↑ https://www.concretenetwork.com/chris_sullivan/colored_concrete.htm
- ↑ https://www.concretenetwork.com/products-stamps-skins/release-agents.html
- ↑ https://www.concretedecor.net/decorativeconcretearticles/vol-17-no-3-april-2017/transforming-the-slab-texturing-tools-can-take-concrete-from-drab-to-fab/
- ↑ https://www.concretenetwork.com/concrete/maintaining/sealingplain.htm
