This article was co-authored by Ryaan Tuttle. Ryaan Tuttle is a Home Improvement Specialist and the CEO of Best Handyman, Inc. in Boston, Massachusetts. With over 17 years of experience, he specializes in building home service businesses, focusing on creating scalable and efficient brands. With the help of his global team, the companies have achieved over 10+ million in sales and received recognition through magazine features, and enjoy partnerships with wikiHow and Jobber field service software. Boston Magazine and LocalBest.com have named Best Handyman Boston the Best Handyman in Boston. Ryaan holds Construction Supervisor and Home Improvement Contractor Licenses.
This article has been viewed 63,435 times.
There is no trim more beautiful than stained wood. Stained wood trim adds a level of elegant beauty to your home. There are some things to consider before you decide to stain trim. It can be time consuming and it takes a level of technique to get the color just right so that it comes out even all the way around. With the right information, you can learn how to stain wood trim correctly.
Steps
Prepare the Wood
-
1Fill in any nail holes or imperfections in the wood with wood filler. You will want to use a tinted filler the same color of the stain you will use. Scrape excess filler off the wood with a putty knife. Allow to dry thoroughly according to the package instructions.
-
2Sand the patched areas with 220-grit sandpaper until smooth. If necessary, sand the rest of the wood, as well, using 100 to 120 grit for rough areas and a fine 220 grit to make the wood smooth.Advertisement
-
3Wipe down the trim with a tack cloth to remove the sawdust completely. Alternatively, you can use a clean cloth and denatured alcohol.
- A cheese cloth also works well for this.


Stain the Wood
-
1Shake the stain can vigorously to blend it thoroughly.
-
2Put rubber gloves on to protect your hands from the stain and place drop cloths on the floor to protect it from drips.
-
3Apply the stain using a clean cloth or a stain brush. You can also use a foam brush. Take care to make sure you are applying the stain evenly.
-
4Allow the stain to dry for a short time. The longer it sits, the darker the color will be. Some manufacturers recommend allowing the stain to dry for 5 to 15 minutes.
-
5Wipe the stain off using a clean cloth. Go against the grain, working the stain into the wood, and then wipe the wood again along the grain to make the color even. Make sure you don't remove too much stain.
-
6Add another coat if the color isn't dark enough. Repeat the process as many times as needed to achieve the desired tone.
-
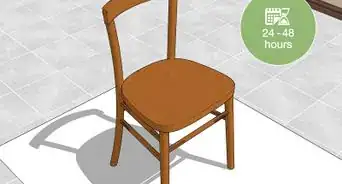
7Let the stain dry as long as needed.


Finish the Wood
-
1Stir the finish coat gently with a stir stick.
-
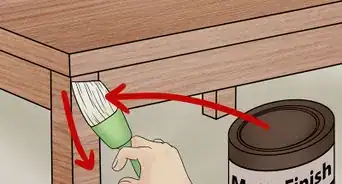
2Apply a light coat of varnish or polyurethane in the sheen of your choice. You can pick satin or gloss. Use a stain brush, such as a pure china bristle. Brush the varnish along the grain of the wood.
-
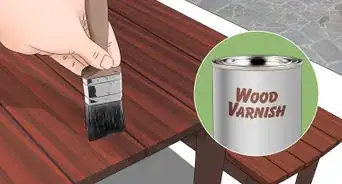
3Allow the varnish to dry according to the manufacturer's instructions before applying a second coat. Most manufacturers recommend 2 coats for a stronger, more durable finish.
-
4Cleanup. Use paint thinner to clean your brushes when using solvent based stains and finishes. Use soap and water to clean your brushes when using water based stains.


Warnings
- Be careful that you do not sand the trim unevenly. Uneven wood textures will make the stain an uneven color.⧼thumbs_response⧽
- Never shake the finish coat before using it. Shaking it will leave bubbles in the finish.⧼thumbs_response⧽
Things You'll Need
- Colored wood filler
- Putty knife
- 220-grit sandpaper
- 110- to 120-grit sandpaper
- Tack cloth or clean cloth and denatured alcohol
- Stain
- Clean cloth, stain brush or foam brush
- Rubber gloves
- Stain brush or foam brush
- Stir stick
- Varnish or polyurethane
- Pure china bristle trim brush
- Soap and water


References
About This Article