This article was co-authored by Archie Guerrero. Archie Guerrero is a Commercial and Residential Painting Specialist and the Operations Manager for DGP Painting in Austin, Texas. With a decade of experience, Archie specializes in interior and exterior painting and staining, cabinet refinishing, and wallpaper and popcorn removal. DGP Painting offers clients environmentally friendly paint materials and top-of-the-line paint products. DGP Painting has an A+ rating with the BBB and has been in Austin’s “Best of the Best.”
There are 7 references cited in this article, which can be found at the bottom of the page.
This article has been viewed 136,610 times.
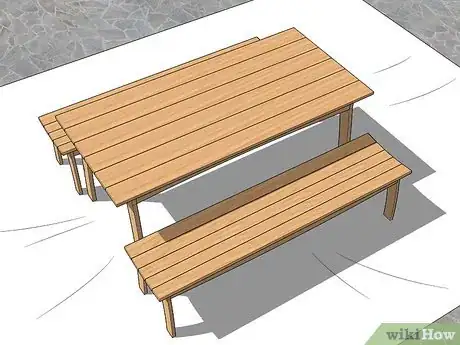
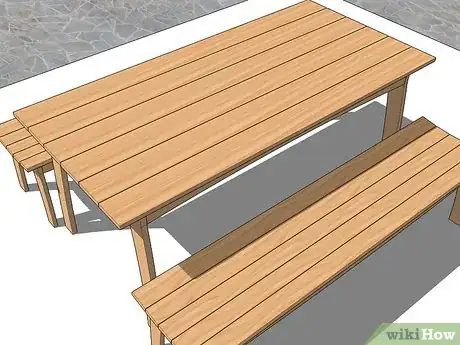
If you have pine woodwork or outdoor furniture, applying a finish can protect it from sun or weather damage. Depending on the object and how well you want to preserve it, you can try 3 main types of finishes for pine. Polyurethane, paint, or epoxy finishes all work well for preserving pine objects and giving them a bright, clean finish. Once you've applied the right finish, your pine will be protected and able to withstand regular use outside.
Steps
Polyurethane
-
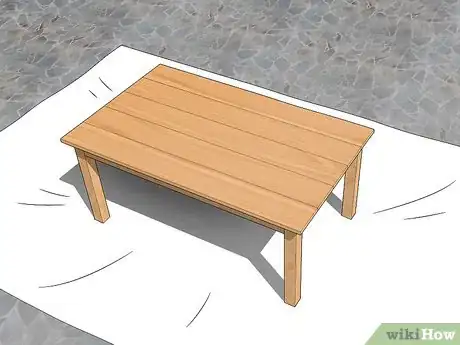
1Spread out a tarp in a well-ventilated area. Find a spot with plenty of air circulation, preferably outside or by an open door, to apply the finish. Layout a tarp to set your pine object on top of to prevent staining the ground or other objects with the polyurethane
- If you're sensitive to strong odors, put on a respirator before handling polyurethane.
-
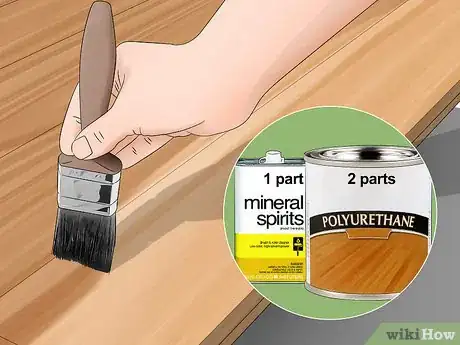
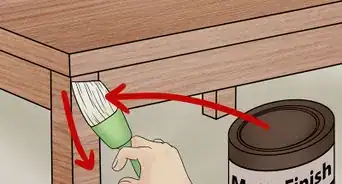
2Seal the surface with diluted polyurethane. Before applying your finish, thin a small amount of polyurethane with mineral spirits in a 2:1 dilution ratio. Dip a paintbrush in the sealant and apply it to your object's surface in long strokes.
- The sealant helps the finish stick better to the pine and last longer.
- If you notice any runs, even them out with your paintbrush before they drip off of your object.
Advertisement -
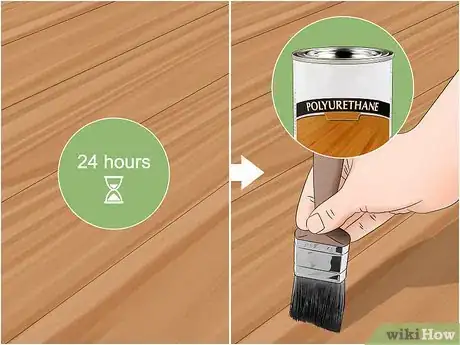
3Apply a coat of polyurethane over the sealant. Let the sealant dry for 24 hours, then dip a paintbrush in undiluted polyurethane. Brush the polyurethane over the object in long, thin strokes, catching any drips with your brush as you coat the surface.[1]
- Let the polyurethane dry for 24 hours as well before adding more coats.
-
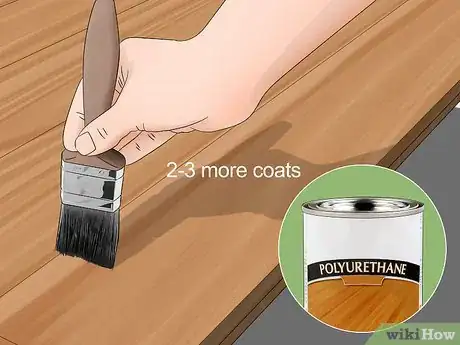
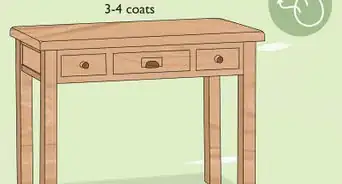
4Add 2-3 more polyurethane coats. 2-3 coats are recommended to give your pine a strong, protective finish. Apply at least 1-2 more coats of polyurethane, letting each coat dry in between applications.
-
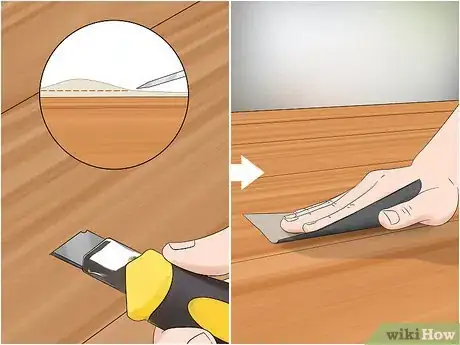
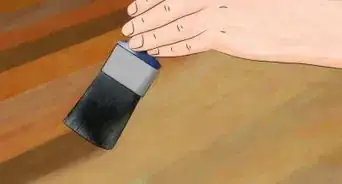
5Shave off any bumps or uneven areas. Once the last coat has dried, cut away any bumps or dried up drips with a razor blade. Cut just deep enough to smooth away the bumpy areas, then rub the entire surface in 400-grit sandpaper for an even finish.
- Work carefully to avoid cutting the wood or shaving off the entire finish.[2]
- Wipe the object off with a damp cloth to remove shavings or sandpaper dust before adding the final polyurethane coat.
-
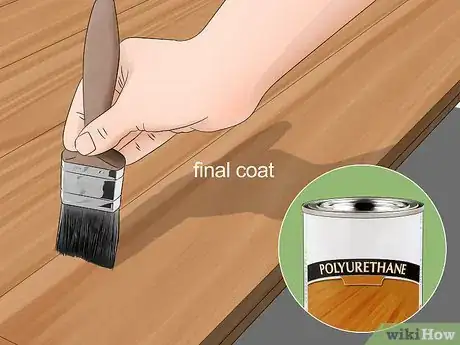
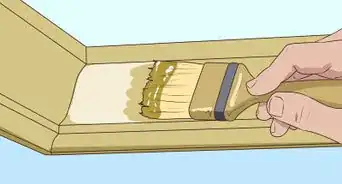
6Brush on a final coat of polyurethane. After smoothing the uneven areas, dip a paintbrush in polyurethane and apply a final coat. Work as evenly as possible, checking for any blemishes or drips as you work, then let it dry for 24 hours.
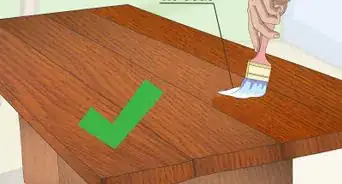
- If your final coat turns out smooth and even, you have successfully applied the polyurethane finish.
- You may need to smooth certain areas down and apply another finishing coat if, after drying, you notice additional bumps and blemishes.
-
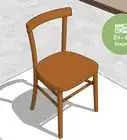
7Reapply the finish every 2-3 years. Polyurethane finishes, on average, last between 2-3 years. If your pine's finish seems dull or you notice signs of weather damage, freshen the object up with a new finish.[3]
Paint
-
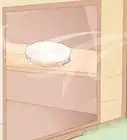
1Set up a tarp in a spot with good air circulation. Painting the pine over a tarp will catch drips and prevent you from staining anything other than your object. Look for a well-ventilated area to paint the object, preferably near a window, open door, or outside.
-
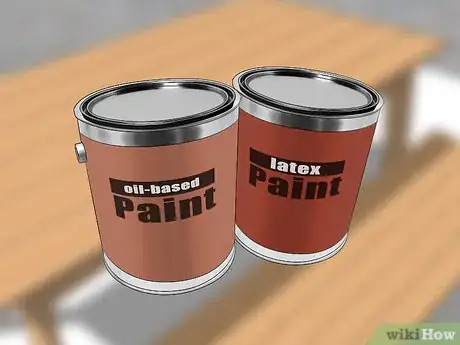
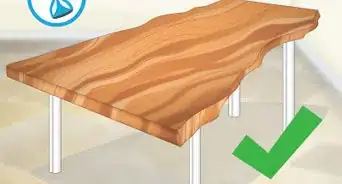
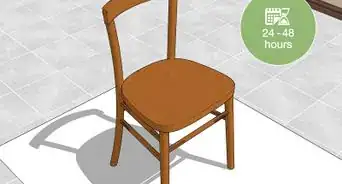
2
-
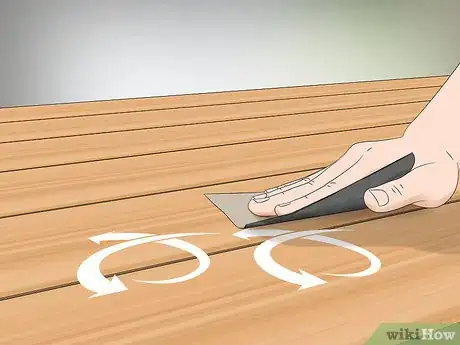
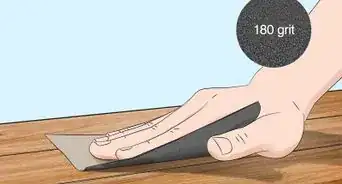
3Sand the surface down with fine-grit sandpaper. Before painting, rub the entire surface in circular motions with a fine-grit sandpaper. Pay special attention to any blemishes or uneven areas you notice, then wipe the surface down with a wet cloth afterward to get rid of shavings or sandpaper dust.[6]
- The paint will adhere best to a smooth, flat surface.
- You can also use a wood stripper as an alternative to get rid of bumps or rough areas.
-
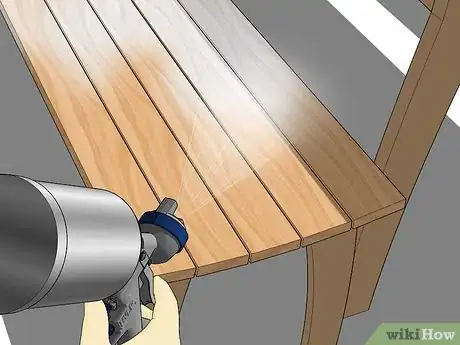
4Spray a paint primer over the wood. Position the primer's nozzle several inches away from the pine's surface. Spray the primer in thin, even layers until you have coated the entire surface.[7]
- Let the primer dry for 30-60 minutes before painting the pine object.
-
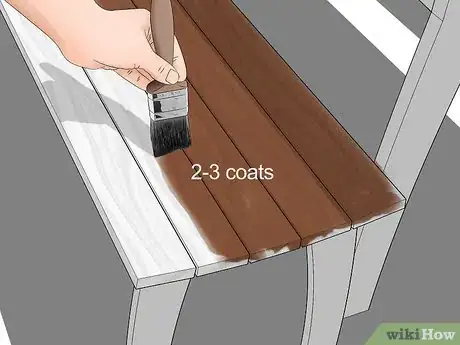
5Apply 2-3 coats of paint. Coat the object's surface in layers using a paintbrush or with the same technique that you applied the paint primer, depending on whether you're using spray paint. Depending on how bright you want the color to be, apply at least 2-3 paint coats to the object's surface.
- Make each layer as even and thin as possible for a smooth surface.
- Wait for the paint to dry, which should take between 30-60 minutes, before applying additional coats.
-
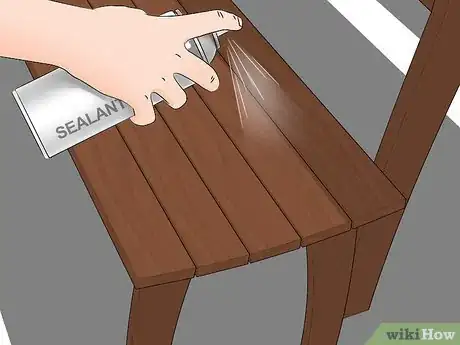
6Use a paint sealant to preserve your finish. Once the last coat dries, spray a paint sealant in even layers, just as you did with the primer. Make sure you cover the entire surface to give the pine object a glossy, protective finish.[8]
- Don't place the object outside until it's sealant has finished drying, which should take up to 60 minutes.
-
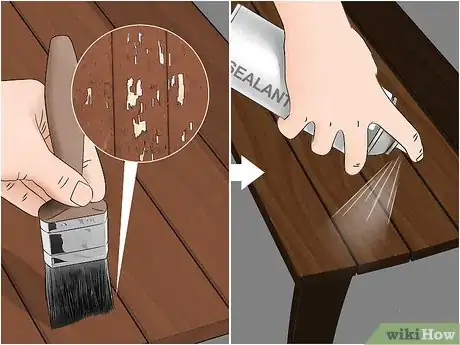
7Reapply paint coats as needed. If your pine's paint finish appears faded or cracked, apply 1-2 new paint coats over the object's surface. Apply a layer of paint sealant over the coats to protect the new coats and prevent weather damage.
- How often you'll need new paint coats depends on how sunny and hot your climate is.
- If you decide to paint it a new color, use a paint stripper to remove all of the previous coats first.
Epoxy
-
1Apply epoxy in a well-ventilated room with a tarp underneath. Epoxy has a strong scent, so find a spot outdoors or near an open door to apply the finish. As with applying paint and polyurethane finishes, layout a tarp underneath your workspace to catch drips and avoid staining the floor.
- If you're sensitive to chemical smells, wear a respirator while working.
-
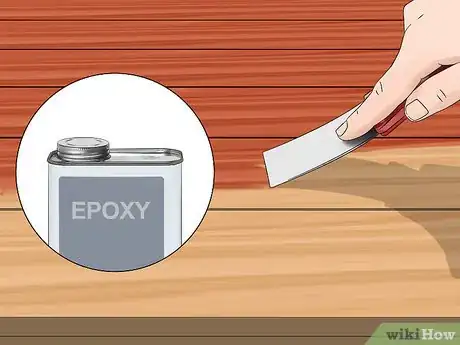
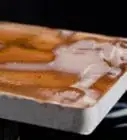
2Apply a coat of epoxy with a putty knife. Dip your putty knife in an epoxy container and spread it along the pine's surface. Use the putty knife to flatten out any bumps, bubbles, or thick areas as you even the first coat.[9]
- Use a spoon to fill in holes any holes or uneven areas as you go, smoothing it over with the putty knife.[10]
-
3Wait for the epoxy to dry and check for uneven areas. Let your first coat dry, then inspect its surface. Cutaway bumps, rough patches, or bubbles with a razor blade, then smooth it out by rubbing fine-grit sandpaper in even motions over its surface.
- Epoxy takes approximately 24 hours to dry enough for additional coats.
-
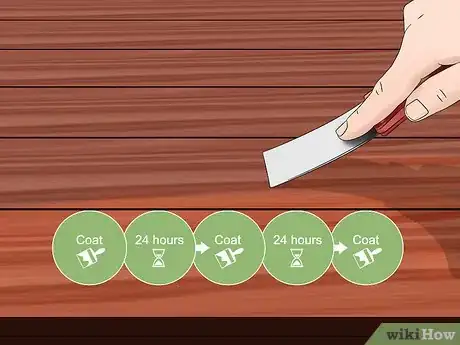
4Apply at least 3 coats of epoxy finish. Adding 3 coats is recommended to protect the wood and give it a glossy shine. Wait 24 hours between coats, smoothing away any uneven areas as needed before applying the next one.[11]
-
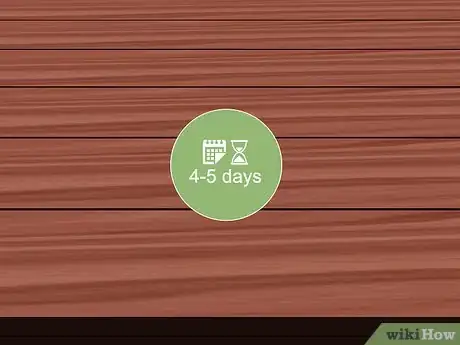
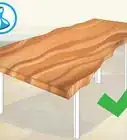
5Set the epoxy aside to cure for 4-5 days. When you've finished applying coats, find a spot where the object can sit without being disturbed. Let the epoxy cure for 4-5 days, depending on the package's instructions, so the epoxy has time to harden.
- Avoid touching the object or placing it outside until the epoxy cures, if possible.
-
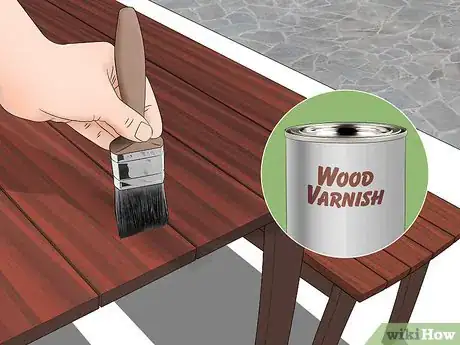
6Apply a top coat of wood varnish over the epoxy. After the epoxy has cured, add a thin coat of varnish using a paintbrush. Apply the varnish in long, even strokes to give the object a smooth, sturdy finish.[12]
- Add up to 8 coats of varnish, depending on how much of a glossy, protective sheen you want the object to have.
Expert Q&A
-
QuestionWhat do I need to refinish old furniture at home?
 William & Shannon LatilWilliam & Shannon Latil are Furniture Refinishing & Home Remodeling Specialists and the Founders of Furniture Refinishing Services based in Houston, Texas. With over 30 years of experience, William and Shannon specialize in repairing and restoring wood furniture, refinishing kitchen cabinets, remodeling kitchens, and building live-edge wooden tables. William and Shannon have won Awards for Excellence from the Better Business Bureau and the Houston Chronicle Best Small Business Award. Their work has also been featured in Houston Press Magazine - Kitchen Design. Additionally, the Furniture Refinishing Services team has conducted major refinishing work on venues such as NRG Stadium and Minute Maid Park.
Furniture Refinishing & Home Remodeling Specialists Most solid wood pieces can be refinished by stripping, cleaning, sanding, repairing, staining, sealing, and finishing out, in that order.
Things You'll Need
Applying Polyurethane Finishes
- Polyurethane
- Mineral spirits
- Paintbrush
- Razor blade
- 400-grit sandpaper
- Respirator (optional)
Painting Outdoor Pine
- Latex or oil-based pain
- Fine-grit sandpaper
- Paint primer
- Paint sealant
- Paintbrush (optional)
Sealing Pine with Epoxy
- Epoxy
- Putty knife
- Spoon
- Razor blade
- Wood varnish
- Respirator
References
- ↑ https://www.popularwoodworking.com/projects/outdoor-finishes
- ↑ https://www.popularwoodworking.com/techniques/finishing/finishing-for-first-timers
- ↑ https://www.popularwoodworking.com/projects/outdoor-finishes
- ↑ https://www.todayshomeowner.com/how-to-finish-wood-furniture-for-use-outdoors/
- ↑ https://www.bobvila.com/articles/how-to-paint-pressure-treated-wood/
- ↑ https://www.todayshomeowner.com/how-to-finish-wood-furniture-for-use-outdoors/
- ↑ http://www.styleathome.com/how-to/renovations/article/how-to-paint-outdoor-furniture
- ↑ https://www.todayshomeowner.com/how-to-finish-wood-furniture-for-use-outdoors/
- ↑ https://www.thewoodwhisperer.com/videos/durable-outdoor-finish/
About This Article
To finish pine for outdoor use, first sand the wood using 100-grit sandpaper, followed by 180-grit sandpaper to prep the surface. Then, apply some outdoor wood sealant or shellac to the wood in a thin, even layer using a cloth. Wait 1 hour, then sand the wood again with 220-grit sandpaper. Now you can stain or paint the wood. To stain it, mix 2 parts weatherproof polyurethane finish with 1 part mineral spirits. Use a paintbrush to apply the finish in the direction of the grain. Wait 24 hours, then apply an additional coat. Reapply the finish every 2-3 years to keep moisture from penetrating it. To paint the wood, apply a coat of weatherproof oil-based or latex paint. Let it dry for 24 hours, then lightly sand the wood. Then, apply a second coat. Continue applying coats, sanding after each coat, until you’re happy with the color. To learn how to paint outdoor pine, keep reading!
