X
wikiHow is a “wiki,” similar to Wikipedia, which means that many of our articles are co-written by multiple authors. To create this article, volunteer authors worked to edit and improve it over time.
This article has been viewed 54,219 times.
Learn more...
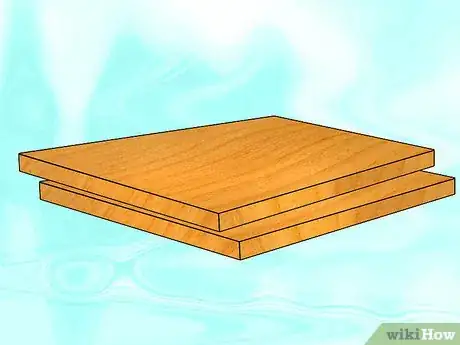
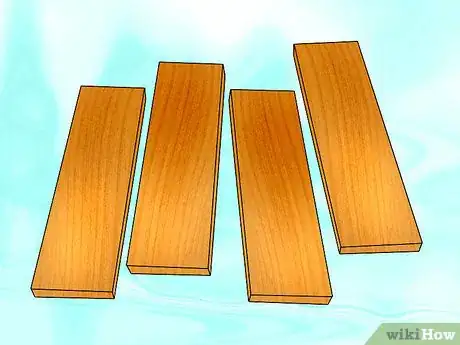
Wood products change and warp depending upon the temperature and humidity. If you want to reduce the chances of this happening, you can stabilize the wood with chemical treatments. Doing this will add weight and color to the wood, since you are imbuing the wood with a liquid chemical which will dry and harden. There are dozens of ways to stabilize wood, but these are a few of the popular ways of doing it.
Steps
Method 1
Method 1 of 3:
Using Wood Hardener
-
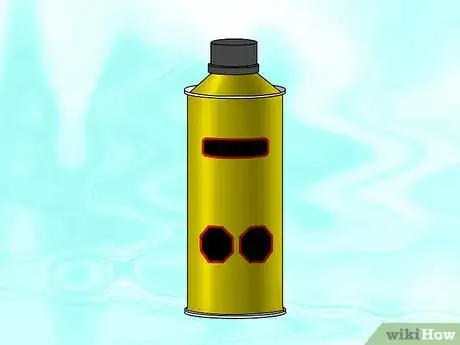
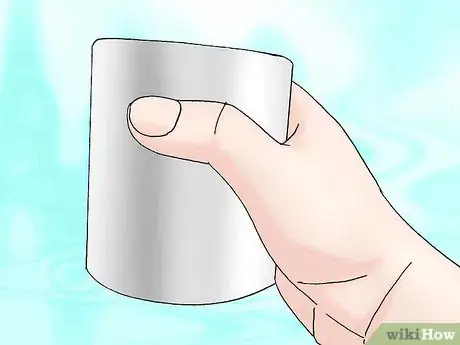
1Purchase a product like Minwax wood hardener for small projects or refinishing projects. It can help stabilize crumbling wood.[1]
-
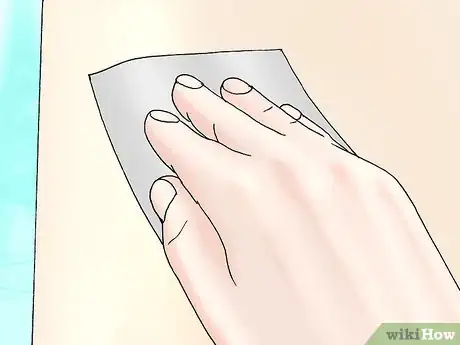
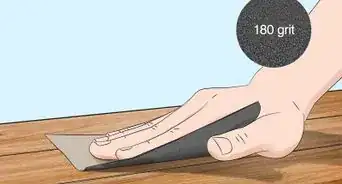
2Sand the surface and remove as much of the decayed wood as you can. Ideally, you want to get at the sound pieces of wood and harden them. There shouldn’t be any oil or paint on the area you are treating, or it will prevent absorption.[2]Advertisement
-
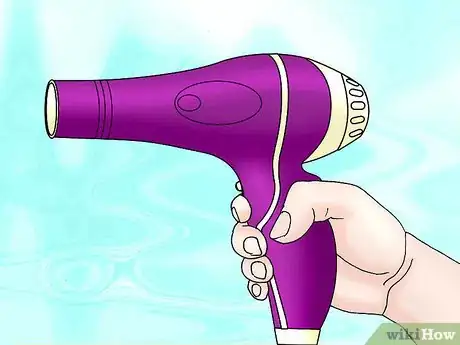
3Dry the surface with a hair dryer if it has recently been wet. The surface needs to be completely dry for it to work.
-
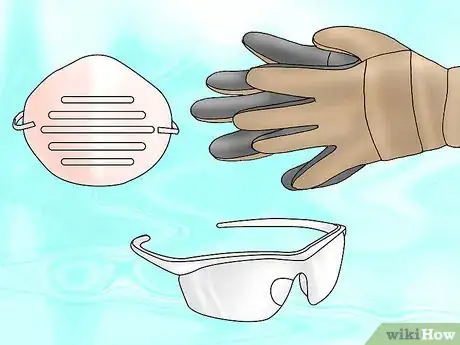
4Set up a covered workspace. Place your wood on top. Wear gloves, a ventilation mask and safety glasses.
-
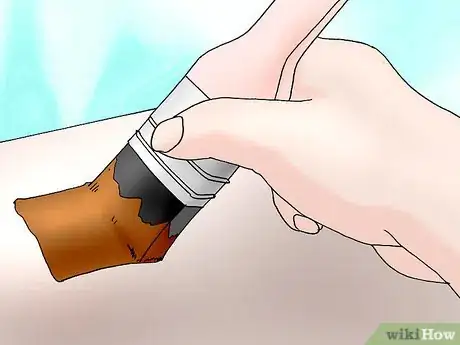
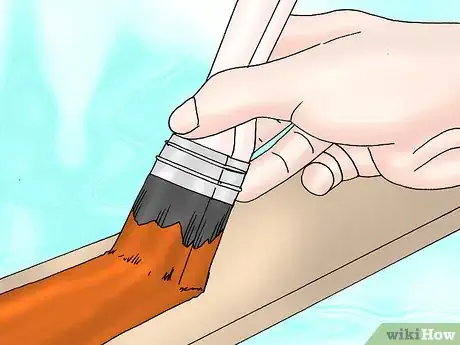
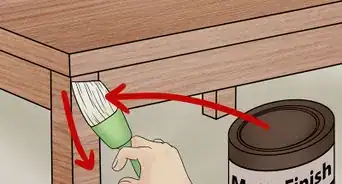
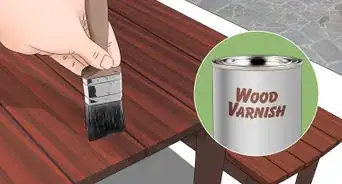
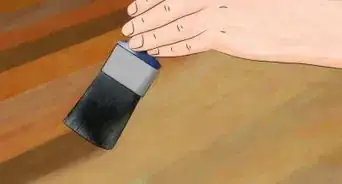
5Shake the wood hardener can well.[3] Pour it on a disposable bristle brush in a size that will reach all parts of the wood that needs to be stabilized.
-
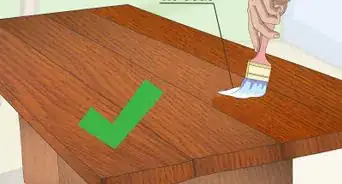
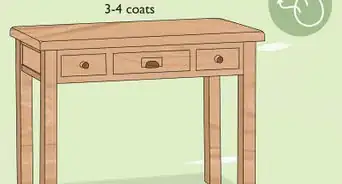
6Saturate the area with the product. Apply several coats in succession to improve the strength of the wood. The surface should be shiny.
-
7Allow it to dry for two to four hours. Fill any voids with wood filler before refinishing the product.
Advertisement
Method 2
Method 2 of 3:
Using the Salt Paste Method
-
1Use this method if you want to use natural ingredients, rather than harsh chemicals. It is still important to wear gloves during the application process.
-
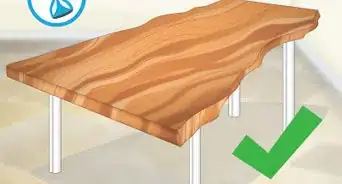
2Dry your wood cross section out immediately.[4] If your air is humid, you should try to dehumidify it to ensure there isn’t a lot of moisture in the wood you are trying to heat. Remember that using high heat on the wood may warp it.
-
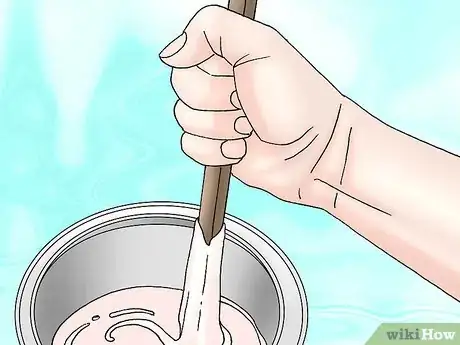
3Mix three lbs. (1.4l) of table salt to one gallon (3.8l) of water to create your paste. Mix it well with a stick. Allow it to sit for several hours.
-
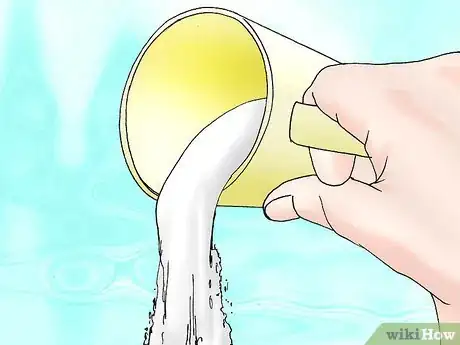
4Add in cups of cornstarch one by one, until you get a paste-like consistency. It should have the consistency of cake batter.
-
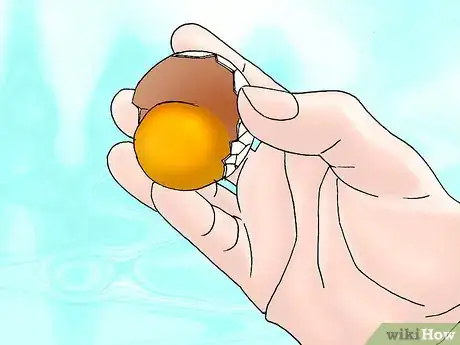
5Separate three egg yolks from egg whites. Mix the egg whites in into the solution to reduce flaking.
-
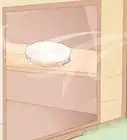
6Create a stand on which to hold your wood cross-section upright.
-
7Apply a thick coat of paste to both sides of the cross section. You want the moisture to be dried from both sides simultaneously.
-
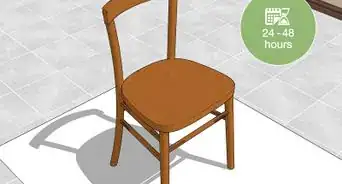
8Air dry the disks in a well-ventilated or heated room with low humidity. This should take several days to a few weeks to dry and cure.[5]
-
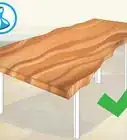
9Finish the wood as desired.[6]
Advertisement
Method 3
Method 3 of 3:
Stabilizing with Pentacryl
-
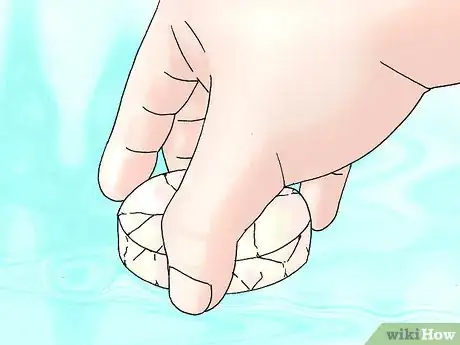
1Use the Pentacryl method if you have a fresh piece of wood that is in the process of drying. A “cookie” or cross-section of wood can be successfully treated with precautions taken to keep it drying at a steady rate.
-
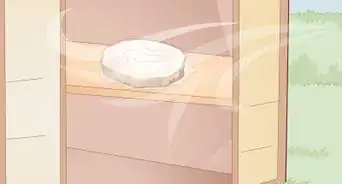
2Don’t place your wood cross section in a heated place to dry until you are ready to heat it. You want to dry it slowly to avoid cracking and warping. This is the reason you are using the stabilizer.
-
3Purchase Pentacryl, a wood stabilizer. Take the wood piece and your Pentacryl to a well-ventilated workspace. Cover the workspace in drop cloths.
- Keep in mind that the amount of Pentacryl you will need will depend entirely on the size of the wood. This method can be used for small cookies or very large wood cross-sections.
- Pentacryl can be very expensive in large quantities.
-
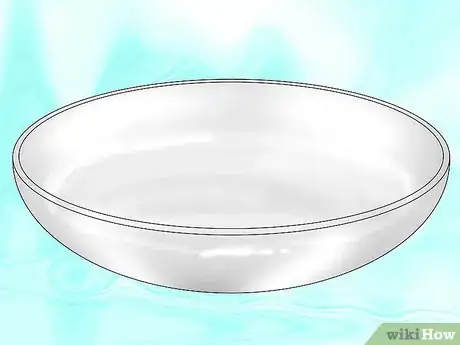
4Get a soaking pool ready for your wood piece. Make sure it fits in the container without touching the sides. A Tupperware is perfect for a small piece, while a kiddie pool covered in a drop cloth works great for large cookies.
-
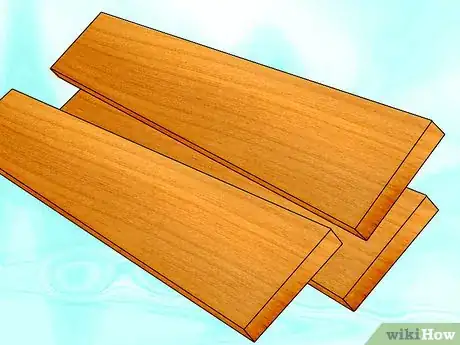
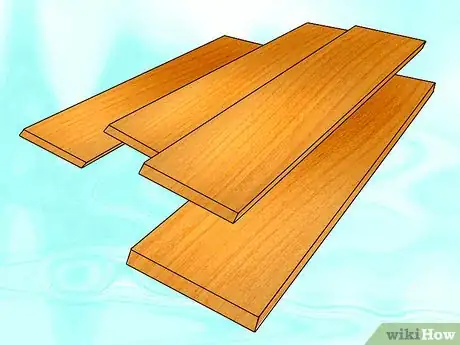
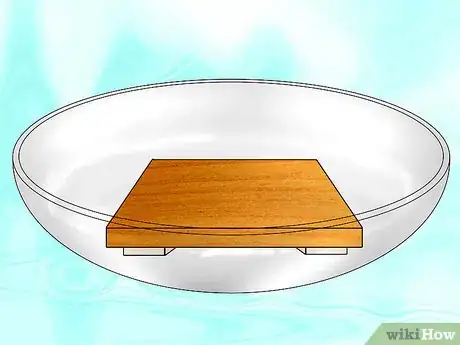
5Place wooden slats or “stickers” at the bottom of the pool to keep the wood off the bottom.
-
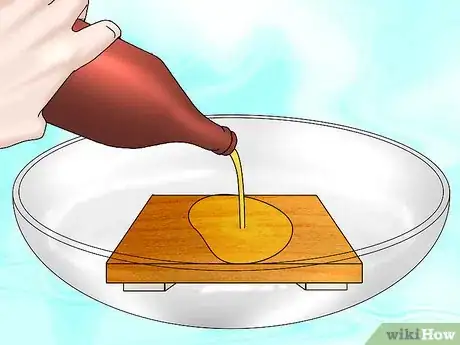
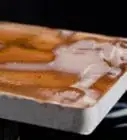
6Pour the Pentacryl over the wood cookie. Let it pool about three inches on the bottom. Brush the Pentacryl over the top at once, especially if it is a large, thick piece; however, this is not extremely important for small, thin pieces.[7]
-
7Cover the wood with plastic to prevent the top from drying out as it cures. Plastic drop cloths are perfect for this use.
-
8Allow the fresh wood to soak up the Pentacryl. You will see the top of the wood start to darken from the inside out as it absorbs the wood stabilizer. Keep it saturated for two to three days, or up to a week with very large cookies.
-
9Move the wood cookie to a drying location once all the Pentacryl is absorbed. If it doesn’t seem thoroughly coated, you may want to repeat the soaking process. If it is, place it in a basement or area without direct sunlight or air movement.
- Stand it on end so that the moisture dries from both sides of the exposed wood.
-
10Dry for eight weeks. If the wood is drying too quickly, cut cardboard sections and tape them over the exposed sides to slow down the drying process.
Advertisement
Things You'll Need
- Drop cloths
- Safety gear
- Wood hardener
- Disposable bristle brush
- Hair dryer
- Sandpaper
- Table salt
- Bucket
- Water
- Eggs
- Cornstarch
- Measuring spoons
- Pentacryl
- Brush
- Pool or Tupperware
- Wooden stickers
- Cardboard
- Tape
- Dry, cool, dark location for wood curing
References
- ↑ https://www.minwax.com/wood-products/maintenance-repair/minwax-high-performance-wood-hardener
- ↑ https://www.bobvila.com/articles/sanding-wood/
- ↑ https://www.minwax.com/wood-products/maintenance-repair/minwax-high-performance-wood-hardener
- ↑ https://www.wood-database.com/wood-articles/drying-wood-at-home/
- ↑ https://www.lsuagcenter.com/NR/rdonlyres/10B3631C-0D32-42D2-8FC3-7C5620C0F222/76576/pub2643stabilizingandbendingofwoodforthehobbyist20.pdf
- ↑ https://www.familyhandyman.com/woodworking/staining-wood/wood-finishing-tips/
- ↑ https://www.youtube.com/watch?v=FY8JfmfHnm0
About This Article
Advertisement
