This article was co-authored by wikiHow Staff. Our trained team of editors and researchers validate articles for accuracy and comprehensiveness. wikiHow's Content Management Team carefully monitors the work from our editorial staff to ensure that each article is backed by trusted research and meets our high quality standards.
wikiHow marks an article as reader-approved once it receives enough positive feedback. In this case, 83% of readers who voted found the article helpful, earning it our reader-approved status.
This article has been viewed 425,168 times.
Learn more...
If you’ve decided to start wearing a cowboy hat—whether for aesthetic or practical reasons—you’ll need to shape the hat’s brim. The method for shaping depends on the material your cowboy hat is made from. While some straw hats have a wire in the brim which can easily be bent and shaped, other types of hats require more work. Felt hats will need to be steamed in order to become malleable, while palm leaf cowboy hats can be soaked and shaped.
Steps
Shaping a Felt Cowboy Hat
-
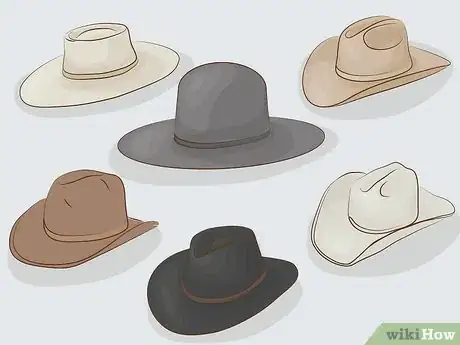
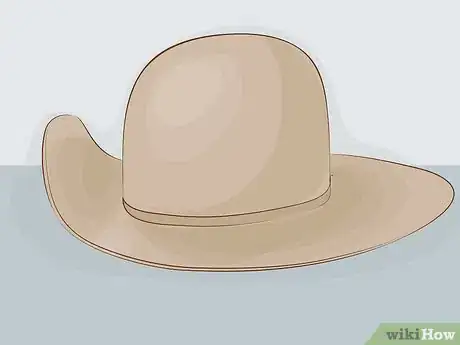
1Decide on the brim shape you want. Many felt cowboy hats are made with flat brims, so you can shape your own to the style you prefer. You can shape your hat based on aesthetics alone, to complement the shape of your face. A rule of thumb is that the narrower your face is, the higher you should bend the edges of your hat.[1]
- If you have a rounder face, the edges should not be folded up far.
-
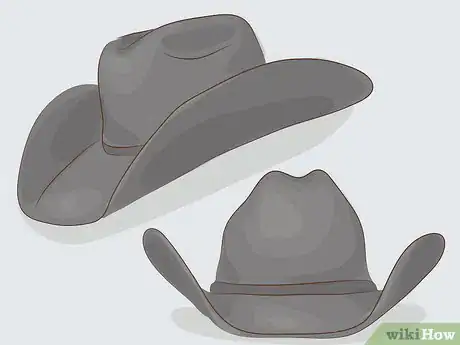
2Shape your brim according to competitive event styles. If you plan to participate in competitive riding events, the specific event will also influence the shape of your hat. Riders in horsemanship and showmanship events are required to have a brim which curls up on both sides, with no downward dip in the front.[2]
- Cutting or reigning competitions are less strict concerning hat shape, and competitors often have a flatter brim.
Advertisement -
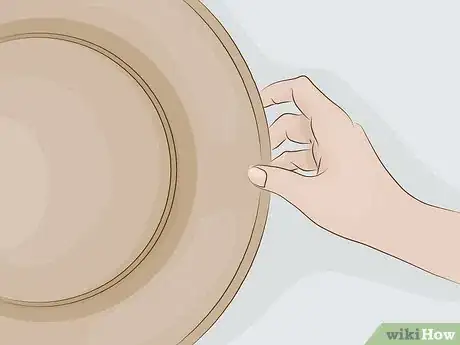
3Check for a shaping wire in the brim. If your felt hat has a wire sewn in the edge of the brim, it's inexpensive, light-weight wool felt. It's not intended for shaping over steam. Instead, shaping the wire will help the brim hold the desired shape.[3]
- Steamed wool felt acquires a lumpy, uneven appearance.
-
4Boil water until it steams. Use a large pot or a kettle with an open spout. While you're waiting for the water to boil, fetch a pair of gloves or a set of kitchen tongs. The brim of your hat will become hot during the shaping process, and you don't want to burn your hands. Remember to put safety first whenever working around boiling water.[4]
-
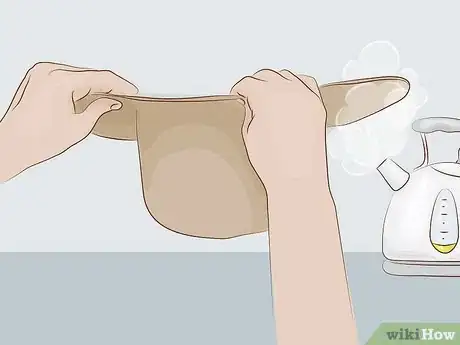
5Hold the brim of the hat carefully over the steam. Choose a section of the felt brim to shape first, and hold this part over the steam from the boiling water until the felt softens.[5] This section of the brim is now ready to be shaped. Work with one section at a time to keep the felt soft.
- Always steam the brim with the crown-side of the brim facing the steam. Never steam the hat brim from the underside, as you'll risk permanently damaging the leather sweatband. Steam (and excess heat and moisture in general) will cause it to distort, pucker, and shrink.
- If you damage the interior of the hat’s brim, you'd need to pay a professional hat maker to remove and replace the sweatband.
-
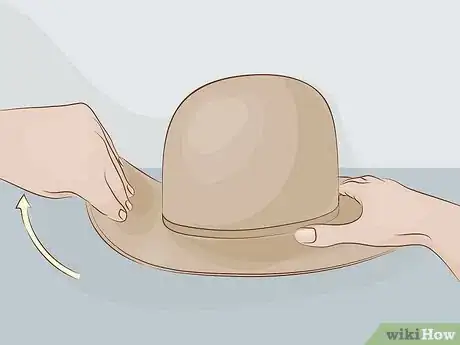
6Shape the steamed portion of the brim. Using your fingers, gently bend the steamed portion of the brim until it takes on the desired shape.[6] For a gentle roll, hold the brim with your fingers on the upper side and your thumb on the bottom and curl the brim within even pressure. For a crisper fold, press the steamed brim against your stomach, crown out, and use both hands to sharply bend the brim outward.
- Wear latex or vinyl gloves when shaping a light colored felt cowboy hat to avoid soiling it with skin oils.[7]
-
7Let the shaped portion of the brim cool. After you’ve molded the steamed portion of the hat’s brim, let it cool and set in position. If you move on to a subsequent part of the brim prematurely, you may end up distorting the part of the hat you’ve already shaped.[8]
-
8Steam and shape the next section of the brim. Repeat the process: steam a portion of the brim, then shape the brim and hold it in place until the felt cools and sets. Let each section of the brim set before you move on to the next.
-
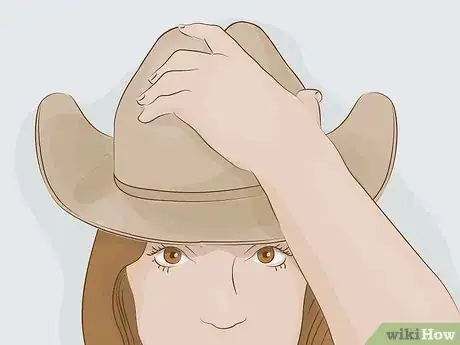
9Place the hat firmly on your head. After you've finished shaping the brim, but before the cowboy hat has fully cooled down and set, press the hat into its place on your head. This will help the interior of the hat mold to the shape of your head and make it fit more comfortably.[9]
-
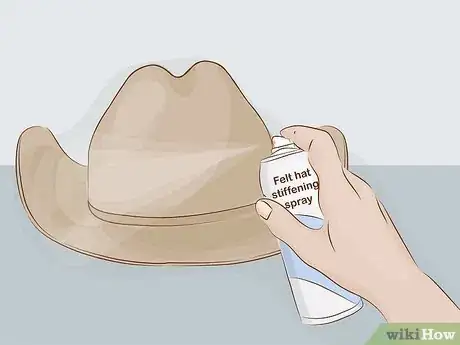
10Spray the finished hat with a hat stiffening spray. As an optional finish to the hat-shaping process, you can mist the molded brim of the hat with a stiffening spray. This product will help keep the shaped brim in position, and will be especially useful if you have dramatically shaped the sides of the brim.
- Felt hat stiffening spray is available at Western supply stores or online.
Shaping a Straw Cowboy Hat
-
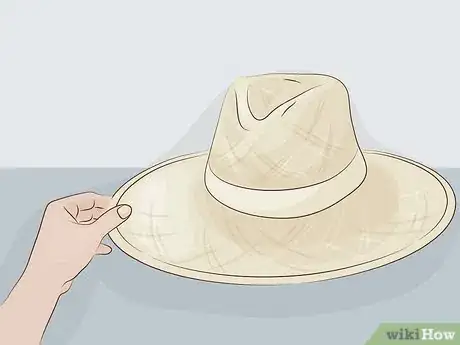
1Feel for the shaping wire. The shaping wire is a thin, malleable wire that runs around the circumference and is inserted at the edge of the brim. Straw cowboy hat brims are either pre-shaped or made with a shaping wire. The wire may be woven into the straw or covered with a decorative edging.
- You won’t be able to shape a pre-shaped straw hat made without a wire, as the methods used for other materials will damage the straw.
-
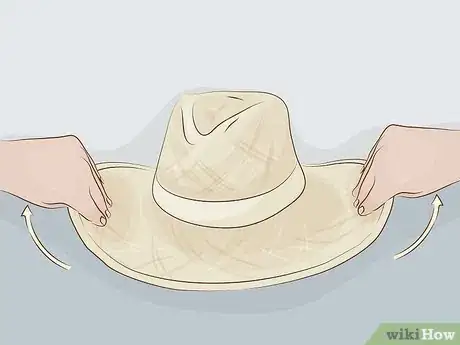
2Shape the brim as you want it to look. Bend the wire in the hat's brim until it takes on the shape that you'd like it to hold.[10]
- The shaping wire is made to be reshaped more than once, so don’t be afraid to experiment with different looks.
-
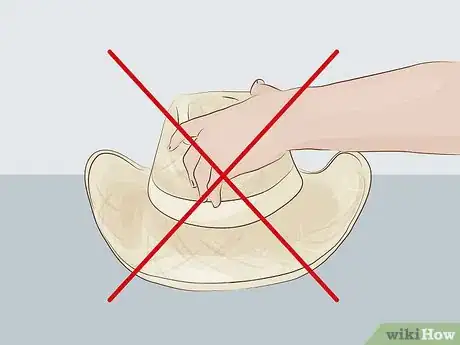
3Avoid re-shaping the crown of the hat. Straw cowboy hat crowns are pre-shaped by the maker. You wouldn't ordinarily need to shape the crown unless you want to exaggerate a crease. Since there is no wire in the crown, attempts to alter its shape will only damage the hat.
- More complicated reshaping or re-blocking of a damaged crown should be done by a hat maker.
Shaping a Palm Leaf Cowboy Hat
-
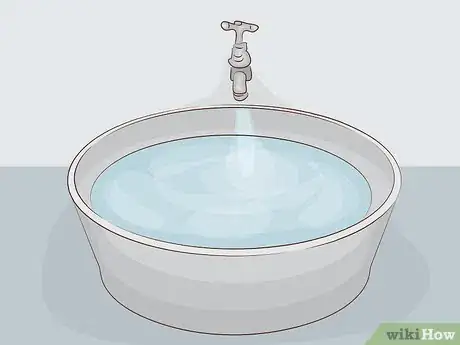
1Fill a large container with lukewarm water. Avoid temperature extremes when filling the container: hot water will likely burn your hands, while cold water will make the brim of your palm leaf hat harder to mold.
- The container should be larger enough to contain your entire submerged hat. Try using your bathtub or a large basin, if you have one in your kitchen.
-
2Immerse the brim in the water for 30 to 60 seconds. Let the immersed section of the hat soak until the fibers are softened. If your basin is large enough, you can immerse the whole palm leaf cowboy hat. This will allow you to shape large sections of the brim without pausing to re-soak in between.
-
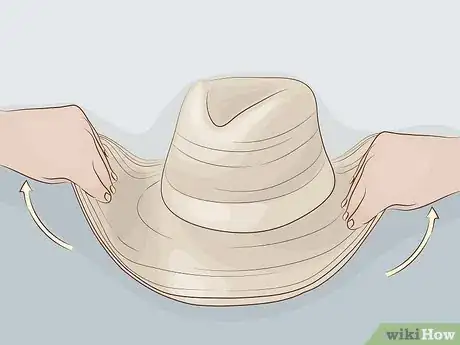
3Shape your palm leaf cowboy hat. After the hat (or portion of the brim) has soaked, pull it out form the basin and shape the brim. Slowly fold the brim until it's bent in the shape you want. If you'd like to change the shape of the hat's crown, you can soak and shape that portion of the hat also.
- If you've had this palm leaf hat for months and it has started to lose its shape, you can use these steps to reshape the hat to the form you prefer.
-
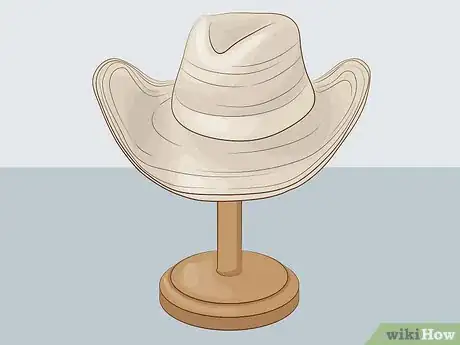
4Allow the hat to dry to set the shape. If you don't have time to hold the hat as it dries, set the hat on a hat stand or wig head while you are shaping it, and let it dry on the hat stand too.
- Repeat the reshaping and drying process as needed after you wear your palm leaf cowboy hat in the rain.
Community Q&A
-
QuestionHow can I enlarge my hat?
 Community AnswerWooden hat stretchers are cheap and work well. Consider getting one of those and using it; make sure you do it gradually, however.
 -
QuestionHow can I reshape a regular oval stetson hat into a round oval?
 Community AnswerFelt hat shaping is done using steam. With a little practice, you should be able to DIY using a tea kettle and imagination. Not sure if you are asking about shaping the crown or the brim, but both can usually be done just using your hands.
 -
QuestionCan I shape leather cowboy hats?
 Community AnswerYes. There are tools made especially for shaping leather, and tutorials online, if you're unable to ask somebody with experience.
Warnings
- Never leave your western hat in a vehicle during the day. The sun's warmth will cause the leather sweatband to shrink within about 20 minutes, even on a cooler day. If this happens, you'll have to take the hat to a hat maker to professionally stretch it to the original size for a proper fit.⧼thumbs_response⧽
- Never lay your felt cowboy hat brim down, as this will quickly ruin the shape. Hang it on a hat rack or lay it crown down.[12]⧼thumbs_response⧽
References
- ↑ https://www.aqha.com/daily/showing/2016/august/cowboy-hat-101-how-to-create-the-perfect-look/
- ↑ https://www.aqha.com/daily/showing/2016/august/cowboy-hat-101-how-to-create-the-perfect-look/
- ↑ https://blog.murdochs.com/get-your-cowboy-hat-in-shape/
- ↑ https://blog.murdochs.com/get-your-cowboy-hat-in-shape/
- ↑ https://blog.murdochs.com/get-your-cowboy-hat-in-shape/
- ↑ https://blog.murdochs.com/get-your-cowboy-hat-in-shape/
- ↑ https://www.aqha.com/daily/showing/2016/august/cowboy-hat-101-how-to-create-the-perfect-look/
- ↑ https://blog.murdochs.com/get-your-cowboy-hat-in-shape/
- ↑ https://blog.murdochs.com/get-your-cowboy-hat-in-shape/
About This Article
To shape a cowboy hat that has a wire in the brim, you can simply bend the wire until it takes on the shape you want. If the hat doesn’t have a wire, boil a pot of water and hold the brim over the steam. Make sure that the crown-side of the brim is facing the steam to avoid damaging the leather sweatband on the underside of the brim. Once the felt is soft enough, shape the steamed portion, let it cool, then steam the next portion of the brim. Then, repeat the steaming and shaping process until you’ve shaped the entire brim. To learn more, including how to shape a straw or palm leaf cowboy hat, scroll down!
