wikiHow is a “wiki,” similar to Wikipedia, which means that many of our articles are co-written by multiple authors. To create this article, 12 people, some anonymous, worked to edit and improve it over time.
This article has been viewed 150,853 times.
Learn more...
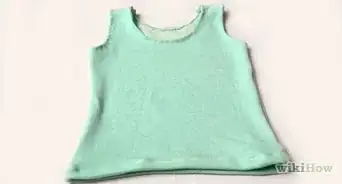
The practicality and stylish versatility of a vest make it a welcome addition to any wardrobe. Fortunately, with just a little sewing know-how it's easy to make your own, or to whip one up for a friend. Grab your materials and follow these instructions, and within a few hours you'll be sporting a new garment!
Steps
Making a Pattern
-
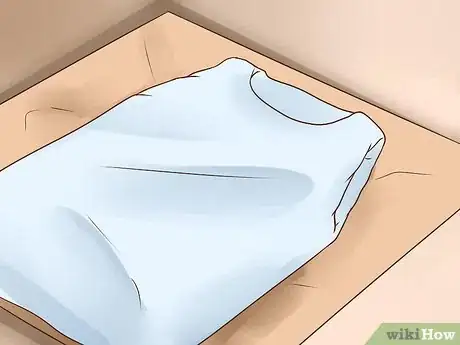
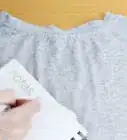
1Trace a tank top or a t-shirt (with sleeves tucked in so you can get the arm openings) onto pieces of newspaper or a brown paper bag that's been opened up. This simple method ensures the vest will be a good fit without the hassle of measurements, etc.
-
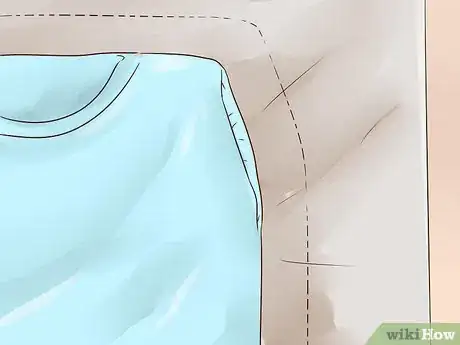
2Add about 1⁄2 inch (1.3 cm) (about 13 mm) around the entire outline for seam allowance. Seam allowance is the part that gets folded under when you make the seams.Advertisement
-
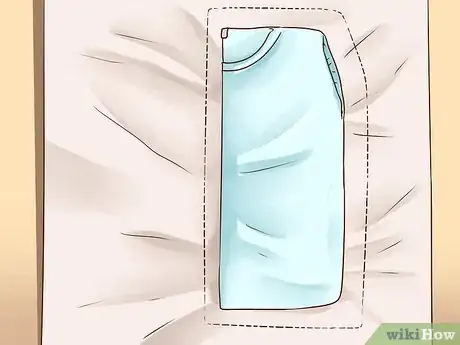
3Make the front piece in two halves. For each half, fold the t-shirt in half vertically and trace around it, adding seam allowance along the outer edge plus a little extra room for the front-center overlap if desired (e.g., where you'd put snaps or buttons).
-
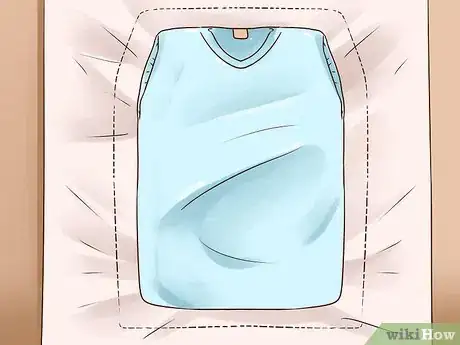
4Make the back piece by laying the t-shirt flat and tracing along it. Again, add room (1/2 inch) for the seam allowance. Keep in mind the back may have a higher neckline than the front pieces, depending on your design.
-
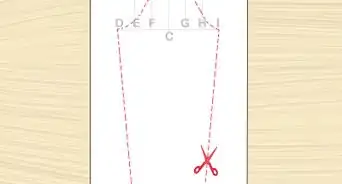
5Cut out the pattern pieces and inspect. Put the cutout pieces together as they would be for the vest, making sure the armholes and hem line up.[1]
-
6Buy your cloth. You'll need at least 1 to 1 1⁄2 yards (0.9 to 1.4 m) for the vest, and an equal amount for the lining.
- The lining is the part that goes inside the vest, on the reverse side of the outer cloth.
- If you have doubts as to how much fabric you need, take your pattern to the fabric or craft store and ask for help. It's always better to have a bit extra material than not enough.
- You can choose from a wide range of materials for your vest. Keep in mind the season when selecting your fabric; for example, you can use a light wool for autumn, velvet for winter, seersucker for spring, and silk or light cotton for summer.
Sewing the Vest
-
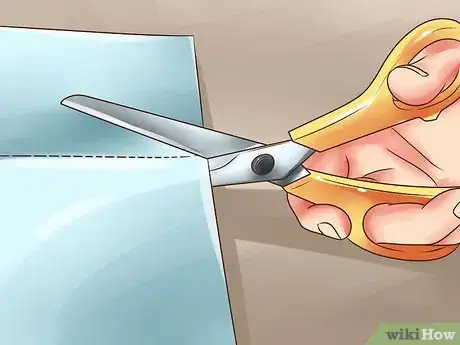
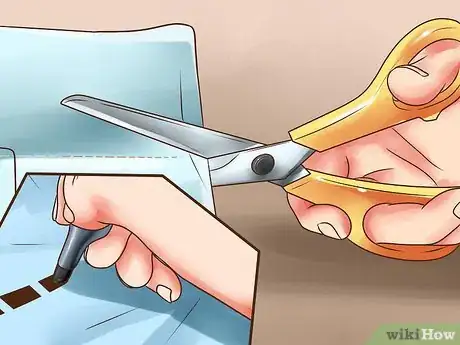
1Cut out the fabric. On a large working surface, lay the fabric out. Place the cutout patterns on top, pinning them together to avoid slippage. Use a pen to trace the outline onto the fabric.
-
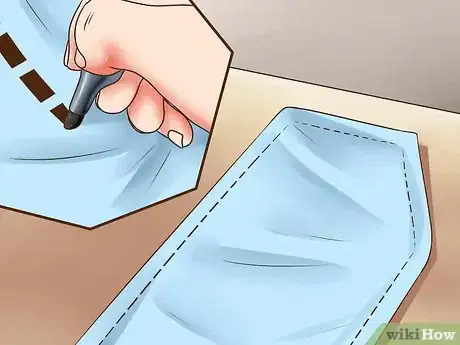
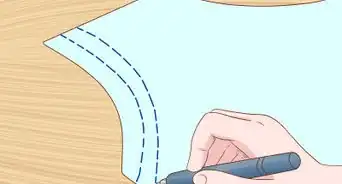
2Mark the stitching lines on the wrong side (the side you won't see in the finished product). Remove the pattern pieces and use a pen to mark a dotted line around the fabric about 1⁄2 inch (1.3 cm) from the edge (your seam allowance). You'll follow this line when you sew up the vest.[2]
-
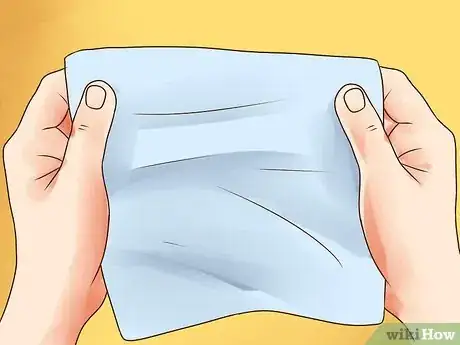
3Repeat Steps 1 and 2 for your lining cloth. When you've finished this, check that the lining pieces line up with the vest pieces.
-
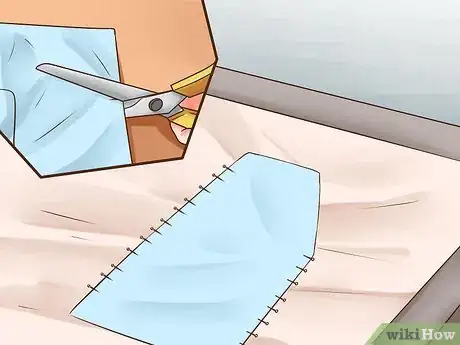
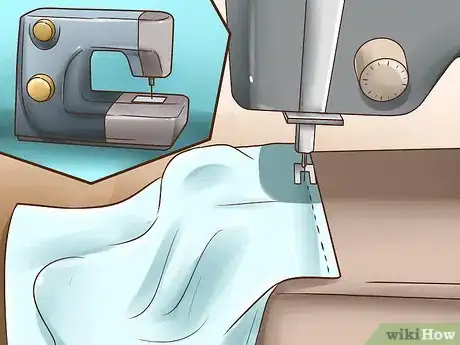
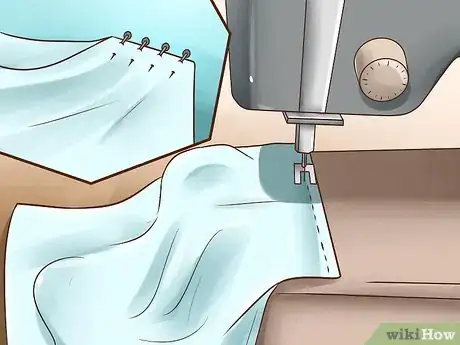
4Using a sewing machine, sew side seams right sides together (RST), vest to vest, lining to lining. At this point, you are not sewing the lining to the vest, but rather working on the two parts separately.
- Right sides together (RST) means that the insides of your seam – the parts touching each other – are the right sides of the cloth (the part with the pattern and/or the one that will be seen in the finished product), while the wrong sides are showing outside.[3]
- At this point, it may be helpful to press the seams flat with an iron if your fabric allows.
-
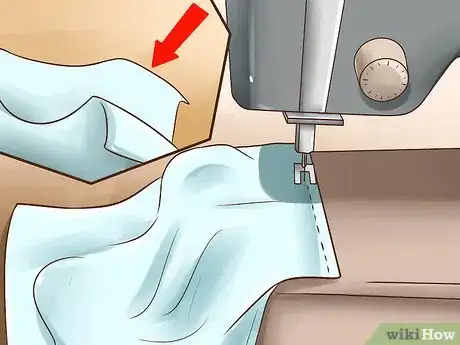
5Sew the vest and lining fabrics together RST, leaving the shoulder seams open. Line up the vest and lining pieces, making sure the side seams and shoulder openings match up. Pin them together and sew along all sides except the shoulder seams (the part at the top between the neck and shoulder openings).
-
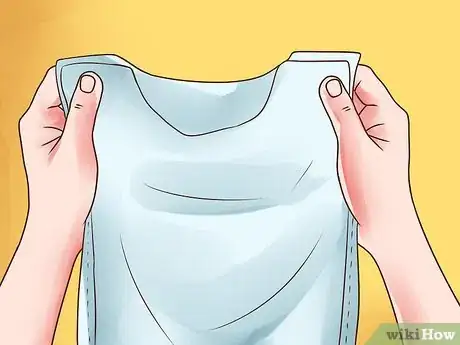
6Turn the fabric inside-out by pulling it through one of the shoulder seams. At this point, the right side of the fabric should be visible for both liner and vest.
-
7Pin and sew shoulder seams. First fold the top 1⁄2 inch (1.3 cm) of the back shoulder piece under, then tuck the front piece in. Place a pin at either end of the shoulder seam and sew together on the back piece, about 1⁄8 inch (0.3 cm) from the edge. Repeat for the other shoulder seam.
-
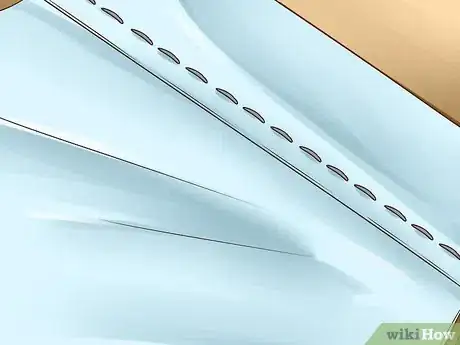
8Add a row of topstitch 1⁄8 inch (0.3 cm) all the way along the edge (optional). A topstitch is a stitch visible from the fabric's right side. While for some vests this may not be desirable, it adds a crisp finish to more tailored pieces. You can make topstitch with your sewing machine.
- For a subtle topstitch, use a regular or lightweight thread that is a similar shade as the fabric. For more contrast, choose a heavier thread and/or a contrasting color.
- Press the vest before adding topstitch for better accuracy.[4]
Adding Closures
-
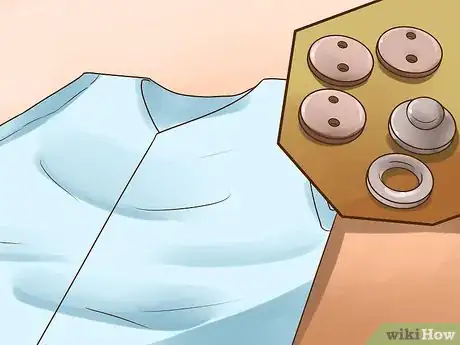
1Decide on a closure type. If you want the option of closing your vest, you'll need to decide how. Buttons and snaps are popular options and easy to add.
- Measure where you want your closures to go. You can eyeball the top and bottom closures and then measure and mark precisely where the middle closures should be. Ensure you have the positions marked evenly on both inside edges so that they line up.
-
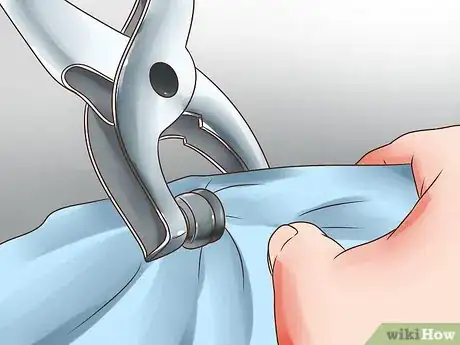
2Add snaps with a snap plier tool. Follow the directions for your particular snap plier. First affix the stub to one side, and next the socket to the other.
-
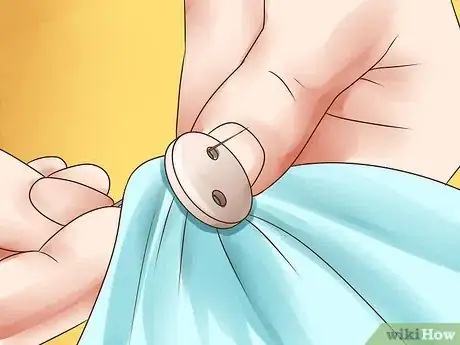
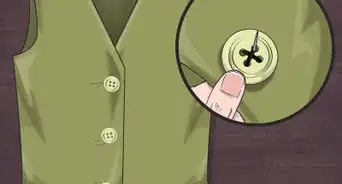
3Add buttons by making button holes and sewing buttons on the opposite side.
- To make button holes by hand, sew two parallel satin stitches the length of the button and connect them at the top and bottom (these are called bar tacks). Place pins at either end of the hole, just along the bar tacks, and slice open the fabric in between the seams using a seam ripper or small, sharp scissors.
- Alternatively, your sewing machine might have an attachment for button holes. Lucky you![5]
- Sew buttons onto the opposite side of the button holes.
Community Q&A
-
QuestionHow do I use pig skin to make an easy vest?
 Community AnswerUsing leather depends on the thickness. For very thin leather, you can probably use a sewing machine. If it's thick, the best way to do it would be to sew the seams (on the inside, so you don't have the seams showing) by hand, keeping the leather lined up perfectly. Or you can try cutting out one continuous piece for the front and back rather than cutting them in separate pieces, leaving the shoulders connected, and lacing the sides.
Things You'll Need
- Newspaper
- Pen
- Fabric scissors
- Fabric
- Sewing machine
- Thread
- Pins
- Snap plier tool (optional)
- Snaps (optional)
- Buttons (optional)
- Seam ripper or small scissors (optional)
- Some sewing experience
References
- ↑ https://www.youtube.com/watch?v=Q7FZKOfTVmQ
- ↑ https://www.youtube.com/watch?v=Q7FZKOfTVmQ
- ↑ http://crazylittleprojects.com/2012/12/sewing-dictionary-with-pictures.html
- ↑ https://www.threadsmagazine.com/2012/07/10/tips-for-better-topstitching
- ↑ http://crazylittleprojects.com/2012/12/sewing-dictionary-with-pictures.html
- ↑ http://howtosew.com/blog/q/what-seam-allowance
About This Article
Before sewing a vest, trace a tank top onto pieces of newspaper or a brown paper bag, with ½ inch added around the outline for seam allowance. Next, use the patterns to draw the pieces onto your fabric, then mark the stitch lines you’ll need to follow when you sew your vest. Sew the lining and vest fabric together, turn the fabric inside out, and finish by sewing the shoulder seams. For step by step instructions on how to sew a vest, along with tips on adding closures like buttons and snaps, read on.
