This article was co-authored by Alterations Express and by wikiHow staff writer, Jessica Gibson. Alterations Express is a salon-style alteration and tailoring house with walk-in service, spacious dressing rooms, fitting specialists, and an extraordinary team of tailors and seamstresses at 13 storefront locations. With over 70 years of experience, they specialize in guiding individuals through a professional fitting, evaluating an alteration project on the spot, express alterations, and immediately providing pricing for any alteration. Alterations Express has been featured on multiple websites such as TheKnot.com.
There are 11 references cited in this article, which can be found at the bottom of the page.
This article has been viewed 112,413 times.
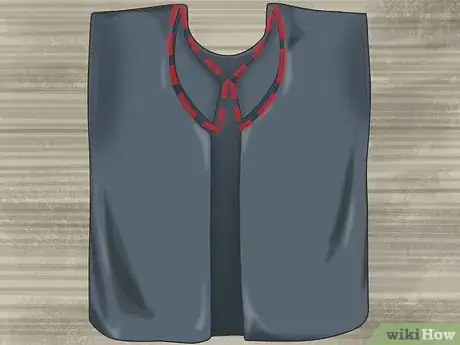
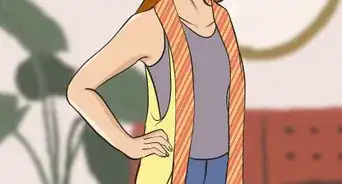
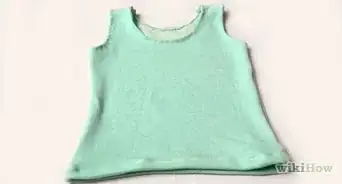
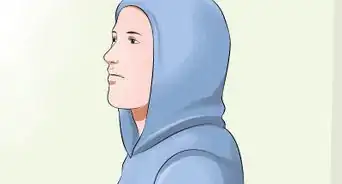
Vests are a great do-it-yourself project for any beginner! You can give life to an old T-shirt by cutting out a vest shape, for instance, or you could work from a pattern to cut your own fabric pieces. Play around with using different fabrics or prints depending on whether you're making a vest for an adult or child. Then, have fun adding buttons or fringe to style your vest.
Steps
Making a No-Sew T-Shirt Vest
-
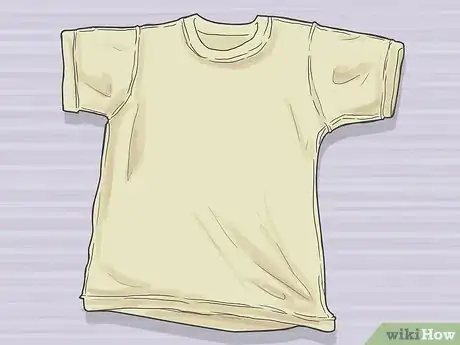
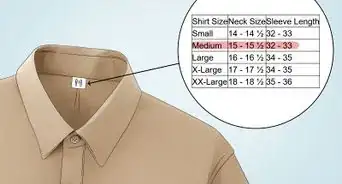
1Choose a T-shirt and turn it inside out. You can use any size T-shirt, but try to find an extra-large if you'd like the vest to be flowy and loose. Then, turn your T-shirt inside out and lay it flat on a work surface.[1]
- If you'd like a more structured vest, you can use an old-button down shirt instead of a T-shirt. Keep in mind that this vest would also have a folded collar.
- You can use a T-shirt with a V-neck or rounded crew neck depending on the look you want for your vest.
-
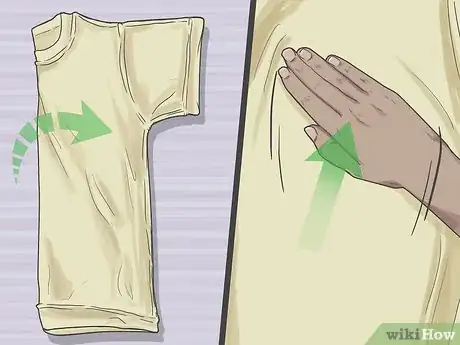
2Fold the shirt in half vertically and smooth the fabric. Bring 1 side of the T-shirt over to the other side so the sleeves and edges of the shirt line up. Smooth out any wrinkles or bumps in the shirt so the fabric will be even when you begin cutting.[2]Advertisement
-
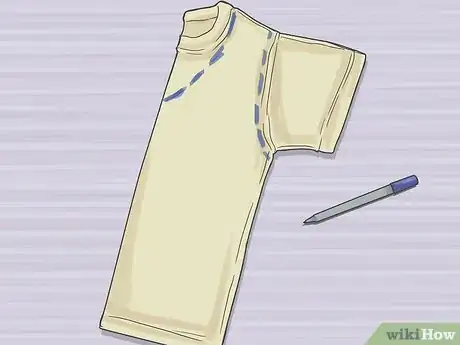
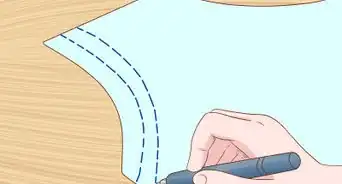
3Use a pen to draw the shape of your vest. Take a washable pen or marker and make a line where you want the neckline to be. For example, if you want to make a deep V-neck, angle a ruler from the top of the shirt to the bottom point of the neckline. Then, draw a line with the marker. You'll also need to draw a rounded armhole that's as large as you like.[3]
- If you don't want the vest to be narrow across the shoulders, don't cut a large armhole. Instead, just cut the sleeves off, but leave the seams in place.
-
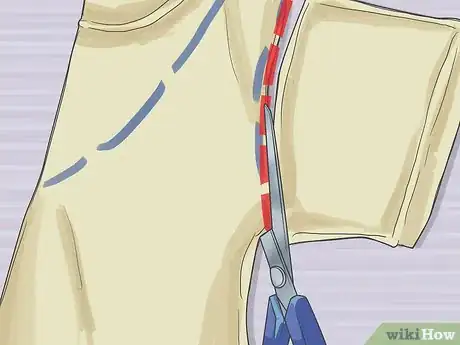
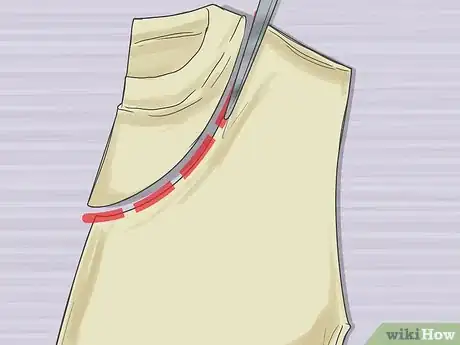
4Cut out the sleeves. Use a sharp pair of scissors to carefully cut out the armhole. Remember to cut through the folded shirt so you cut the other sleeve at the same time.[4]
- If you're concerned that the fabric will move around on you while you're cutting through the sleeves, pin them in place with safety or sewing pins.
Tip: Once you discard the sleeves, you can pull the T-shirt on over your head to see if you cut enough of the sleeves or if you'd like to make adjustments.
-
5Use scissors to cut the neckline before you unfold the shirt. Carefully cut along the line you drew for the neck and ensure that the scissors cut through both layers of the folded T-shirt. Discard the scraps and then turn the shirt right side out as you unfold it.[5]
Tip: If you'd like to leave the back collar of the shirt in place, take care to only cut the front of the shirt when you're making the neckline.
-
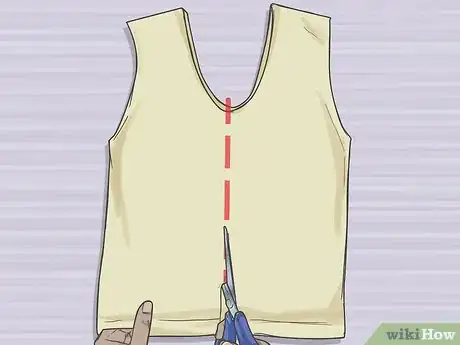
6Cut a straight line down the center of the shirt. Remember that you're only cutting through the top (front) layer of the shirt. If you're concerned that you won't be able to cut a perfectly straight line, use a ruler and mark a line down the center before you cut.[6]
- Your T-shirt should now look like a loose vest.
Variation: If you'd rather make a pullover vest, just don't cut the line down the front of the shirt. Then, you can pull the shirt right over your head.
-
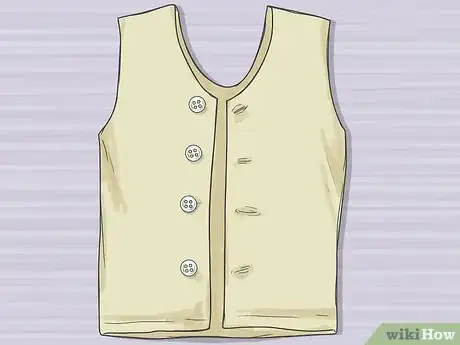
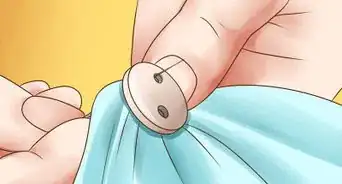
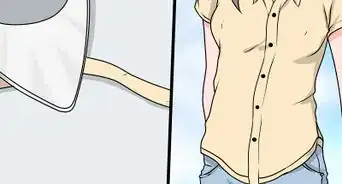
7Add buttons to 1 side of the vest if you want to be able to secure it. Stitch as many buttons as you like to 1 side of the vest's front edge. Then, line up the other side of the vest so you can cut a small slit for each button to slide into.[7]
- For a more professional look, you can use a sewing machine to hem the edges that you cut.
- To decorate your vest, even more, add fabric paint embellishments or iron-on patches to give the vest a little personality.
Creating a Quick No Sew Vest
-
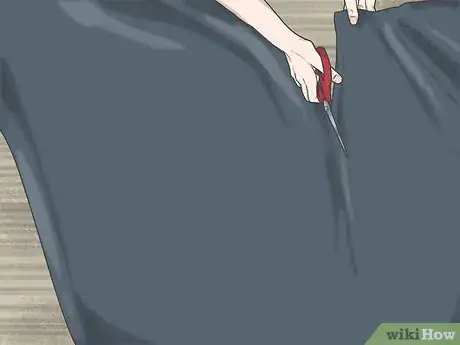
1Cut the fabric to as wide and long as you'd like the vest to be. Unfold about 1 3⁄4 yards (1.6 m) of fabric on a flat work surface. Then, use sharp scissors to cut the fabric so it's twice as long as you want the vest to end up. You'll also need to cut the fabric so it's as wide as you want the vest to be.[8]
- Since you're folding this fabric before you cut it, you'll need to keep it twice as long as you want the vest once you fold it.
Tip: Use any type of fabric you like, such as cotton, wool, fleece, or acrylic.
-
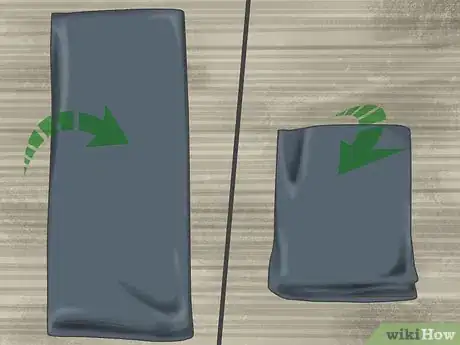
2Fold the fabric in half lengthwise and horizontally. Since the fabric should already be as wide as you like and twice as long as it needs to be, you can just fold the fabric in half lengthwise. Then, fold it horizontally.[9]
- Your fabric should now look like a rectangle.
-
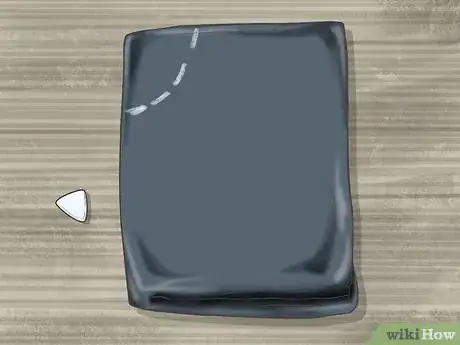
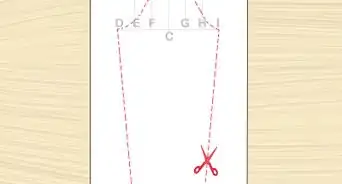
3Draw a curved line in the upper corner of the folded fabric. Use a ruler and make a mark 3 inches (7.6 cm) across from the upper corner of the folded fabric. Then, measure and mark 2 inches (5.1 cm) down from the upper corner of the folded fabric and draw a curved line to connect the 2 marks.[10]
- You can mark on the fabric with chalk or washable marker.
-
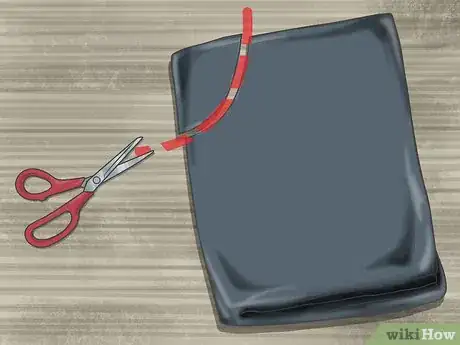
4Cut out the curved line to make the neckline. Try to cut as smooth a line as possible so the neckline of your vest looks even. You can discard the scrap of fabric you cut out.[11]
-
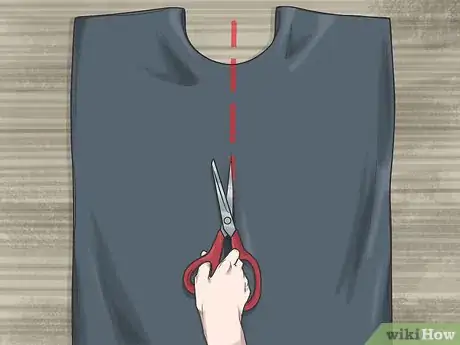
5Unfold the fabric and cut the center of the vest so it opens. Depending on the type of fabric you used, you might still be able to see a fold like from when you folded the fabric in half. You can use this as a guide or just cut a straight line from the bottom center of the front up to the neckline that you cut.[12]
- Your fabric should now look like a vest and you can try it on.
-
6Trim the edges of the vest if desired. Decide if you'd like to cut more of the front fabric at an angle near the neckline, for instance. You can also style your vest by cutting the bottom edges into curves or points.[13]
Sewing a Simple Vest
-
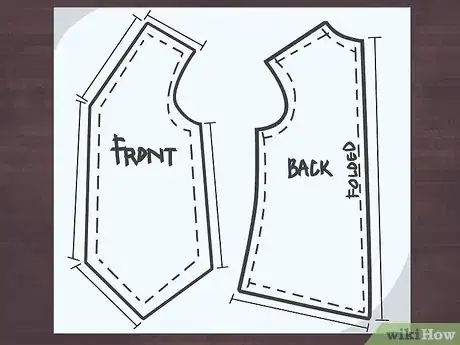
1Open your pattern and choose a vest size. Purchase a vest pattern from a craft store, thrift store, or yard sale. You can also find patterns at some libraries or search for printable patterns online. Since most patterns offer different sizes, read the pattern and pick the size that closely matches your measurements.
- For example, you might find a stylish waistcoat vest for men or a pattern for a simple infant vest.
-
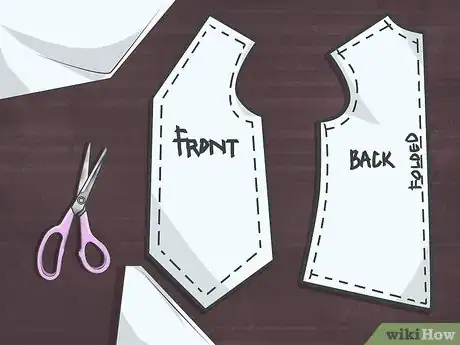
2Cut out the pattern pieces. To make it easier to cut out the pattern size you need, take a highlighter or colored marker and draw along the lines for your pattern size. Then, use scissors to cut out each pattern piece.
- You'll probably need to cut out 1 to 3 pieces for a basic vest.
-
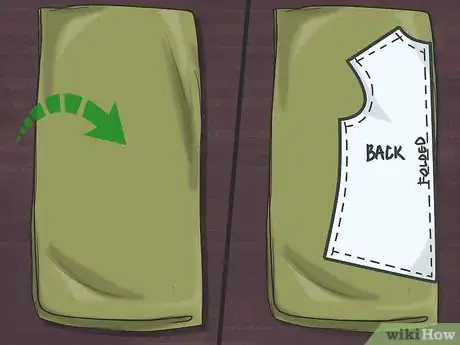
3Fold your fabric and place the back pattern piece on the fold. Follow your pattern instructions and fold about 1 yard (0.91 m) of fabric lengthwise. It should be wide enough to fit the back pattern piece.[14]
- If you're making a simple vest, you might have 1 pattern piece that you cut for the front and back of the vest.
- You may want to pin the fabric in place to keep it from moving around as you work.
Tip: You can use any type of fabric you like for your vest. Keep in mind that stretchy fabrics, such as knits, will create a flowy vest. If you're making a child's vest, consider using fleece since it's soft and won't fray.
-
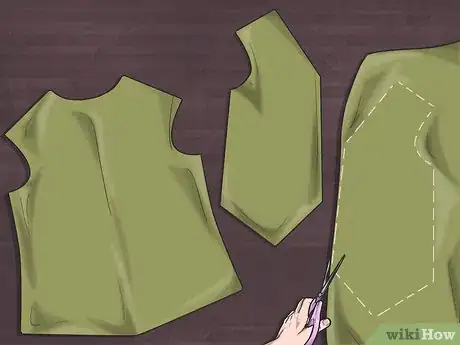
4Cut out all of your fabric pieces. If you placed a pattern on the fold, cut around the pattern, but don't cut the folded side. When you remove the pattern and unfold the fabric, you'll see a large back piece for the vest. Then, cut out the 2 front pattern pieces.[15]
- For the front pieces, you won't cut on the fold since you'll need 2 smaller fabric pieces.
-
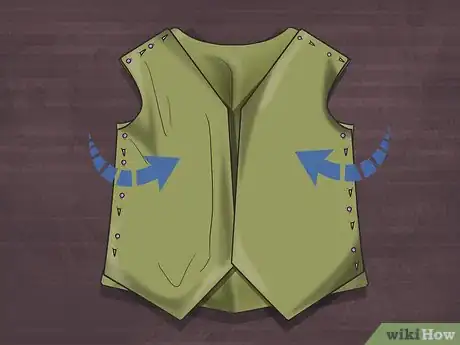
5Lay the front pieces on top of the back piece. Place the back piece of fabric so the patterned side is facing up. Then, arrange the 2 front fabric pieces on the back piece so the pattern faces down.[16]
- If you're using felt, it doesn't matter which side you lay up or down since the fabric is the same on both sides.
Tip: To make it easier to handle the fabric pieces as you bring them to your sewing machine, consider pinning them in place with sewing pins.
-
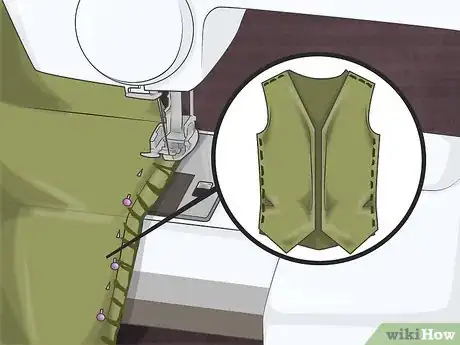
6Sew the shoulders and sides of the vest leaving space for armholes. Use a sewing machine to stitch a straight line across the top of the vest. This will make the shoulders. Then, sew both sides of the vest. Remember to leave about a 1⁄2 inch (1.3 cm) seam allowance.[17]
- To secure your stitches, it's a good idea to make a few forward and back stitches when you start sewing.
-
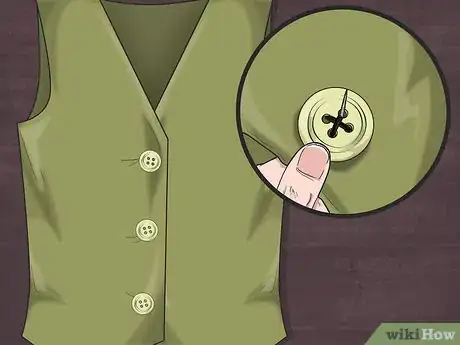
7Turn the vest right side out and embellish it if you like. Try on the vest to ensure that it fits properly and decide if you'd like to add buttons. You could even add fringe or binding along the edges.[18]
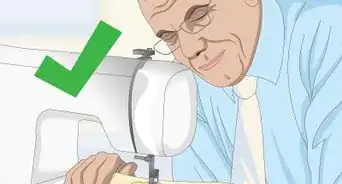
- To give your vest a professional look, consider hemming the raw edges of the fabric. Keep in mind that you don't need to do this if you used fleece.
Things You'll Need
Making a No-Sew T-Shirt Vest
- T-shirt
- Scissors
- Buttons, optional
- Thread, optional
- Sewing needle, optional
Creating a Quick No Sew Vest
- Fabric
- Scissors
Sewing a Simple Vest
- Jacket or another vest
- Fabric
- Scissors
- Sewing pins
- Sewing machine
References
- ↑ https://youtu.be/FPI1mvDgW1s?t=9
- ↑ https://youtu.be/FPI1mvDgW1s?t=29
- ↑ https://www.clarkscondensed.com/diy/how-to-make-a-vest-out-of-a-shirt/
- ↑ https://youtu.be/FPI1mvDgW1s?t=56
- ↑ https://youtu.be/FPI1mvDgW1s?t=66
- ↑ https://www.clarkscondensed.com/diy/how-to-make-a-vest-out-of-a-shirt/
- ↑ https://www.clarkscondensed.com/diy/how-to-make-a-vest-out-of-a-shirt/
- ↑ https://www.joann.com/how-to-make-a-no-sew-vest/27810884P100.html
- ↑ https://www.joann.com/how-to-make-a-no-sew-vest/27810884P100.html
- ↑ https://www.joann.com/how-to-make-a-no-sew-vest/27810884P100.html
- ↑ https://www.joann.com/how-to-make-a-no-sew-vest/27810884P100.html
- ↑ https://www.joann.com/how-to-make-a-no-sew-vest/27810884P100.html
- ↑ https://www.joann.com/how-to-make-a-no-sew-vest/27810884P100.html
- ↑ https://youtu.be/ulWbsu-EiQg?t=168
- ↑ https://youtu.be/ulWbsu-EiQg?t=191
- ↑ https://youtu.be/ulWbsu-EiQg?t=283
- ↑ https://youtu.be/ulWbsu-EiQg?t=303
- ↑ https://youtu.be/ulWbsu-EiQg?t=1055
About This Article
To make a no-sew T-shirt vest, choose a shirt, turn it inside out, and lay it flat on a work surface. Fold the shirt in half vertically and use a washable pen or marker to draw a line where you want the neckline to be. Then, cut off the sleeves, taking care to cut through the folded shirt so that both sleeves are removed. After that, cut the neckline along the line you drew and unfold the shirt. Cut a straight line down the center of the shirt, this time cutting through just the top layer. At this point, your vest is ready to wear, but you can add embellishments, like buttons or patches, if you'd like! For tips on sewing a simple vest, read on!
