This article was co-authored by wikiHow staff writer, Jessica Gibson. Jessica Gibson is a Writer and Editor who's been with wikiHow since 2014. After completing a year of art studies at the Emily Carr University in Vancouver, she graduated from Columbia College with a BA in History. Jessica also completed an MA in History from The University of Oregon in 2013.
There are 8 references cited in this article, which can be found at the bottom of the page.
This article has been viewed 17,821 times.
Learn more...
Attaching a liner to your curtains might seem like a hassle, but curtain lining tape makes it easy! Buy curtain lining tape that gives your curtains the type of gather you're looking for. As long as you cut a piece that's slightly longer than the liner's width, you'll be able to sew a basic pencil pleat liner in less than 15 minutes.
Steps
Choosing a Lining Tape
-
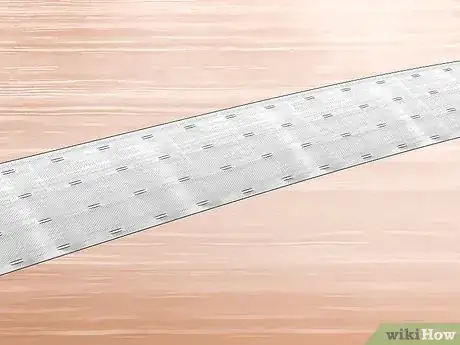
1Buy pencil pleat tape to work with a variety of curtains. Pencil pleats are the most common type of lining tape since they make evenly spaced pleats that are about as wide as a pencil and they work with short or full-length curtains. This means that they're great for both traditional and modern decor.[1]
- Pencil pleat tape has 3 vertical pockets across the length of it so you can adjust the level at which you hang the curtains.
Did You Know? The width of the pleats is customizable. You'll use the strings at the ends to pull the lining tape until it gathers as much as you like.
-
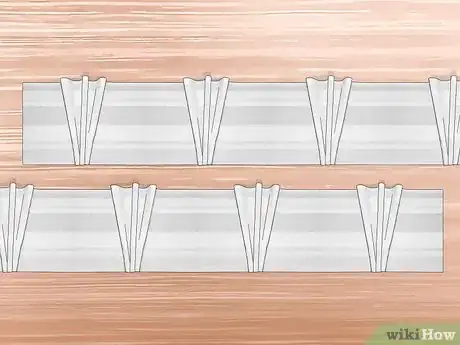
2Choose decorative pleat tape if you want a more formal look. Although pencil pleats are standard on most curtains, you can give your curtains a fancy style by using diamond or smocking tape. You'll sew it onto the curtain the same way you would the pencil tape, but when you pull the strings the tape gathers into a diamond or smoked style.[2]
- Again, you can make the pleats as wide or narrow as you want by pulling the strings at the end.
Advertisement -
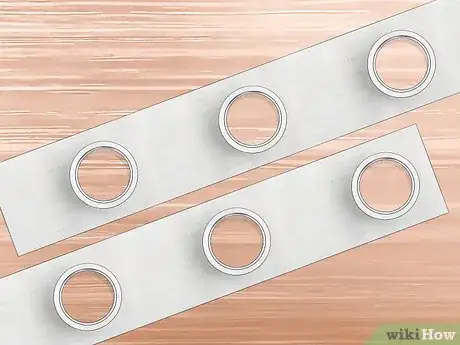
3Get eyelet heading tape if you want to hang the curtains from grommets. You've probably seen curtains that have holes in the top for the curtain rod to slide through. If you want to attach this type of heading tape, just keep in mind that you'll need to cut the circles of fabric out from the middle of the grommets.[3]
- Some eyelet heading tape contains shirring, which means you can pull the strings at 1 end to gather the top of the curtain.
Pinning the Tape
-
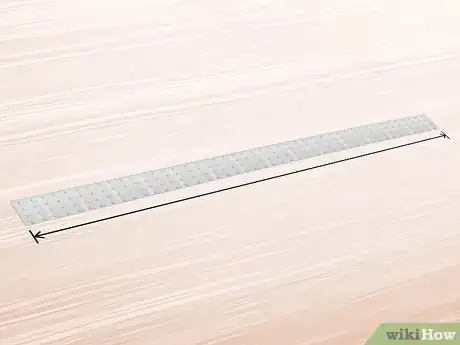
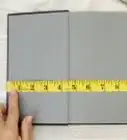
1Spread your lining right-side up and measure the width across the top. Get out the curtain lining that you want to attach to your curtain. Keep in mind that the liner needs to be the same size as the curtain. Spread it flat so you can stretch a measuring tape from 1 side of the lining to the other side and write down your measurement.
- You can buy or make your own lining to match the size of your curtain panels.
-
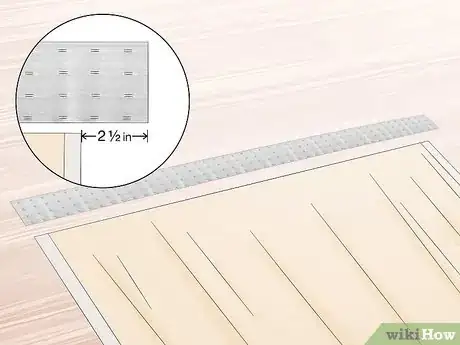
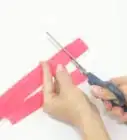
2Cut the lining tape so it's 2 1⁄2 in (6.4 cm) longer than the measurement. Your tape needs to be longer than the curtain measurement so you can tuck the ends of the tape under to hide the raw edges.
- The raw edges of the tape have a few exposed strings that you'll use to gather the curtain.
-
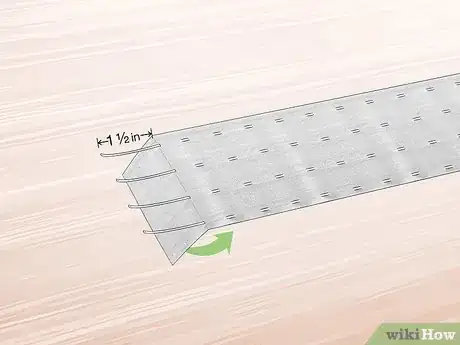
3Pull the strings 1 1⁄2 in (3.8 cm) away from each end and tuck the ends under. Tug on the exposed strings that are at 1 end of the lining tape so you'll be able to grasp them and gather the curtains later. Leave the strings free and tuck about 1 1⁄4 inches (3.2 cm) of the tape under itself at that end. Then, repeat this for the other end of the tape.[4]
-
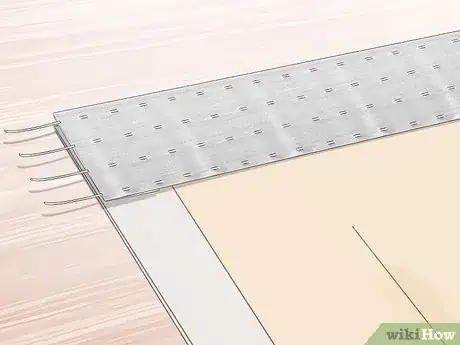
4Lay the tape across the top of the liner so the loops face up. Position the tape so it's even across the top of the liner and the corners match up. Keep the ends of the tape tucked under so you don't see their raw edges.
- Remember that the flat side of the tape should be facing down and the bumpy side with loops faces up. This way, you'll be able to work hooks into the tape.
-
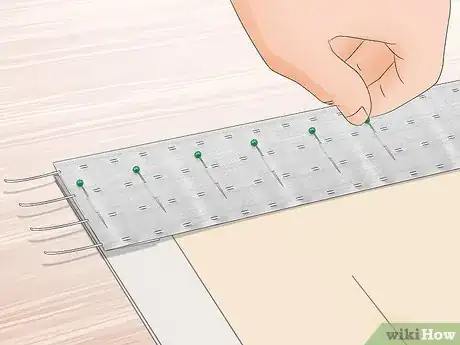
5Pin the tape to the lining so it doesn't slide around. Once you've positioned the tape at the top of your curtain liner, insert sewing pins vertically through the middle of the tape. Leave about 2 inches (5.1 cm) between each pin.[5]
Tip: You'll save time by pushing the pins through the center of the tape, not the top since you won't have to remove pins as you sew.
Stitching the Tape to the Curtain
-
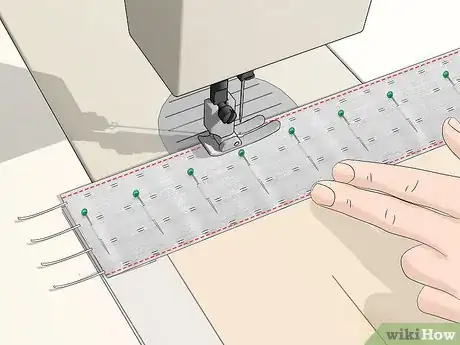
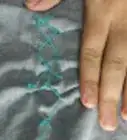
1Straight stitch along the top and bottom of the tape. Take the material over to your sewing machine and use a simple straight stitch to sew across the top of the tape so it's attached to the liner. Then, sew straight stitches along the bottom of the tape so it's completely secure.[6]
- Don't sew across the ends of the tape or you'll stitch the strings in place and you won't be able to gather the curtains.
-
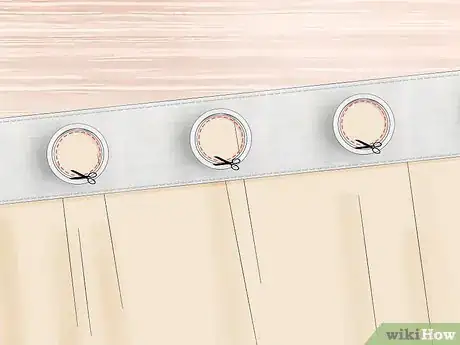
2Cut out the circles of fabric if you're using grommet tape. Although pencil or pinched pleat tape doesn't need any cutting, you will need to get rid of the fabric between the circles in grommet tape. To cut out a circle, bend the fabric to make a crease in the center of the circle. Then, use scissors to cut a slit across it. Insert the scissors through the slit and cut around the circle where it meets the tape.[7]
- Discard the fabric scraps and cut holes for each of the circles.
-
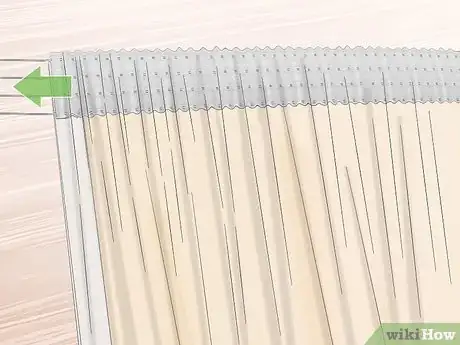
3Pull the strings at the ends to create a ruffle that matches your curtain. It can help to hold the liner up to your hanging curtain so you can compare how gathered the fabric is. Once your liner is as ruffled as you like, tie the strings at each end into a loose knot and push them under the lining tape.
- Keep the strings on the tape instead of cutting them. This allows you to adjust the gather of the liner later.
-
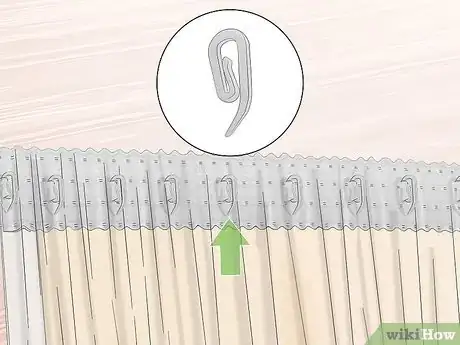
4Feed hooks through the lining tape and attach the liner to the curtain tape. Take metal or plastic curtain hooks and insert them through the loops of the lining tape. Use 1 hook about every 4 loops across the tape. Then, lay the lining onto the back of your curtain and hook it onto the curtain's tape.[8]
Tip: Use metal hooks for heavy fabrics since plastic hooks can bend or snap under heavy weight.
Things You'll Need
- Fabric scissors
- Liner
- Measuring tape
- Sewing pins
- Header tape
- Header tape hooks
- Sewing machine
- Scissors
References
- ↑ https://books.google.com/books?id=LnDACAAAQBAJ&pg=PT175&lpg=PT175&dq=types+of+curtain+lining+tape+-store+-shop+-blog&source=bl&ots=b6T2qOb1zr&sig=ACfU3U1e1TTsARGDp0CSvXIYg54CLiLNcQ&hl=en&sa=X&ved=2ahUKEwjTiMOY6YbpAhWRtJ4KHRDIAHQ4ChDoATABegQICBAB#v=onepage&q=types%20of%20curtain%20lining%20tape%20-store%20-shop%20-blog&f=false
- ↑ https://youtu.be/6Ai-Kh1ZwwA?t=160
- ↑ https://youtu.be/Li6KpEV10IQ?t=27
- ↑ https://youtu.be/tmKz2_KTEcU?t=629
- ↑ https://youtu.be/tmKz2_KTEcU?t=667
- ↑ https://youtu.be/tmKz2_KTEcU?t=669
- ↑ https://youtu.be/wma5hwmbRaw?t=1633
- ↑ https://youtu.be/tmKz2_KTEcU?t=1026
