This article was co-authored by Mitchell Newman. Mitchell Newman is the Principal at Habitar Design and its sister company Stratagem Construction in Chicago, Illinois. He has 20 years of experience in construction, interior design and real estate development.
There are 15 references cited in this article, which can be found at the bottom of the page.
This article has been viewed 18,987 times.
Hardwood floors are a great flooring option but can get damaged in a number of ways. Luckily, even if you have extensive damage, it's possible to fix portions of the floor without replacing the entire thing. If you have heavily damaged or rotting floorboards, you should remove and replace the boards. Heavily scratched or dulled floors can be refinished with polyurethane to restore their luster.
Steps
Removing and Replacing Damaged Boards
-
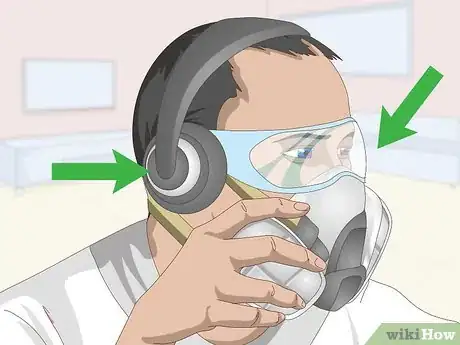
1Wear the proper safety equipment. Wear safety glasses and hearing protection when working with drills and saws. You should also wear a respirator and work in a well-ventilated area. Remove any hanging jewelry or baggy clothing as well.
- Always read the instruction manual before using power tools.
-
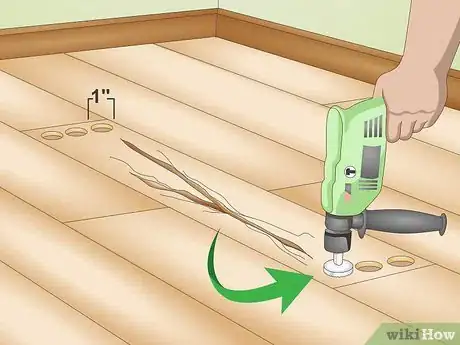
2Drill 3 holes into both ends of the damaged board. Use a 1 inch (2.5 cm)-diameter spade bit attached to an electric drill to make 3 holes into each end of the board. Space each hole so that they are parallel with each other. Drill the holes 1⁄2 inch (1.3 cm) deep so that you don’t drill into the subfloor under your hardwood flooring.[1]
- These relief holes make it easier to pull up damaged boards without damaging other boards around them.
- You should have a total of 6 holes in your damaged board.
Advertisement -
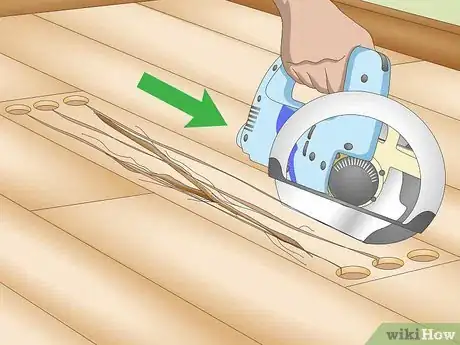
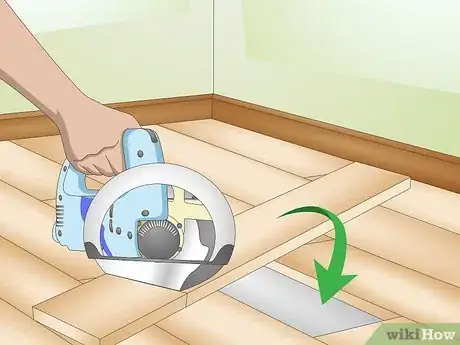
3Cut down the length of the board to create relief cuts. Set a circular saw to a cutting depth of 1⁄8 inch (0.32 cm) so that you don't cut through the subfloor under your hardwood flooring. Position the circular saw over one of the holes that you drilled. Hold the saw by the handle and press the trigger to engage the blade. Push the saw down the length of the board until you reach the hole on the opposite end of the board. Repeat this process on all of the holes you drilled.[2]
- If you don't have a circular saw, you can rent one from a hardware store.
- These relief cuts will make it easier to pull out the boards.
- You should have 3 cuts that run down the length of the board once you’re done.
- Refer to the instruction manual that came with the circular saw if you’re unsure how to set the cutting depth.
- You can also find directions on how to set the cutting depth for your particular saw on the manufacturer's website.
-
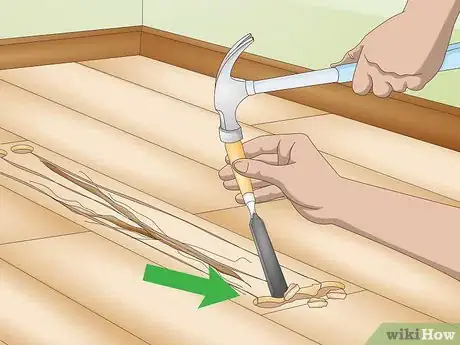
4Chisel around the edges of the board to create straight edges. Position the flat end of the chisel against the round edges of the holes that you drilled. Hit the top of the chisel with a hammer to create straight edges around the holes.[3]
- The board should lift up fairly easily once you’ve chiseled both of the short ends of the board.
- Be careful when using the chisel so that you don't destroy the tongue or groove of the boards next to the one you’re trying to remove.
-
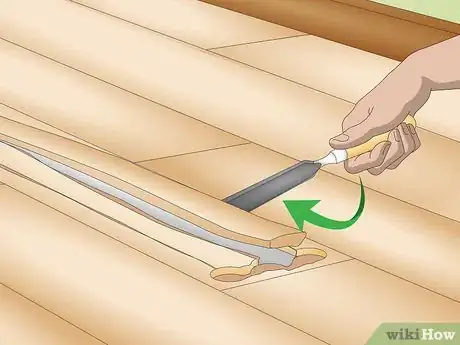
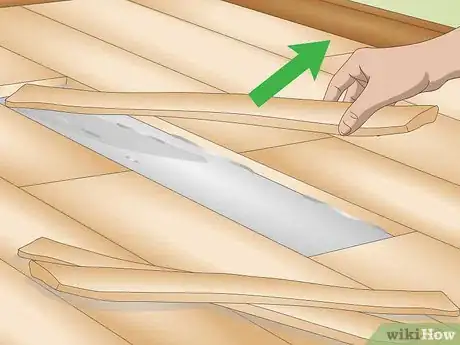
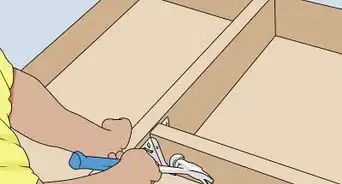
5Pry the boards up with the chisel. Wedge the flat end of the chisel into the cut that you made with the saw. Push down on the handle or hit the handle with a hammer to pry the board up and loosen it from the floor. If there are pieces still stuck on the floor, use the chisel to pry them up from the subfloor.[4]
- Remove the damaged board as cleanly as you can. Avoid tearing or ripping pieces out.
-
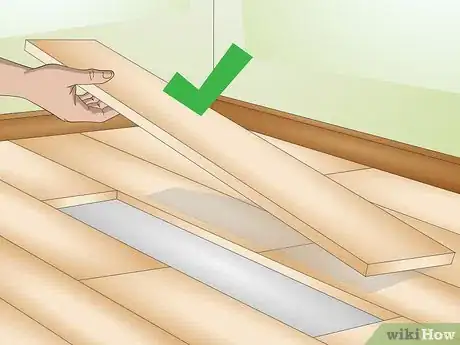
6Pull up the rest of the damaged boards. Repeat the process on all of the boards that are damaged. Clean up the sawdust and debris with a shop vac once you’ve lifted up all of the damaged boards that you want to replace.[5]
-
7Purchase replacement boards. Use any leftover boards from the initial installation as replacement boards. If you don't have any leftover boards, you’ll have to take the damaged board to a hardware store and try to find the same kind of flooring. Purchase enough wooden boards to replace the ones that are damaged.[6]
- If you know the dimensions and material of your flooring, you can also purchase it online.
-
8Cut your replacement board to fit the empty space, if necessary. If the damaged board was cut to fit the space, you’ll have to cut the new board to the same size. Measure the empty space with a tape measure and use a circular saw or table saw to cut the replacement board so that it fits in the empty space.[7]
- If you have boards that are the same size as your previous boards, cutting may not be required.
-
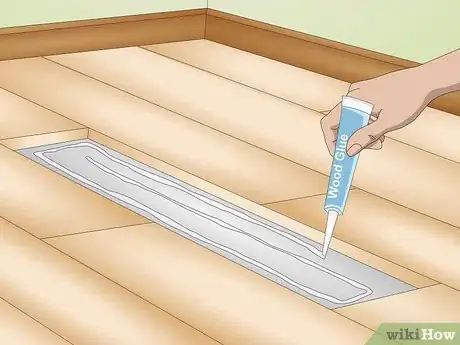
9Squeeze wood glue on top of the subfloor. Purchase wood glue from a hardware store or online. Squeeze the tube in a squiggly motion over the top of the subfloor. The glue should cover the subfloor, but shouldn't bust out of the sides of the new floor when you lay down new boards. The glue will keep the replacement board in place.[8]
- Work on one board at a time or the glue may dry before you lay the boards down.
-
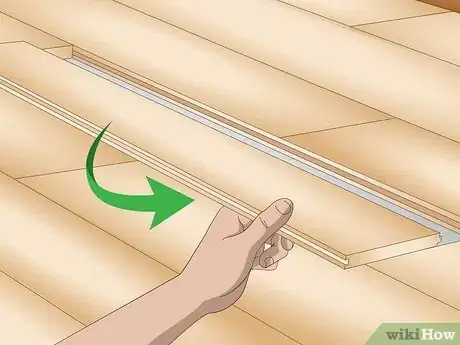
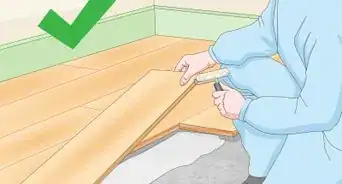
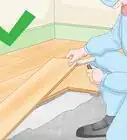
10Fit the groove into the tongue of the existing board. Push the small extruding portion on the edge of the new board into the groove in the existing board on the floor. Press down on the new board to adhere it to the subfloor. Tap the board into place with a rubber mallet to ensure that there are no empty spaces around the new board.[9]
- Make sure that there is no space between the new board and old boards before moving onto the next replacement board.
-
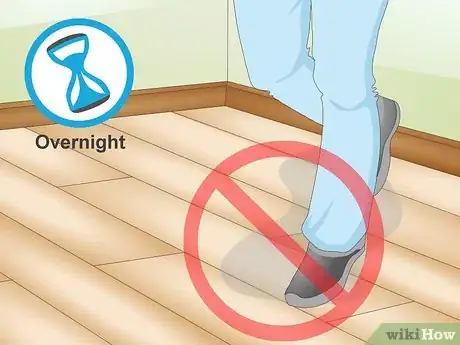
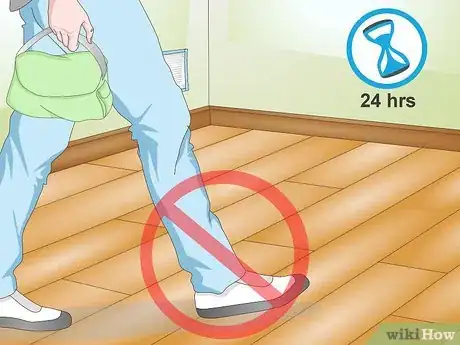
11Let the glue dry overnight. Take a final look at the replacement boards and make any final adjustments to them before they dry. Don’t walk on top of the new boards for 24 hours so that the glue can fully dry and the new boards can set in place.
Refinishing Hardwood Floors
-
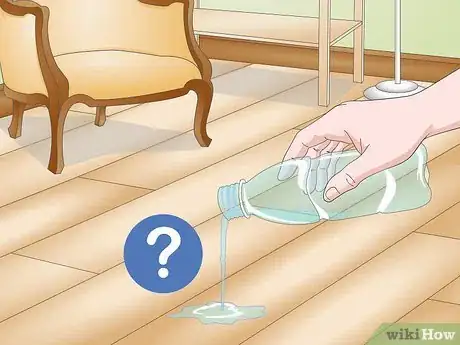
1Pour a small amount of water on the floor to see if it needs refinishing. See whether the boards absorb the water that you pour on them. If the water pools on top of the floor, it’s likely that your floor just needs to be cleaned. If the water droplets are absorbed by the boards, it means that the finish has worn off and that your floors should be refinished.[10]
- Wipe the floor dry after you conduct this test.
- Test different sections of the floor to see if the finish has worn off on any part of the floor.
-
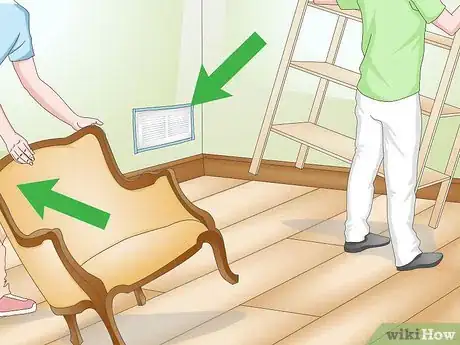
2Clear the room of furniture and cover all fixtures. Sanding the floors will create a lot of sawdust which will get on furniture and fixtures in the room. Move carpets, drapes, furniture, and accessories into another room. Use plastic tarps purchased from a hardware store to cover things that can’t be moved, like permanent light fixtures, vents, and fireplaces.[11]
- If you don’t have plastic tarps, use old sheets.
-
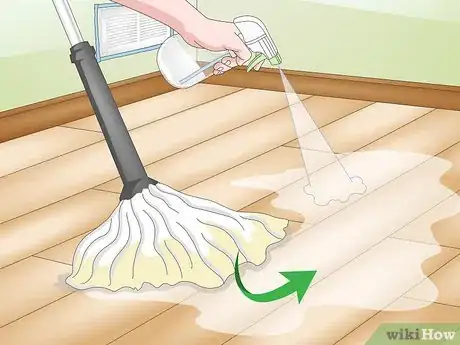
3Sweep and clean the floors with a liquid floor cleaner. Before you start sanding, it’s important that your floors are free of dirt and debris. Sweep up all the dust from the floor with a broom and dustpan. Mix a couple of drops of liquid floor cleaner in a bucket of water and wash down the hardwood with a mop.[12]
- If you don't have hardwood floor cleaner, you can also use dish soap and water.
-
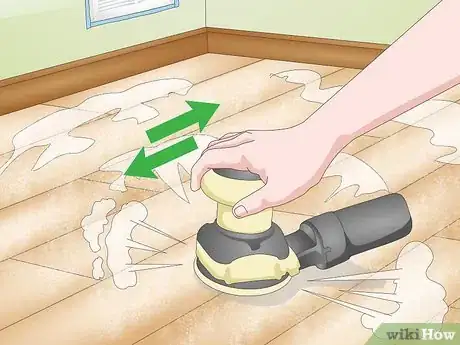
4Buff the floors with a buffing machine. Rent or purchase a buffing machine from a hardware store. Start in one section of the room and swing the buffer left to right, going over each area of floor 2-3 times. Move the buffer down the length of the floor and then work your way back up the room, overlapping the initial buffing 2–3 inches (5.1–7.6 cm). Continue to do this until you've buffed the entire floor.[13]
- Buffing the old finish will turn it into powder, so you’ll know which areas you’ve already gone over.
- Buffing the hardwood will smooth the floor and will help the polyurethane adhere to it.
-
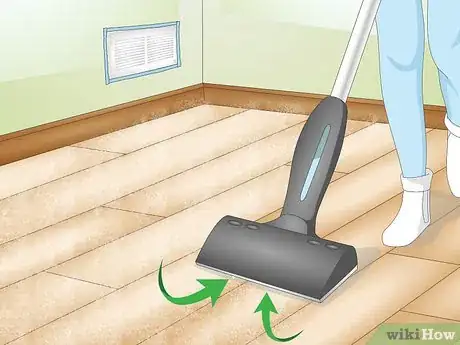
5Vacuum the floor. After you buff the floor, a layer of dust will be on the hardwood. Use a shop vac to remove all of the sawdust from the floor.[14]
-
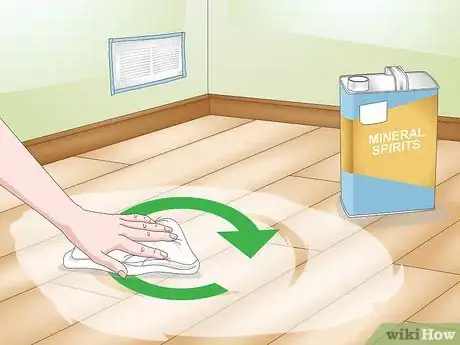
6Wipe down the floor with mineral spirits. Dampen a rag with mineral spirits and wipe down the floor with the rag in a circular motion until the entire floor has been covered. This will completely clean your floor and ensure that all dust and dirt particles have been picked up. Let the spirits dry for 15-30 minutes before you start applying the finish.[15]
- Cleaning with mineral spirits will help the finish adhere to the floor.
-
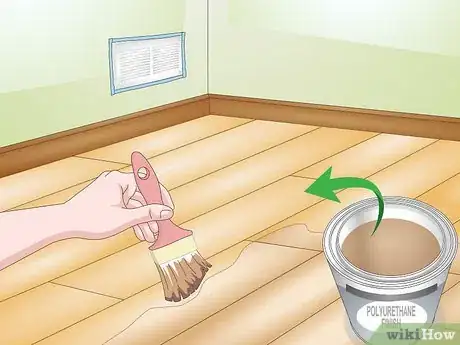
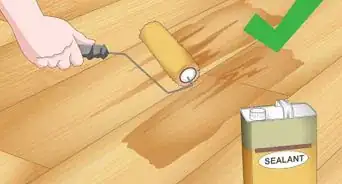
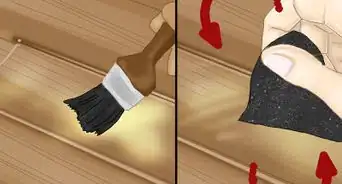
7Apply a layer of the polyurethane to the floor. Mix the polyurethane finish with a wooden stick according to the directions. Dip an applicator or brush into the polyurethane and start painting the finish onto the floor, starting in the corner of the room furthest from the door. Lay down a single layer of the finish with a brush or applicator in long broad strokes. Continue painting the finish onto the wooden floor until you’ve applied a single layer to the entire floor.[16]
- Work in a well-ventilated area and wear a ventilation mask when working with polyurethane.
- Water-based polyurethane is more durable than oil-based polyurethane and initially has a milky appearance before it dries clear.
- Oil-based polyurethane has a yellow hue that darkens over time and dries slower than water-based polyurethane.
-
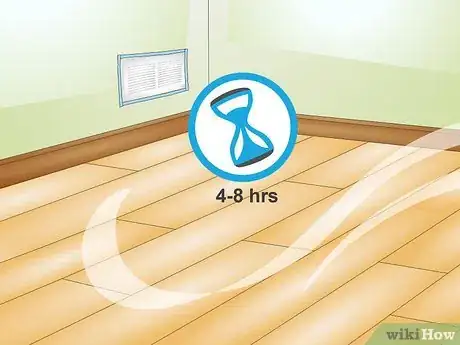
8Let the finish dry for 4-8 hours. Water-based polyurethane will take around 4 hours to dry before you can apply a second coat. Oil-based variations typically take around 8 hours to dry. Look on the polyurethane label to determine the exact drying time for what you're using.[17]
- If you have pets, remember to lock them in a room so that they don’t walk over your newly applied finish.
- Use fans to quicken the drying process.
-
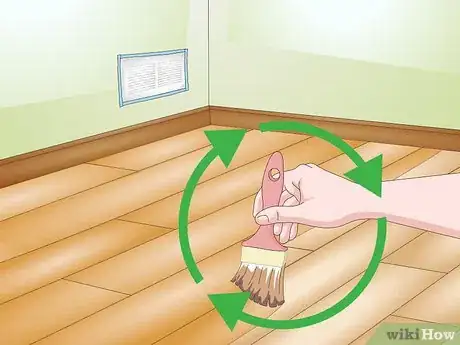
9Apply a second coat of polyurethane. Dip your brush or applicator into the polyurethane and apply the finish towards the grain. Start in the same corner of the room that you started in when you applied the first coat and start painting the corners of the room before working your way towards the door.[18]
-
10Avoid walking on the floor for 24 hours. Once the finish dries, the floor should not feel tacky or wet. Don’t walk over the finish or you will create bumps and unevenness in the floor. Once the finish completely dries, your floor will have a layer of finish that will protect it from scuffs and scratches.[19]
Fixing Scratched and Cracked Floors
-
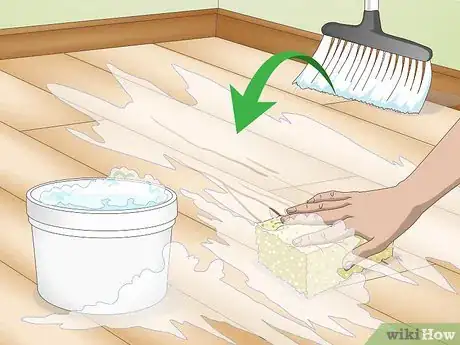
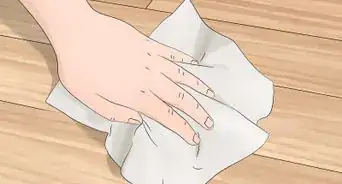
1Sweep and clean the floor with soap and water. Lift up all of the dust and dirt from the floor with a broom before you mop it down. Then, mix a drop of mild dish soap with warm water in a bucket or bowl. Dip a sponge or mop into the bucket or bowl and wipe down the floor thoroughly. This will clean the area and will prevent you from trapping dirt under any filler that you put on the surface of the floor.[20]
- Sweep the crevices in between the floorboards with the broom to lift up any dirt or debris from within the cracks in the floor.
- Let the floor air dry or wipe it down with a clean rag or sponge.
- Sweep and mop the floor at least once a week to properly maintain it.
-
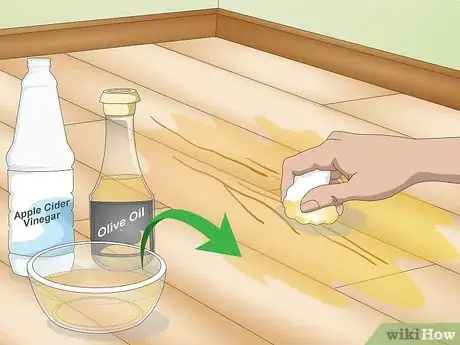
2Wipe down minor scratches with apple cider vinegar and olive oil. Mix equal portions of apple cider vinegar and olive oil into a bowl or cup. Dab the tip of a rag in the solution and wipe the rag over the scratches on your floor. Let the solution dry for 1-2 hours before walking on the floor.[21]
- This natural solution will remove light scratches created by a pet or normal wear and tear.
-
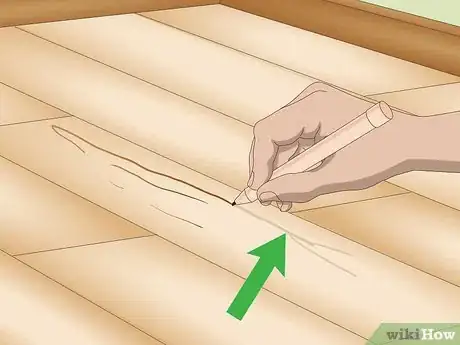
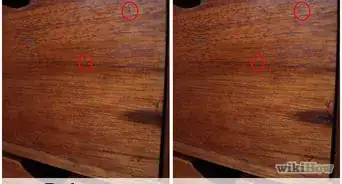
3Darken light scratches with a blending pencil or stain filler. Match the color of the blending pencil with the tone of your hardwood floors. Pop the cap of the pencil off and fill in the scratches to match the tone of the hardwood. If you’re using stain filler, dip the end of a cotton swab in the filler and fill in the scratches on the floor. This will conceal the appearance of scratches.[22]
- You can purchase blending pencils and stain filler online or at hardware stores.
-
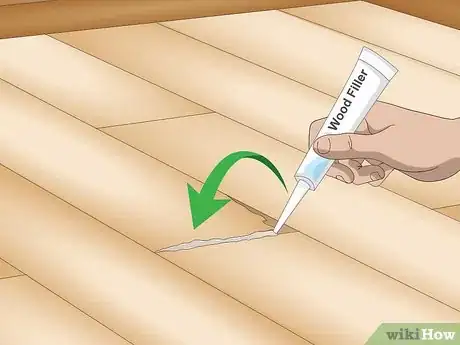
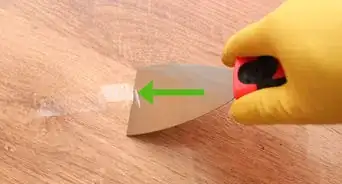
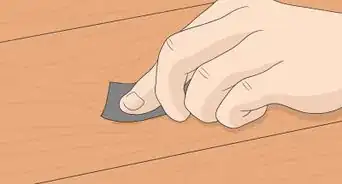
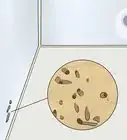
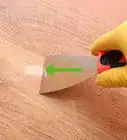
4Squeeze wood filler into deep cracks. You can purchase wood filler at a hardware store or online. Squeeze the tube of wood filler into the crack that you want to fix and smooth it over with a rag. Slide an expired credit card or putty knife against the surface of the floor to remove any excess filler that may squeeze out of the sides of the boards. Let the filler dry for 24 hours before walking on your floors.[23]
- Wood filler is a better solution for cracks that are deeper than 1 inch (2.5 cm) rather than superficial scratches.
- You can darken the wood filler with a blending pencil or stain filler once it has dried.
-
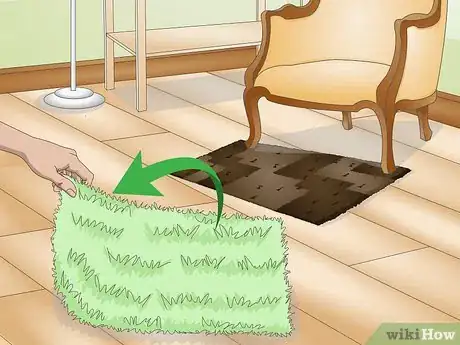
5Use area rugs and doormats to prevent scratches from occurring. Encourage people to wipe their shoes off on rugs and doormats to prevent dirt and small stones from getting onto the surface of your floor and scratching it. Lay down area rugs in places that experience high foot traffic to reduce the wear and tear on your hardwood floors.[24]
Expert Q&A
-
QuestionHow does click-lock flooring work?
 Mitchell NewmanMitchell Newman is the Principal at Habitar Design and its sister company Stratagem Construction in Chicago, Illinois. He has 20 years of experience in construction, interior design and real estate development.
Construction Professional If you have a click-lock floor, the boards just click into place, and they don't need to be attached to the subfloor.
Things You’ll Need
Removing and Replacing Damaged Boards
- Safety glasses
- Hearing protection or earplugs
- Electric Drill
- 1 inch (2.5 cm)-diameter spade bit
- Circular saw
- Chisel
- Hammer
- Broom
- Replacement wooden floorboards
- Circular Saw
- Hammer
Refinishing Hardwood Floors
- Water
- Tarp or sheets
- Floor cleaner
- Mop and bucket
- Broom
- Vacuum
- Mineral spirits
- Rag
- Water or oil-based polyurethane finish
Fixing Scratched and Cracked Floors
- Dish soap
- Water
- Broom
- Mop
- Sponge
- Apple cider vinegar
- Olive oil
- Rag
- Blending pencil or stain filler
- Wood filler
- Area rugs or doormats
- Sandpaper
- Wood finish
References
- ↑ https://www.thisoldhouse.com/ideas/patching-damaged-wood-floors
- ↑ https://youtu.be/8Rgw2TkyYEQ?t=3m19s
- ↑ https://youtu.be/VZrfXRk1uFI?t=1m
- ↑ https://youtu.be/8Rgw2TkyYEQ?t=4m43s
- ↑ https://youtu.be/8Rgw2TkyYEQ?t=8m11s
- ↑ https://youtu.be/VZrfXRk1uFI?t=1m21s
- ↑ https://youtu.be/VZrfXRk1uFI?t=1m43s
- ↑ https://youtu.be/VZrfXRk1uFI?t=2m8s
- ↑ https://youtu.be/VZrfXRk1uFI?t=1m46s
- ↑ https://www.lowes.com/projects/build-and-remodel/refinish-a-hardwood-floor/project
- ↑ https://www.lowes.com/projects/build-and-remodel/refinish-a-hardwood-floor/project
- ↑ https://www.familyhandyman.com/floor/hardwood-floors/how-to-refinish-hardwood-floors/view-all/
- ↑ https://www.familyhandyman.com/floor/hardwood-floors/how-to-refinish-hardwood-floors/view-all/
- ↑ https://www.lowes.com/projects/build-and-remodel/refinish-a-hardwood-floor/project
- ↑ https://www.lowes.com/projects/build-and-remodel/refinish-a-hardwood-floor/project
- ↑ https://www.familyhandyman.com/floor/hardwood-floors/how-to-refinish-hardwood-floors/view-all/
- ↑ https://www.thisoldhouse.com/how-to/how-to-refinish-wood-floors
- ↑ https://www.thisoldhouse.com/how-to/how-to-refinish-wood-floors
- ↑ https://www.familyhandyman.com/floor/hardwood-floors/how-to-refinish-hardwood-floors/view-all/
- ↑ https://www.familyhandyman.com/floor/10-tips-for-wood-floor-scratch-repair/view-all/
- ↑ https://www.familyhandyman.com/floor/10-tips-for-wood-floor-scratch-repair/view-all/
- ↑ https://www.familyhandyman.com/floor/10-tips-for-wood-floor-scratch-repair/view-all/
- ↑ https://youtu.be/ndNHTHNWT3U?t=1m25s
- ↑ https://www.bobvila.com/articles/how-to-fix-scratches-on-hardwood-floors/
About This Article
Before repairing your hardwood flooring, first make it easier to remove the damaged board by drilling three holes into both ends of the board with a 1-inch spade bit attached to an electric drill. Using a circular saw set to a cutting depth of ⅛ inch, run relief cuts connecting the holes on each side of the board. Next, you’ll grab a chisel, insert the end into the cuts and push down on the handle to pry the board up from the floor. Once you’ve lifted out all the pieces of the board, cut a replacement board to size and cover the subfloor in just enough wood glue to keep the new board in place. Finally, you should fit the replacement board into the grooves on the edge of the board next to it, tap it in with a rubber mallet, and let it dry for 24 hours. For more help, including how to refinish hardwood floors, scroll down!
