This article was co-authored by Sasha Blue. Sasha Blue is a Professional Body Piercer and the Owner of 13 Bats Tattoo and Piercing Studio in the San Francisco Bay Area. Sasha has over 20 years of professional body piercing experience, starting with her apprenticeship in 1997. She is licensed with the County of San Francisco in California.
This article has been viewed 198,675 times.
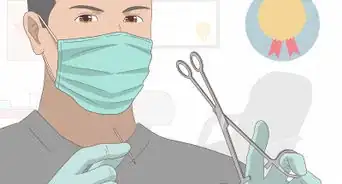
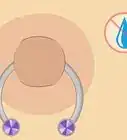
Nipple piercings are bold and expressive jewelry pieces to have and can last a lifetime if properly cared for. It is important to know how to remove the jewelry piece in case you need to have a medical procedure done, want to breastfeed, or just want to switch out the jewelry piece with something new. Changing out a nipple piercing is easy to do, but takes patience to avoid injuring yourself. Get started by taking the necessary safety precautions to prevent an infection, like making sure the piercing is healed and washing your hands. Then, either use ring opening pliers or your fingers to begin removing the old jewelry piece.
Steps
Taking Safety Precautions
-
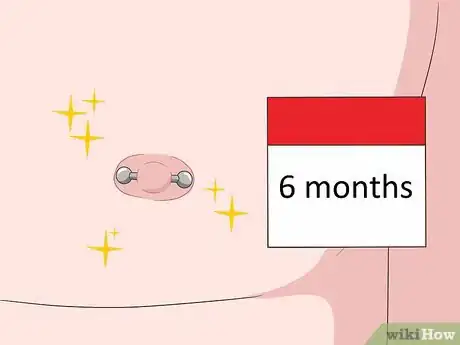
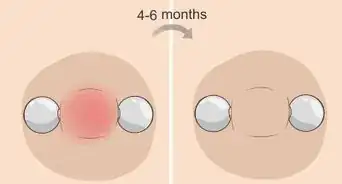
1Make sure the piercing is completely healed to avoid infection. It takes at least 6 months for the tissue around the nipple piercing to heal properly after first receiving it. During this healing time, you will most likely be instructed to keep it covered for the first few weeks, and then maintain a strict twice-a-day cleaning regime to prevent infection until it is healed. Refrain from removing the piercing until then.[1]
- If you choose to remove the piercing before the tissue is healed, you run the risk of developing an infection in the exposed area.[2]
-
2Understand that allowing the hole to close could result in scar tissue. Piercings, of any sort, alter the shape of the skin tissue by stretching it. If you no longer want your piercing and are removing the jewelry to close the hole, be aware that your nipple may develop visible scar tissue.[3]
- As long you took proper care of your nipple piercing and did not apply extra weighted accessories to it, the shape of your nipple should return to about the same way it looked before you got it pierced.
- Reduce the look of any scar tissue by massaging the closed and healed hole with body oils like baby oil.[4]
-
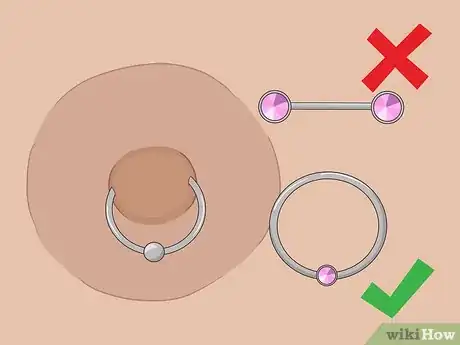
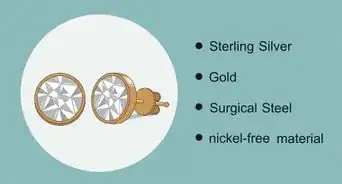
3Purchase new jewelry that is the same size or style as the one you have. Go to a reputable seller or body piercing professional, and ask what size piercing you currently have if you don’t know already. Typically, nipple piercing sizes or styles are dependent on the size of your nipple. A professional will be able to tell you what jewelry your nipple size can withstand.[5]
- Threaded bar piercings are used on large and small nipple sizes, while rings and hoops are usually only used on small nipple sizes.
-
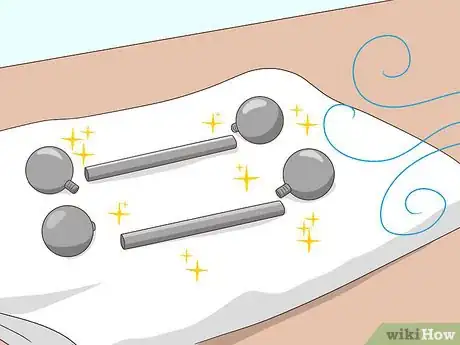
4Clean the new piercing item with soap and hot water to sterilize it. Let it air-dry while resting on a clean cloth. If there is a clasp to the piercing, make sure it is open when you clean it to remove any surface bacteria that may be on it. Keep the piercing nearby so you can quickly switch it out with the old one.[6]
- If you are not planning to put a new piercing in the hole, you do not have to do this.
-
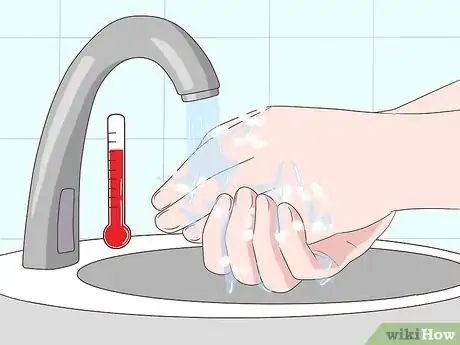
5Wash your hands with soap and hot water before removing the piercing. Working with unclean hands can lead to the area becoming infected. Use ample amounts of soap and hot water to scrub your hands clean. Then dry them off completely with a clean towel or air-dry them.[7]
- If you wash your hands and then begin handling other items before removing your piercing, wash your hands again in case any bacteria or germs got on them.
-
6Speak with your general physician if you believe your piercing is infected. General signs and symptoms of an infected piercing include redness or an abnormal discharge around the pierced area, and pain within your armpit or breast. If you experience any of these either before or after removing your piercing, make an appointment with your doctor to receive proper treatment and antibiotics to fight the infection.[8]
Unscrewing a Threaded Barbell
-
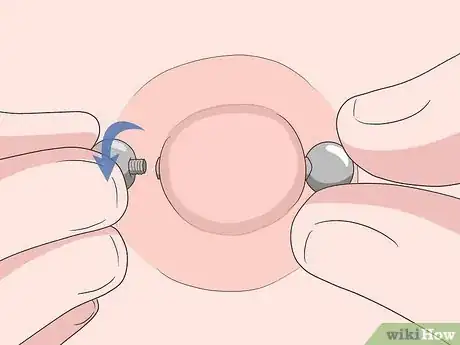
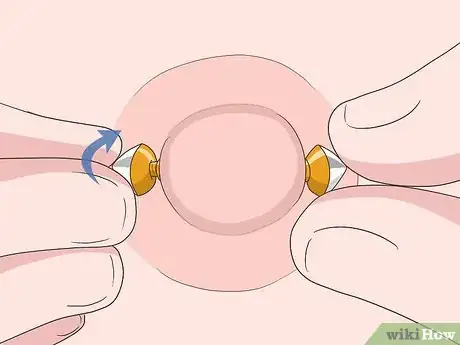
1Unscrew one of the rounded ends to begin removing the barbell. Hold the other end of the barbell still while you do this; otherwise, you will rotate the whole piecing inside of your nipple. Barbells typically have both ends threaded so you can remove the piercing from either end. You may need to apply a clockwise or counter-clockwise rotation to do this depending on which end you unscrew and which way the bar was installed.[9]
- Barbells can be straight or curved, but the method of removal is the same.
-
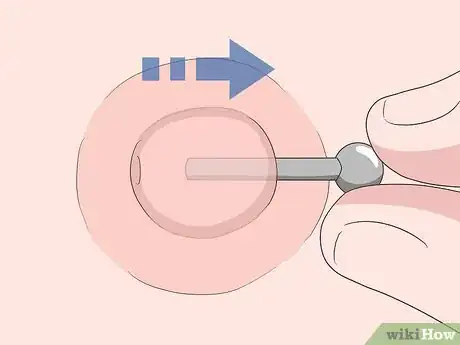
2Pull the unscrewed barbell out of your nipple slowly. For straight barbells, simply pull out the jewelry piercing with a level hand. For curved barbells, use a slight upward motion to lift and pull the curved metal out of your nipple.[10]
- There are internally threaded barbells, which means that the threads used to secure the piercing to your nipple are on the inside of the jewelry piece and the outside of the bar is smooth; and there are externally threaded pieces, which means that the rough threads are on the outside and can scrape against your skin. Be extremely careful to not yank or quickly remove externally threaded jewelry piercings.
-
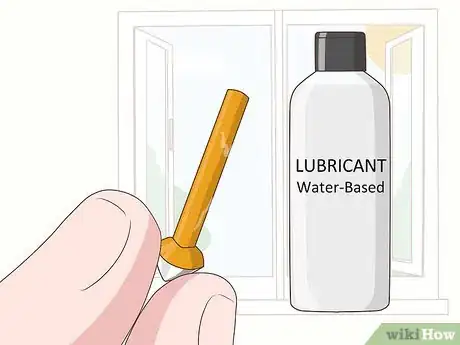
3Coat the new piercing with a water-based lubricant to easily insert it. This is not required, but it is easier to slip in a lubricated jewelry piece than a dry one. You can also use plain water if you think that the lubrication will be too slippery to handle. Just avoid using petroleum-based lubricants, as they will prevent the piercing from aerating and cause bacteria to grow.[11]
-
4Insert the new barbell into your piercing hole and screw it closed. Quickly, but carefully, slide the lubricated barbell into the piercing hole. New and old nipple piercings can begin closing within a matter of minutes. Place the bead on the barbell and use a clockwise or counterclockwise rotation to screw it onto the inserted bar.[12]
- Avoid tugging at the hole or the skin around the nipple to insert the piercing. Let the hole guide the piercing into place.
- If you have both nipples pierced, repeat the cleaning and removing process for the second piercing if desired.[13]
Taking out a Captive Bead Ring
-
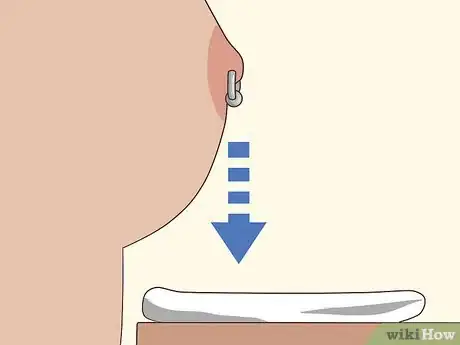
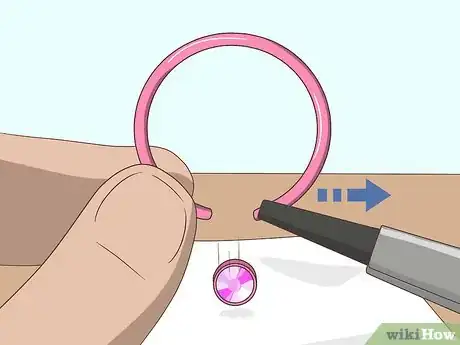
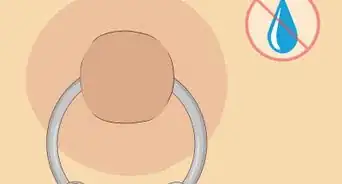
1Lay a towel out on the surface that you are working near to catch the bead. The captive bead ring (CBR) consists of an open circle of metal that has the ends clasped through a round bead. When you open the ring it will fall off, so position yourself over a clean hand towel on a flat surface where it can fall without scratching anything.[14]
-
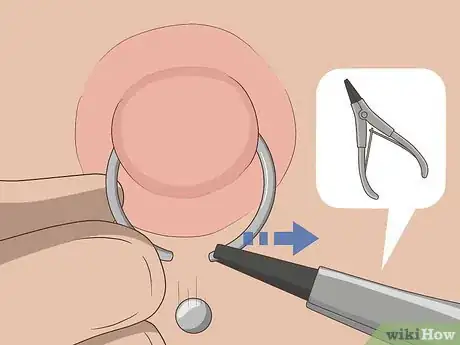
2Use ring opening pliers to pry open one side of the CBR. Adhere the pliers to the ring, and steady the other side of the ring with your other hand so you do not pull the piercing from your skin. Carefully use the pliers to pull out one end of the ring from the bead, and let the bead fall onto the towel.[15]
- Ring opening pliers can be purchased at a jewelry shop, or online with major retailers. You will also need a pair of ring closing pliers to insert a new CBR later on.[16]
- If you don’t have ring opening pliers you can use needle-nose pliers. Wrap the needle-nose pliers with a piece of masking or electrical tape to cover the sharp ridges on the tool that would scratch the metal of the ring. Body jewelry with scratches can collect bacteria, so you need to be careful when using the needle-nose pliers.[17]
-
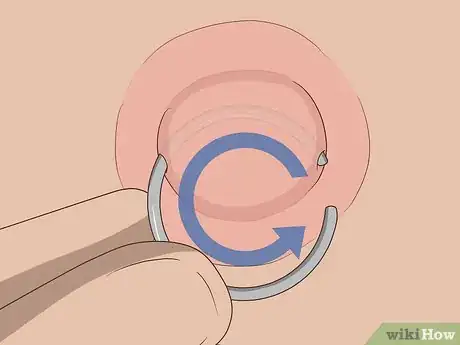
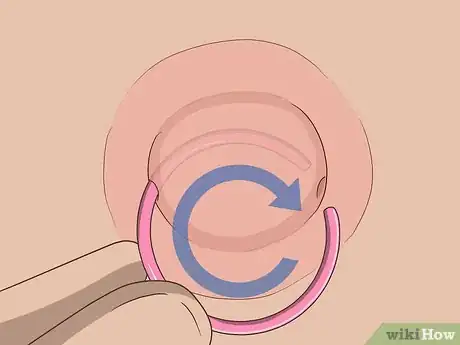
3Rotate the ring through the pierced hole to remove it from your nipple. Continue to turn the ring through the hole until you reach a point where one of the ends is inside of the hole. Carefully pull the ring free from the hole.
- Rotate the ring back its original position if the gap within the ring is too small to remove it. Use the pliers to open the ring more, but just be careful not to damage or bend the ring while doing this.
-
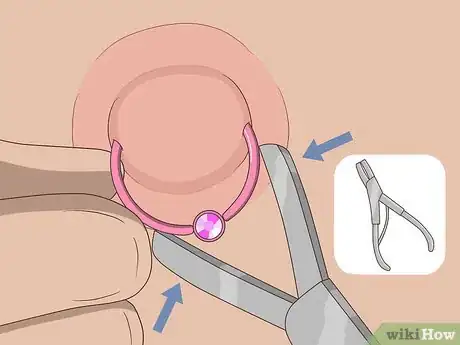
4Use ring opening pliers to open the new CBR. Brace the opposite side of the ring as you do this to prevent it from sliding. Continue opening the ring until the bead falls off and the opening is wide enough for you to slip the ring back into your pierced hole. Do not bend the circular shape of the ring, as that will make it difficult to put on.[18]
- If you do not have ring closing pliers, use needle-nose pliers wrapped in masking or electrical tape instead.
-
5Place an end of the ring against the hole and slide it through your nipple. Allow the hole to naturally guide the ring through to the other side. It may take some time before you get the ring fully through the piercing, so be patient and do not force it.[19]
- If the ring is hung up, don’t panic. Carefully pull the ring out and try again.
-
6Slip the bead on one end of the ring and close it with the ring closing pliers. Use your free hand to hold the ring in place, and then carefully close the ring so that the other end slides through the hole. Only close the ring enough to hold the bead in place; there should still be a gap between the ends within the bead.[20]
- If the two ends of the ring touch within the bead hole, you have closed the ring too much and need to open it more.
- If your bead does not have holes in it, close the ring enough to fit the indents of the bead between both ends of the ring. Then, close the ring the rest of the way to secure the bead.
- If you have rings on both nipples, repeat the removing and installing process for the second piercing.[21]
Expert Q&A
Did you know you can get expert answers for this article?
Unlock expert answers by supporting wikiHow
-
QuestionShould I let my nipple piercing breathe?
 Sasha BlueSasha Blue is a Professional Body Piercer and the Owner of 13 Bats Tattoo and Piercing Studio in the San Francisco Bay Area. Sasha has over 20 years of professional body piercing experience, starting with her apprenticeship in 1997. She is licensed with the County of San Francisco in California.
Professional Body Piercer
-
QuestionCan I change my nipple piercing myself?
 Sasha BlueSasha Blue is a Professional Body Piercer and the Owner of 13 Bats Tattoo and Piercing Studio in the San Francisco Bay Area. Sasha has over 20 years of professional body piercing experience, starting with her apprenticeship in 1997. She is licensed with the County of San Francisco in California.
Professional Body Piercer Consider asking your piercer to help you change the jewelry. It's always easier to have a piercer help you with changing out your jewelry. We have the tools and the skills that make it much easier to put the new jewelry in. Also, if you have to take out your jewelry for a medical procedure, see your piercer as soon as possible.
 -
QuestionWhat if I have a big nipple?
 LaurenCommunity AnswerA professional will be able to tell you what jewelry your nipple size can withstand. Threaded bar piercings are used on large and small nipple sizes, while rings and hoops are usually only used on small nipple sizes.
Warnings
- Have a professional body piercer remove the piercing if you are unable to do so. The nerves and connective tissues around your nipple area are delicate and sensitive. If you find that you are unable to remove your piercing yourself, go speak with a professional and have them remove it for you. Trying to forcefully or improperly remove the piercing could damage or tear your skin.[22]⧼thumbs_response⧽
- If you develop pain in your armpit or within your breast, schedule an appointment with your general physician immediately, as this could mean your nipple piercing has developed an infection.[23]⧼thumbs_response⧽
References
- ↑ https://graziadaily.co.uk/beauty-hair/hair/nipple-piercings-every-question-youve-ever-answered/
- ↑ https://www.refinery29.com/en-us/nipple-piercing-information
- ↑ https://www.refinery29.com/en-us/nipple-piercing-information
- ↑ https://graziadaily.co.uk/beauty-hair/hair/nipple-piercings-every-question-youve-ever-answered/
- ↑ https://graziadaily.co.uk/beauty-hair/hair/nipple-piercings-every-question-youve-ever-answered/
- ↑ https://graziadaily.co.uk/beauty-hair/hair/nipple-piercings-every-question-youve-ever-answered/
- ↑ https://graziadaily.co.uk/beauty-hair/hair/nipple-piercings-every-question-youve-ever-answered/
- ↑ https://www.liveabout.com/nipple-piercing-questions-and-answers-3187304
- ↑ https://healthyliving.azcentral.com/off-ball-circular-barbell-9587.html
- ↑ https://healthyliving.azcentral.com/off-ball-circular-barbell-9587.html
- ↑ https://healthyliving.azcentral.com/off-ball-circular-barbell-9587.html
- ↑ https://healthyliving.azcentral.com/off-ball-circular-barbell-9587.html
- ↑ https://www.refinery29.com/en-us/nipple-piercing-information
- ↑ https://piercing.wonderhowto.com/how-to/insert-and-remove-captive-bead-rings-321694/
- ↑ https://www.liveabout.com/how-to-open-and-remove-a-cbr-captive-bead-ring-3187307
- ↑ https://www.liveabout.com/how-to-open-and-remove-a-cbr-captive-bead-ring-3187307
- ↑ https://www.liveabout.com/how-to-open-and-remove-a-cbr-captive-bead-ring-3187307
- ↑ https://www.liveabout.com/how-to-open-and-remove-a-cbr-captive-bead-ring-3187307
- ↑ https://piercing.wonderhowto.com/how-to/insert-and-remove-captive-bead-rings-321694/
- ↑ https://piercing.wonderhowto.com/how-to/insert-and-remove-captive-bead-rings-321694/
- ↑ https://www.refinery29.com/en-us/nipple-piercing-information
- ↑ https://graziadaily.co.uk/beauty-hair/hair/nipple-piercings-every-question-youve-ever-answered/
- ↑ https://www.liveabout.com/nipple-piercing-questions-and-answers-3187304
