X
wikiHow is a “wiki,” similar to Wikipedia, which means that many of our articles are co-written by multiple authors. To create this article, 19 people, some anonymous, worked to edit and improve it over time.
This article has been viewed 366,469 times.
Learn more...
Want to clear out some songs you don't listen to anymore on your iPod Touch or iPod Classic? If you have an iPod touch, you can delete songs directly from your device, without having to connect your iPod to a computer. If you're using an iPod with a clickwheel, or an iPod Nano, you'll need to connect the iPod to your computer and use iTunes (or a third-party management program) to delete the songs you don't want anymore.
Steps
Method 1
Method 1 of 2:
iPod Touch
-
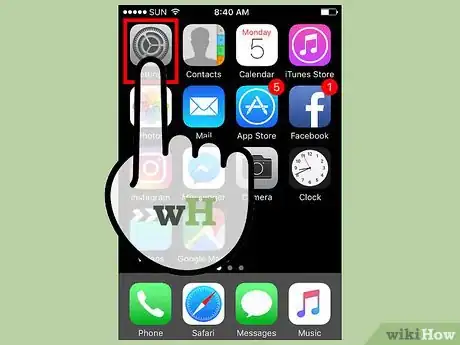
1Open the Settings app.
-
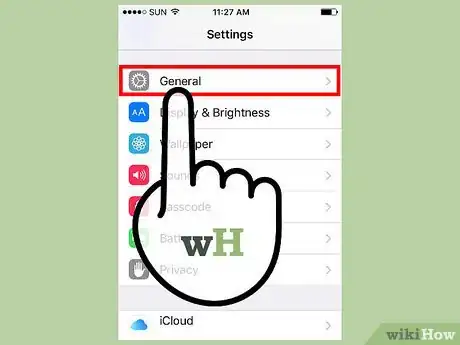
2Select "General" and then "Usage".Advertisement
-
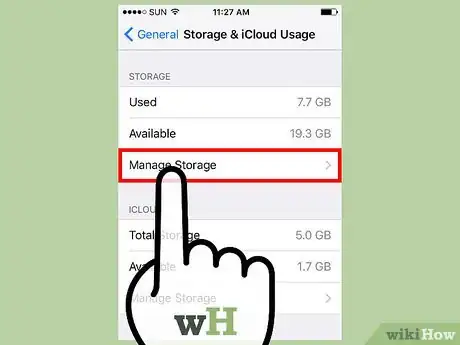
3Select "Manage Storage" in the "Storage" section.
-
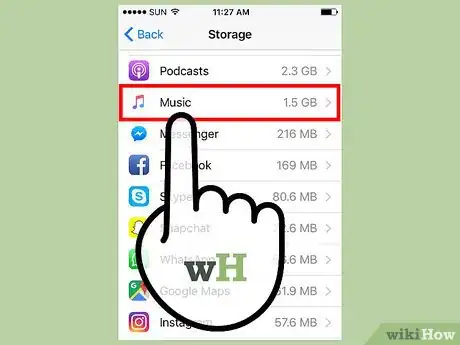
4Select the "Music" app from the list of apps.
-
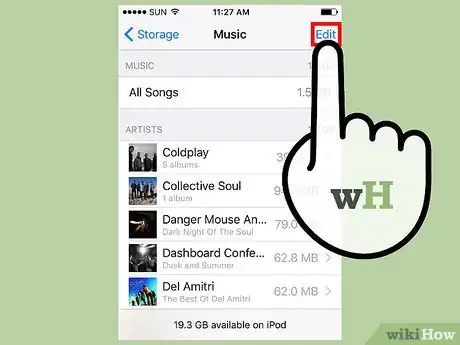
5Tap the "Edit" button. You will see red "-" buttons appear next to all of your listed music.
-
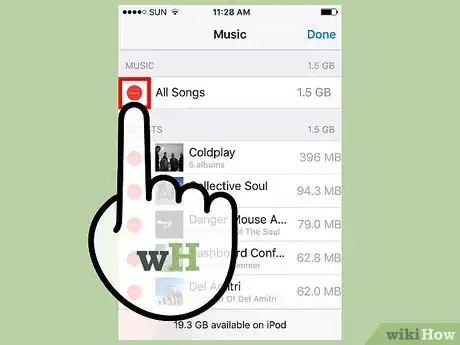
6Delete all of your music. If you want to clear all of the music on your device, tap the "-" next to "All Songs" and then tap the "Delete" button that appears. If you don't want to delete all of your music, see the next step.
-
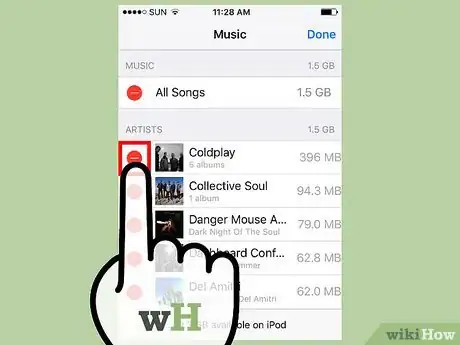
7Delete individual songs, albums, or artists. You can delete single songs, whole albums, or everything by a specific artist.
- To delete all of the songs from an artist, tap the "Edit" button, tap the red "-" next to the artist's name, and then tap the "Delete" button that appears.
- If you want to delete an album or an individual song, turn Edit mode off so you can navigate through your music. Tap an artist to see all of the albums from that artist you have on your device, and then tap an album to see all of the songs. When you've found something you want to delete, tap the "Edit" button, tap the red "-", and then tap the "Delete" button.
Advertisement
Method 2
Method 2 of 2:
iPod Classic and Nano
-
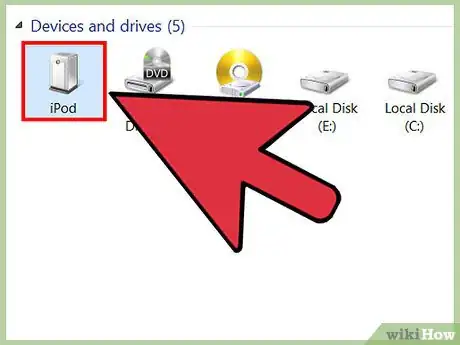
1Connect your iPod to your computer using its USB syncing cable.
-
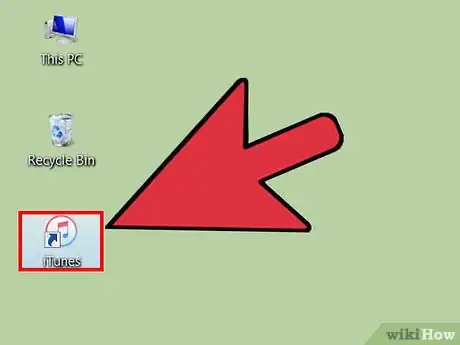
2Open iTunes. If the computer you are connecting your iPod to does not have your iTunes Library on it, you will be prompted to delete everything on the iPod when syncing. The only way to avoid this is by syncing on a computer that contains your iTunes library.
- If you don't want to use iTunes, you can use a program like Sharepod, but nearly all third-party programs still require iTunes to be installed in order to work. Still, they can be very useful if you're trying to manage your music on a computer that isn't yours and you don't want all of your music deleted when you sync. Click here for more instructions on using a third-party program.
-
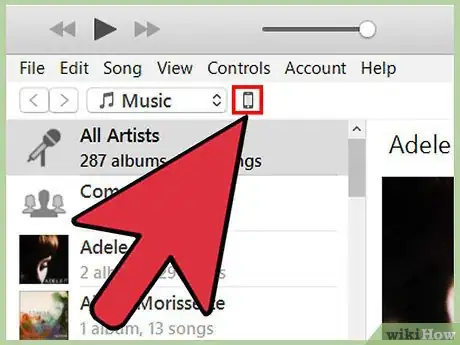
3Select your iPod from the row of buttons along the top of iTunes. If you are using iTunes 11, select it from the Devices menu. This should open the "Summary" tab.
-
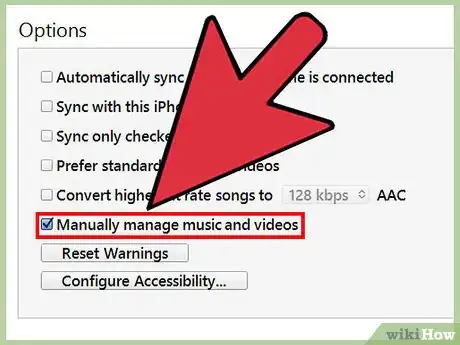
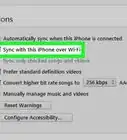
4Check the "Manually manage music" box at the bottom of the Summary screen. Click Apply. This will allow you to pick and choose songs to delete.
-
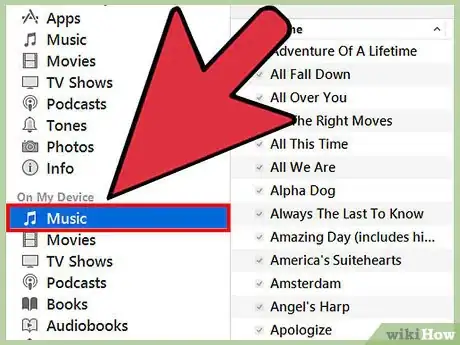
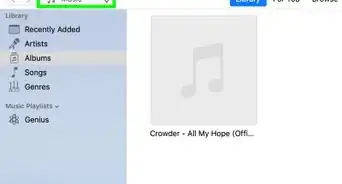
5Select "Music" from the "On My Device" menu. This will list all of the music currently stored on the iPod.
-
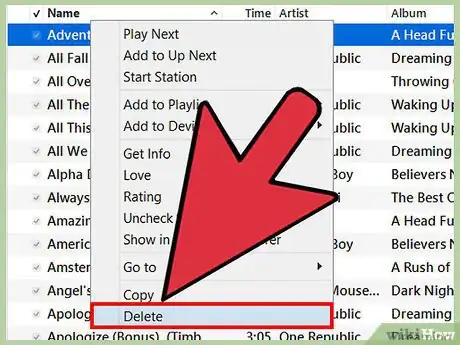
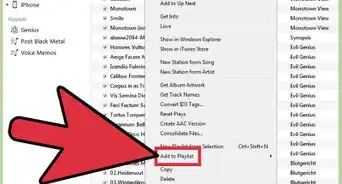
6Right-click on the song you want to remove and select "Delete". You can hold Shift and select multiple tracks to delete more at once. You will need to confirm that you want to delete the tracks.
-
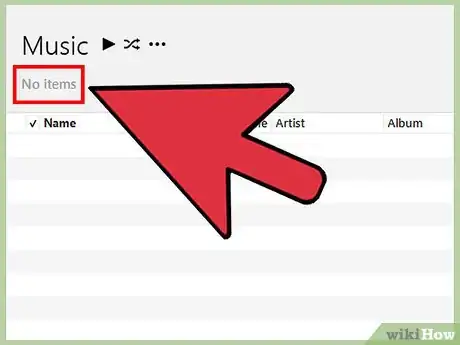
7Wait for the deletion process to finish. If you are deleting a lot of songs at once, it may take a few moments for all of them to be deleted. you can monitor the progress at the top of the iTunes window.
Advertisement
Community Q&A
-
QuestionWhen I follow your instructions, no list of songs appears. What can I do?
 Community AnswerGo to 'delete' and then delete them or turn your phone off and then turn it back on.
 -
QuestionRight clicking on the song did not work. What am I doing wrong?
 Community AnswerMaybe try left click or just wait, take the battery out and put a new one in the mouse.
 -
QuestionI'm trying to delete some songs, but this isn't working on my iPod Classic. What can I do?
 Community AnswerCheck and make sure that it is fully updated. Then, you can try to delete the music from your iPod through your iTunes account.
Advertisement
About This Article
Advertisement
