This article was co-authored by wikiHow staff writer, Nicole Levine, MFA. Nicole Levine is a Technology Writer and Editor for wikiHow. She has more than 20 years of experience creating technical documentation and leading support teams at major web hosting and software companies. Nicole also holds an MFA in Creative Writing from Portland State University and teaches composition, fiction-writing, and zine-making at various institutions.
This article has been viewed 19,065 times.
Learn more...
Although it's easy to remove adults from an Apple Family Sharing group, things get tricky with child accounts. Because children under 13 can't have their own Apple IDs without being attached to an adult, you can't remove such accounts from a family. There are two workarounds—one is to transfer the child account to another family group, and the other is to delete the child's Apple ID entirely. This wikiHow teaches you different ways to remove a child from an Apple Family Sharing group.
Steps
Deleting the Child's Account
-
1Sign out of your child's account everywhere it's signed in. If the child's Apple ID is still signed in when the account is deleted, you could run into problems using that device later. Complete the following steps anywhere your child is signed in:
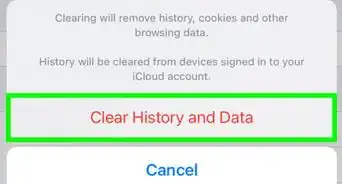
- iPhone/iPad: Open Settings and tap your child's name at the top. Scroll down, tap Sign Out, enter your password, and then tap Turn Off. Choose which data to keep on the device and select Sign Out.
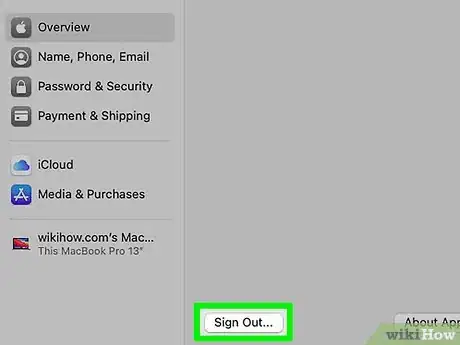
- Mac: Click the Apple menu, select System Preferences, and then click the child's Apple ID. Click Overview, click iCloud (High Sierra and earlier only), and then click Sign Out.[1]
-
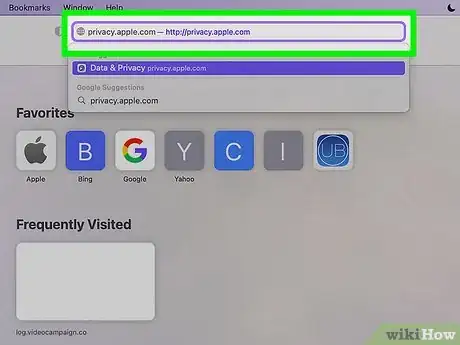
2Go to https://privacy.apple.com in any web browser. The only way to delete your child's Apple ID is to have the child submit a request, which you will later approve.[2]Advertisement
-
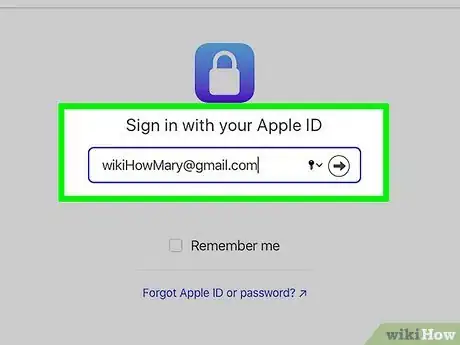
3Log in with your child's Apple ID and password. This takes you to Apple's Data and Privacy statement.
-
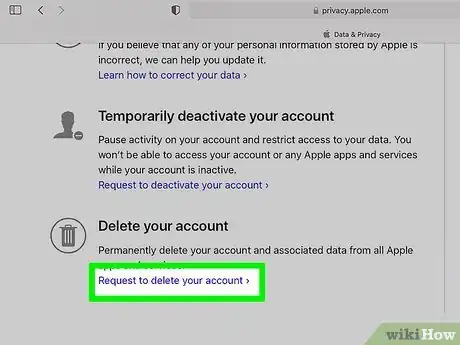
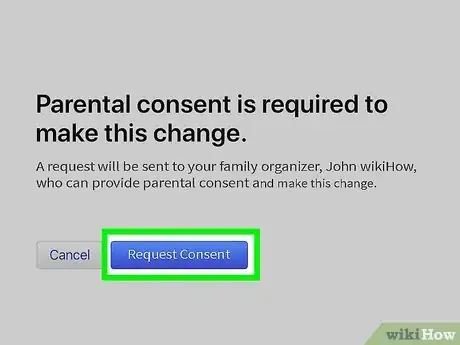
4Click Request to delete your account. It's at the bottom of the statement. You'll see a "Parental consent is required" message.
-
5Click Request consent. This sends an email to the parent's email address to request permission.
-
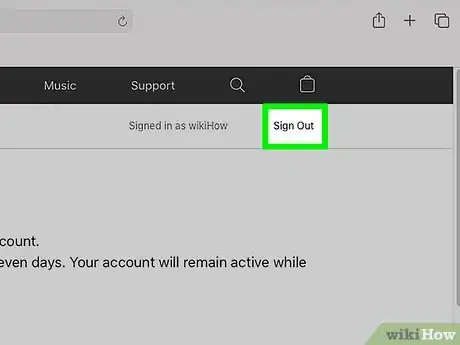
6Click Sign Out. It's at the top-right corner. You'll need to be signed out so you can sign in to your own account.
-
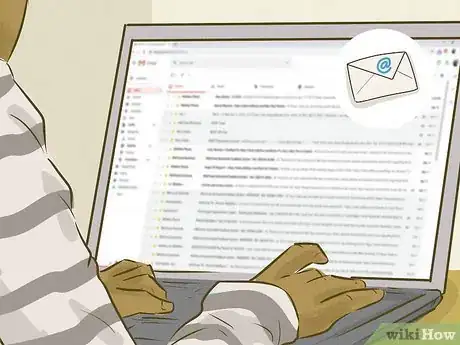
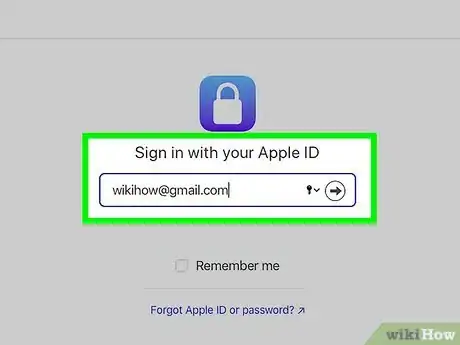
7Click the Sign in with your Apple ID link in the email message from Apple. This takes you to the Apple ID sign-in screen.
-
8Log in with your own Apple ID. Once you're signed in, you'll be able to approve the deletion request.
-
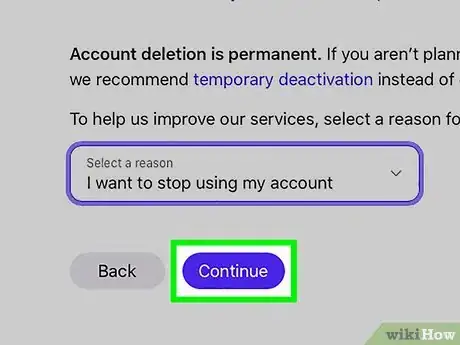
9Select a deletion reason and click Continue. You may also have to confirm your billing info so you can prove your identity. Don't worry, you won't be charged.
-
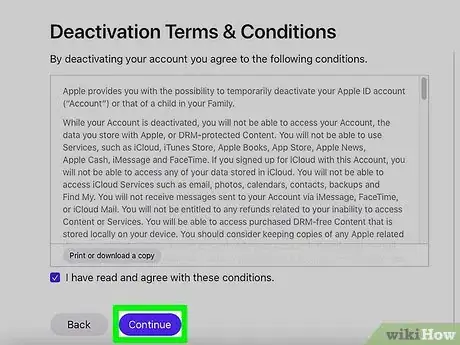
10Review the terms and click Continue. If you click Continue, you're agreeing to the terms you reviewed.
-
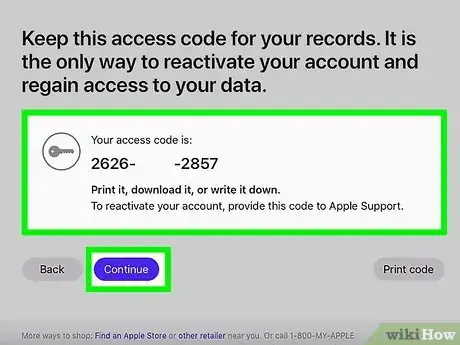
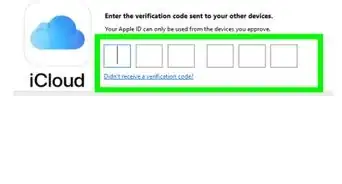
11Write down and confirm the 12-digit access code. This code will be used to verify your identity if you have to contact Apple about this matter down the road. After writing it down, click Continue, re-enter it, and then click Continue again.
-
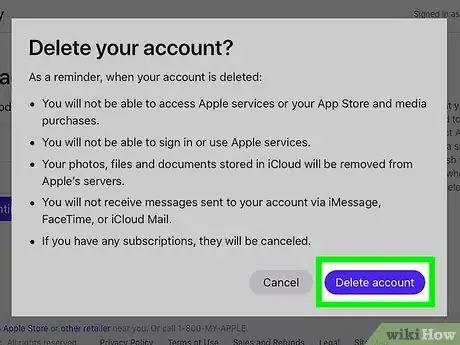
12Click Delete account. This permanently deletes your child's Apple ID, thus removing them from Family Sharing.[3]
Inviting to a Another Family (iPhone/iPad)
-
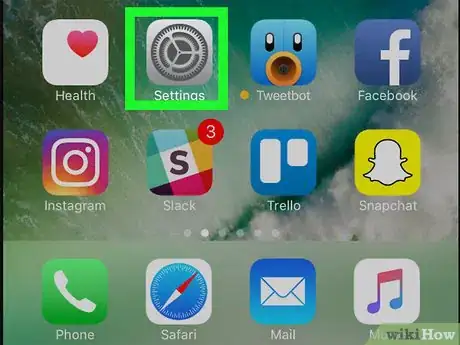
1Open your iPhone or iPad's Settings . The family organizer of the group you want to invite the child to must complete these steps on their iPhone or iPad. Once the child is invited, the organizer of the current family can approve the move, which will remove the child from the original family.
- The child (or someone who knows their password) should be with the person sending the invitation so they can enter their own username and password.
-
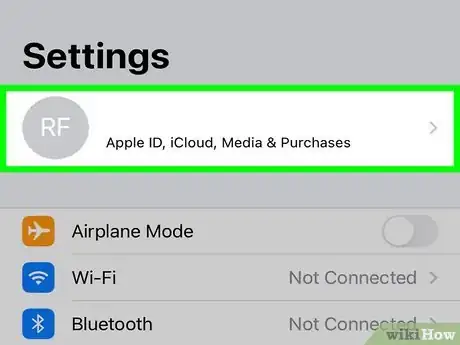
2Tap your name at the top. Remember, the person doing these actions is the organizer for the family your child is moving to.
-
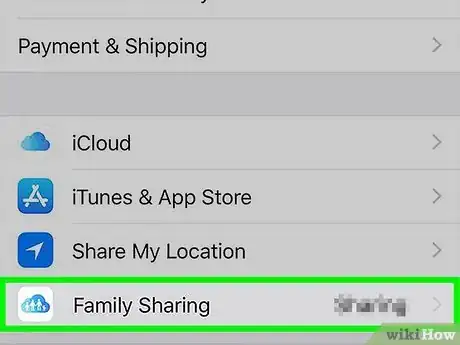
3Tap Family Sharing. It's in the second group of settings.
-
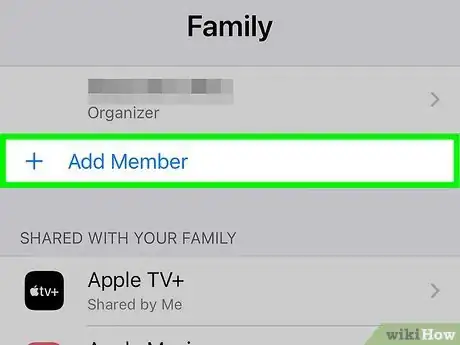
4Tap Add Member. You'll see it below current family members.
-
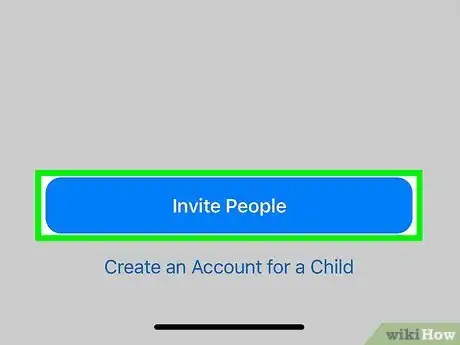
5Tap Invite People and select Invite in Person. Now you'll be asked to enter the new member's Apple ID and password.
-
6Log in as the child and follow the on-screen instructions. Once the child is signed in with their Apple ID, the organizer of the original family group will receive an email to confirm the change.
-
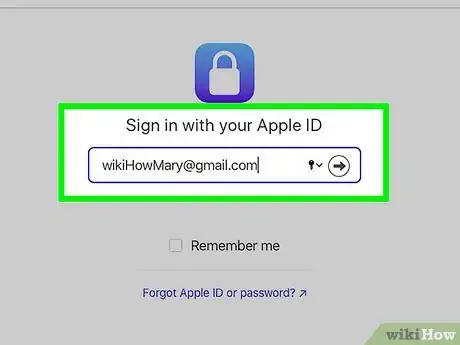
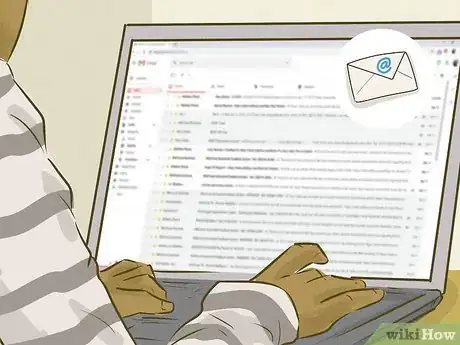
7Follow the instructions in the email from Apple. To approve the change, the organizer should click Sign in with your Apple ID in the message and log in with your (or their) Apple ID. Then, follow the on-screen instructions to confirm the switch.
Inviting to Another Family (Mac)
-
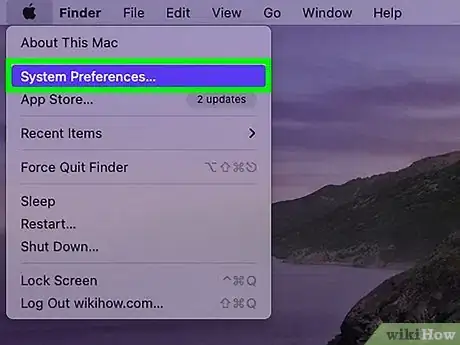
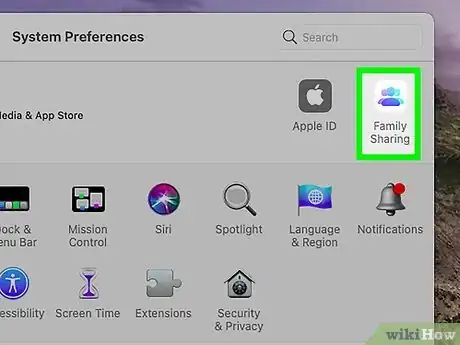
1Open System Preferences on your Mac. The organizer of the family you want to invite the child to must complete these steps on their Mac. After inviting the child, the previous organizer must approve the move, which will remove the child from the original family.
- The child (or someone who knows their password) should be with the person sending the invitation so they can enter their own username and password.
-
2Click the Family Sharing icon. It's the cloud icon at the top-right corner of System Preferences.
-
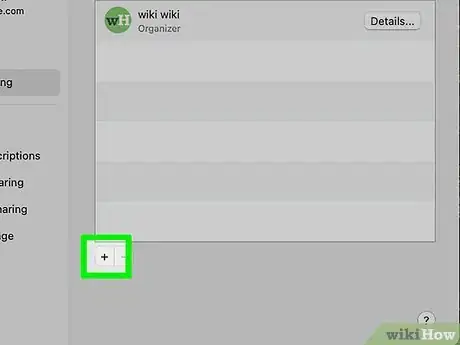
3Click the + and select Invite People. This opens a list of options.
-
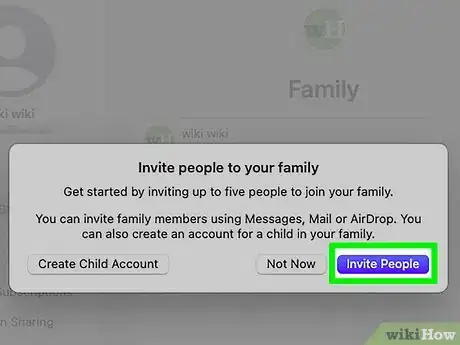
4Click Invite People. This blue button is at the bottom-right corner.
-
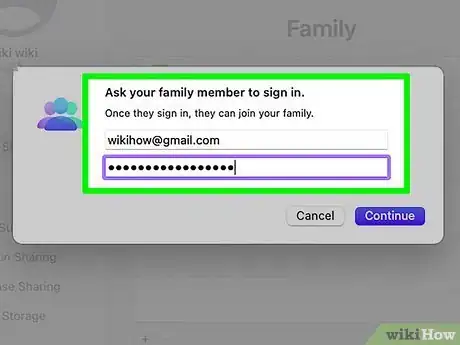
5Log in as the child and follow the on-screen instructions. Once the child is signed in with their Apple ID, the organizer of the original family group will receive an email to confirm the change.
-
6Follow the instructions in the email from Apple. To approve the change, the organizer should click Sign in with your Apple ID in the message and log in with your (or their) Apple ID. Then, follow the on-screen instructions to confirm the switch.
References
About This Article
It's not possible to quickly remove a child under 13 from a Apple Family Sharing group. If you want to remove the child, you'll need to transfer them to an existing group, or delete their Apple ID entirely.
