This article was co-authored by wikiHow staff writer, Aly Rusciano. Aly Rusciano is a Creative Writer based outside of Nashville, Tennessee. She has over ten years of experience in creative, academic, and professional writing. Aly’s writing has been nationally recognized in the Sigma Tau Delta Rectangle and featured in Blue Marble Review, The Sunshine Review, PopMatters, and Cathartic Literary Magazine. She graduated from The University of Tennessee at Martin with a BA in English, focusing in Creative Writing and minoring in Theatre.
There are 16 references cited in this article, which can be found at the bottom of the page.
This article has been viewed 1,805 times.
Learn more...
So, you’ve been making friendship bracelets for a while now. You’ve mastered the candy stripe, chevron, and ladder patterns, and now you want more of a challenge. Well, you’ve come to the right place! There are thousands of friendship bracelet patterns to choose from, and once you learn how to read these patterns, your options are limitless. We’ve put together this pattern-reading guide to get you started, so grab your thread because it’s time to knot!
Things You Should Know
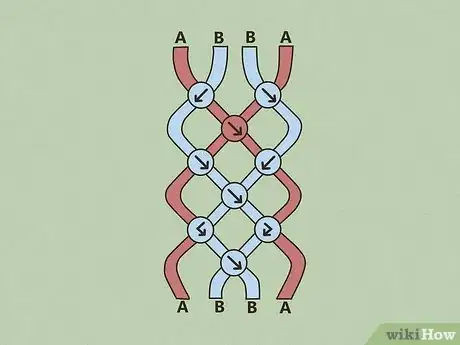
- The vertical lines labeled with letters at the top of the pattern represent your strings, and the numbers on either side of the pattern indicate rows of knots.
- Move from left to right when reading a friendship bracelet pattern.
- Work with 2 strings at a time, as friendship bracelet patterns use pairs to create knots.
Steps
Following a Friendship Bracelet Pattern
-
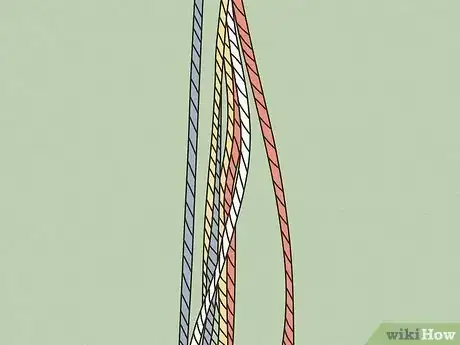
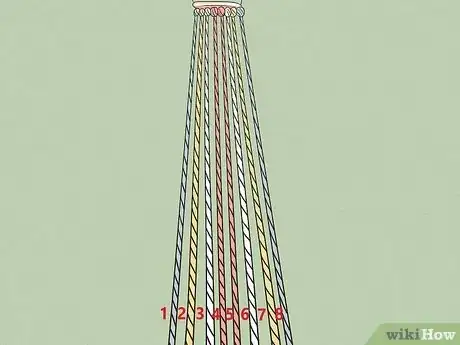
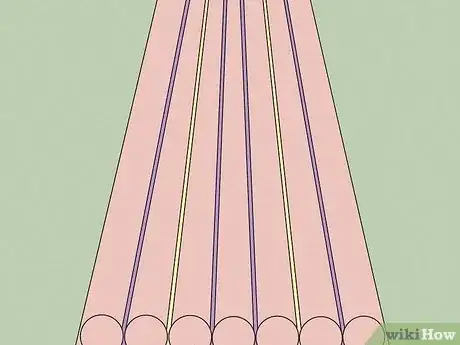
1Arrange your strings as they appear in the pattern. Measure your string and cut it to your desired length. Then, tie the strings together with a simple overhand knot or create a loop (this only works if you have an even number of strings). Tape or clip the knot to your work surface, and position your strings in the order they appear in the pattern.[9]
- For example, say you have an ABBAABBA chevron pattern that’s purple and yellow; you want 6 strings with 3 being purple and 3 yellow. Then, position them as follows: purple, yellow, yellow, purple, purple, yellow, yellow, purple.
- Most friendship bracelets require strings at least 36 in (91 cm) long.
- If your strings are a bit tangled, no worries! Tug on them under the knot until they lay in the correct position.
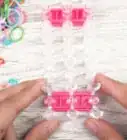
- A friendship bracelet loom can help you order and keep track of your strings, especially if you’re a beginner.
-
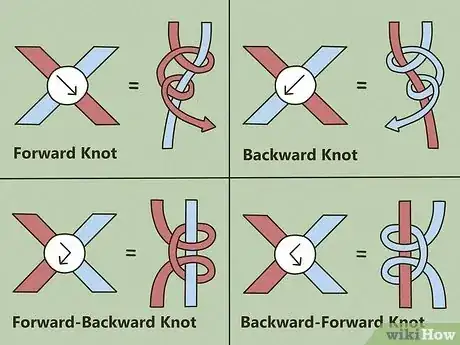
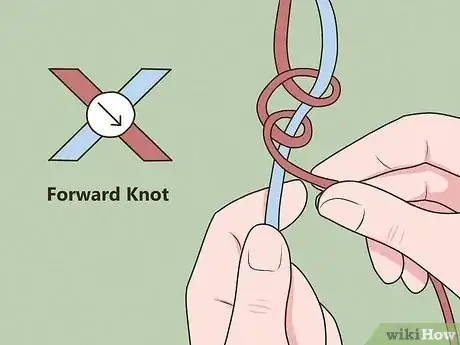
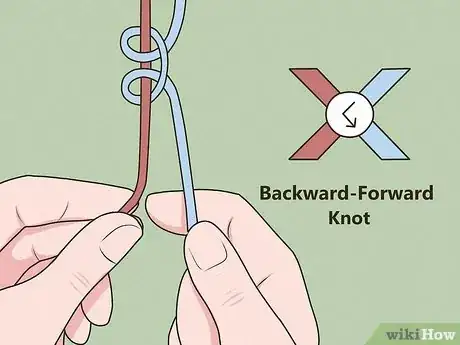
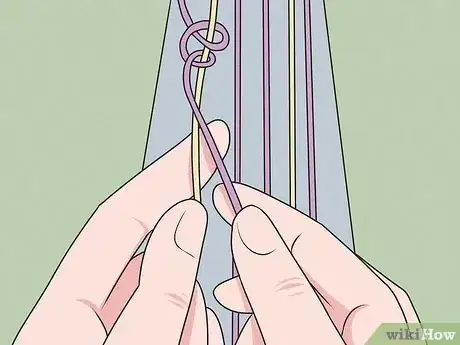
2Create the first knot on the left-hand side of row 1. Take the first pair of strings and make the knot indicated in the first left-hand circle of row 1. Remember to create the knot with the same color string as the knot symbol.[10]
- To continue our example, create a forward knot with the outermost purple string over the yellow string next to it.
-
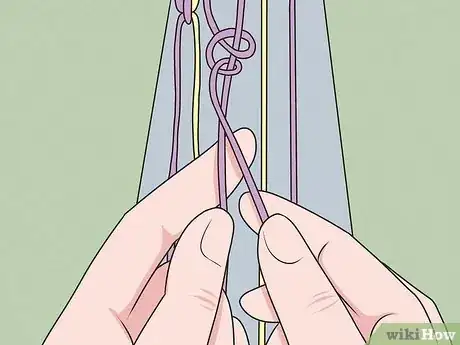
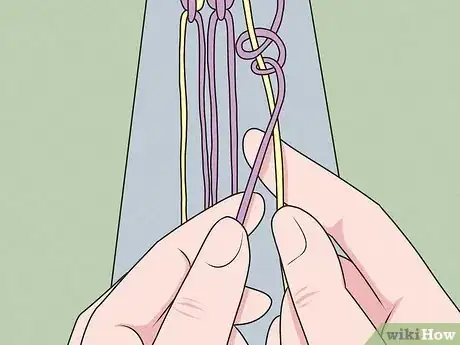
3Make a second knot with the second pair of strings in row 1. Let go of the string you just knotted and move on to the next pair of strings. Take the left-hand string and knot it over its pair as indicated in the knot symbol.[11]
- In our example, you would take the third yellow string and make a forward knot over the second purple string.
-
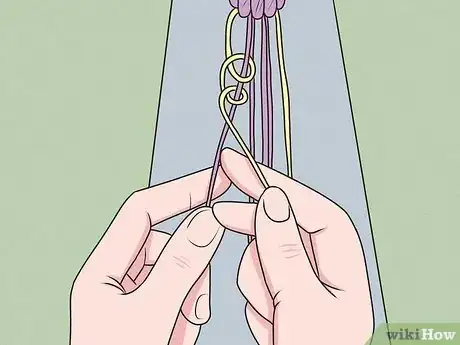
4Continue knotting each pair of strings until you reach the end of the row. The number of pairs depends on the pattern, so keep knotting from left to right until there’s nothing left to knot in row 1. Just remember to make the knot with the color string represented in the knot symbol.[12]
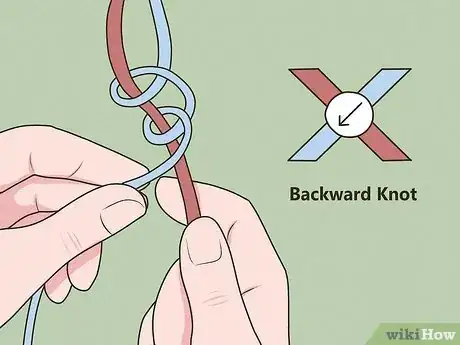
- For our example, you’d make a backward knot with the third yellow over the third purple and a backward knot with the fourth yellow over the fourth purple.
-
5Regroup your strings to start row 2. Notice if any strings in the next row don’t have a knot symbol. If so, pull them aside.[13] Pair the remaining strings with their new partners, and knot from left to right until you reach the end of the pattern like you did for row 1.[14]
- With our example, you’d put the first and last yellow strings aside and group the left purples, middle yellows, and right purples into pairs.
- The lines or strings that intersect under a knot symbol are a pair.
-
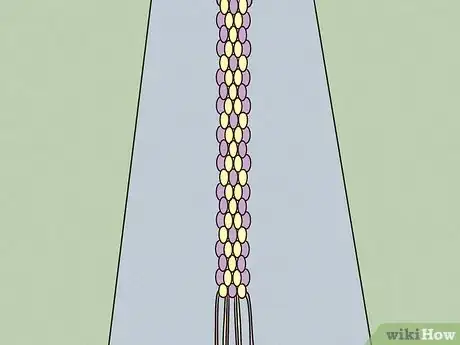
6Knot until you reach the end of the pattern. Follow the pattern and continue knotting row-by-row from left to right. Once you’ve reached the end of the pattern, check to make sure your strings’ order matches the pattern.[15]
- If your strings match, great! You can move on to the next step.
- If your strings don’t match, don’t panic! Compare your knots to the pattern’s knot symbols. If one of your knots isn’t the same colors as the pattern’s, undo the row(s) with a safety pin and try again.
-
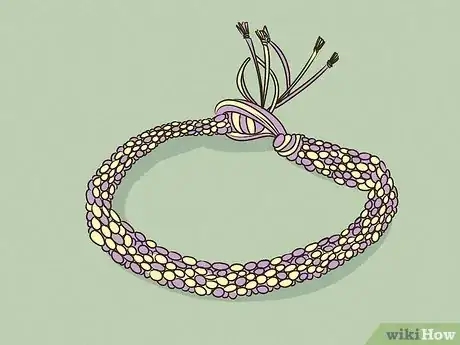
7Loop back to the top of the pattern. Moving from left to right, keep knotting row-by-row until your bracelet is your desired length. Remember to double-check your work after each section of knotting.[16]
- Finish the bracelet with braids or a knot, and ta-dah! You’ve made a friendship bracelet using a pattern.
References
- ↑ https://youtu.be/cwTBtpF0TcE?t=157
- ↑ https://youtu.be/JhEzhIfTN8s?t=34
- ↑ https://youtu.be/cwTBtpF0TcE?t=174
- ↑ https://youtu.be/cwTBtpF0TcE?t=264
- ↑ https://youtu.be/bClGNDcndMg?t=132
- ↑ https://youtu.be/bClGNDcndMg?t=405
- ↑ https://youtu.be/Z9MZVj27TPQ?t=114
- ↑ https://youtu.be/bClGNDcndMg?t=764
- ↑ https://youtu.be/JhEzhIfTN8s?t=177
