This article was co-authored by Matt Bowman and by wikiHow staff writer, Danielle Blinka, MA, MPA. Matt Bowman is a Gardener, Landscaper, the Owner of Georgia Farm to Table, and the Owner of Tradition Property Services in Atlanta, Georgia. With over 20 years experience, he specializes in organic gardening, landscape maintenance, handyman services, homecare services, and supplying Christmas trees. Matt earned a BA in Journalism from the University of Georgia.
There are 7 references cited in this article, which can be found at the bottom of the page.
This article has been viewed 2,505 times.
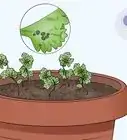
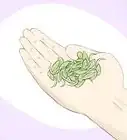
String of hearts, also called rosary vine or hearts entangled, is super easy to propagate. Known for its heart-shaped leaves, string of hearts is a trailing vine that originates from Africa. If you have one of these plants at home, you can grow a new plant or fill-in your existing plant with propagation. We’ll help you choose the best way to propagate a string of hearts to fit your plant needs and walk you through how to do it step-by-step.
Steps
Stem Cutting Method
The cutting method is the best way to propagate several new string of hearts plants at one time. It’s also really easy!
-
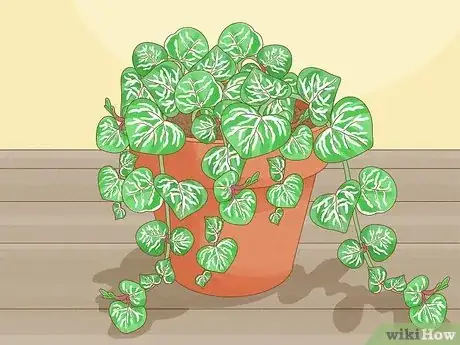
1Choose leafy green stems from a healthy, pest-free plant. Do a quick visual inspection to look for bugs and to check for brown spots that might indicate the plant is in distress. Cuttings from a thriving mother plant will root better than those from a waning plant. Additionally, new roots will grow from leaf nodes, so make sure there are some leaves on the stems you choose.[1]
- If you notice brown areas on your plant, you might decide to prune away the dead areas and give your plant time to recover before taking cuttings.
-
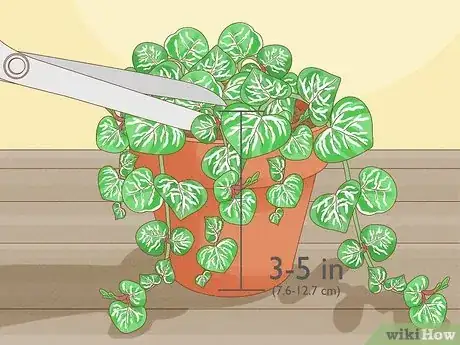
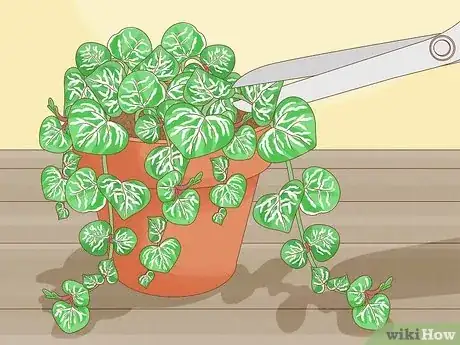
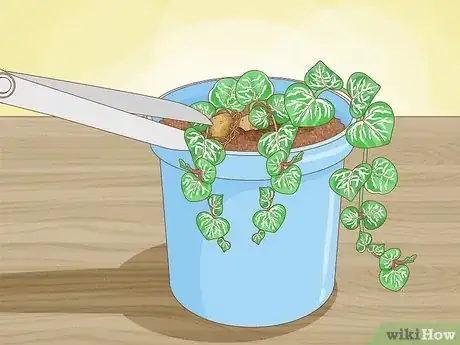
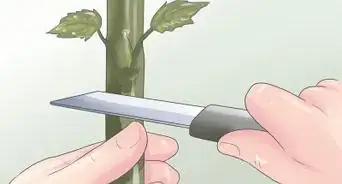
2Use scissors to trim 3 to 5 in (7.6 to 12.7 cm) long stems off the plant. Cut one stem or several, depending on how many cuttings you plan to root. To increase your chances of success, it’s a good idea to take several cuttings at the same time because some may not root.[2]
- It’s best to take cuttings in the morning because the plant will be firmer. However, you can do it at anytime.[3]
Advertisement -
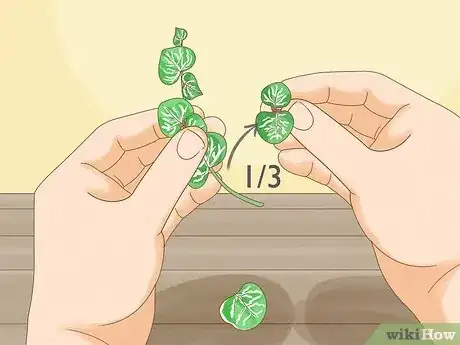
3Remove the leaves from the lower 1/3 of the stem. Use your fingers to twist the leaves off, or snip them off with your scissors. New roots can sprout from the leaf nodes on the stem once the leaves are gone.[4]
- If you’re using water to root your cuttings, you don’t want any leaves below the water because they’ll rot. Not only will this dirty your water faster, it could also reduce your chances of success.
-
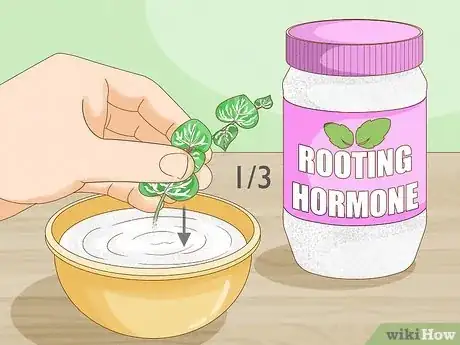
4Dip the lower 1/3 of the stem in a rooting hormone. While this is optional, it’ll increase your chances of success because the rooting hormone encourages root growth and helps roots grow faster. Pour a light layer of rooting hormone into the cap of the container or a small dish. Lightly coat the stem with rooting hormone, then let it dry for about 15 to 20 minutes before you move on to the next step.[5]
- You can make rooting powder at home using honey, aloe vera, aspirin, or branches from a willow tree.
-
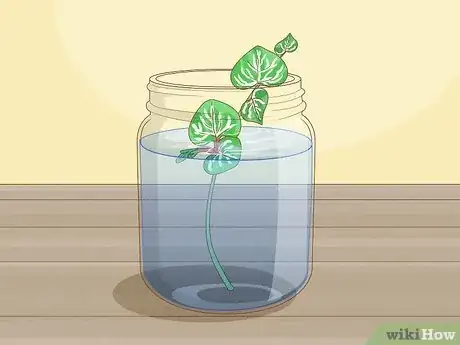
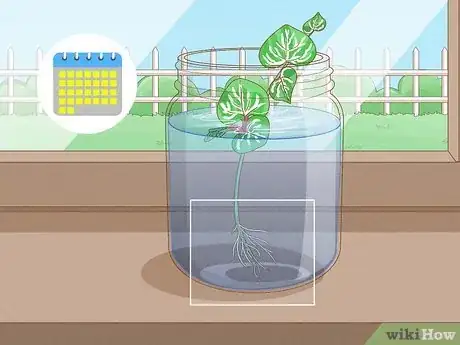
5Root the cuttings in water if you want to watch them grow. Fill a glass or vase with water, then insert the cut end of the stems into the water. All of your stems can go in the same container. Check that there aren’t any leaves below the water line. Remove any extra leaves to make sure they don’t rot in the water.[6]
- It’s a good idea to monitor the root growth so you’ll know which cuttings are successfully rooting. Additionally, it’ll be easy to know when it’s time to transplant your cuttings.
-
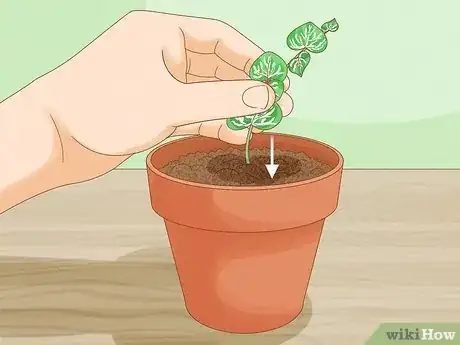
6Root the cutting directly in loose soil if you don’t want to transplant it. Fill a pot with soil and press the end of your stem below the soil. You can put all of your stems in the same pot or separate pots, depending on your goals. Use the same pot for a fuller plant or different pots if you want separate plants.[7]
- You can mix your own loose, well-draining soil by combining 1 part potting soil and 1 part perlite. Alternatively, you can mix 3 parts potting soil, 2 parts coarse sand, and 1 part perlite.[8]
-
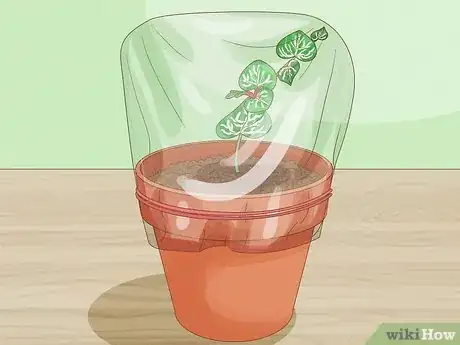
7Cover the cuttings with a container or plastic bag to increase humidity. This is optional, but it will speed up the root growth. A plastic zipper bag is a great option, but you can also use a glass jar or plastic milk jug. The container will trap in moisture so your plant has a humid environment.[9]
-
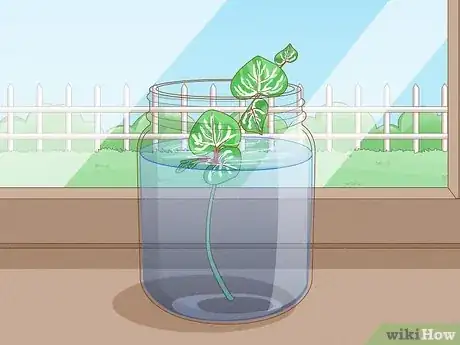
8Place the cuttings in a well-lit area. Set the container on a window-sill or on a flat surface near your window. Sunlight will stimulate growth so your stem can root.[10]
- A south-facing window is optimal, but you can use any window that’s convenient for you.
-
9Expect your cuttings to grow roots in about a month. New root growth is slow, but you’ll likely notice small changes after a couple of weeks. Check your cuttings daily to watch the new roots grow.[11]
- If you’re propagating your string of hearts in water, change the water once a week or earlier if it starts to look cloudy.
Butterfly Method
Pick the butterfly method if you want to grow multiple cuttings in the same pot for a lush, full-bodied plant.
-
1Use scissors to cut off a piece of stem with multiple sets of leaves. Leaves on a string of hearts usually grow in pairs. Choose a stem that has several sets of pairs, then take a cutting.[12]
- You can use one or several stems for this method.
-
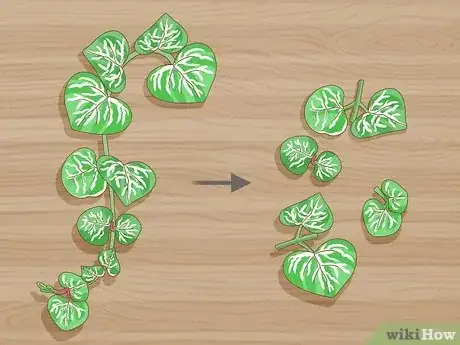
2Trim the stem into pieces by cutting on either side of the leaves. Use your scissors to snip the stem into several pieces that are about 1 to 2 in (2.5 to 5.1 cm) long. Each piece should have two leaves on it.[13]
- This is where the butterfly method gets its name. The leaves sprout in pairs along each side of the stem, so they look like butterfly wings.
-
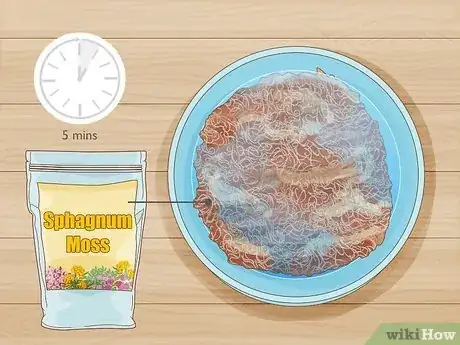
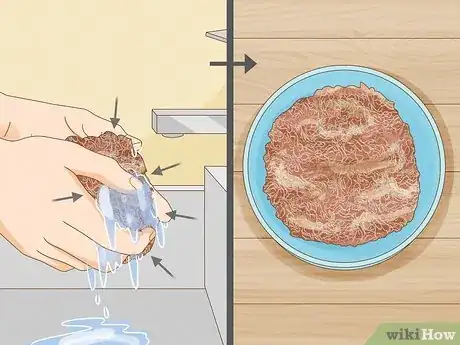
3Soak sphagnum moss in water for 5 minutes. Fill a container with water and submerge the sphagnum moss. Set a timer for 5 minutes and wait. The moss needs to be damp for your cuttings to root.[14]
-
4Drain your moss and place it in a container. Pour the water out of your container and squeeze out the moss. Then, put the damp moss back into the container to use as a rooting substrate.[15]
- If you use a clear container, you can watch the roots grow and easily determine when your plant is ready to transplant.
-
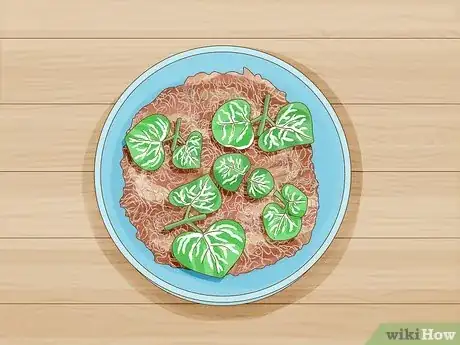
5Lay the cuttings over the moss with the nodes touching it. Space out the cuttings so your propagated plant will look lush and full. Each end of the stems should touch the moss to encourage rooting.[16]
- Both ends of the stem should grow new roots. Then, new growth will expand from the leaf nodes on the cuttings to make a full plant.
-
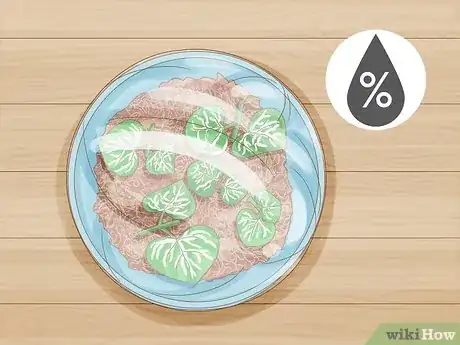
6Cover the container with clear plastic wrap to trap the humidity. String of hearts is more likely to root in a humid environment. For this method, use cling wrap to cover the entire container that you’re using to sprout your butterfly cuttings.[17]
- If you don’t have cling wrap, you can use a plastic bag.
-
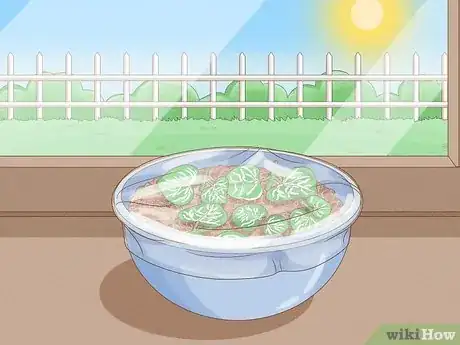
7Place the container in a bright location. Put it on a windowsill or near a window that gets a lot of sunlight. The light will stimulate root growth, as well as new growth on the cuttings.[18]
- A south-facing window is the best option, but you can use any window.
-
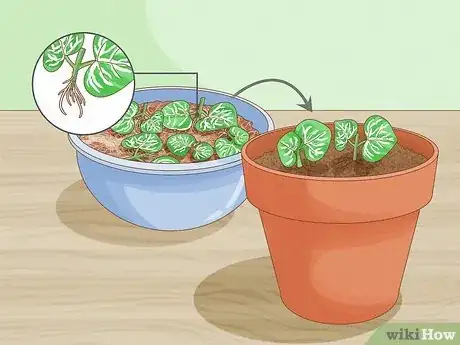
8Transfer the moss to a pot full of soil once the cuttings root. Periodically lift your container and check for root growth. When you see roots growing into the moss, it’s time to move your moss to a planter. Wet the moss to loosen it from the container, then use your fingers to lift it out. Place the moss on top of the full pot of soil.[19]
- It takes about a month for the roots to grow.
- The roots of your new plant will continue to grow down into the soil. Over time, the plant will fully cover the moss, so it won’t be visible anymore.
Tuber Method
Use the tuber method to fill in your string of hearts plant if it’s looking sparse or to grow new plants. You’ll need a thriving, established plant for this technique.
-
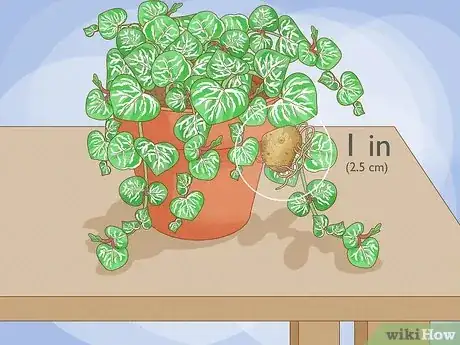
1Look for pea-sized to 1 in (2.5 cm) long bulbs growing along the stems. These bulbs are called tubers, and they’re where the plant sprouts new roots. They’re usually at the base of the stem near the soil.[20]
- Tubers sprout best if you leave them attached to the stem, so you don’t need to make any cuts to your plant.
-
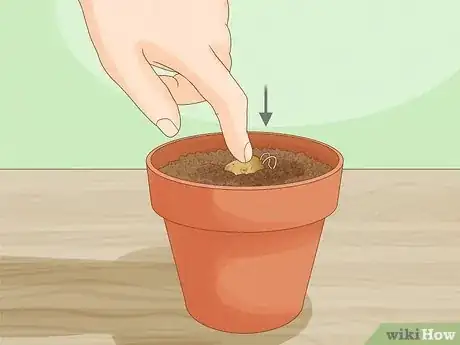
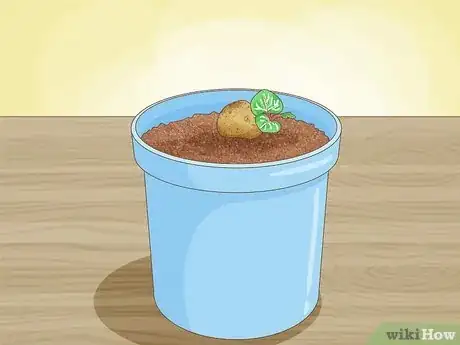
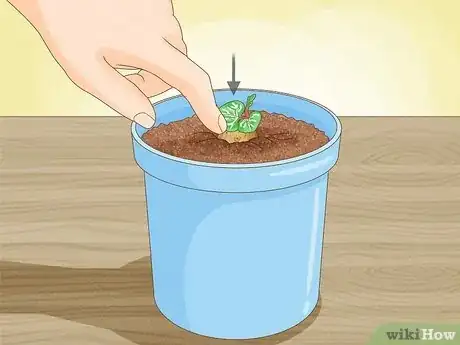
2Push the tubers under the soil until they’re halfway covered. Use your finger to gently press the tuber into the top layer of soil. Leave the top of the tuber visible. You can do this for just one tuber or several. It’s completely up to you.[21]
- Some stems may not have tubers, and that’s okay. Tubers typically appear on longer stems that have been growing for some time.
-
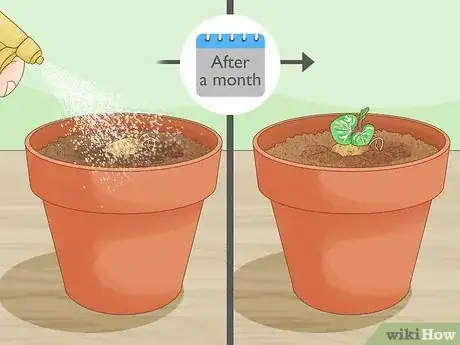
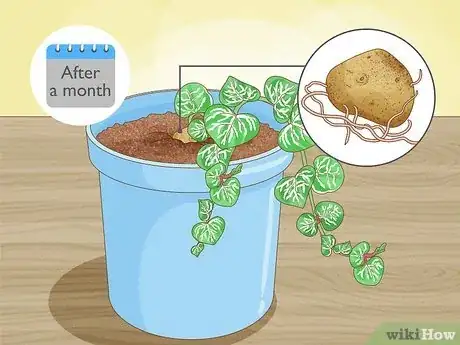
3Keep the soil moist while you wait about a month for new growth. Check the soil daily to see if it feels dry. If so, water the plant to encourage new growth. Your tubers should root in about a month.[22]
- If you want to fill out your plant, you don’t need to do anything. The newly rooted tubers will sprout fresh stems and continue growing.
- If you want to create new plants, use your fingers to gently remove the tuber and its roots from the soil. Use sharp scissors to cut the tuber from the original stem, then transplant your rooted tuber in a new pot.
Stem End Rooting Method
Duplicate your string of hearts plant using this method. You can actually grow new roots from the ends of the stems on your existing plant! You’ll need a thriving plant with long vines for this method.
-
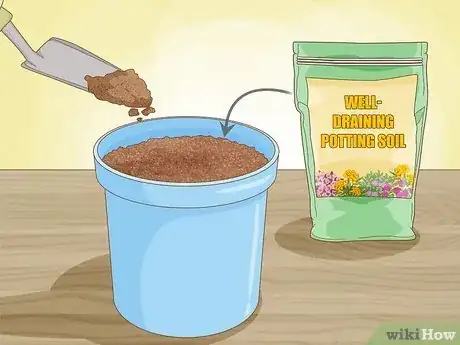
1Fill a new pot with well-draining potting soil. Use a pot that’s the same size as your current pot or smaller. This should be the pot you plan to use for your new string of hearts plant.[23]
- You can buy well-draining potting soil at your local gardening store. You could also mix sand or perlite into your soil to make it drain better. Blend 1 part soil with 1 part coarse sand or perlite.
-
2Lay the stems of your existing plant over the soil in the new pot. The ends of your stems, especially those with tubers, will grow new roots. Essentially, both ends of each stem will have roots. Pick up the long vines and place the ends in the new pot.[24]
-
3Press the tiny bulbs on the stems into the soil if there are any. These bulbs are called tubers, and they typically range in size from pea-sized to about 1 in (2.5 cm) long. This is where the new roots will grow. Check each stem to see if it has a tuber on it. If so, press the tuber about halfway into the top layer of soil.[25]
- Don’t worry if you don’t see any tubers. Your stems can still take root, you just might not have as much success as you would with a tuber.
-
4Wait about a month for roots to grow down into the soil. Leave the pots in place undisturbed so the stems can root. When the soil feels dry, water both pots like you normally would. In about a month, gently shift the stems to see if they’re rooted in the new pot.[26]
- If your stems are rooted, you can move on to the next step.
- If your stems are still loose, give them more time to root. If you don’t have any roots in about 6 weeks, you might try another method of propagation.
-
5Cut the stems of the plant a few inches above the newly sprouted roots. It’s time to divide your plant into two separate plants. Use sharp scissors to cut each stem a few inches or centimeters above the newly rooted stems. Ta-da! You now have a baby string of hearts plant.[27]
- Both of your plants will continue growing after you cut the stems. You can also propagate from both plants!
Things You’ll Need
Stem Cutting Method
- Scissors
- Glass of water (if using water)
- Pot of growing mix (if using soil)
- Clear container or plastic zipper bag for covering (optional)
- Rooting hormone (optional)
Butterfly Method
- Scissors
- Clear container
- Sphagnum moss
- Water
- Plastic wrap
- Pot
- Potting soil
Tuber Method
Stem End Rooting Method
- Pot
- Potting soil
- Scissors
References
- ↑ https://content.ces.ncsu.edu/extension-gardener-handbook/13-propagation
- ↑ https://content.ces.ncsu.edu/extension-gardener-handbook/13-propagation
- ↑ https://content.ces.ncsu.edu/extension-gardener-handbook/13-propagation
- ↑ https://extension.wvu.edu/lawn-gardening-pests/indoor-plants/succulents-101
- ↑ https://extension.wvu.edu/lawn-gardening-pests/indoor-plants/succulents-101
- ↑ https://paisleyplants.com/propagate-string-of-hearts/
- ↑ https://content.ces.ncsu.edu/extension-gardener-handbook/13-propagation
- ↑ https://extension.wvu.edu/lawn-gardening-pests/indoor-plants/succulents-101
- ↑ https://content.ces.ncsu.edu/extension-gardener-handbook/13-propagation
- ↑ https://paisleyplants.com/propagate-string-of-hearts/
- ↑ https://extension.wvu.edu/lawn-gardening-pests/indoor-plants/succulents-101
- ↑ https://content.ces.ncsu.edu/extension-gardener-handbook/13-propagation
- ↑ https://www.seedsandspades.com/how-to-propagate-string-of-hearts/
- ↑ https://paisleyplants.com/propagate-string-of-hearts/
- ↑ https://paisleyplants.com/propagate-string-of-hearts/
- ↑ https://content.ces.ncsu.edu/extension-gardener-handbook/13-propagation
- ↑ https://www.seedsandspades.com/how-to-propagate-string-of-hearts/
- ↑ https://paisleyplants.com/propagate-string-of-hearts/
- ↑ https://paisleyplants.com/propagate-string-of-hearts/
- ↑ https://www.uaex.uada.edu/yard-garden/resource-library/plant-week/string-hearts-vine.aspx
- ↑ https://www.uaex.uada.edu/yard-garden/resource-library/plant-week/string-hearts-vine.aspx
- ↑ https://hort.extension.wisc.edu/articles/string-of-hearts-ceropegia-woodii/
- ↑ https://www.gardenersworld.com/how-to/grow-plants/how-to-grow-and-care-for-a-string-of-hearts-house-plant/
- ↑ https://www.gardenersworld.com/how-to/grow-plants/how-to-grow-and-care-for-a-string-of-hearts-house-plant/
- ↑ https://www.gardenersworld.com/how-to/grow-plants/how-to-grow-and-care-for-a-string-of-hearts-house-plant/
- ↑ https://www.gardenersworld.com/how-to/grow-plants/how-to-grow-and-care-for-a-string-of-hearts-house-plant/
- ↑ https://www.gardenersworld.com/how-to/grow-plants/how-to-grow-and-care-for-a-string-of-hearts-house-plant/
