This article was written by Harmony Corelitz and by wikiHow staff writer, Hunter Rising. Harmony Corelitz is a Plant Specialist and the Ecommerce Manager at Crimson Horticultural Rarities, Inc, a boutiue offering rare plants, flower arragements, and handmade goods. Harmony grew up helping her parents run their family business in plant maintenance and interior plantscaping. Harmony specializes in indoor plant care and interior plant design. Prior to her workwith Crimson Horticultural Rarities, she started her pop-up plant and vintage home goods shop called Younger Child and helped her former employer, Plants and Friends, grow and expand to two locations. She holds a BA from the University of San Francisco.
There are 16 references cited in this article, which can be found at the bottom of the page.
This article has been viewed 1,287 times.
Fresh hoya blooms look great in your home, but don’t you wish you could plant more without a trip to the nursery? Well with a small cutting from your old hoya (wax plant), you can easily grow a new one. No matter what variety of hoya you’re propagating, we’ve got everything you need to know to get started. Keep reading, and we’ll walk you through how to take hoya cuttings and care for your new wax plant as it starts to bloom.
This article is based on an interview with our plant specialist, Harmony Corelitz. Check out the full interview here.
Things You Should Know
- Take a 4–5 in (10–13 cm) cutting from a healthy stem on one of your hoya plants. Make your cut just below a set of leaves.
- Remove the bottom 2 leaves so roots can grow from the nodes. Dip the bottom of the stem and nodes in rooting hormone to help promote healthy root development.
- Plant the cutting in a pot with a mix that’s equal parts peat moss and perlite. Alternatively, submerge the bottom of the stem and nodes in clean water.
- Check for new root growth within 3–4 weeks of propagating your hoyas. If you propagated your hoya in water, transplant the cutting to a pot with soil.
Steps
Taking Cuttings
-
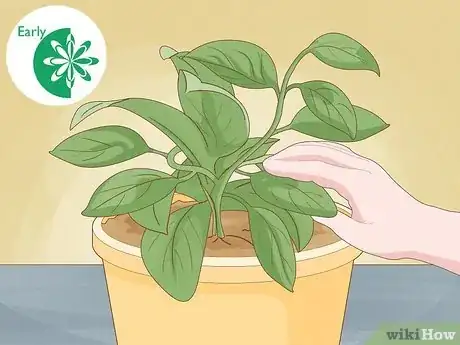
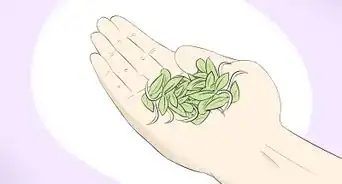
1Take your cuttings from active growth in the spring. Wait until your hoyas have started to develop new shoots and leaves so your cuttings have the best chances at propagation. Check your plant for healthy green growth that you can snip off rather than using withered stems or leaves that are yellow or brown.[1]
- If your hoyas have already bloomed, just wait until the start of the next growing season to take your cuttings.
-
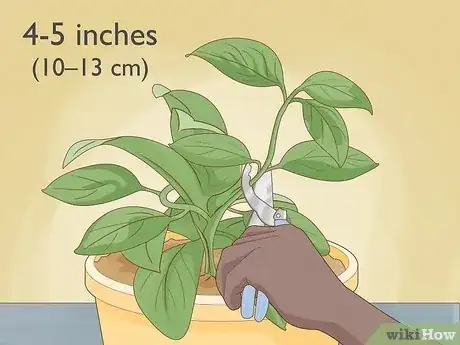
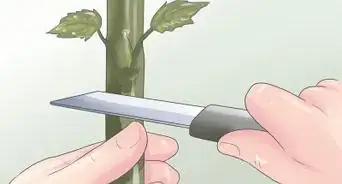
2Cut a 4–5 in (10–13 cm) piece of stem below a leaf node. Use a sharp, clean gardening knife or a pair of garden scissors to make your cut. Look for the nodes where the leaves connect to the stem. Make the bottom cut just below one set of nodes. Then, measure up about 4–5 in (10–13 cm) and make the top cut just above another set of nodes.[2]
- Hoyas have sticky sap inside the stems that could irritate your skin. Wear gardening gloves to protect yourself while you work.
- You may be able to propagate hoya just from a leaf cutting. Rather than trimming off a full stem, snip off a leaf and 1 1⁄2 inches (3.8 cm) of the petiole, which is the part of the leaf that connects to the stem.
Advertisement -
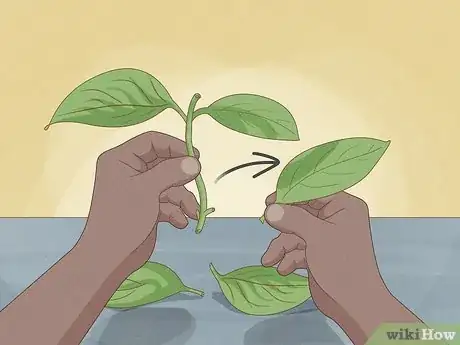
3Pinch off the bottom 2 leaves on the stem to expose the nodes. Gently pinch the leaves between your fingers right where they connect to the stem. Gently pull the leaves right off of the stem and throw them away.[3]
- Leave the rest of the leaves on the hoya stem so they can absorb sunlight and help your plant develop healthy roots.
-
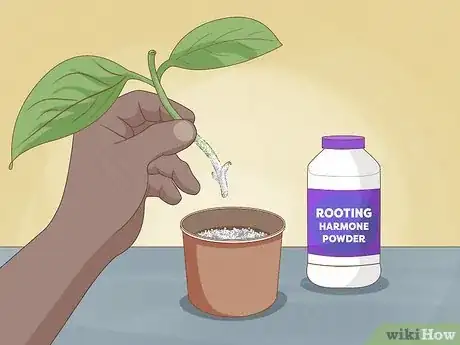
4Apply rooting hormone powder to the bottom of the stem. Dip the stem into the hormone so it’s completely coated. Make sure the powder also covers the nodes you just exposed so the stem grows healthy roots instead of new leafy greens.[4]
- Rooting hormone stimulates the hoya stem to develop roots from the nodes rather than regrowing leaves or other branches.
Rooting Hoya Cuttings
-
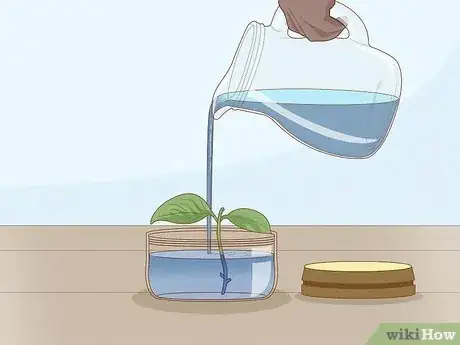
1Propagate hoya in water for an easy way to start roots. Fill a small clear jar or vase with clean water from your tap. Stick the stem into the water until at least one of the leaf nodes is completely submerged.[5] Replace the water in the vase every 2–3 days or when it starts looking murky. Within about 10 days, you’ll see roots starting to grow from the bottom of the cutting.[6]
- Once the roots have formed, fill a 3–4 in (7.6–10.2 cm) pot with orchid potting mix and transplant the cutting into it. Be sure to completely cover the roots with the potting mix.
- Hoya roots are a little more sensitive to being moved and transplanted when you propagate them in water, so try the soil method if your hoya doesn't survive being transplanted.
-
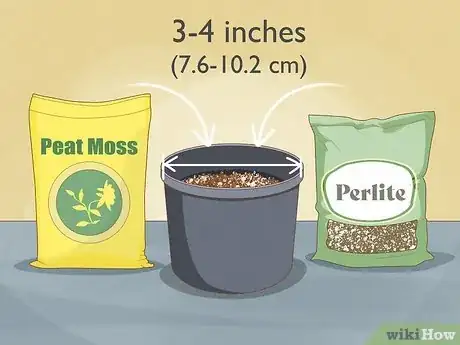
2Plant the cutting in soil instead of water for best results. Use a pot with an equal mix of peat moss and perlite for the best rooting. Use a pot that’s about 3–4 in (7.6–10.2 cm) in diameter and has drainage holes. Thoroughly combine the peat moss and perlite and add them to the pot. Leave about 1 inch (2.5 cm) of space at the top of the pot so it doesn’t overflow when you water your plants.[7]
-
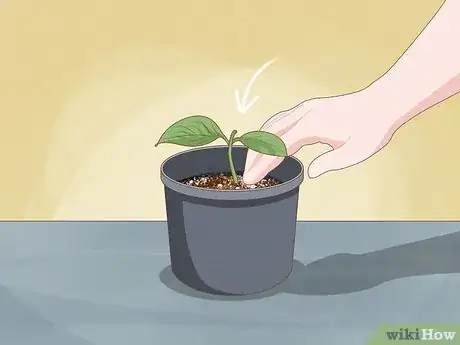
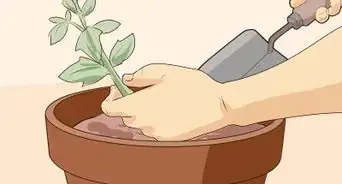
3Push the bottom 1 in (2.5 cm) of the hoya stem into the potting mix. Place the stem in the center of the pot so it has space to grow and expand. Make sure the stem and the nodes you exposed are completely covered by the potting mix. Gently press the mix around the stem so it stays in place.[8]
- If you’re growing hoya from a leaf cutting, plant it in the soil the same way so the base of the leaf is just above the soil’s surface.
-
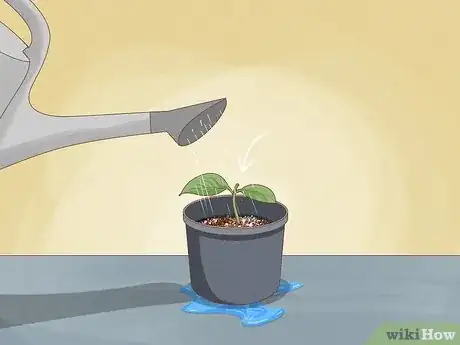
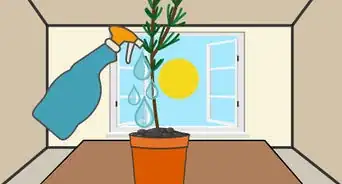
4Keep the soil on the surface moist to help the roots develop. Use a watering can to wet the potting mix. Keep watering the pot until you see liquid coming out from the drainage holes on the bottom. After your first watering, check the pot every few days to see if the potting mix feels moist on the surface. If it dried out, lightly water your hoya cutting again.[9]
- Avoid letting the potting mix get soggy or waterlogged since it will prevent healthy roots from developing.
-
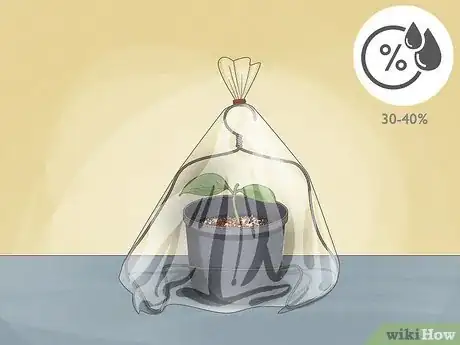
5Cover the pot with a plastic bag to maintain high humidity. Use a large resealable bag or an old shopping bag to put over your pot. Use a bent wire hanger or a wooden stick to hold the bag away from the leaves and stem.[10] Seal the bag by taping it around the edge of the pot or securing a rubber band around it.[11]
- With a plastic bag over the pot, the moisture from the potting mix will stay trapped inside and promote faster growth.
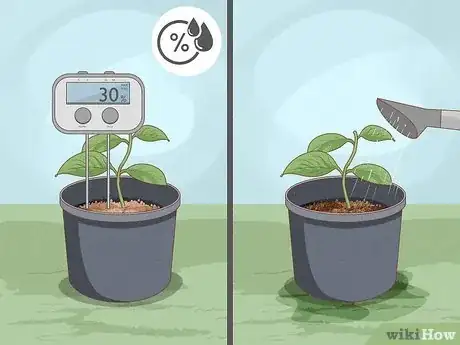
- Hoyas grow best in 30–40% humidity. Try using a humidity meter to track the levels inside your pot.
-
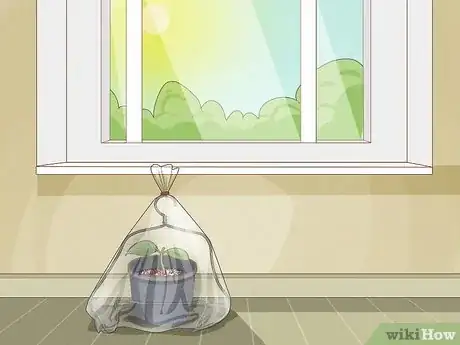
6Place the cutting near a north- or east-facing window. Leave the pot near the window sill where it gets 2–4 hours of indirect sunlight throughout the day. Since the plastic bag on top of the pot will increase the temperature, avoid putting the pot in direct sunlight where it could harm your hoya.
- If you don’t have easy access to a window, use a grow light instead to help your hoya thrive. Keep the grow light about 20 inches (51 cm) away from your cuttings and run it for about 12–16 hours since it isn’t as intense as direct sunlight.[12]
-
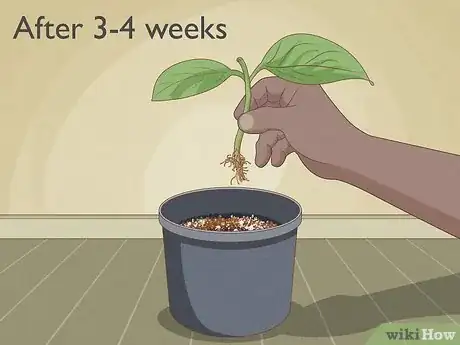
7Check your hoya cutting for roots after 3–4 weeks. Gently work the stem out of the potting mix and lift it straight up to inspect the bottom for roots. If you see them starting to form, then your cutting is growing well. Carefully place your hoya back into the potting mix and firmly press it back up against the stem, but don’t use the plastic bag anymore.[13]
- If you don’t see any roots, keep the plastic bag on the pot for another 2–3 weeks before checking again. If roots still don’t form, then it may be easier to try planting a different cutting.
Caring for Hoyas
-
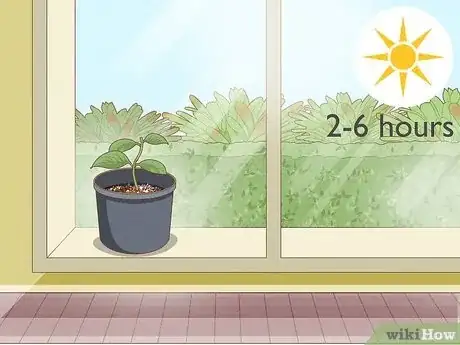
1Give your hoyas 2–6 hours of sunlight a day. Keep your hoyas in an east- or north-facing window so they get a few hours of direct sunlight and a few more hours of bright, indirect light. If you don’t have a spot near a window, then use a grow light for a few hours every day so new leaves and shoots form.[14]
- If you leave hoyas in direct light for too long, the foliage will start to burn and get damaged.
-
2Water hoya when the top ¾ of the soil has dried out. Let the potting mix mostly dry out in between waterings since hoyas are really susceptible to root rot and getting waterlogged. Stick your finger into the soil or use a moisture meter to check if the soil feels dry below the surface. If it is, then use your watering can to thoroughly water the soil until it comes out of the drainage holes.
- If the leaves start turning yellow, it could be a sign that you’re overwatering your hoyas.
-
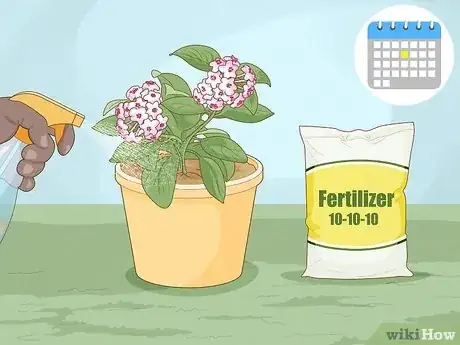
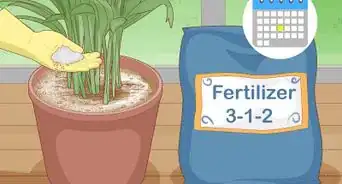
3Use a balanced fertilizer once a month. Pick a fertilizer that has equal parts nitrogen, phosphorus, and potassium, like a 10-10-10 formula. Apply or spray the fertilizer directly onto the soil following the usage directions on the package. Then, immediately water your hoya so the fertilizer can soak into the soil and get taken up by the plant’s roots. Stop applying fertilizer at the end of the growing season in autumn and through the winter.[15]
- Alternatively, fertilize your hoyas once a week. Just use ¼ of the recommended amount on the package.
- If you want to help your hoyas start blooming, use a high-phosphorus mix every 2 weeks in late spring through late summer instead.
-
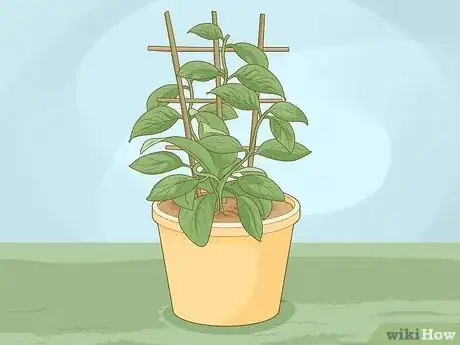
4Put a trellis near your pot if you want hoya vines to climb. Set the trellis next to or on top of the pot for vining varieties of hoyas like hoya carnosa or hoya pubicalyx to climb. As the vines grow longer, they’ll wrap around the trellis and grow vertically without getting tangled together.[16]
- Varieties like hoya odorata and hoya kerrii labeled “sweetheart hoya” won’t develop vines, so you don’t need to trellis them.[17]
-
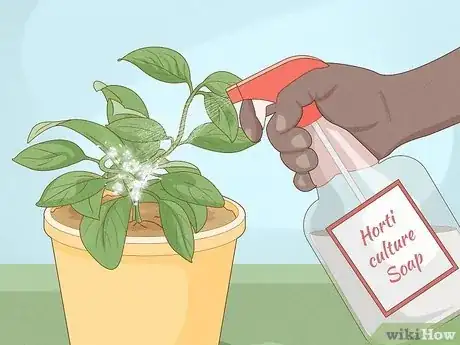
5Apply horticultural soap to get rid of mealybugs. Look on the stems and the undersides of the hoya leaves for white insects that look like small pieces of cotton. If you see any, spray the horticultural soap directly onto the hoya leaves and stems to wash the bugs off and prevent them from coming back.[18]
- If the mealybugs return or horticultural soap doesn’t work, use a systemic insecticide that’s a little stronger instead.
-
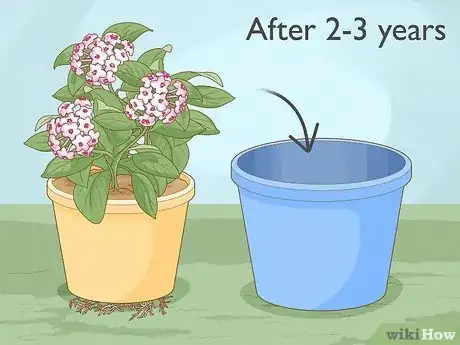
6Repot your hoyas after 2–3 years when they’re root-bound. Check the bottom of the pot to check if the roots are coming out of the drainage holes, which is a sign to repot. Fill the bottom half of a larger pot with your mix of perlite and peat moss. Hold onto the stem and gently work it out from the potting mix. Break apart the soil that’s around the roots and set it in the pot. Then, just fill in more potting mix around the root ball and water your plant.[19]
- Hoyas don’t mind if their roots fit tightly in the pot and will still continue to bloom, so only repot them if you notice that they aren’t growing.
Warnings
References
- ↑ https://www.ndsu.edu/pubweb/chiwonlee/plsc368/student/papers01/pneisen/Propagationofcactiandsucculents/Main%20Page.htm
- ↑ https://extension.missouri.edu/publications/g6560
- ↑ https://youtu.be/HoTY5ZmHkLY?t=54
- ↑ https://extension.missouri.edu/publications/g6560
- ↑ https://youtu.be/nyP5f465ZV8?t=300
- ↑ https://naes.agnt.unr.edu/PMS/Pubs/1998-3384.pdf
- ↑ https://www.ncbi.nlm.nih.gov/pmc/articles/PMC9132552/
- ↑ https://mrec.ifas.ufl.edu/foliage/folnotes/waxplant.htm
- ↑ https://naes.agnt.unr.edu/PMS/Pubs/1998-3384.pdf
- ↑ https://extension.umaine.edu/publications/2615e/
- ↑ https://extension.missouri.edu/publications/g6560
- ↑ https://www.bobvila.com/articles/hoya-plant-care/
- ↑ https://extension.umaine.edu/publications/2615e/
- ↑ https://plants.ces.ncsu.edu/plants/hoya-carnosa/
- ↑ https://www.bobvila.com/articles/hoya-plant-care/
- ↑ https://youtu.be/lyYCttZDiAM?t=292
- ↑ https://extension.psu.edu/hoyas-as-houseplants
- ↑ https://gardeningsolutions.ifas.ufl.edu/plants/houseplants/hoya.html
- ↑ https://www.bobvila.com/articles/hoya-plant-care/
- ↑ https://plants.ces.ncsu.edu/plants/hoya-pubicalyx/common-name/pink-silver/
- ↑ https://gardeningsolutions.ifas.ufl.edu/plants/houseplants/hoya.html
