This article was co-authored by wikiHow Staff. Our trained team of editors and researchers validate articles for accuracy and comprehensiveness. wikiHow's Content Management Team carefully monitors the work from our editorial staff to ensure that each article is backed by trusted research and meets our high quality standards.
The wikiHow Tech Team also followed the article's instructions and verified that they work.
This article has been viewed 315,086 times.
Learn more...
Excel sheets can compile a lot of data, and it’s not always convenient to print it all at once. You can print certain sections of a spreadsheet by highlighting the target area, going to the print settings, and choosing the ‘print selected area’ option. A similar process can be used to print selected sheets in a workbook. “Print Areas” can also be used to for those who wish to adjust their formatting before entering the print menu.
Steps
Printing from a Selection
-
1Open your Excel worksheet. Double-click the worksheet or go to “File > Open” in Excel.
-
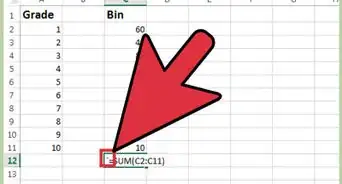
2Highlight the cells that you want to print. Click and hold the first cell in the range and drag the cursor until you've highlighted all the cells that you want to print.Advertisement
-
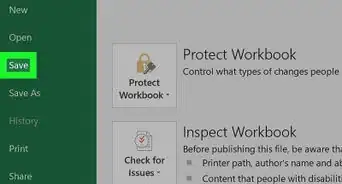
3Go to the “File” menu and select “Print”. The menu is in the top left corner of your screen and brings up “Print Settings”.
-
4Choose “Print the selection”. Below the selected printer device is a dropdown menu to select which part of the workbook you wish to print. This selection will set the print to use only the area of the spreadsheet you have highlighted.
-
5Press “Print”. The button is located at the top of the menu. All content except your selection will be excluded from the print.


Using a Print Area
-
1Open your Excel worksheet. Double-click the worksheet or go to “File > Open” in Excel.
-
2Highlight the cells that you want to print. Click and hold the first cell in the range and drag the cursor until you've highlighted all the cells that you want to print.
-
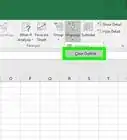
3Go to the “Page Layout” tab. This tab is located in the top menu bar, a few options to the right of the “File” menu. Here you can access a number of settings to format your spreadsheet. Among these options is “Print Area”.
-
4Set the Print Area. Press “Print Area” and select “Set Print Area” from the dropdown. The highlighted cells will be designated to the print area. This area will be saved for future printing and you can continue to work.
- The “Orientation” button switches between landscape and portrait orientation.
- The “Margins” button adjusts the margins on a printed page.
- “Scale to Fit” chooses how many pages you want to fit your printed content into.
- You can clear, overwrite or add to the print area from the same dropdown menu.
-
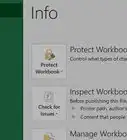
5Go to “File” and select “Print”. The menu is in the top left corner of your screen and brings up “Print Settings”.
-
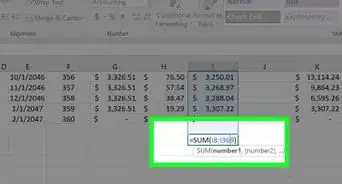
6Adjust the print settings. In the dropdown menu under the printer device, make sure “Print Active Sheet(s)” is selected and that the “Ignore Print Area” checkbox is NOT selected.
- Note that “Print the selection” means that any newly highlighted selection overrides your designated print area.
-
7Press “Print”. The button is located at the top of the menu, and the page will print with your print area and page layout adjustments.


Printing Individual Sheets From a Workbook
-
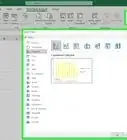
1Open an Excel file with multiple sheets. In a large workbook, there may be only one or two sheets you want printed. In Excel, go to the “File” menu and select “Open” or simply double-click an Excel file.
-
2Select the sheet(s) you want to print. Click the sheet name in the bottom bar. Multiple sheets can be selected using Ctrl + click (⌘ Cmd + click on Mac).
-
3Go to the “File” menu and select “Print”. The menu is in the top left corner of your screen and brings up “Print Settings”.
-
4Select “Print Active Sheet(s)”. The first option below the selected printer device is a dropdown menu to select which areas of the workbook to print. “Print Active Sheet(s)” will set the printer to only print the sheets you selected instead of the entire workbook.
-
5Adjust other print settings. Dropdown menus below the selection menu allow you to adjust layout options like page orientation or margins from this panel.
- If you previously set a print area but decide against using it, select “Ignore Print Areas” to ignore.
-
6Press "Print". The button is located at the top of the menu and your selected sheets will print, excluding the others.


Community Q&A
-
QuestionHow do I print on both sides of a single piece of paper?
 Community AnswerGo to "File > Print". In the print settings, you can select to print one-sided or double sided from the dropdown menu.
 -
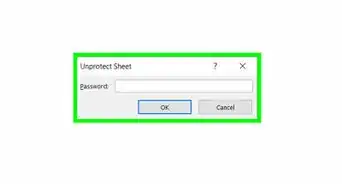
QuestionHow do I print with a freeze?
 Community AnswerGo to the Page Layout tab and select Print Titles. Select the "Sheet" tab and in the "Rows to repeat at top box" or the "Columns to repeat at left" box, enter the rows or columns that you want to appear on every page you print.
Warnings
- You can only set one Print Area at a time.⧼thumbs_response⧽
- If you set multiple areas of a worksheet, as one Print Area, you will get each area being printed on a separate paper.⧼thumbs_response⧽
Things You'll Need
- Microsoft Excel
- Printer, to print the document.
- Paper, to print on.


About This Article