This article was co-authored by Kelly Medford and by wikiHow staff writer, Hannah Madden. Kelly Medford is an American painter based in Rome, Italy. She studied classical painting, drawing and printmaking both in the U.S. and in Italy. She works primarily en plein air on the streets of Rome, and also travels for private international collectors on commission. She founded Sketching Rome Tours in 2012 where she teaches sketchbook journaling to visitors of Rome. Kelly is a graduate of the Florence Academy of Art.
There are 9 references cited in this article, which can be found at the bottom of the page.
This article has been viewed 60,414 times.
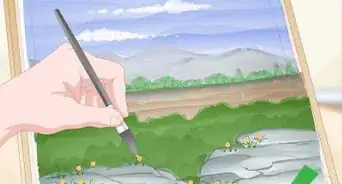
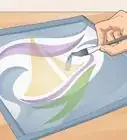
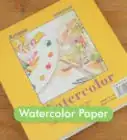
If you’ve ever painted a beautiful watercolor scenery only for your paper to buckle and warp as it dries, then you’ve experienced the frustration of every beginning watercolor artist. Most watercolor paper needs to be stretched before it can be used as a good painting surface and to ensure that it won’t crinkle when your paints dry. You can stretch the paper a day in advance for a perfect, smooth finish, or if you're in a hurry, wet the paper a few minutes before you start painting. Either way, these methods should stop your artwork from cracking under pressure.
Steps
Drying the Paper Overnight
-
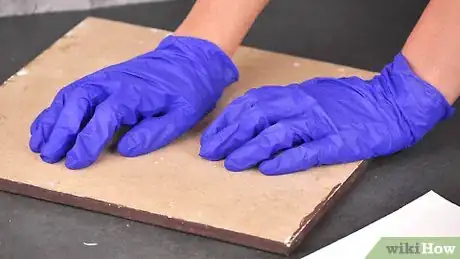
1Wear a pair of latex gloves to avoid damaging your paper. Gloves are useful because the paper is very delicate in water, and it can take on skin oil and fingerprints. These marks show through any paint you use later, so covering your hands is a good idea.[1]
- If you don’t have any gloves to wear, that’s okay too. Just try to avoid touching the surface of the paper as much as possible.
-
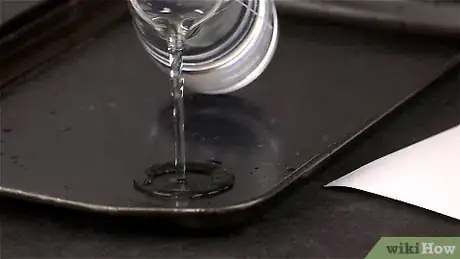
2Fill a flat-bottomed tray with cool water. You will need a flat surface to hold the paper (your sink or bathtub will do). Or, you can use a tray or plastic tub with a flat bottom. Fill up the bottom of your tray will cool water that’s no warmer than room temperature.[2]
- You can use trays that are smaller than the paper, but you’ll have to dip one side at a time.
- If you don’t have a tray at all, you can use a spray bottle to dampen the paper instead.
Advertisement -
3Soak the paper in the water for at least 3 minutes. Submerge the paper, laying it flat against the bottom of the tray. Check the paper’s packaging to find out the sheet weight. Soak sheets marked 90 lb (41 kg) for 3 minutes, and those that are 140 lb (64 kg) for about 8 minutes.[3]
- The soaking time varies depending on the paper. The heavier the paper, the longer it needs to soak. Most watercolor paper companies have instructions on how long each sheet should soak, so you can check out their website if you’re not sure.
- Try to bend the edges of the paper when you think it’s soaked long enough. If the edges are soaked enough, they won’t move. If the paper is too dry, the edges will flatten out; if it’s too wet, the edges will droop.
- Note that 300 lb (140 kg) paper doesn’t need to be soaked before painting, since it’s heavy enough to withstand the paints without buckling.
-
4Move the paper to a sturdy, waterproof board. Use a board that will stay flat throughout the drying process, like polystyrene or Gator Boards. Lay the paper over the board, keeping the side you want to use facing up.[4]
- You can also try plexiglass, Lexan boards, or marine plywood.
-
5Blot out the excess water with a clean sponge. While wearing the latex gloves, smooth the paper out to make sure it is flat against the board to push out some of the excess water. Dab a paper towel or a sponge all over the sheet to soak up any standing water, but try not to overdry it.[5]
- Remember, you aren’t drying the paper with the towel or sponge. You only want to absorb and water that would run off the paper.
-
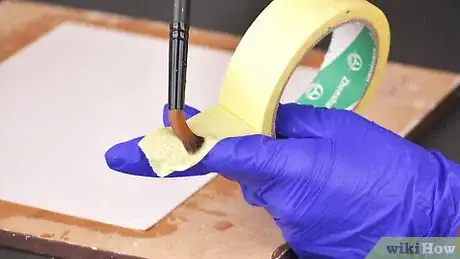
6Dampen gummed paper tape with a paintbrush. Pick up a roll of gummed paper tape from an art or office supply store. Dip a paintbrush into the water, then spread it over the tape to lightly moisten it without washing off the adhesive.[6]
- Instead of using a paintbrush, you can dip the tape in the water. Quickly dip the tape, then squeeze it between your fingers to drain excess water.
-
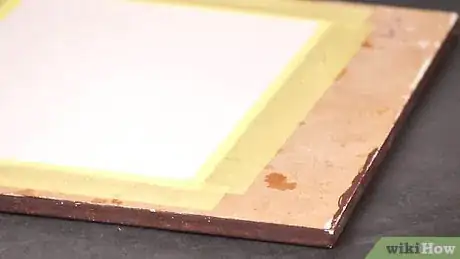
7Place the tape over the paper’s borders. Cover about 1⁄2 in (1.3 cm) of the paper on all sides. Press the tape down with your fingers to smooth it out and stick it to the board to hold the paper flat so it dries that way, too.[7]
- If the tape is giving you a hard time, staple the edges instead.
-
8Let the paper dry overnight. Leave the board in a safe spot out in the open, such as on a counter or table. Pick a flat surface so the water dries more evenly. The paper will begin to dry after 2 or 3 hours, but you should try to leave it for about 8, just to be sure.[8]
- You can try standing the board up and rotating it every 20 minutes. This prevents water from pooling around the tape, speeding up the drying process.
-
9Cut away the tape to remove the paper, then paint your picture. Place a ruler over the tape, then cut along the edges with an X-Acto knife. Taking off the tape allows you to remove the paper for storage and reuse the board to prepare more paper. You do lose a little bit of the paper this way, so keep in mind how large your painting is before you start the process.[9]
- If you don’t want to cut the paper, try dampening the tape again. If the adhesive gets wet, you may be able to peel the tape off of the paper.
- If you used staples, just pull the paper off the board and pop the staples out by hand.
Painting on Wet Paper
-
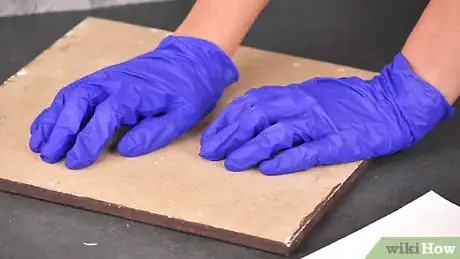
1Wear latex gloves to avoid damaging the paper. Wet paper can fall apart on you and absorb the oil in your fingertips. To avoid having fingerprints show through your paint, wear the gloves as you handle the wet paper.[10]
- If you don’t have gloves you can wear, that’s okay too. Just try to touch the paper as little as possible.
-
2Lay the paper on a flat board. Pick out a polystyrene board, a Gator Board, or something similar. Lay the board on a flat surface, then place the paper on top of it. Make sure the paper is flat so it dries flat, too.[11]
- Since you’ll be working on this paper immediately, you can also gather your paint brushes and watercolor paints.
-
3Brush cold water onto the paper with a paint brush. Use a large paint brush to spread cold water over the entire piece of paper. You can’t really use too much water, although you will need to use more water on heavier paper. Continue spreading water until the paper is saturated.[12]
- When the paper is saturated, it won’t hold any more water, which is why you can keep brushing it until water starts spilling over the edge.
-
4Turn the page over and add more water. Carefully flip the paper by grasping 2 of the corners, then make sure the paper is pressed flat against the board. Use the same brush to add more water to the other side to fully saturate your paper.[13]
- The paper is delicate when it is wet, so handle it as little as possible.
-
5Flip the paper and let it dry for 15 minutes. Turn the paper over so that the original side you dampened is face-up, making sure it’s flat. Leave the paper alone for about 15 minutes so it can dry just slightly.[14]
- Leave the board out in the open on a flat surface so it dries faster.
-
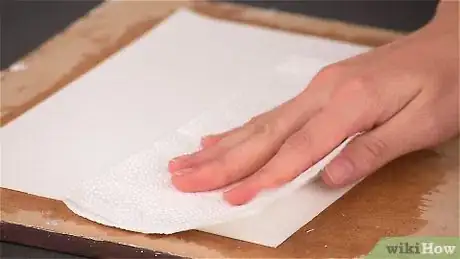
6Roll 2 layers of paper towel over the paper. Make the paper towels even and big enough to cover the paper. Lay the first layer over the sheet of paper, then top it with the second layer. Push down on the paper towels so they squeeze the paper to absorb any excess moisture.[15]
- When no more water is coming out of the paper, you can take the paper towels off and throw them away.
-
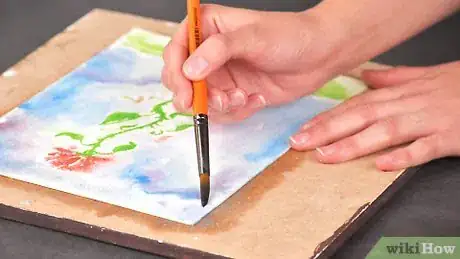
7Paint while the paper is still damp. The damp sheet will still hold onto paint almost as well as dried paper, although the colors may soften and blend together more. Since the paper is wet on both sides, it won’t buckle as it dries.[16]
- If you can, prepare your paper in advance by soaking and drying it. You will have more of an opportunity to make sure the paper is perfect.
Community Q&A
Did you know you can get answers researched by wikiHow Staff?
Unlock staff-researched answers by supporting wikiHow
-
QuestionFor method two, what if you leave it to dry? Will it have the same effect as method one?
 wikiHow Staff EditorThis answer was written by one of our trained team of researchers who validated it for accuracy and comprehensiveness.
Staff Answer wikiHow Staff EditorStaff Answer
 -
QuestionWhen the wet paper is secured with the tape and then dry, do I start painting or do I have to remove the tape from the paper first?
 Community AnswerIt doesn't really matter. Some people prefer keeping the tape on, because it holds the paper in place. Others remove the tape so it isn't covering any of the paper as they are painting. So it's up to you!
Things You’ll Need
Drying the Paper Overnight
- Watercolor paper
- A board
- A water tray
- Lukewarm water
- Gummed paper tape
- Paint brush
- Paper towels
- Latex gloves
- X-Acto knife
Painting on Wet Paper
- Watercolor paper
- A board
- Paint brush
- Lukewarm water
- Paper towels
- Latex gloves
References
- ↑ https://www.strathmoreartist.com/blog-reader/stretching-watercolor-paper.html
- ↑ http://emptyeasel.com/2015/01/08/how-to-stretch-watercolor-paper-before-painting-a-must-read/
- ↑ https://www.strathmoreartist.com/blog-reader/stretching-watercolor-paper.html
- ↑ https://www.youtube.com/watch?v=9c6OWKyYNKI&feature=youtu.be&t=43
- ↑ https://www.youtube.com/watch?v=9c6OWKyYNKI&feature=youtu.be&t=47
- ↑ https://www.strathmoreartist.com/blog-reader/stretching-watercolor-paper.html
- ↑ http://donnamacinnis.com/artinformation/howtopaintwatercolors.html
- ↑ https://www.strathmoreartist.com/blog-reader/stretching-watercolor-paper.html
- ↑ https://www.handprint.com/HP/WCL/tech21.html#stretch
- ↑ https://www.strathmoreartist.com/blog-reader/stretching-watercolor-paper.html
- ↑ https://www.youtube.com/watch?v=4e2kzi8O4wI&feature=youtu.be&t=275
- ↑ https://www.handprint.com/HP/WCL/tech21.html#stretch
- ↑ https://www.youtube.com/watch?v=4e2kzi8O4wI&feature=youtu.be&t=282
- ↑ https://www.strathmoreartist.com/blog-reader/stretching-watercolor-paper.html
- ↑ https://www.strathmoreartist.com/blog-reader/stretching-watercolor-paper.html
- ↑ Kelly Medford. Professional Artist. Expert Interview. 2 July 2019.
