This article was co-authored by Kelly Medford and by wikiHow staff writer, Jessica Gibson. Kelly Medford is an American painter based in Rome, Italy. She studied classical painting, drawing and printmaking both in the U.S. and in Italy. She works primarily en plein air on the streets of Rome, and also travels for private international collectors on commission. She founded Sketching Rome Tours in 2012 where she teaches sketchbook journaling to visitors of Rome. Kelly is a graduate of the Florence Academy of Art.
There are 8 references cited in this article, which can be found at the bottom of the page.
This article has been viewed 22,230 times.
If you're new to working with watercolor, landscapes are a great starting point. This is because it's easy to use several washes for a background, middle ground, and foreground. Once you've painted the key details of your landscape, such as mountains or a treeline, go back and paint smaller details that add to the atmosphere of your painting.
Steps
Sketching Your Landscape
-
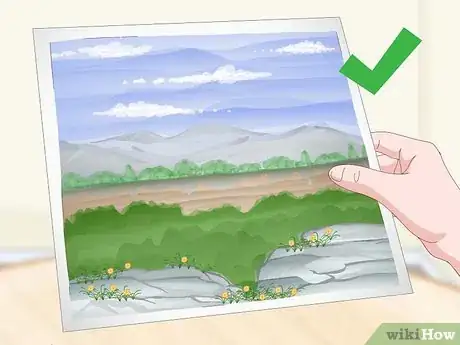
1Determine what objects to include in your painting. Decide what landscape, in the broadest sense, you're going to paint. For example, paint a mountain, dessert, beachside, or pond. Choose what season you'd also like to represent.[1]
- Try painting a wintery mountain landscape or a lake at springtime.
- Although many landscapes represent daytime scenes, you can choose a twilight, dawn, or evening setting.
Tip: It can help to work from a reference photograph or image. Prop the picture up near your watercolor paper so you can glance at it easily.
-
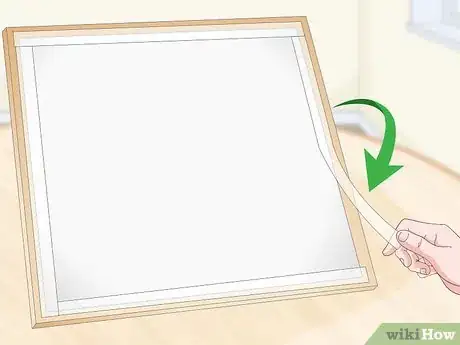
2Tape watercolor paper to a sturdy cardboard base or table. Place any size or weight of watercolor paper flat on a table or piece of cardboard. Use masking tape to secure the paper to the base or table. This will keep the watercolor paper from sliding around as work.[2]
- Many landscapes are painted with the paper positioned horizontally, but you can paint with it vertically. For example, turn the paper vertically if you'd like to include a tall structure, such as an old windmill or a silo.
Advertisement -
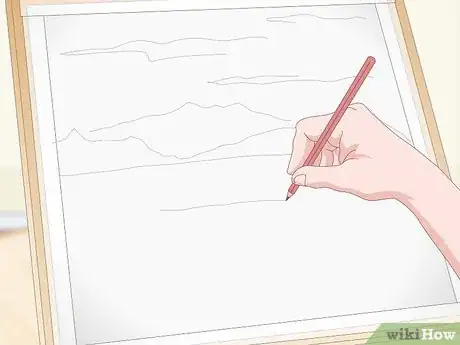
3Sketch the key objects lightly on watercolor paper.[3] Take a sharp pencil and very lightly draw in your main focal points. This might include large trees in the foreground, the outline of a mountain range in the background, or a small structure near a pond.[4]
- You can be as detailed or simplistic in this step as you like. If you'd like more guidance, sketch more things so you have a blueprint for the painting.
Tip: Keep your drawing light so you can't see the pencil marks through the watercolor.
-
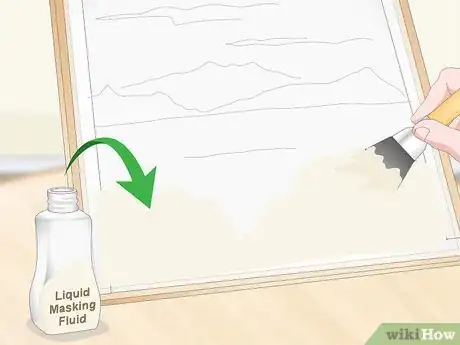
4Fill in objects near the foreground with liquid masking fluid. Dip a small, old brush into a bottle of liquid masking fluid and paint the foreground objects. Keep in mind that whatever you cover with the fluid will be protected from the watercolor washes that you'll do next. Leave the fluid to dry for at least 30 minutes before you continue.[5]
- If you're not placing objects in the foreground or if they'll be dark, you can skip filling them in with the liquid masking fluid.
Painting the Washes
-
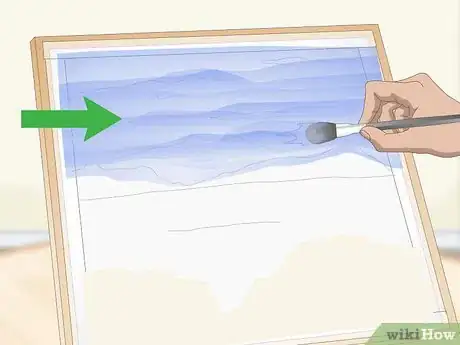
1Apply a broad watercolor wash to make the background.[6] Dip a big 1 or 2 inches (2.5 or 5.1 cm) flat or oval brush in water and dab it into a little of your chosen watercolor paint. Rub the brush to make the paint dilute in a puddle. Then brush horizontally across the top of your paper.[7]
- If you used the liquid masking fluid, you can paint directly over the objects in the foreground.
- For a greater depth of color, mix a few different colors for your base wash. For example, to make a wintery sky, combine blue, red, and yellow to create a cool gray.
Tip: If you continue to work down as your brush runs out of watercolor paint, the background will become lighter towards the foreground. If you want bolder color, dip the brush back into the puddle of paint as you apply the wash.
-
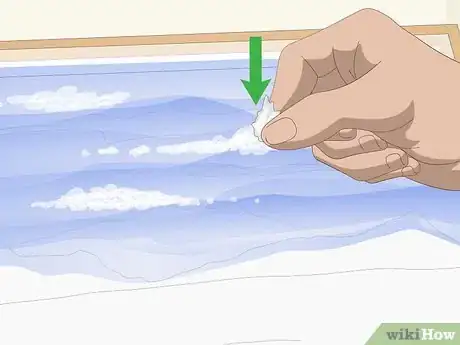
2Dab paper towel into the wash to create clouds. If you'd like to add clouds to your landscape's sky, tear off a bit of paper towel and wad it up. Gently dab the wash you just laid in to lift away some of the pigment. This will create a cloud for your sky.[8]
- If you're making lots of clouds, replace the paper towel once it becomes saturated.
-
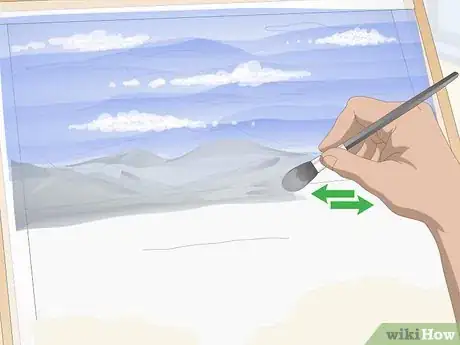
3Paint in the middle ground using another wash. Depending on how detailed you want the middle ground of your painting to be, rinse your large brush or use a smaller brush. Mix the paint of your middle ground color and paint any of the key objects in the space.[9]
- For example, make a greenish-brown color and use it to make a wash that will become a mountain range.
- If you don't want the middle ground to blur with the sky or background, it's important to wait until the sky or background is dry before painting the middle ground.[10]
Did You Know? Some artists prefer to lay in lighter washes before applying darker washes, but others choose to paint the darker washes to prevent the colors from becoming muddy. Experiment to find which style you like best.
-
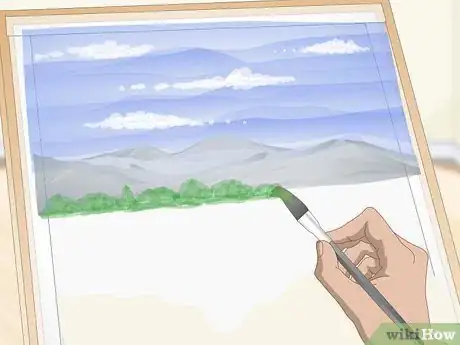
4Create a treeline in the distance by painting on the wet middle ground. Once you've painted the sky or middle ground, dip a small brush into some green paint. Then gently brush the treeline into the wet sky or middle ground so the paint blurs a little. This will give the appearance of trees in the distance.[11]
- To create a richer atmosphere, apply a darker color to the base of the treeline.
- If you don't want to paint a treeline in your landscape, consider blurring the existing sky with the middle ground. To do this, take your wet brush and move it along both areas to loosen the watercolor paint a little.
-
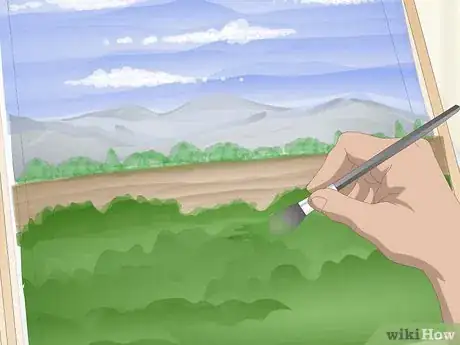
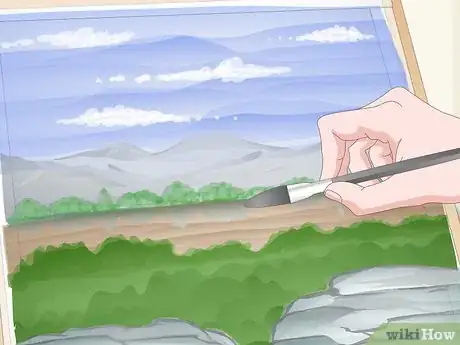
5Use brighter hues to paint the foreground. As you paint closer to the bottom of the painting, make your colors richer and darker so the foreground appears closer to the viewer. For example, if you're painting trees or plants, make them darker or bolder so they stand out against fainter trees in the distance.[12]
- Paint with richer colors even if your foreground is composed of snow or sand. To make a snowy foreground stand out, include deep blues or grays.
Adding Details and Definition
-
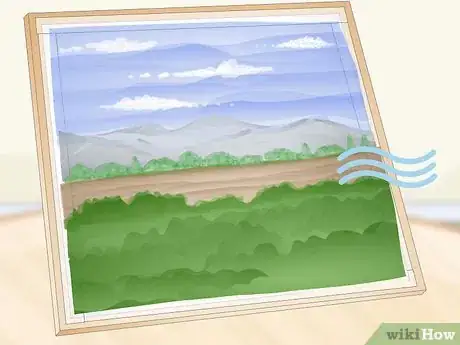
1Dry the background washes before adding details. Leave the painting to dry for about 10 minutes so the washes dry completely. To speed this up, use a hairdryer on the cool setting, but stop using it if the paper begins to warp. Once the washes are dry, you can begin painting details without them blurring.
- If you'd like slight blurring or bleeding between the washes and details, paint the details while the washes are still wet. For example, if you're painting sandy dunes in the middle ground, work while the sky is still wet so they blur into each other.
-
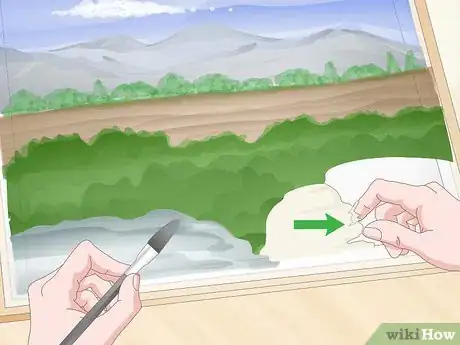
2Rub off the liquid masking fluid and fill in the object. If you used liquid masking fluid to protect things in the foreground, use a clean finger to gently rub the dried fluid off. Then you can use a small paint brush to paint the object in as much detail as you like.[13]
- For example, rub the dried fluid from fence posts in your foreground. Paint the posts in and include details near the base of the posts, such as weeds or grass sprouting near them.
-
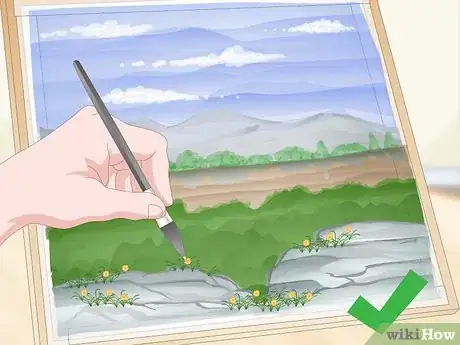
3Include small, natural details in the foreground. Once you've established the background and middle ground, paint the details of objects in the foreground. Pay attention to the outlines that you sketched earlier and use a small brush to fill these in with detail.[14]
- For example, if you're painting a field, create detailed flowers in the foreground that slowly blur into the middle ground. Include the most detail for flowers that are closest to your viewer.
- Try putting paint on the bristles of a toothbrush and flicking it at your painting to add a speckled spatter effect. This works well for adding texture to your piece.[15]
-
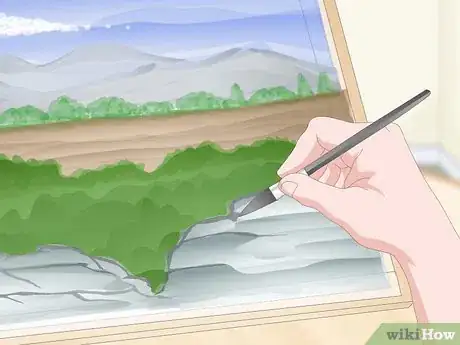
4Paint shadows to add depth to your landscape. Mix together a cool gray color and apply it to the base of trees, rocks, valleys, or anywhere hidden by sunlight in your painting. Then drag the color out with the brush to make a shadowy effect.
- Remember to paint reflections in water if you have objects, such as trees or mountains, placed right next to the water.
Tip: Keep in mind where the sun is positioned in your painting so your shadows all fall in the same direction.
-
5Paint details on objects that are closest to your viewer. Use a very fine brush and dip it into bright or bold colors, paint individual flowers, leaves, stones, or animals. For example, if your landscape includes a road running through the foreground and middle ground, paint larger rocks along the road nearest to the viewer.[16]
- Use a stippling brush to create rough patches of leaves or flowers.
Expert Q&A
-
QuestionHow do I start a watercolor painting?
 Kelly MedfordKelly Medford is an American painter based in Rome, Italy. She studied classical painting, drawing and printmaking both in the U.S. and in Italy. She works primarily en plein air on the streets of Rome, and also travels for private international collectors on commission. She founded Sketching Rome Tours in 2012 where she teaches sketchbook journaling to visitors of Rome. Kelly is a graduate of the Florence Academy of Art.
Professional Artist Try painting a base layer of a single color in the background of your piece and let it dry to add undertones. As you paint other things over the background, the undertone color will show through the finished artwork.
Things You'll Need
- A sheet of watercolor paper in any size
- Watercolor paint
- Big flat or oval brush
- Round #12 brush (#12)
- Smaller #6 brush
- Rag or paper towel
- Cup of water
- Pencil
- Gum eraser
- Masking tape
- A piece of thick cardboard or table
- Liquid masking fluid, optional
References
- ↑ https://americanwatercolor.net/a-world-of-opportunity-in-one-subject/
- ↑ https://thevirtualinstructor.com/easy-watercolor-landscape.html
- ↑ Kelly Medford. Professional Artist. Expert Interview. 2 July 2019.
- ↑ http://www.artinstructionblog.com/how-to-paint-a-landscape-in-watercolor
- ↑ https://thevirtualinstructor.com/easy-watercolor-landscape.html
- ↑ Kelly Medford. Professional Artist. Expert Interview. 2 July 2019.
- ↑ https://youtu.be/mZILqMZCXeU?t=126
- ↑ https://youtu.be/mZILqMZCXeU?t=210
- ↑ https://youtu.be/mZILqMZCXeU?t=279
- ↑ Kelly Medford. Professional Artist. Expert Interview. 2 July 2019.
- ↑ https://youtu.be/mZILqMZCXeU?t=279
- ↑ https://thevirtualinstructor.com/easy-watercolor-landscape.html
- ↑ https://www.artistsandillustrators.co.uk/how-to/watercolour/1822/how-to-paint-a-landscape-in-watercolour
- ↑ https://thevirtualinstructor.com/easy-watercolor-landscape.html
- ↑ Kelly Medford. Professional Artist. Expert Interview. 2 July 2019.
- ↑ https://www.artistsandillustrators.co.uk/how-to/watercolour/1822/how-to-paint-a-landscape-in-watercolour
