This article was co-authored by wikiHow Staff. Our trained team of editors and researchers validate articles for accuracy and comprehensiveness. wikiHow's Content Management Team carefully monitors the work from our editorial staff to ensure that each article is backed by trusted research and meets our high quality standards.
The wikiHow Tech Team also followed the article's instructions and verified that they work.
This article has been viewed 23,386 times.
Learn more...
This wikiHow teaches you how to post a panorama picture on Facebook as a 360 photo. 360 photos place you at the center of the image and let you move around the panorama to create a 360-degree feeling.
Steps
-
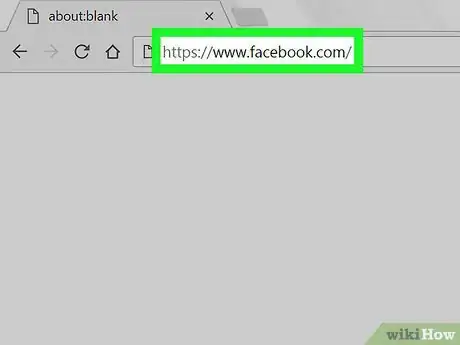
1Open Facebook on your desktop internet browser. You can use a browser of your choice.
- If you’re not automatically logged into Facebook on your desktop browser, enter your email or phone and your password to log in.
-
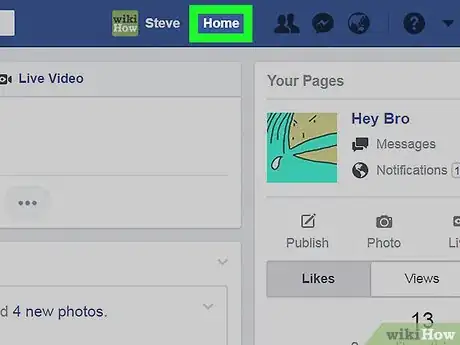
2Click the Home button. This button will be in the upper-right corner of your browser window. It will open your News Feed.Advertisement
-
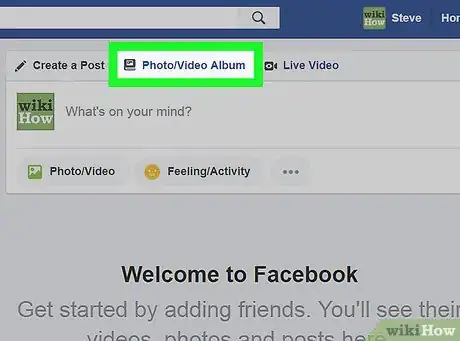
3Click the Photo/Video upload button. This button is located below the “What’s on your mind?” text field at the top of your News Feed. It will open a pop-up box to upload an image or video.
-
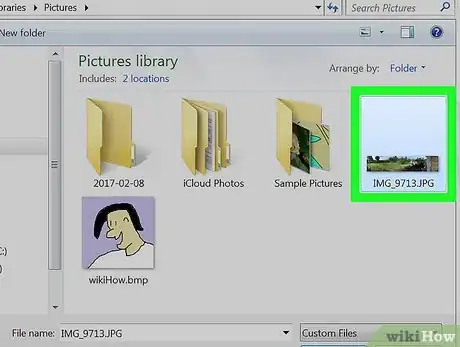
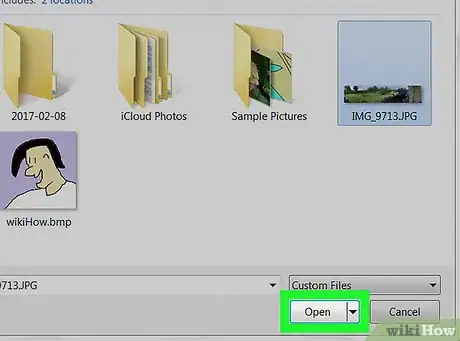
4Select the panorama photograph from your computer. Browse the files on your computer from the pop-up box, and click on the panorama you want to upload. Facebook will automatically recognize a panorama when you upload it.
-
5Click Open. This button will be in the lower-right corner of the pop-up box.
-
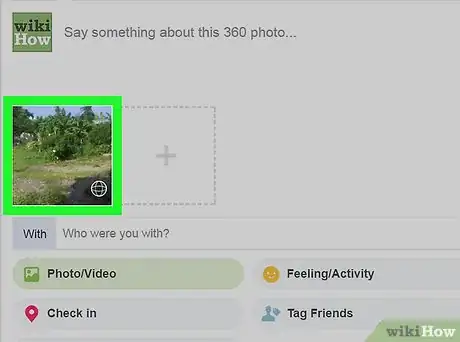
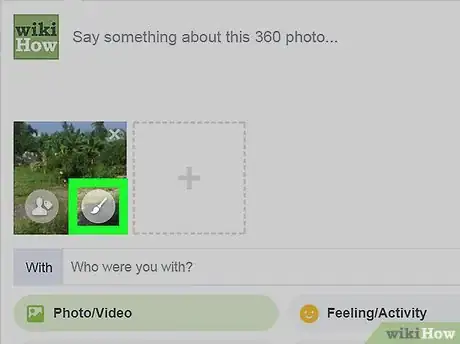
6Hover over the image thumbnail. When you upload a panorama, you will see a world icon in the lower-right corner of the image thumbnail in your post. The world icon will turn into a paintbrush when you hover over the image with your mouse.
-
7Click the Edit 360 Settings button. This button looks like a paintbrush icon when you hover over the image thumbnail. It will open your panorama in full size and let you edit it before you post.
-
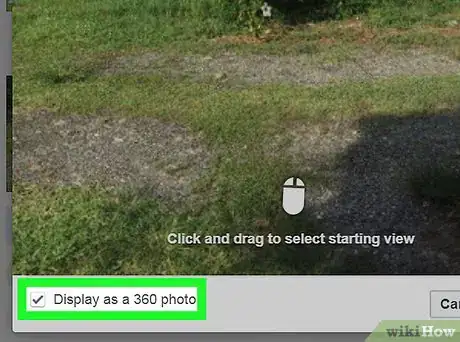
8Make sure the Display as a 360 photo box is checked. This option will be in the lower-left corner of your image. Facebook will recognize a panorama when you upload, and this box will be checked by default. 360 photos show up on your News Feed with a compass icon. Other users can click and drag around the panorama to create a 360-degree feeling while viewing your photograph.
- Alternatively, you can uncheck this box and post your photo as a single panorama. This will show your full panorama in one single shot instead of a 360 photo.
-
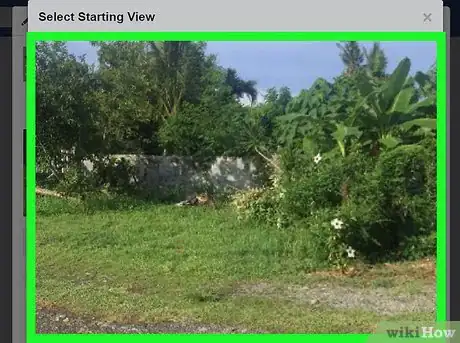
9Click and drag your photo to a starting point. This will be the first thing your friends see when they click on your 360 photo.
-
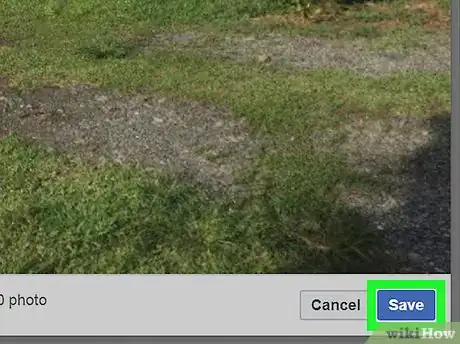
10Click Save. This is the blue button in the lower-right corner of your photo. It will save your starting point for your panorama.
-
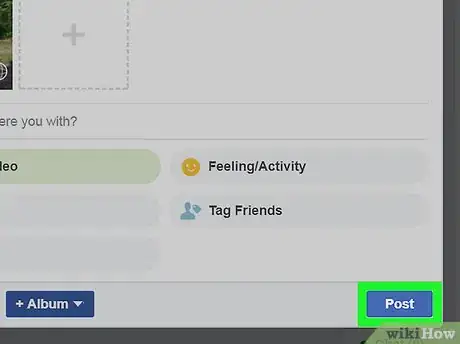
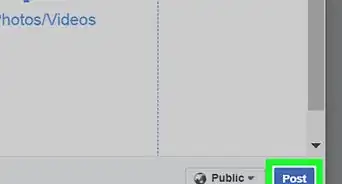
11Click Post. This is the blue button in the lower-right corner of your post.
About This Article
1. Open Facebook on your browser.
2. Click Home.
3. Click Photo/Video at the top of your News Feed.
4. Select your panorama and click Open.
5. Hover over the image and click the paintbrush.
6. Click and drag the photo to a starting point.
7. Click Save.
8. Click Post.
