This article was co-authored by Jeff Huynh. Jeff Huynh is the owner of Moseybolt, a full service solution in home services, renovations, and repair in the Greater Seattle area. He has over five years of handyman experience. He has a BS in Business Administration from the San Francisco State University and his Certificate in Industrial Electronics Technology from North Seattle College.
This article has been viewed 41,348 times.
White furniture is perhaps the easiest color to incorporate into your home. It can easily add a touch of simplicity and refinery to any space, and coordinates well with any other color you may choose to decorate your home. Painting furniture white on your own also presents a more affordable alternative to buying new furniture or requesting the services of a renovator. Sanding and priming the furniture, painting it, and applying a finisher are part of performing the best possible job and getting an attractive final product.
Steps
Sanding the Surface
-
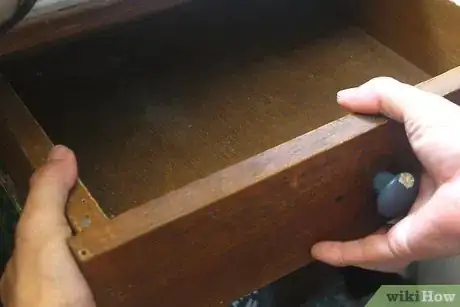
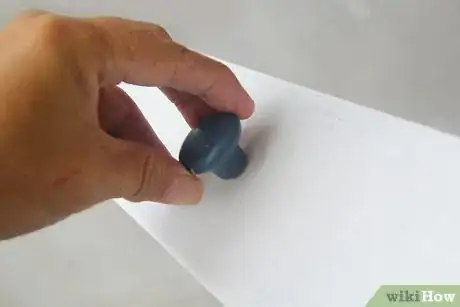
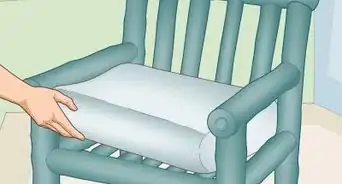
1Work on taking the furniture apart piece by piece (if applicable). Remove any drawers or shelf slots first, if necessary. Use a screwdriver to loosen and take off any hardware from the furniture, such as hinges and knobs. Take off the back of the furniture if you plan to paint the insides. Set the hardware aside in a box or container for safekeeping.[1]
-
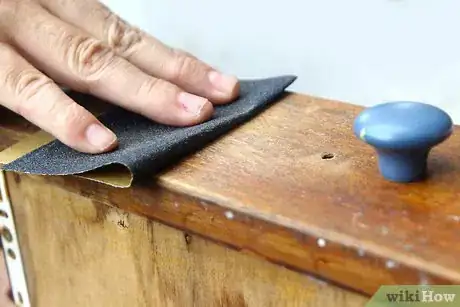
2Sand your furniture with coarse (30 to 50 grit) sandpaper. Rub the sandpaper in a circular motion along the surface of the furniture. Use the sandpaper on every part of the furniture you plan to paint. Keep sanding until the furniture's varnish is visibly roughened all over.[2]Advertisement
-
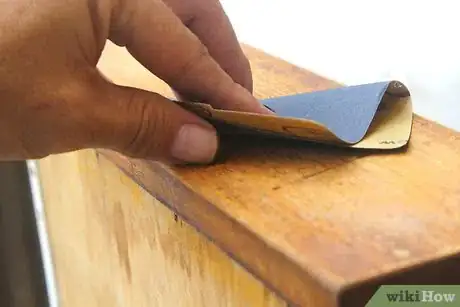
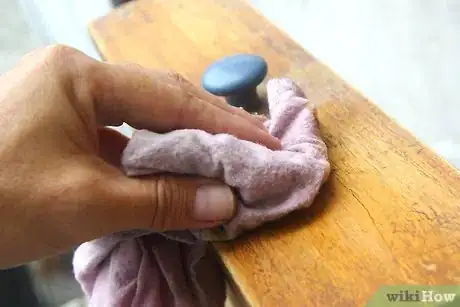
3Sand the furniture again with medium (60 to 80 grit) sandpaper. Move the medium sandpaper in the direction that the wood grain moves in. Continue sanding until the furniture looks smooth. Afterwards, use a wet rag to wipe down the furniture and wait around an hour for it to dry.[5]
-
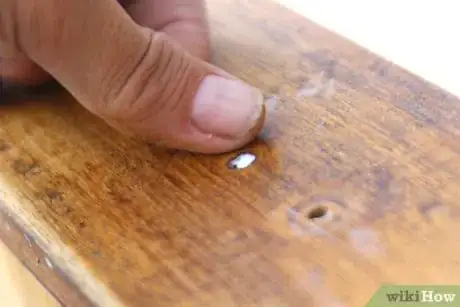
4Mold water-based wood filler into any dents or holes you find in the furniture. You can purchase wood filler online or from your local home improvement store. It typically comes in putty form. Shape it so it fills and covers the holes in the wood. Depending on the depth of the hole, wait between 2 and 8 hours (for large holes) or 15 minutes (for small holes) before sanding the area and continuing work.[6]
Priming the Surface
-
1Assemble your workspace. Your workspace should be in a dry, preferably windowless area. Sunlight may harm the quality of your paint job. Make sure your workspace is large enough for you to move comfortably, as well as well ventilated to protect against fumes.[7]
- Set up a lamp at an angle, so you can more easily see every area of the furniture as you paint. It should provide shadows to make it easier to spot mistakes in your paint job.[8]
-
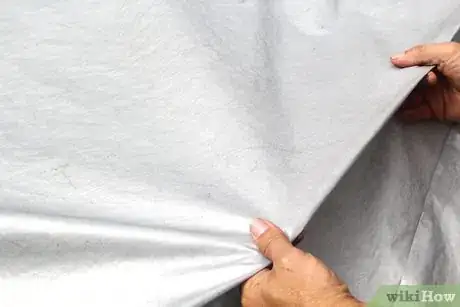
2Sweep and vacuum up any dust left behind from your sanding. Let the area air out for a few hours so it can become clear of any extra dust. Afterwards, wipe off any remaining dust off of the furniture with a clean rag, using smooth, circular strokes. Lay down tarp on the floor if you can.[9]
-
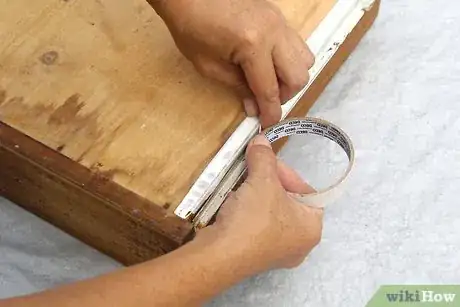
3Cover any hinges and inside edges of the furniture with tape. If you were unable to remove any hinges from the furniture beforehand, wrap it with painter's tape. Press tape over the inside edges of the furniture, as well as any other areas you don't want to get paint on. You can also apply tape to the sides and back of the furniture. Be judicious and try to apply the tape as thoughtfully as you can.[10]
-
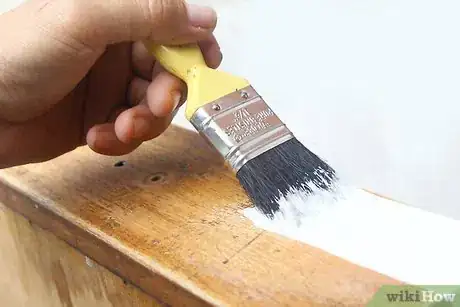
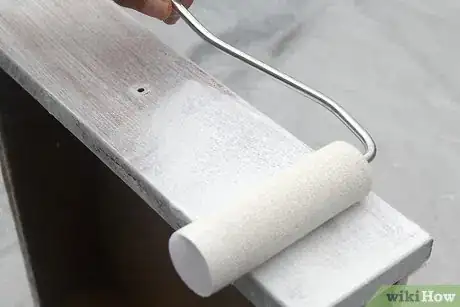
4Apply primer to the furniture with a roller or brush.[11] Rollers are better for applying primer to large surfaces. Brushes are best for getting into tight corners or priming smaller areas. Cover the entire area you intend to paint.[12]
- Use knot block primer on furniture with knotty and/or dark wood.[13]
-
5Try to apply the primer to the furniture in a thin coat. Keeping your primer thin will prevent dripping. Afterwards, give the primer time to dry. The primer will take between 4 and 6 hours to dry.[14]
- If your primer starts to drip, simply wipe off the dripping and reapply the primer in the affected area.
Applying the Paint
-
1Use latex paint. Latex paint is the standard for home improvement projects. When you choose your bucket of white paint, pay attention to the label. There are two different types of latex paint for furniture: indoor and outdoor. Indoor latex paint is, naturally, for indoor furniture. Outdoor latex furniture is meant for outdoor furniture, and is sturdier against the elements.
-
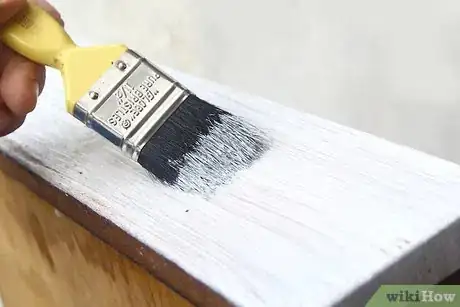
2Apply the first coat of paint with a roller or synthetic brush. Keep your first layer thin, just like when you applied the primer. Try to paint one stroke at a time and make your strokes follow one direction. If you're using a roller, avoid moving it back and forth; this may create uneven areas in your paint layer. Afterwards, let the paint dry for 1 hour.[15]
- If you're using brand new brushes, wet them with clean water and shake them dry. This will make it easier to use them with latex paint.[16]
- If you notice drips in your paint job, you can scratch it off with a utility knife. Then add thin strokes of paint to cover the area.[17]
- Letting the paint dry for longer, like 24 hours, is sometimes recommended for wood furniture since wood has a tendency to warp.[18]
-
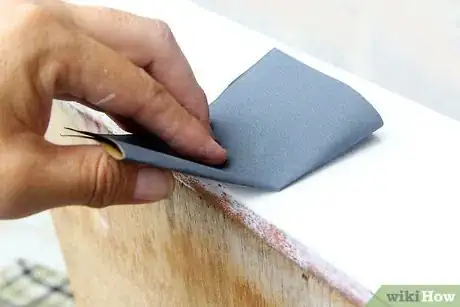
3Sand the dried paint layer with fine (100 to 180 grit) sandpaper. Doing this will get rid of dust or dripping. Sand each layer of paint after applying it and letting it dry. Work in gentle, circular motions.[19]
-
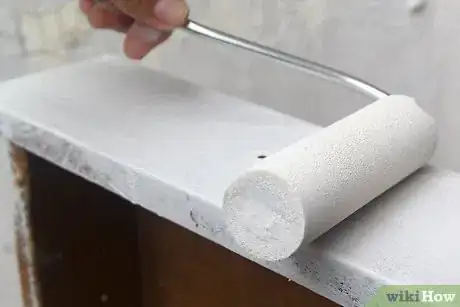
4Paint 3 or 4 layers to ensure an even job. Working in multiple coats will help the paint to be as opaque as possible. It should take around 24 hours for your final paint layer to dry. Don't apply a new layer of paint until the first has dried.[20]
-
5Add 2 coats of varnish once the final paint layer has dried. Work thin, just as you did with the primer. Use a soft paint brush to add the varnish, and work in unidirectional, long movements. Use fine sandpaper (100 to 180 grit) on the first layer of varnish before painting on the second.[21]
-
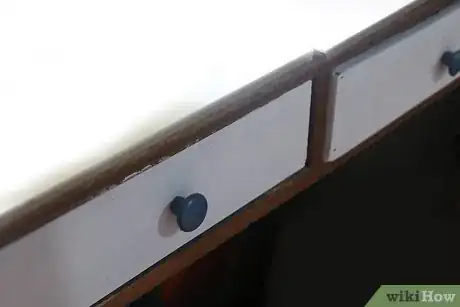
6Put your furniture back together. Let the paint and varnish dry for around 72 hours before you start putting the furniture back together. Slide the shelves or drawers back into place. Use a screwdriver to re-attach any hinges and knobs. Now you can use and enjoy your newly painted furniture![22]
-
7Finished!
Expert Q&A
-
QuestionWill spray paint dry faster?
 Jeff HuynhJeff Huynh is the owner of Moseybolt, a full service solution in home services, renovations, and repair in the Greater Seattle area. He has over five years of handyman experience. He has a BS in Business Administration from the San Francisco State University and his Certificate in Industrial Electronics Technology from North Seattle College.
Professional Handyman Spraying on the paint is going to add less paint over the surface area, so you could get away with spraying on more coats in a shorter period of time than with a brush.
Warnings
- Don't try to paint your furniture before the primer has dried.⧼thumbs_response⧽
Things You'll Need
- Screwdriver
- Soft paint brush (for varnish)
- Small paint brush (for hard to reach or small places and corners)
- Drop cloth
- Foam rollers
- Cleaning rag
- Paint tray
- Painter's tape
- Varnish (water-based)
- Fine, medium, and coarse sandpaper
- Latex paint
- Primer (oil-based)
- Wood filler (if necessary)
References
- ↑ http://www.apartmenttherapy.com/how-to-paint-a-wooden-dresser-apartment-therapy-tutorials-178977
- ↑ http://www.apartmenttherapy.com/how-to-paint-a-wooden-dresser-apartment-therapy-tutorials-178977
- ↑ Jeff Huynh. Professional Handyman. Expert Interview. 30 April 2019.
- ↑ Jeff Huynh. Professional Handyman. Expert Interview. 30 April 2019.
- ↑ http://www.apartmenttherapy.com/how-to-paint-a-wooden-dresser-apartment-therapy-tutorials-178977
- ↑ https://rainonatinroof.com/2016/10/prepping-furniture-to-paint-when-to-sand-when-to-degloss-and-when-to-prime/
- ↑ https://www.lowes.com/creative-ideas/paint-stain-and-wallpaper/paint-wood-furniture/project
- ↑ https://www.lowes.com/creative-ideas/paint-stain-and-wallpaper/paint-wood-furniture/project
- ↑ https://www.lowes.com/creative-ideas/paint-stain-and-wallpaper/paint-wood-furniture/project
- ↑ http://www.apartmenttherapy.com/how-to-paint-a-wooden-dresser-apartment-therapy-tutorials-178977
- ↑ Jeff Huynh. Professional Handyman. Expert Interview. 30 April 2019.
- ↑ http://www.apartmenttherapy.com/how-to-paint-a-wooden-dresser-apartment-therapy-tutorials-178977
- ↑ http://www.apartmenttherapy.com/how-to-paint-a-wooden-dresser-apartment-therapy-tutorials-178977
- ↑ http://www.apartmenttherapy.com/how-to-paint-a-wooden-dresser-apartment-therapy-tutorials-178977
- ↑ http://www.apartmenttherapy.com/how-to-paint-a-wooden-dresser-apartment-therapy-tutorials-178977
- ↑ https://www.lowes.com/creative-ideas/paint-stain-and-wallpaper/paint-wood-furniture/project
- ↑ https://www.lowes.com/creative-ideas/paint-stain-and-wallpaper/paint-wood-furniture/project
- ↑ Jeff Huynh. Professional Handyman. Expert Interview. 30 April 2019.
- ↑ http://www.apartmenttherapy.com/how-to-paint-a-wooden-dresser-apartment-therapy-tutorials-178977
- ↑ http://www.apartmenttherapy.com/how-to-paint-a-wooden-dresser-apartment-therapy-tutorials-178977
- ↑ http://www.apartmenttherapy.com/how-to-paint-a-wooden-dresser-apartment-therapy-tutorials-178977
- ↑ http://www.apartmenttherapy.com/how-to-paint-a-wooden-dresser-apartment-therapy-tutorials-178977
About This Article
If you want to paint your furniture white, start by removing any drawers, shelf slots, hinges, or knobs. Sand the furniture in a circular motion with sandpaper, covering every part of the furniture that you plan to paint, then wipe down the furniture’s surface with a wet cloth and let it dry completely. Next, apply a thin coat of primer to the surface of the furniture where you want to paint. Give it 4-6 hours to dry, then apply a coat of latex paint and let it dry. Sand the paint with fine sandpaper and add another layer of paint. Repeat for a total of 3-4 layers. Keep reading to learn which grain sandpaper to use.
