This article was co-authored by Kevin Snow and by wikiHow staff writer, Hunter Rising. Kevin Snow is a Commercial Painting Professional and the Owner of Ridge Painting Company. With over 12 years of experience, he specializes in painting commercial facilities and new build constructions. Kevin and his team are fully licensed and insured.
There are 12 references cited in this article, which can be found at the bottom of the page.
This article has been viewed 276,372 times.
If you want an affordable way to update an old metal bed frame or repair damage, a fresh coat of paint is an easy way to refresh how it looks. Whether you’re using spray paint or applying paint with a brush, this DIY project is one that anyone can do with a little prep work. Keep reading to learn the best ways to paint your bed frame and make your room look more stylish!
Steps
Cleaning and Priming the Bed Frame
-
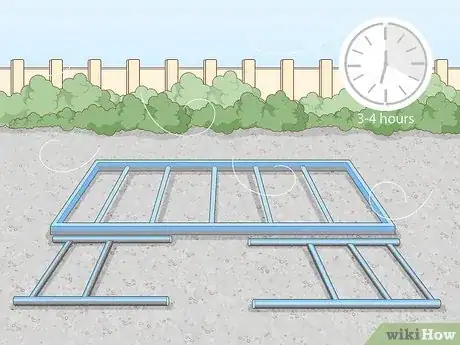
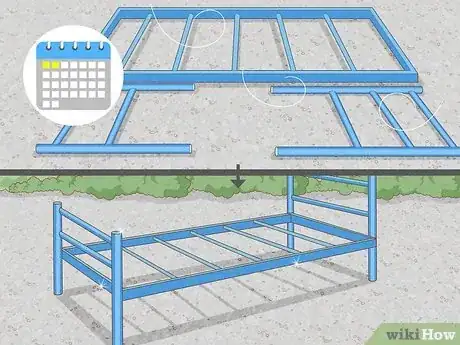
1Disassemble your bed frame. Try to break down your bed frame as much as you can so you avoid missing any spots and get even paint coverage. Take pictures or write down where each of the fasteners go so you can reassemble your bed when you’re finished.
- Keep any screws, nuts, bolts, or any other hardware in a small container so you don’t lose them.
-
2Work in a well-ventilated area. If you have space outside or in a garage, move your bed frame there while you’re painting. Otherwise, open the windows in the room where you’re painting and point a fan so it blows outside to help improve the air flow and get rid of vapors.[1]
- Regardless of where you’re working, put on a ventilator mask and safety goggles before you start to protect yourself from dust and fumes.
Advertisement -
3Set your bed frame on a drop cloth. Spread a large drop cloth over the floor where you’re working to catch any drips or overspray. Put the pieces of your bed frame down so they have a little bit of space between them.[2]
- Prop the bed frame up on saw horses or against a wall covered with a drop cloth if you don’t want to crouch down to paint them on the floor.
-
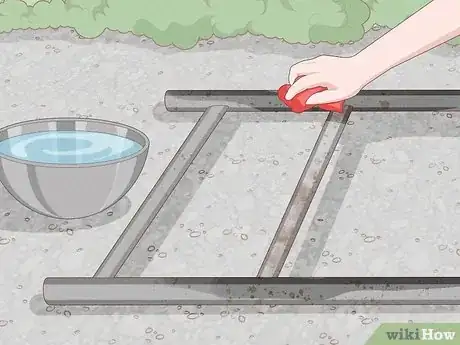
4Clean your bed frame with hot water and dish soap. Wet a cloth with hot water and lather in a few drops of dish detergent. Wipe off any dust, dirt, or stuck-on residue from your bed frame. Pay special attention to the corners and crevices where dirt could get caught. Wipe the metal as dry as you can with a towel.[3]
-
5Scrape off any rust and old paint with a wire brush. A wire brush has stiff bristles that help break apart blemishes or peeling paint. Apply moderate pressure as you scrub your bed frame so you can remove all of the visible rust and peeling paint that’s still on the surface.[4]
- Paint won’t stick to rusty metal, so you have to remove it all if you want an even coat.
- You could use coarse sandpaper instead of a wire brush if you don’t have one.[5]
-
6Sand the bed frame with 150-grit sandpaper. Paint has trouble sticking to slick metal surfaces, so 150-grit sandpaper roughs up the surface without leaving big scratches. Apply light pressure as you rub the sandpaper over your entire bed frame.[6]
- If you used a wire brush that left scratches on your bed frame, going over it with 150-grit sandpaper will help hide the blemishes.
-
7Wipe the surface with a damp cloth to remove dust. Sanding and removing rust leaves a lot of residue on the surface that could prevent your paint from sticking. Wet a clean cloth with warm water and run it over your bed frame one last time to lift any loose particles.[7]
- If there’s a lot of dust or residue, use a vacuum to suck it up.
-
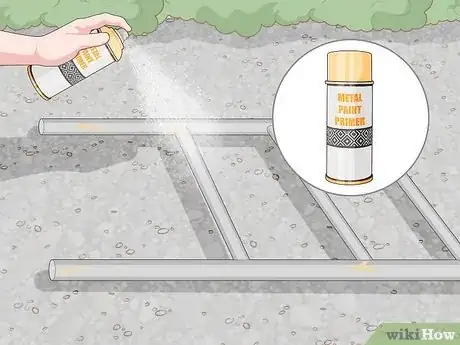
8Apply a coat of metal spray primer to your bed frame. Choose a spray primer made specifically for metal since it reaches into nooks and crannies and will bond to your bed frame a lot better. Shake the primer for about a minute and hold it 1 foot (30 cm) away from your bed frame. Spray an even coat of primer over the entire surface using short sweeping movements.[8] Let the primer dry completely for 24 hours before you start painting.[9]
- While spray primer is easier, you can also brush a thin coat of metal primer onto your bed frame with a long-bristled square paintbrush.
Spray-Painting a Metal Bed Frame
-
1Get spray paint made for metal surfaces. Spray paint made for metal is the quickest and easiest way to paint your bed frame. Make sure the paint you buy is specifically made to use on metal and rust-resistant so it forms the best bond with the surface.[10]
- Spray painting gives you a smoother application and takes less time than brushing paint on your bed frame.
-
2Apply a thin coat of spray paint onto your bed frame. Shake the can of paint for 30 seconds and spray it on a scrap piece of cardboard to test it. Hold the can 1 foot (30 cm) from your bed frame and use sweeping left-to-right motions to coat the paint the metal in an even coat.[11]
- Keep the nozzle on the spray can moving to help prevent drips or spots on the surface. If you notice any forming on your bed frame, wipe off the excess paint with a dry lint-free cloth.
- Avoid spray painting outside if it’s windy since you won’t get solid coverage.
-
3Let the paint dry for 10 minutes. Spray paint dries to the touch pretty quickly, so you can apply multiple coats within an hour. Give the paint at least 10 minutes before testing if it’s dry with your finger on an inconspicuous spot.[12]
- The temperature and humidity can make paint take longer to dry. Always do a touch test with your finger before you apply another coat.
-
4Flip the bed frame over and spray the other side. Carefully turn the bed frame pieces over to their unpainted sides and finish applying the first coat of spray paint. Work over the surface using left-to-right sweeping motions. When you finish, give the paint another 10 minutes to dry before you move on.
-
5Spray a second coat of paint onto the pieces and let them dry. Go over the pieces again with a light coat of paint moving the can in the opposite direction as your first coat. Be sure to focus on any areas where the paint looks thin and the primer still shows through. Let the first side dry for 10 minutes before flipping your bed frame again and painting the other side.[13]
-
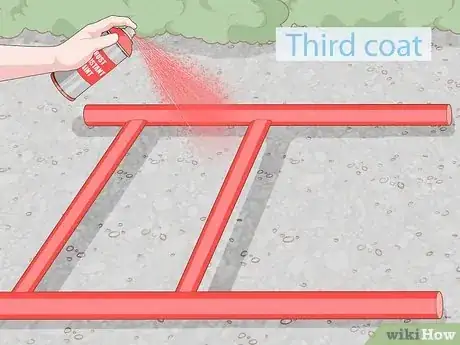
6Put a third coat on if the paint looks uneven. Check on your paint after another 10 minutes of drying time to see if any of the primer shows through the paint. If you can still see some of the primer or the paint doesn’t have consistent color, then apply another coat.[14]
-
7Let the final coat cure for 24 hours. Even though spray paint quickly dries to the touch, it’s not completely dry right away. Leave your bed frame alone for at least a day so you don’t ruin any of the paint finish.[15]
- Put a fan near your bed frame to help speed up your drying time.
-
8Apply clear coat lacquer if you want to protect the bed frame. Clear coat lacquer coats the paint to make it shine and keep it safe from damage. Hold the lacquer about 1 foot (30 cm) from the bed frame and spray a thin layer onto the surface. Let the lacquer dry for 1 day so it has time to set.[16]
- You don’t need to apply lacquer if you don’t want to.
-
9Put your bed frame back together. Reference any pictures or notes you took when you disassembled your bed frame so you can build it correctly. Once you get the bed frame reassembled, you can use it as normal.
Brush-Painting a Metal Bed Frame
-
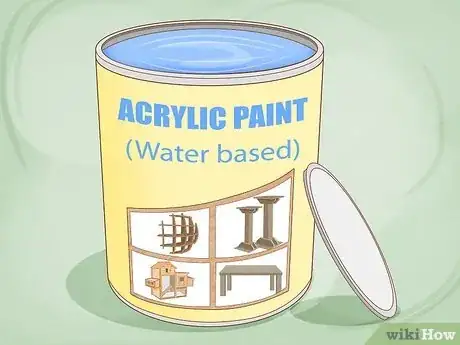
1Pick an exterior acrylic paint made for metal to use on your bed frame. Exterior acrylic paint is water-based and gives you more even coverage on metal. Exterior paint also has sealer built into it, so it will be more durable to damage or chipping. You’ll only need 1 can to coat your entire bed frame.[17]
- Avoid applying water-based acrylic paint to bare metal since it could cause rust. Primer will protect your bed frame from any damage.
-
2Brush a light coat of paint onto the bed frame. Dip your paintbrush into the can of paint and wipe off any excess on the lip. Brush a thin layer of paint onto the bed frame pieces using long sweeping strokes so the brush marks are less noticeable. Coat as much of the surface as you can with paint so it has even coverage.[18]
- Thin layers will dry more evenly than thick patches of wet paint.
- Use smaller brushes to help reach into corners, nooks, or crannies that are hard to reach on the bed frame.
-
3Let the paint dry for 3–4 hours. Give your paint some time to dry to the touch before you move on. Run a fan in the room where you’re painting to help speed up your dry times. Test if the paint feels dry after a few hours by touching it with a finger in an inconspicuous spot.[19]
- If it’s humid, your paint may take longer to dry.
-
4Apply paint to the other side of the bed frame and let it dry. Since there are still some unpainted sections of your bed frame, turn the pieces over to their other side. Use your brush to finish the first coat of paint and cover all of the areas you missed. Give the second side of the bed frame another 3–4 hours to dry.
-
5Put a second coat of paint on your bed frame. Use another thin layer of acrylic paint for your second coat, focusing on any areas where you can still see the primer through the paint. Try to get even coverage over the entire bed frame and drag the bristles slowly across the surface to prevent them from making any marks.[20]
- When the first side is dry again, be sure to flip over the bed frame and finish the second coat on the other side.
-
6Let the paint dry for 48 hours before reassembling your bed. Even if your paint feels dry to the touch, leave the bed frame alone for at least 2 days before you plan on using it. Once all of the paint has dried, piece together your bed frame and screw it back together. Make sure to tighten all of the hardware so it doesn’t feel loose or come undone.[21]
- You don’t need to apply a layer of clear coat lacquer or sealer since it’s already built into the paint.
Community Q&A
-
QuestionWhat should I do if the spray paint runs?
 Community AnswerImmediately wipe off the run and re-spray it right then and there. If the piece was left to dry and you didn't wipe it in time, then you'll need to scrape off the bulk and sand the area perfectly flat and smooth to its surroundings for a paint touch-up.
 -
QuestionI have a new metal bed and I want to paint it. Do i still need to sandpaper it before I begin?
 Community AnswerYes. It helps the paint stick. If you don't sand it, the smooth surface of the paint underneath can cause issues.
 -
QuestionI was spray painting my metal daybed and many drips dried. I had to sand them down. In the future, how do i prevent that from happening?
 Brett GilbertTop AnswererIt's usually from adding too much paint at once. Some of it doesn't stick in place, so it drips. Try moving the canister at a faster rate. Aim on applying a light but even coat of paint. Then, wipe up drips as soon as you notice them.
References
- ↑ https://www.cpsc.gov/s3fs-public/painting.pdf
- ↑ https://www.bobvila.com/articles/how-to-spray-paint-metal/
- ↑ https://www.nytimes.com/1975/07/13/archives/right-primer-is-needed-when-painting-metal.html
- ↑ https://www.thisoldhouse.com/painting/21124752/how-to-repaint-a-rusty-metal-hand-rail
- ↑ Kevin Snow. Commercial Painting Professional. Expert Interview. 23 March 2022.
- ↑ https://www.thisoldhouse.com/painting/21124752/how-to-repaint-a-rusty-metal-hand-rail
- ↑ https://www.bobvila.com/articles/how-to-paint-metal/
- ↑ https://www.bobvila.com/articles/how-to-paint-metal/
- ↑ Kevin Snow. Commercial Painting Professional. Expert Interview. 23 March 2022.
- ↑ Kevin Snow. Commercial Painting Professional. Expert Interview. 23 March 2022.
- ↑ https://www.bobvila.com/articles/how-to-spray-paint-metal/
- ↑ https://www.bobvila.com/articles/how-long-does-it-take-for-spray-paint-to-dry/
- ↑ https://www.rustoleum.com/-/media/DigitalEncyclopedia/Documents/RustoleumUSA/TDS/English/CBG/Automotive/ATO-68_Metal_Coat_TDS.ashx
- ↑ https://youtu.be/nNKzOm7DS_k?t=112
- ↑ https://www.bobvila.com/articles/how-long-does-it-take-for-spray-paint-to-dry/
- ↑ https://www.bobvila.com/articles/how-to-paint-metal/
- ↑ https://www.bobvila.com/articles/best-paint-for-metal/
- ↑ https://youtu.be/W2sTKeWdwlk?t=79
- ↑ https://www.bobvila.com/articles/how-to-paint-metal/
- ↑ https://www.homenish.com/how-to-use-acrylic-paint-on-metal/
- ↑ https://www.homenish.com/how-to-use-acrylic-paint-on-metal/


