This article was co-authored by wikiHow Staff. Our trained team of editors and researchers validate articles for accuracy and comprehensiveness. wikiHow's Content Management Team carefully monitors the work from our editorial staff to ensure that each article is backed by trusted research and meets our high quality standards.
There are 11 references cited in this article, which can be found at the bottom of the page.
The wikiHow Video Team also followed the article's instructions and verified that they work.
This article has been viewed 40,657 times.
Learn more...
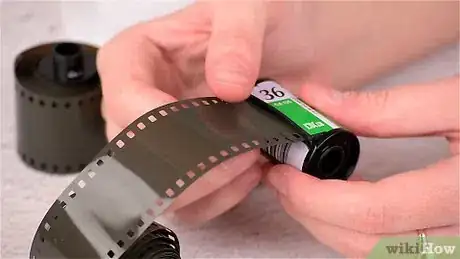
If you’re new to photography and don't know the process of opening a film canister, don't worry! This might sound hard, but it’s a lot easier than you think. Popping the canister open with a bottle opener is a classic trick, but you can also pry it open by hand if you don’t have a bottle opener. If you accidentally wound the film too much and it’s stuck, you can also get it out easily without opening the canister. No matter which method you use, make sure you're in a dark room and only touch the film on its edges so you don't ruin your pictures before they're developed.
Steps
Bottle Opener
-
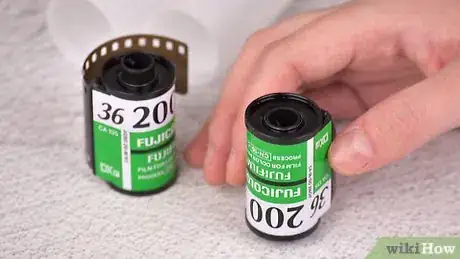
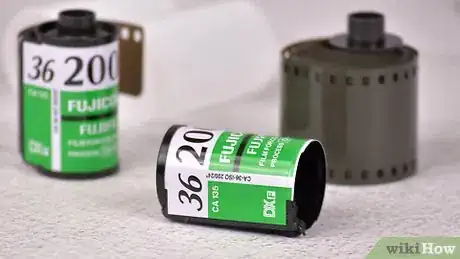
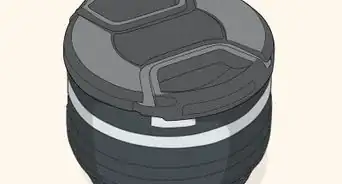
1Turn the film canister so the flat bottom is facing up. Film canisters are like small cans with a lid. The flat side is the lid of the canister. This is the part that comes off so you can get the film out.[1]
- The other end has a knob for rolling the film. Don’t open the canister from this side.
- If you're taking the film out to develop it, make sure you're in a dark room. You'll have to feel around so you can tell which side is flat and which one has a knob.
-
2Pop the lid off with a bottle opener. Angle the bottle opener so the notch is just below the edge of the lid. Pry up until the lip pops off, just like if you were opening a beer or soda.[2]
- It might be tough to find the canister edge in the dark. Feel around a little and you’ll be able to catch the edge of the lid with the notch on the bottle opener.
Advertisement -
3
-
4Recycle the canister when you’re done. Most film canisters are single-use, so there’s no need to keep them once you take the film out. Throw the empty canister in your plastic recycling bin to get rid of it.[5]
- If you’re using a reusable canister, then don’t get rid of it. You can refill it with fresh film and take more pictures.
By Hand
-
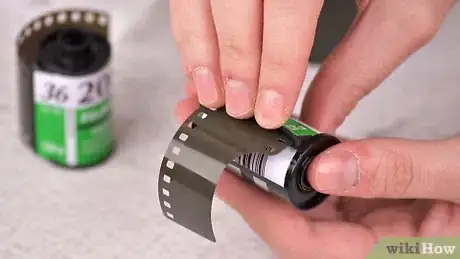
1Find the ridge along the side of the canister. Film canisters have a plastic or metal ridge running up the side. Find this and turn the canister so the ridge is facing you.[6]
- Make sure you’re in a dark room if you took pictures with this film. It’s pretty easy to feel along the canister and find the ridge in the dark.
- Some reusable film canisters don’t have this ridge. In this case, pop the lid off with a bottle opener or your fingers instead.
-
2Tuck your fingers just under the ridge. Hold the canister tightly with one hand. Then get a good grip on the ridge with your other hand by wrapping your fingers under it.[7]
- You could also use a bottle opener for this method. Tuck the notch under the ridge instead of the canister lid.
-
3Pull the ridge back until the canister opens up. Give the ridge a good pull backward like you're trying to unwrap it. The plastic should peel back and expose the film inside the canister. Keep pulling to unwrap the entire canister.[8]
- This takes some strength, so don’t be afraid to pull hard!
- You’ll also need a good grip on the canister with your other hand, so hold tight.
-
4Pull the film out of the canister. When you remove the film, remember to only touch it on the edges so you don't ruin the pictures. You can now put it on a reel to develop.[9]
- The canister will be broken after this, so recycle it when you’re done.
Trapped Film
-
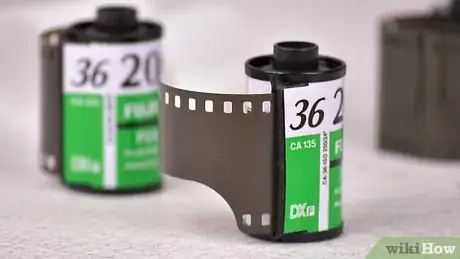
1Roll the film until you hear a click inside the canister. This is a good trick if you accidentally rolled the film too much and it's stuck in the canister. Hold the canister so the ridge is on top of it and facing away from you. Turn the knob on top of the canister toward you to roll the film inside. When you hear a slight click, that means the film is right past the ridge on the where it’s supposed to come out.[10]
- It might be hard to hear this click, so hold the canister up to your ear if you’re not hearing it.
- If you're trying to get out film that you took pictures with, make sure you're in a dark room so the photos aren't ruined.
-
2Wet the tip of another roll of film. Get another roll of film and pull the tip out about 2–3 in (5.1–7.6 cm). Dip it in a bit of water. This makes it stick to the other film roll and pull it out, and it won’t damage the film.[11]
- If you don’t have water, you could also lick the film.
- There are also tools you can buy to get trapped film out of the canister. This is just a DIY trick.
-
3Slide the tip of film inside the other film canister. Find the ridge on the side of the canister that the film is stuck in. Slide the tip of the other film roll inside the slit on the ridge. Insert it about 1 in (2.5 cm) so the two pieces of film come into contact.[12]
- You might feel a bit more resistance when the two pieces of film meet, so you’ll know the film is in far enough.
-
4Roll the canister until the new piece of film starts going inside. Turn the knob on top of the canister toward you again to roll the film. If the two pieces are connected, then the new piece of film should start rolling into the canister. Keep turning until the film goes another 1 in (2.5 cm) into the canister.[13]
- If the film isn’t moving, then the pieces may not have come into contact. Pull the film out and re-wet it to try again.
-
5Pull the film out to free the trapped roll. Give the film that you inserted into the canister a good, quick tug. If the two pieces of film are attached, then the trapped piece will come out of the slit along with the piece you put in. You can then load the canister into a camera or pull the film roll out if you want to.[14]
- Don’t pull the film slowly. The two pieces could detach before the trapped one comes out.
- Always let the film dry before loading it into a camera or developing it.
Warnings
- If you’re removing a roll of film that you took pictures with, make sure you do this in a dark room so your pictures aren’t ruined before you develop them!⧼thumbs_response⧽
References
- ↑ https://youtu.be/fSQ4Dmju0Us?t=74
- ↑ https://www.masterclass.com/articles/how-to-develop-film-at-home#how-to-develop-film-at-home-in-12-steps
- ↑ https://youtu.be/fSQ4Dmju0Us?t=82
- ↑ https://www.masterclass.com/articles/how-to-develop-film-at-home#how-to-develop-film-at-home-in-12-steps
- ↑ https://youtu.be/fSQ4Dmju0Us?t=84
- ↑ https://www.techwalla.com/articles/how-to-open-a-film-canister
- ↑ https://youtu.be/3h3y-iAWJOI?t=27
- ↑ https://www.techwalla.com/articles/how-to-open-a-film-canister
- ↑ https://www.techwalla.com/articles/how-to-open-a-film-canister
