This article was medically reviewed by Luba Lee, FNP-BC, MS. Luba Lee, FNP-BC is a Board-Certified Family Nurse Practitioner (FNP) and educator in Tennessee with over a decade of clinical experience. Luba has certifications in Pediatric Advanced Life Support (PALS), Emergency Medicine, Advanced Cardiac Life Support (ACLS), Team Building, and Critical Care Nursing. She received her Master of Science in Nursing (MSN) from the University of Tennessee in 2006.
This article has been viewed 104,905 times.
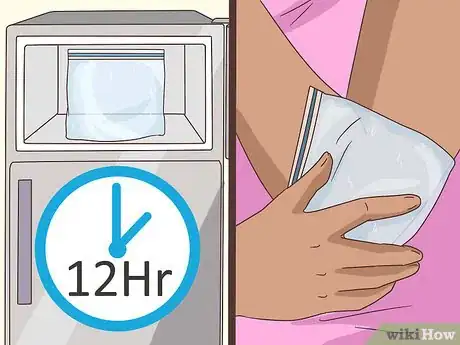
Ice can help reduce the pain and swelling associated with sprains, injuries, and sore muscles. You can make an ice pack using rubbing alcohol or dish soap and a Ziploc bag. You should store a bag in the freezer overnight. You can then use the ice pack as needed. If your pain or swelling does not clear up on its own, talk to your doctor.
Steps
Using Rubbing Alcohol
-
1Mix the water and rubbing alcohol. You can make an ice pack using two parts water and one part alcohol. The alcohol will prevent the water from completely freezing. To start, mix your water and 70% rubbing alcohol together in a mixing bowl.[1]
- Two parts water to one part alcohol means for every two units of water, there should be one unit of alcohol. For example, if you're using two cups of water, use one cup of alcohol.
- If you don't have rubbing alcohol, you can pick some up at a drug store.
- Be sure to keep the rubbing alcohol mixture away from infants and small children. Rubbing alcohol can be dangerous when ingested and may irritate the eyes.
-
2Add the mixture to a Ziploc bag. Choose a Ziploc bag that's the right size for the ice pack you want. Pour the water and alcohol mixture into the bag. Go slowly to avoid spilling any of the mixture.[2]
- You may want to lay a towel down below where you're adding the water and alcohol mixture to catch any that accidentally drips.
- It's a good idea to double bag for added strength. This will not diminish the effectiveness of the ice pack.
- Plastic bags should also be kept out of reach of children, and used as part of an ice pack only when supervised. Plastic bags pose a suffocation risk to unattended children.
Advertisement -
3Remove any excess air. You want to make sure there is no air in the bag before you freeze it. Use your hands to press out any excess air before zipping the bag closed. If you have a vacuum sealer, use this to remove excess air from the bag.[3]
-
4Refrigerate the bag for at least 1 hour. Place the bag in the refrigerator. After about an hour, the bag will be cold enough to use. Then you can place the ice pack anywhere you're feeling sore.[4]
Using Dish Soap
-
1Opt for a colorful dish soap. Colorful dish soap is less likely to freeze all the way. It is also harder to mistake colorful dish soap for something edible in the freezer. If you want your gel pack to look like a traditional gel pack, you may want to opt for blue dish soap.[5]
-
2Fill a Ziploc bag with dish soap. You can fill the bag as full as you want it with dish soap. There is no set amount. Simply fill the bag until your ice pack is as big and bulky as you want it.[6]
- Keep in mind more dish soap can cause a bag to take longer to freeze. If you need your ice pack very soon, opt to use less dish soap.
-
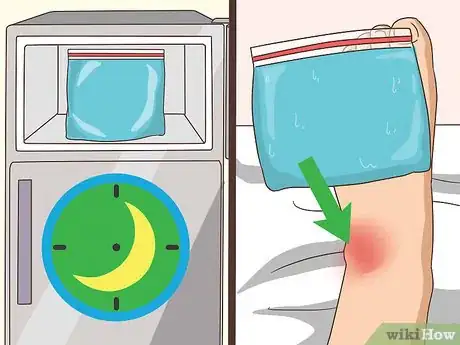
3Freeze the bag overnight. Place your bag in the refrigerator. Allow it to freeze overnight. When you take the gel pack out of the fridge, it should be semi-frozen and ready to use on sore areas of your body.
Using Your Ice Pack Safely
-
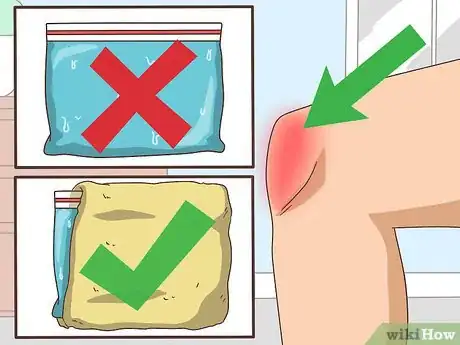
1Wrap an ice pack in a cloth before use. You should never place an ice pack directly on your skin. This can cause skin irritation due to the extreme cold. Always wrap your ice pack in something like a cloth or paper towel before applying it to your skin.[7]
-
2Ice your injury in short intervals. Time how long you apply the ice pack. You should not leave an ice pack on for extremely long periods of time. In general, the ice pack should stay on for intervals for about 20 to 30 minutes.[8]
- You should only apply an ice pack up to four times per day.
-
3See a doctor under certain circumstances. Minor soreness and strain can be treated at home with ice and over-the-counter painkillers. However, under certain conditions, you should see a healthcare provider. See a doctor if you notice any of the following:[9]
- Skin changes around the wound like blisters, a blueish color, or whitening of your skin.
- Burning or numbness when icing your skin.
Expert Q&A
-
QuestionWhat percentage of rubbing alcohol should I use?
 Luba Lee, FNP-BC, MSLuba Lee, FNP-BC is a Board-Certified Family Nurse Practitioner (FNP) and educator in Tennessee with over a decade of clinical experience. Luba has certifications in Pediatric Advanced Life Support (PALS), Emergency Medicine, Advanced Cardiac Life Support (ACLS), Team Building, and Critical Care Nursing. She received her Master of Science in Nursing (MSN) from the University of Tennessee in 2006.
Board-Certified Family Nurse Practitioner When you're making gel ice packs, look for 70% rubbing alcohol to use.
Things You'll Need
- Water
- Rubbing alcohol
- Dish soap
- Watertight freezer bag, medium size
References
- ↑ https://www.cnet.com/home/smart-home/how-to-make-an-ice-pack-with-common-household-items/
- ↑ https://www.spine-health.com/blog/how-make-your-own-gel-ice-pack-or-moist-heat-pack
- ↑ https://www.cnet.com/home/smart-home/how-to-make-an-ice-pack-with-common-household-items/
- ↑ https://www.spine-health.com/blog/how-make-your-own-gel-ice-pack-or-moist-heat-pack
- ↑ https://atlantaspineinstitute.com/how-to-make-your-own-gel-ice-pack-or-moist-heat-pack/
- ↑ https://www.bobvila.com/slideshow/10-things-you-didn-t-know-dish-soap-can-do-49710
- ↑ https://www.uofmhealth.org/health-library/sig43888spec
- ↑ https://www.drugs.com/cg/ice-pack-application.html
- ↑ https://www.drugs.com/cg/ice-pack-application.html


Medical Disclaimer
The content of this article is not intended to be a substitute for professional medical advice, examination, diagnosis, or treatment. You should always contact your doctor or other qualified healthcare professional before starting, changing, or stopping any kind of health treatment.
Read More...