This article was medically reviewed by Luba Lee, FNP-BC, MS. Luba Lee, FNP-BC is a Board-Certified Family Nurse Practitioner (FNP) and educator in Tennessee with over a decade of clinical experience. Luba has certifications in Pediatric Advanced Life Support (PALS), Emergency Medicine, Advanced Cardiac Life Support (ACLS), Team Building, and Critical Care Nursing. She received her Master of Science in Nursing (MSN) from the University of Tennessee in 2006.
This article has been viewed 115,735 times.
There are many reasons you might need to regularly monitor your blood pressure. Don't worry, there's a simple way to do it! A wrist blood pressure monitor is a good option if you can't use a regular cuff or if you want a monitor that's portable and convenient. However, these monitors take your blood pressure in a different place, meaning you must be particular about how you take your reading for accuracy. Sit in a chair and place the cuff on your wrist. For the most accurate reading, put your elbow in a relaxed but supported position on a table and align your wrist with your heart, then turn the monitor on to take a reading.[1]
Steps
Situating Yourself and the Cuff
-
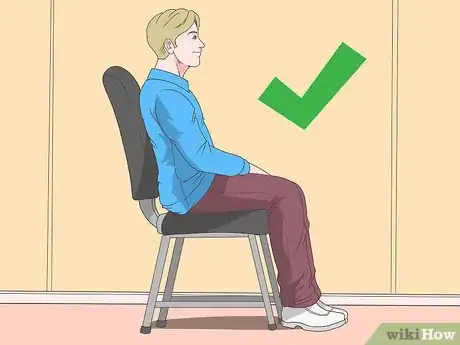
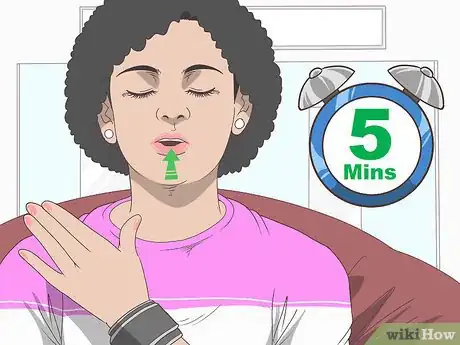
1Sit still for 5 minutes in a comfortable position. Before starting the reading, take a short resting period. Sit in a comfortable chair that supports your back. Uncross your legs and place your feet flat on the floor.
-
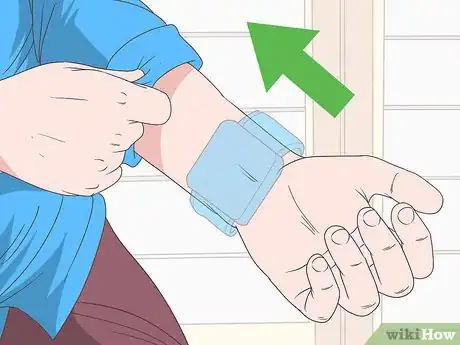
2Move any fabric away from your wrist. Take a reading on bare skin. Pull up long sleeves. Take off jackets or sweaters if you can't move the sleeve up enough to take a reading.Advertisement
-
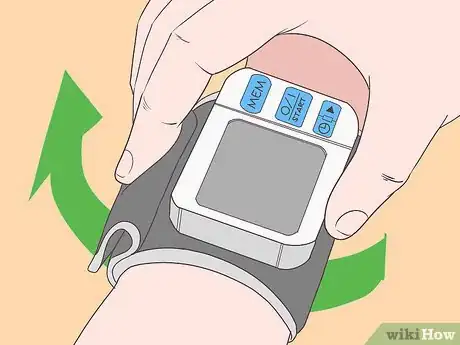
3Put the cuff on snugly with the display on the inside of your wrist. Wrap the cuff around your wrist, attaching it to itself with the velcro. You should only be able to get a single finger underneath the cuff.
- The display needs to be on your inner arm, as your pulse is strongest there. The monitor has a sensor behind the display that takes the reading by recording your pulse.
-
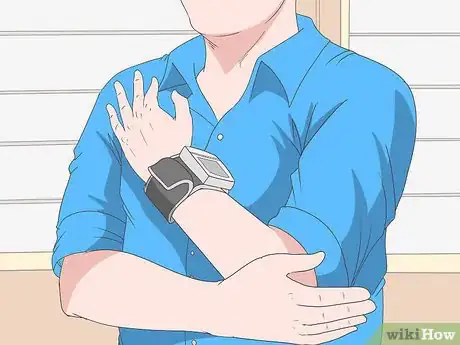
4Rest your arm and wrist at heart level. For an accurate reading, place your arm over your chest so your elbow’s bent. It should be even with your heart for the best reading.[2]
- Turn your palm so it faces your chest if you’re using a wrist cuff.[3]
- Keep your palm face up if you’re supporting your arm on a desk or table.
Taking a Reading
-
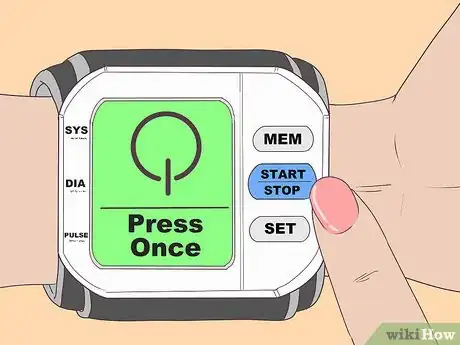
1Press the "Power" button. Turn the monitor on. You'll find a power button or a switch to activate the power. Sometimes, the "Power" button is the same as the "Start" button. Pressing it once turns it on while pressing it again activates the measurement process.
- If the device tracks multiple users, make sure to select your profile.
-
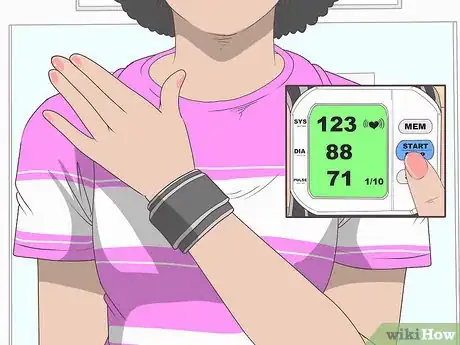
2Hit the "Start" button. Once you are set, the "Start" or "Go" button will start the blood pressure reading process. Do not move while the cuff inflates and deflates, reading your blood pressure.
- Also, try to avoid talking, as that can affect your reading.
- Your blood pressure and pulse will flash on the screen when the cuff is done taking your reading.
-
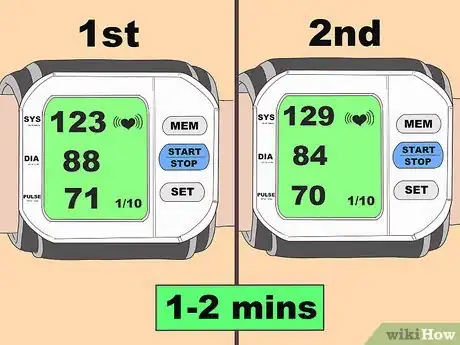
3Use an average of 2 readings. Leave the cuff in place, and wait 1-2 minutes. Take a second reading using the same techniques, then average the 2 readings if they're close.
- If the readings are not close, take a third reading, and then average all 3.
-
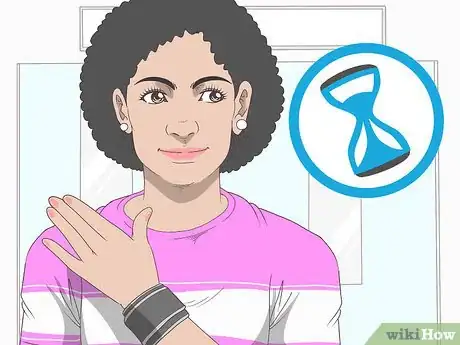
4Wait a couple of minutes between readings. Your blood pressure will increase momentarily after each reading, so you need to allow a little time to let your true blood pressure recover.
-
5Wait 5 minutes for more readings if your blood pressure seems high. If you get a high reading, take a deep breath. Wait 5 minutes or so, and try again to see if you get a lower reading.
- Remember that it is completely normal for your blood pressure to change a little over the course of the day.
- Try to take your blood pressure around the same time each day. Certain foods, such as caffeine, activities, and emotional stress can change your readings, so taking them at a consistent time will help you get the best results.
-
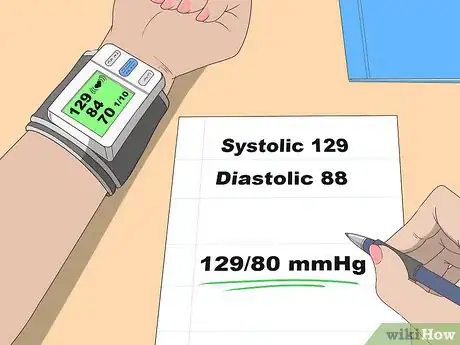
6Record your reading in a notebook or app. Keeping track of your blood pressure readings over time can give you an idea of your average blood pressure level. Plus, your doctor will be impressed that you kept track of it.
- Write the systolic (higher number) over the diastolic (lower number), such as 120/80 mmHg.[4]
- Many health apps offer a section for tracking blood pressure, including the iPhone app and the Walgreen's app.
- Note the date and time with the reading.
Working on Accuracy
-
1Avoid drinking caffeine and alcohol 30 minutes before taking a reading. Caffeine can affect your readings, so you shouldn't ingest it right before you use your wrist cuff. Take your reading before you ingest any caffeinated drinks. If you have already consumed caffeine, wait at least half an hour before taking a reading.
-
2Take your reading before you start smoking for the day. Smoking can also change your readings. Take your reading before your first cigarette, cigar, or pipe for that day. Avoid taking your blood pressure after you have smoked, as the results will be elevated.
- If you're thinking about trying to quit smoking, there's no time like the present. Doing so will help lower your blood pressure.
-
3Get your reading before any major physical activity. Physical activity, such as climbing stairs, running, or even doing extensive housework, can raise your blood pressure. When taking your blood pressure, though, you want a resting measurement. You will not be able to get that kind of true reading after physical activity.
Expert Q&A
-
QuestionDo you use it on the right or the left wrist?
 Luba Lee, FNP-BC, MSLuba Lee, FNP-BC is a Board-Certified Family Nurse Practitioner (FNP) and educator in Tennessee with over a decade of clinical experience. Luba has certifications in Pediatric Advanced Life Support (PALS), Emergency Medicine, Advanced Cardiac Life Support (ACLS), Team Building, and Critical Care Nursing. She received her Master of Science in Nursing (MSN) from the University of Tennessee in 2006.
Board-Certified Family Nurse Practitioner It is most accurate to check your blood pressure on the left side. However, you can check your blood pressure on the right if you have been told so by your medical provider. There are some instances such as surgery in which it will be advisable to check blood pressure on the right side. Many organizations, like the American Cancer Society and the National Lymphedema Network, advise mastectomy survivors to avoid checking blood pressure on the surgery side, if possible.
 -
QuestionDo you use a wrist blood pressure monitor on the left or the right wrist?
 Luba Lee, FNP-BC, MSLuba Lee, FNP-BC is a Board-Certified Family Nurse Practitioner (FNP) and educator in Tennessee with over a decade of clinical experience. Luba has certifications in Pediatric Advanced Life Support (PALS), Emergency Medicine, Advanced Cardiac Life Support (ACLS), Team Building, and Critical Care Nursing. She received her Master of Science in Nursing (MSN) from the University of Tennessee in 2006.
Board-Certified Family Nurse Practitioner Unless you have been told by your medical provider to take your blood pressure on the right wrist, it is most accurate to use your left wrist for blood pressure checks.
References
- ↑ https://www.ama-assn.org/system/files/2020-11/using-wrist-cuff-to-measure-bp.pdf
- ↑ https://www.mayoclinic.org/diseases-conditions/high-blood-pressure/expert-answers/wrist-blood-pressure-monitors/faq-20057802
- ↑ https://www.ama-assn.org/system/files/2020-11/using-wrist-cuff-to-measure-bp.pdf
- ↑ https://www.cdc.gov/bloodpressure/measure.htm


-Step-14-Version-2.webp)







Medical Disclaimer
The content of this article is not intended to be a substitute for professional medical advice, examination, diagnosis, or treatment. You should always contact your doctor or other qualified healthcare professional before starting, changing, or stopping any kind of health treatment.
Read More...