This article was co-authored by wikiHow Staff. Our trained team of editors and researchers validate articles for accuracy and comprehensiveness. wikiHow's Content Management Team carefully monitors the work from our editorial staff to ensure that each article is backed by trusted research and meets our high quality standards.
This article has been viewed 46,562 times.
Learn more...
There are many different types of wristbands that you can make. Put some thought into what kind of wristband you want, how you intended to use it, and what material you like. Making a simple wristband out of construction or scrapbook paper and is a great arts and crafts activity for children. Alternatively, you can make a more stylish wristband from fabric or thread. Choose the one that fits your needs. Keep in mind that there are also other options!
Steps
Making a Wristband From Paper
-
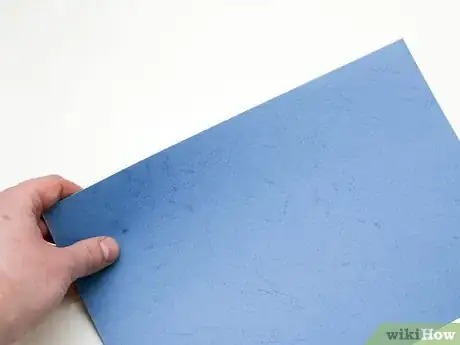
1Choose flexible paper. The paper should be durable enough that it will not rip or tear, but flexible enough that you can bend it easily to form the wristband. Choose colored paper, if desired.
- You can use more than one color paper to make a multi-colored wristband.
- Construction paper will do fine for a temporary bracelet, but may not last very long.
- Scrapbook paper is both strong, and flexible enough for use as a wrist band. Consider using scrapbook paper if you have or can get some. Scrapbook paper can be purchased at most craft stores, and comes in a variety of patterns.
-
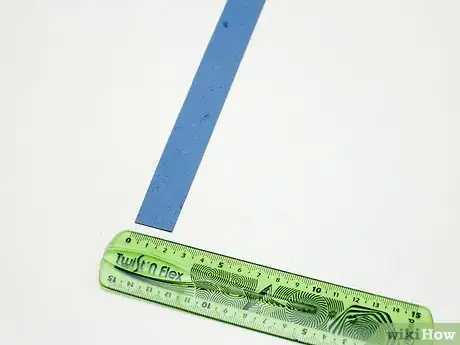
2Cut a strip of paper about 3⁄4 inch (1.9 cm) wide along the side. The strip should be long enough that you can wrap it around your wrist, or the wrist of the person who will be wearing the wristband.
- If you want to create a wristband with an additional layer of paper, for contrast, you can cut a second strip of paper about 1⁄2 inch (1.3 cm)
Advertisement -
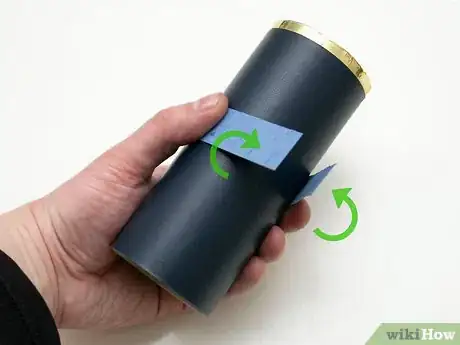
3Wrap the bracelet around a cylindrical object. This will allow you to form the wristband without having to use your own wrist, which makes it much more difficult to work because you will only have one free hand.
- A soda can work as a cylinder for this purpose, full or empty.
- No matter what you use, make sure that it has a big enough circumference that you will be able to get the wristband on and off.
-
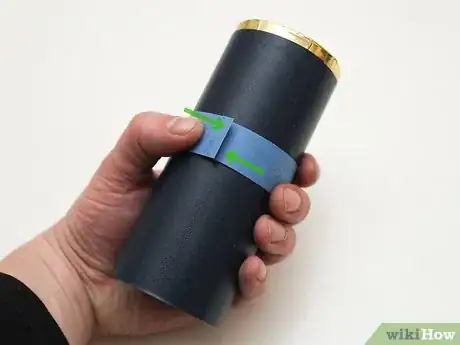
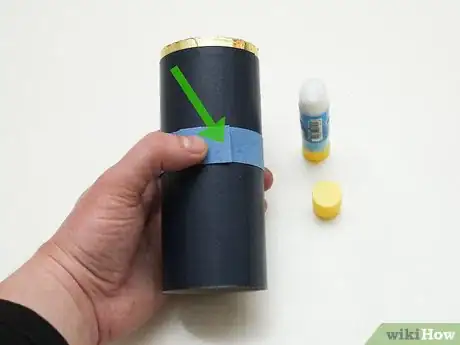
4Make the sides overlap each other. An inch or two of overlap is enough. It does not matter which side is on top.
- If you overlap the sides too little, the wristband will be more fragile, and more easily fall apart.
-
5Glue the overlapping parts together, using a glue stick. Glue will be more secure than tape, and be less prone to coming undone. Other kinds of glue can also be used, but avoid particularly harsh or toxic glues, because it may touch your skin. Glue sticks are entirely sufficient for gluing paper to paper.[1]
- Make sure that you do not accidentally glue the wristband to the cylinder. If you do, you might not be able to get it off. In that case, you will have to start over.
- Repeat this process for the thinner strip of paper, if you are choosing to use one. Center and overlay the second, thin strip on the first, thicker strip. Then, glue it down to the first strip.
-
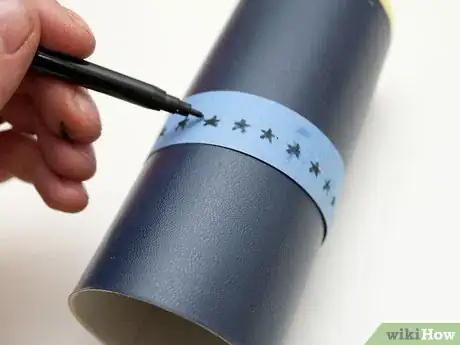
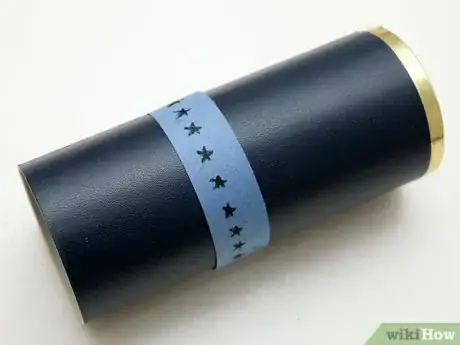
6Decorate your wristband using colored pencils, pens, or crayons. Your decoration is limited only by your imagination. You may want to avoid using markers, particularly on construction paper. Markers can bleed through the paper, weakening the wristband and potentially getting on your skin.
- Optionally, you can use material like glitter or rhinestones to further decorate your wrist band. Spread glue on the area you want to glue something to the wrist band, then stick the item where you want it.
-
7Let the wristband dry. After gluing and decorating your wristband, let the glue dry. If you take the wristband off the cylinder before it is dry, it is more likely to fall apart.
- It only takes a few minutes for a glue stick to dry. You should not have to wait long, but be patient. For other glue types, check the instructions on the bottle.
-
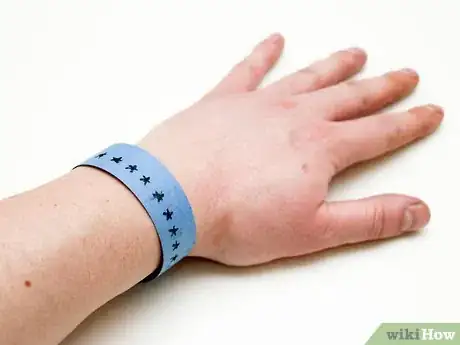
8Slide your wristband off the cylinder. After you have removed it from the cylinder, the wristband is ready to wear!
Making a Fabric Wristband from a Sock
-
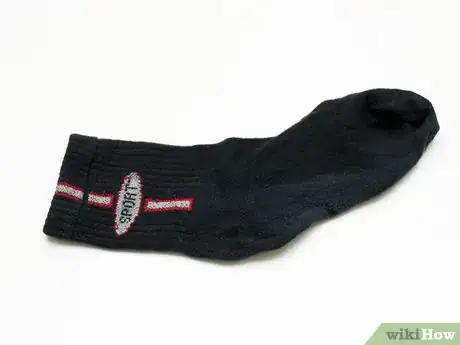
1Find or buy a sock with a thick cuff. The cuff will become the wristband after a little work, so make sure you like the color and material. Thicker cuffs will make for more durable wristbands, generally speaking.
- You can use an old sock with holes in it as a way to recycle, if you have a suitable sock.[2]
-
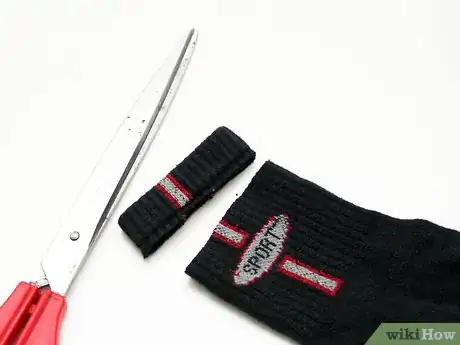
2Cut the cuff off the sock. Try to cut the sock as close to the cuff as possible. It is better to err on the side of cutting below the cuff, as you will be hemming the cuff in the next step.
- Use a sturdy, sharp pair of scissors. If you use scissors that are too dull, there is a greater chance that you will end up fraying the fabric. If you fray the fabric too much, you might have to start over with a different sock.
-
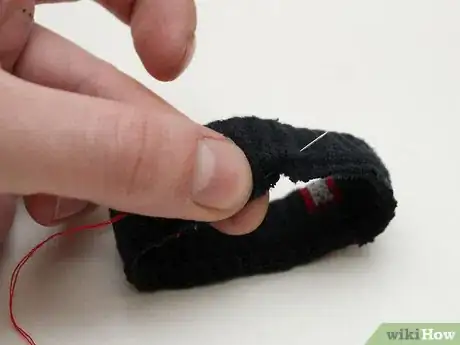
3Turn the ends of the cuff over about ¼ inch and sew them them back onto the cuff to form a hem. Sew all the way around the circumference of the sock to finish the hem. Choose a thread color that you like, or thread that is the same color as the sock cuff. [3]
- To quickly hem the wristband, stick the needle through the fabric and immediately back up through, just above the fold. Now pull the needle all the way through. Then continue stitching up through the fold, pulling the needle through, connecting the fold with the rest of the fabric. Move along the seam and repeat the process until you have sewn all the way around the circumference. When finished, you’ve created a basic hem. [4]
- Hemming the wristband will prevent the fabric from unravelling.
- Make sure that you do not sew all the way through the cuff. If you do, you will sew both sides together. In that case you will have to cut the thread out with scissors and begin again.
-
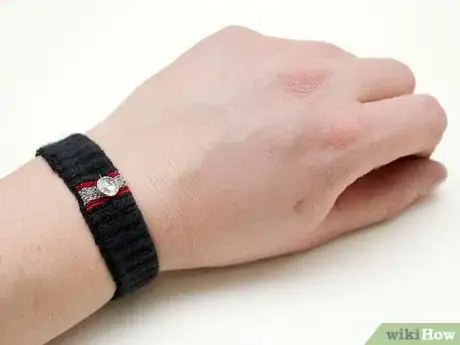
4Decorate the wristband. You can sew patches on to the wristband. Smalls pins and pin-back buttons also make good decorations for this kind of wristband.
- Make sure that all pins are secured and that the points are not exposed. They pose a risk for cutting yourself when you put your hand through the wristband.
Community Q&A
-
QuestionWhich types of papers should I use?
 Community AnswerAlmost any paper could work. Use what you have available.
Warnings
- If young children are involved, make sure they have adult supervision when using scissors and glue.⧼thumbs_response⧽
Things You'll Need
Paper Wristband
- Scrapbook Paper or Construction Paper
- Scissors
- Crayons, colored pencils, pens, etc.
- Glue Stick
- Additional decoration, like glitter (optional)
Fabric Wristband
- A sock with a thick cuff
- Needle and thread.
- Scissors
- Decorations of your choice
