X
wikiHow is a “wiki,” similar to Wikipedia, which means that many of our articles are co-written by multiple authors. To create this article, 12 people, some anonymous, worked to edit and improve it over time.
This article has been viewed 86,308 times.
Learn more...
Do you need to do a project at school, and you have to map all of your own school to do it or do part of it? It seems hard, but with a lot of planning and focusing, it can be very easy drawing out the places of your school!
Steps
Part 1
Part 1 of 3:
Planning Your Map
-
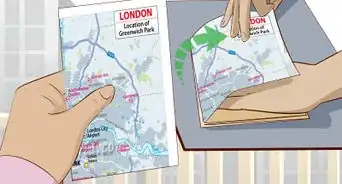
1Walk around your school. Walking around your school and leaving notes of where things are, or even drawing a rough draft can really help.
- If you attend a large school and can't do it all in one day, take multiple days to go around your whole school.
-
2Check your work. While going around your school, make sure you don't miss anything. You can do this by going over the whole building again, or just by checking a blueprint of your school and seeing if you missed anything. If you missed some parts, add it to your map!Advertisement
-
3Don't make the rough draft very detailed. If you decide to do a rough draft before the final, then don't spend a ton of time on the rough draft. Just sketch it and spend the time to get the fine details in on the final draft.
-Step-1.jpg)
-Step-2.jpg)
-Step-3.jpg)
Advertisement
Part 2
Part 2 of 3:
Starting the Final Draft
-
1Start from scratch. You really should use your rough draft as a tool to check your work and see if everything's correct.
- Don't make your map an edited version of your rough draft. Start over on a new page, so that it's clean and clear.
-
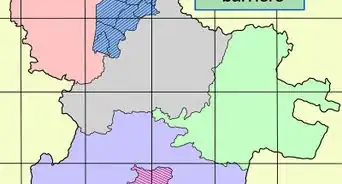
2Draw the big parts first. Before everything else, you should draw the big parts first. For example, drawing the different grade wings of the school might be a good first step.
-
3Add the less important parts. After the big things, you should draw less important sections, such as school offices, staff lounges, the lobby, and special-use rooms.
-
4Finish with the least important features. When you have the two previous steps done, you should then draw the least important parts of your school such as stairwells, bathrooms, and other sections.
-
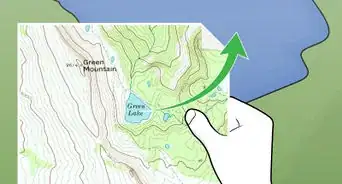
5Add detail! Adding detail is an important part of making a map. Now you should draw the doors if you haven't already, draw windows, create labels, and draw any other small things.
-
6Check over your work. Make sure everything is in it's correct spot, and go over everything a few times on your map. Your rough draft should roughly line up with every on this final draft.
-
7Revise your map. As you can probably tell, this is a very important step and thing to do. See if everything is in the right spot, see if the labels are correct (if you did any), make sure the sizes of rooms make sense, etc.
-Step-4.jpg)
-Step-5.jpg)
-Step-6.jpg)
-Step-7.jpg)
-Step-9.jpg)
-Step-8.jpg)
-Step-10.jpg)
Advertisement
Part 3
Part 3 of 3:
Finishing and Personalizing
-
1Color it in. If you want to, feel free to color the background and color certain rooms in. Just let your creativity run wild!
-
2Organize it. Add a key if you want to and add little symbols meaning things. You can also make it color coded or just keep it plain.
-
3Add information. You can add a little description for about three or four rooms on your map, and it can be for ones that wouldn't have an obvious purpose to the average person.
-
4Add a title. You should add a title of the school it's supposed to represent so people can know. You can write who it's by under it.
-Step-11.jpg)
-Step-12.jpg)
-Step-13.jpg)
-Step-14.jpg)
Advertisement
Warnings
- Finding a time to go around the whole school might be a little hard.⧼thumbs_response⧽
Advertisement

About This Article
Advertisement