This article was co-authored by Kieren Dutcher. Kieren Dutcher is a Professional Artist and a Teaching Artist at the NIAD Art Center in Richmond, California, and other venues around the Bay Area. With 30 years of experience, she specializes in colorful illustrations inspired by folk art, nature, and color. Kieren earned her Master of Education in Art Education from San Francisco State University and her BFA from the California College of the Arts. Her work has been published by St. Martin's Press, Uppercase Magazine, Highlights Magazine, in hospitals, and on TV. Her picture book Chinese and English Nursery Rhymes: Share and Sing in Two Languages (2010) won best book of the year from the Chinese American Library Association.
There are 11 references cited in this article, which can be found at the bottom of the page.
This article has been viewed 108,612 times.
Picture books are short, narrative-driven works with an emphasis on colourful pictures that they use to tell a story. Typically intended for children, there's a lot of variety and potential in picture books. Making a picture book of your own is a lot of work, but it can be a lot of fun if you've got a creative streak. And while publishing children's books professionally is a lot harder than most people realize, there's even some money to be made if your material is up to snuff.
Steps
Planning Your Book
-
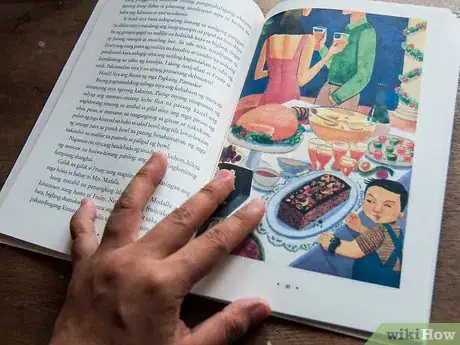
1Read some picture books.[1] If you're in any way new to picture books, it's a good idea to read up on a few. Read them from start to finish, taking care to note the tone and subject matter, as well as the techniques (rhymes, colour palettes etc.) the author has used to make it happen. You need not reinvent the wheel; tricks other writers have used may prove useful to your own efforts.
- Maurice Sendak's Where the Wild Things Are is a great picture book to read for inspiration. It's got a simple but enticing story, and gorgeous visuals to back it up.
-
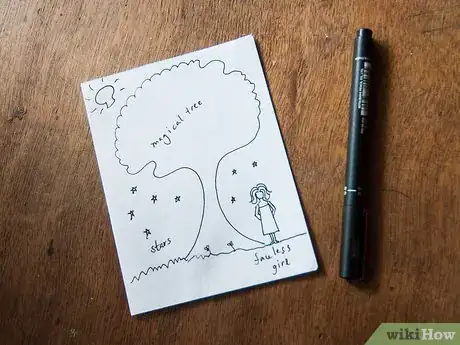
2Think up an interesting idea. For picture books, a gripping idea is the most important early factor in a picture book's success. If the idea appeals to you, it will reflect in your art and writing. Likewise, if the idea itself appeals to your readers, they'll feel that much more interested to read your book. Think of a great high concept to build your book around. Possible topics could regard aliens, animals, fairy tales or even history.[2]
- Picture books are most often written for ages ranging from 1-8 years. Keep that in mind while you formulate your story. Children aren't likely to appreciate highfalutin references to Marcel Proust so much as pure, straightforward storytelling.[3]
- Recognize the limitations of a picture book. Your story is going to have to be very simple to fit into a picture book, which may prove a challenge if you're used to longer forms of writing.
- If you're struggling with finding the perfect idea, go for a walk or read some existing picture books. Failing that, talking to a child can sometimes result in surprisingly handy creative input.
Advertisement -
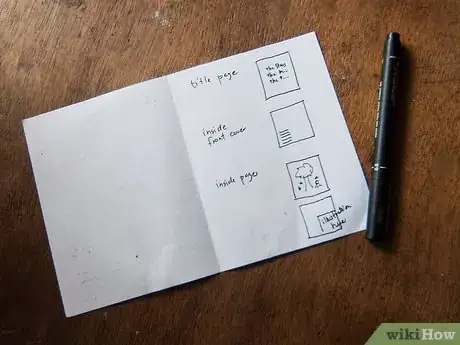
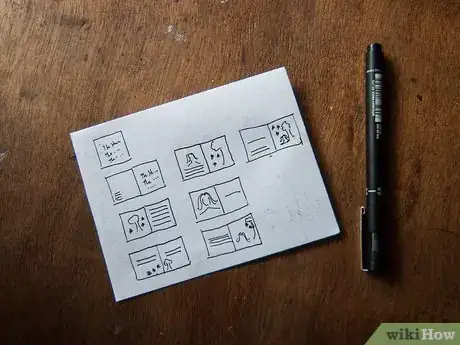
3Plan your layout. Although picture books are usually 32 pages in length, only 24 of those will be for the story itself; the others are usually for things like the title and copyright information. You won't suffer any limitation if you're making one at home, but you should still have a clear idea how many pages you'll need to tell your story. Draw up a basic storyboard of what you may like your story to look like, and find ways to expand or contract your ideas as you deem fit.[4]
- It's much easier to write a picture book if you clearly know what each page is supposed to be about from the get-go.
Writing Your Story
-
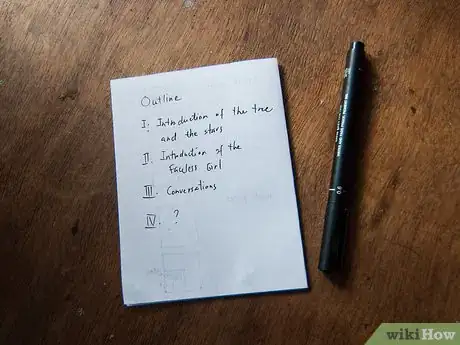
1Outline your story. The best picture books ware simple, yet somehow profound with the stories they tell. Think of Dr. Seuss' books; they were always very simple narratives, but the ideas used carried a lot of weight. Think of a high concept that involves something that would appeal to a wide variety of ages.[5]
- Even if you feel tempted, try not to turn the story into a morality tale. Very few readers are going to be genuinely interested in reading a veiled lesson in etiquette or behaviour.
- If you're more of an illustrator than a storyteller, you can always illustrate an existing story. There are countless picture books on the market that are based on classic fairy tales.
- Inspiration for stories can be found by immersing yourself in media. Films, music and books are all willing templates for your own stories.
-
2Create some characters. Most stories need interesting characters to populate the action with. Having spent some time mulling up a plot, the characters should come relatively naturally. While you should have a basic idea of the role each character will inhabit in the story, it's important to give them each a personal flavour. The best characters are easy to imagine having a life of their own beyond the confines of the narrative.[6]
- While you're concocting characters, you should also be thinking of the way they'll look in your illustrations. Visually drab characters with a rich psychological profile probably aren't suited for a picture book.
- Animals are very popular to use in children's picture books. Animals have a universal appeal, and anthropomorphizing them to fill human role makes them less offensive to some readers. Speaking generally, animals are also more interesting to draw.
-
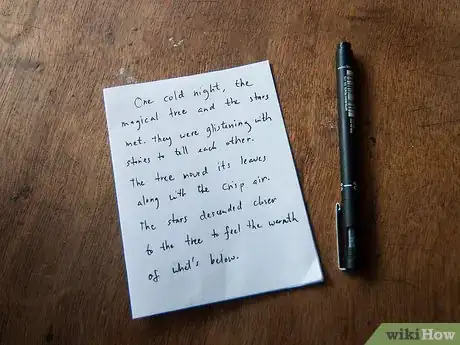
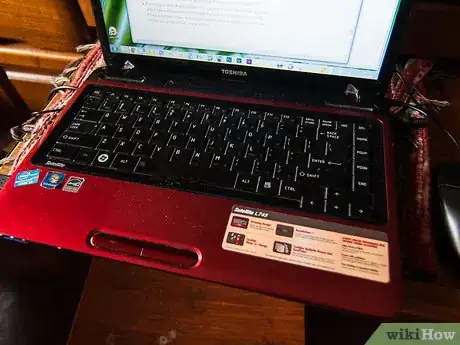
3Write a rough draft of your story. Using a word processor, write up the story as you see fit, dividing it into a clear beginning, middle and end.[7] At this stage of writing, you needn't worry about the proper choice of words. You're just trying to get the ideas into a basic framework. From there, you'll be able to add a writer's tone and boost your wordplay.
- Keep your word count around the 500 word mark. Anything more will be difficult to fit into the book and will distract from the illustrations. It's best to be tactical and efficient with your word choice.
-
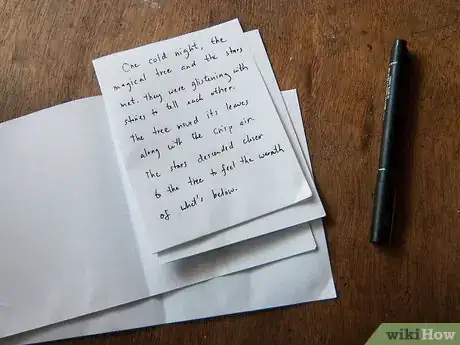
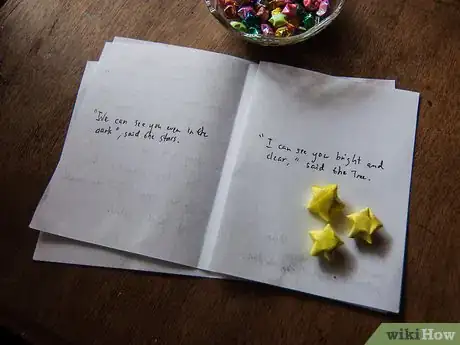
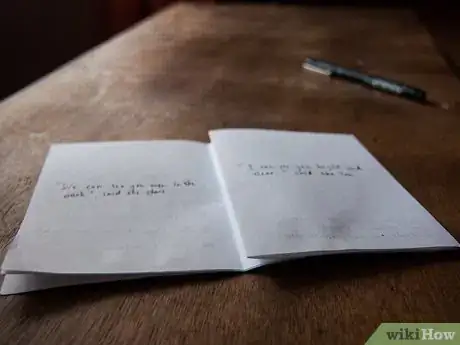
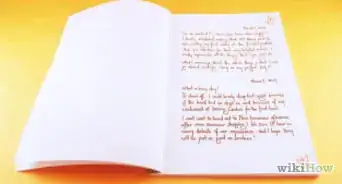
4Divide your draft into pages. With your narrative all written out, you need to divide it into as many pages as you have for the story in your book. Include at least one action per panel; anywhere from one to four sentences per page should be great.
-
5Edit and finalize your draft. It will be much easier to edit out your work now that it is separated into smaller sections. Focus on one section at a time, and transform the template you have into writing with style and form.[8] While the specifics will really vary depending on your tone as a writer and the subject matter, keeping it concise and poetic is usually essential for picture books.
- Use simple, effective language that benefits the illustrations you'll be including. Simple rhymes are helpful, but don't build your writing around them specifically. A mediocre rhyme is worse than no rhyme at all.
- Alliteration is an easy trick, and makes the writing sound more melodious.
Illustrating the Pictures
-
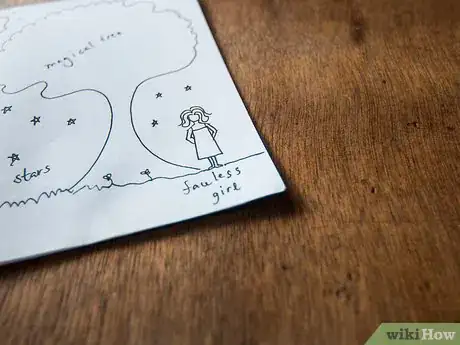
1Outline a storyboard. When it comes to illustrating, you need to keep the dimensions of your pages in mind to make the most of it. This includes leaving enough space for the text, and making your drawings big enough that they occupy an acceptable amount of space on the page.[9] To get a better grasp of this, it's a good idea to make miniature 'storyboards' to visualize how big certain objects on the page should be when compared to others.
- Doing a double-page illustration (where one panel of the story encompasses two pages to make a larger image) is an ambitious move if this is your first time making a picture book, but it's perfect for climactic parts of the story that somehow warrant more than a single frame.
-
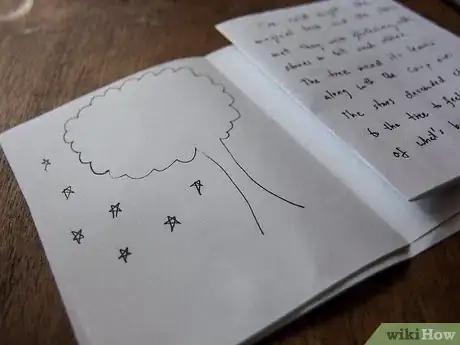
2Organize and develop your illustration ideas. Before you even set them to paper in a serious way, you should have a very clear idea how you want your art to occupy space on the page. Having a notebook on the side to plan out and develop your ideas freehand is far preferred over jumping into the picture book impromptu. While you're planning out the illustrations, try to make them as close and applicable to the writing as possible. Whenever you're left in doubt, refer to what you've written in the story.[10]
- Try to keep a consistent tone and style throughout the book. A picture book that goes all over the place will stand a much weaker chance of making an impression than one that drives the same point consistently.
-
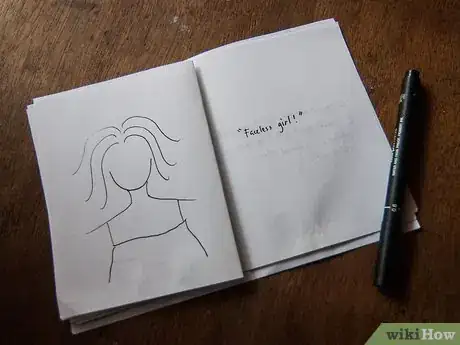
3Design and practice drawing your characters. The vast majority of stories center around the exploits of characters. For most traditional narratives, you'll need to get really good at drawing (and redrawing) a handful of characters. It is recommended you spend some time practicing your character designs once you have a basic framework for your story. The more you draw the character, the more chances you'll have to get the look right and change things if need be.[11]
- Visual design is incredibly important for characters in picture books. If you have trouble visualizing what your story's characters look like, try meditating and letting the story play out in your head. Failing that, studying the character design in other books may give you the inspiration you need.[12]
-
4Add dimension to the illustrations. Making a picture book at home, there are lots of thing you can do to inject life into your art. You don't have to rely solely on pen and markers; other things, like tape and glued construction paper, can turn your picture book into three-dimensional art.[13] For depth-perspective backgrounds, cut out shapes of construction paper and carefully glue them onto your background. Three-dimensional craftwork is particularly effective when you're trying to realize things like mountain ranges or hills.
- If you take a liking to this type of crafts work, you could do your entire illustrations this way. Smaller details with tape or construction paper will take a much greater degree of skill to pull off however.
-
5Draw your finished illustrations on high-quality paper. If done right, planning should have taken a long time to complete. This will take a great deal of the guesswork out of your illustrating. Using your plans and storyboards as a starting point, realize your illustrations as best as you can, leaving clear space to fit your text. Should you get a couple of pages in and don't like the look of it, you can start over again or go back to practicing before retrying.
- Practice is super important before you start drawing the book itself. If the images get progressively better as the book goes on, it'll show the reader that the book was more of a learning process than a finished product. Whatever you do, keep your illustrations consistent in tone and relative quality.
- Be sure to be as colourful as you can, unless the content of the picture book somehow suggests against it. Picture books need to be eye-catching above all else, and monochromatic sketches are going to leave less of an impression than full-bodied, coloured-in images.
-
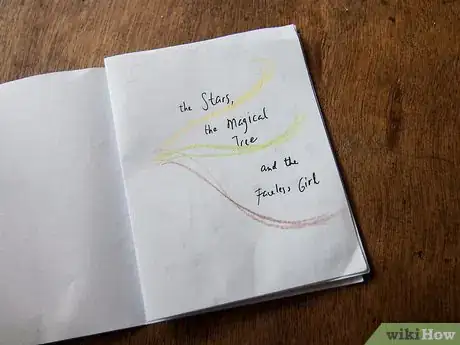
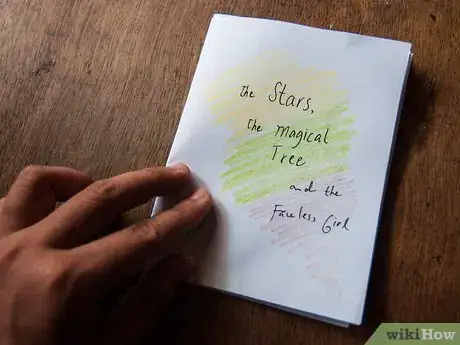
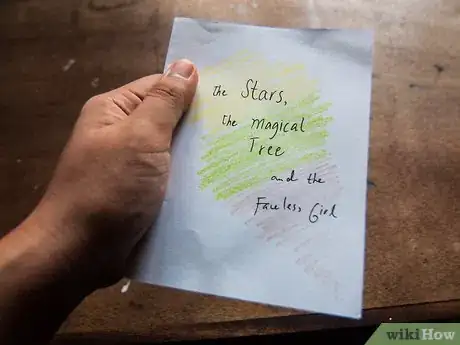
6Draw up a title page. The title page should be eye-catching and bold. It needs to be something that captures the tone and essence of your picture book, all the while getting people hooked for whatever may lie between the covers. Take extra time to make the front cover as strong as possible; make it the best demonstration of your skills as an illustrator. And don't forget to make the title itself big and prominent on the page. You're definitely going to want people to know what they're reading.
- Professional picture books have a front cover and title page separately. For the sake of an at-home book, these two should be merged into one.
- Adding your author's credits near the book title is always recommended, even for at-home creations.
Assembling the Book
-
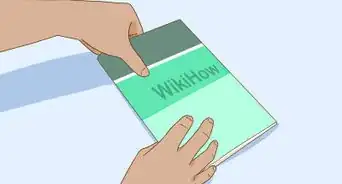
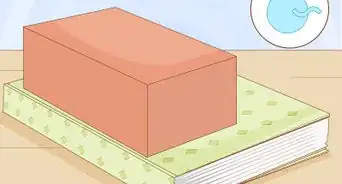
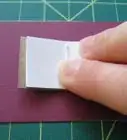
1Make a cover and spine. It is perfectly reasonable to leave your loose pages as is, so long as they're numbered and collected in one place. Making a bona fide book requires at least some regard to the physical package however. While the possibilities for bookbinding are endless, most picture books favour a hardcover. This can be done at home by taking a thin piece of cardboard and folding it into two halves, with a small creased strip in the middle to make the spine. Cut out the cardboard to match your picture book's size and glue your front and back page to the respective sides of the cardboard.[14]
- If you're making the book with the specific intent of getting it physically distributed by a publisher, you need not worry about your own package. Just make sure the pages are as well maintained as possible, and digitally scanned if necessary.
-
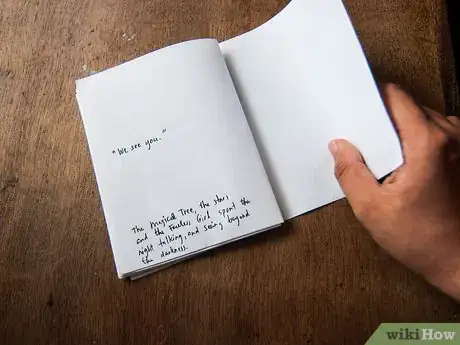
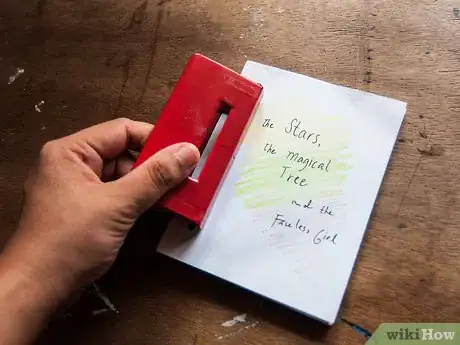
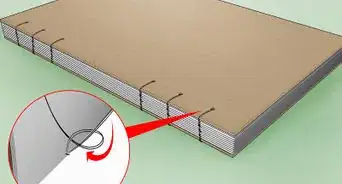
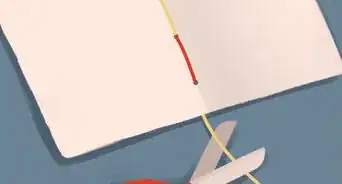
2Hole and bind your pages. To make your pages a book, you need to bind them all together somehow. The way you go about this will depend on the material style you're attempting for the picture book. If you want the content to stand on its own without a package, you can put a hole in the top-left corner of each page, run a length of string through it and tie it together at the ends. Giving it a more thorough binding with a coil-wrap is preferred if you think the book is going to see a lot of handling.[15]
- It's a good idea to number your pages from the onset. Nothing can mess up a book faster than putting the pages in the wrong order.
- If you decided to give your book a spine and hardcover, you can glue the ends of your paper to the spine by folding the long edge of the paper back by a centimetre and applying a thin strip of adhesive.
-
3Assemble a digital version. In the current age, it's actually much easier for new authors to put their picture books online as a digital version. Abode Acrobat and Microsoft are both recommended programs to use if you decide to go this route. Scan the completed pages you have for your book, and arrange them as you will in the file.[16]
- Finishing your book off digitally offers some benefits. For the title and text, you'll be able to type it out over the scanned image if you haven't done it by hand already. Provided you have a basic understand of graphic design programs, you can also edit the size and dimensions of your pictures.
-
4Show off your new picture book. Some would say a book does not truly exist until it is being read and enjoyed. In the internet age, there are lots of ways you can show off your work. Scanning the images and compiling them into a PDF file as an ebook means you'll be able to distribute (and possibly sell!) your work without an overhead cost. Sites like StoryJumper offer a platform for people to promote their picture books.[17] Then again, it may be more special to leave the book as a one-of-a-kind and offer it as a gift.
Community Q&A
-
QuestionHow can I create a picture book that's suitable for children, that at the same time has a deep meaning and symbolism about the stolen generations. Any ideas or tips?
 Kim GTop AnswererFind child-friendly images that remind you of stolen generations. You may also want to give the book a hopeful ending, such as the main character's triumph over adversity.
 -
QuestionI would love to write and illustrate my own picture book, but I am afraid to for some reason. How do I overcome this feeling?
 Community AnswerThink of whom or what scares you. Then think of how those reasons make no sense. Remember the result and use it when confronted by these fears. There are absolutely no reasons to feel scared of a productive activity as this one. Even if you wrote a book and it was a "failure" i.e., it didn't sell too many copies, that would be perfectly okay. Nobody writes a bestseller on their first try. You just use what you've learned and try again.
 -
QuestionI am a kid and I want to write a book, but how?
 The real tails fanCommunity AnswerYou can follow these steps. If you can't follow them with ease, then ask a parent to help. Or talk to another person who can write a book about what to do and have them show you the techniques, etc. You can also make a comic if that is easier, like a graphic novel. And you can take pictures on a few pieces of paper and color in if it's just for home distribution (younger siblings, etc.). Make sure it has a storyline to it.
Warnings
- Don't get too ambitious with a picture book, especially if it's your first time making one. Picture books are naturally supposed to be quite simple and intended for younger readers, so it's helpful to place self-imposed restrictions on your writing to keep it from getting too lofty.⧼thumbs_response⧽
References
- ↑ http://writetodone.com/six-best-tips-writing-childrens-picture-books/
- ↑ http://writetodone.com/six-best-tips-writing-childrens-picture-books/
- ↑ http://www.dummies.com/how-to/content/age-levels-for-childrens-books.html
- ↑ http://writetodone.com/six-best-tips-writing-childrens-picture-books/
- ↑ http://www.quickanddirtytips.com/education/writing/common-mistakes-to-avoid-when-writing-a-childrens-book
- ↑ http://www.quickanddirtytips.com/education/writing/common-mistakes-to-avoid-when-writing-a-childrens-book
- ↑ http://www.quickanddirtytips.com/education/writing/common-mistakes-to-avoid-when-writing-a-childrens-book
- ↑ http://www.quickanddirtytips.com/education/writing/common-mistakes-to-avoid-when-writing-a-childrens-book
- ↑ https://www.writersandartists.co.uk/writers/advice/327/dedicated-genre-advice/writing-for-children/
- ↑ https://www.writersandartists.co.uk/writers/advice/327/dedicated-genre-advice/writing-for-children/
- ↑ https://www.writersandartists.co.uk/writers/advice/327/dedicated-genre-advice/writing-for-children/
- ↑ http://www.blurb.com/childrens-books
- ↑ https://www.pembrokepublishers.com/data/ff/Fun-tastic%20Collage.pdf
- ↑ https://www.createspace.com/en/community/docs/DOC-1251
- ↑ http://www.creativebloq.com/indesign/bind-your-own-books-5132651
- ↑ http://www.rudyrucker.com/blog/2010/02/08/making-a-high-quality-picture-book/
- ↑ https://www.storyjumper.com/
- ↑ https://www.writersandartists.co.uk/writers/advice/327/dedicated-genre-advice/writing-for-children
About This Article
The average picture book is made up of 24 colorfully illustrated pages, with no more than 500, large-printed words. Once you develop your picture book idea, expand or contract your ideas to fit this typical length. Next, divide your draft into pages, including at least 1 action and 1-4 sentences per page. Then, decide how large your pictures should be to fit the dimensions of the page. To learn how to assemble your picture book, keep reading!
