X
wikiHow is a “wiki,” similar to Wikipedia, which means that many of our articles are co-written by multiple authors. To create this article, volunteer authors worked to edit and improve it over time.
This article has been viewed 6,932 times.
Learn more...
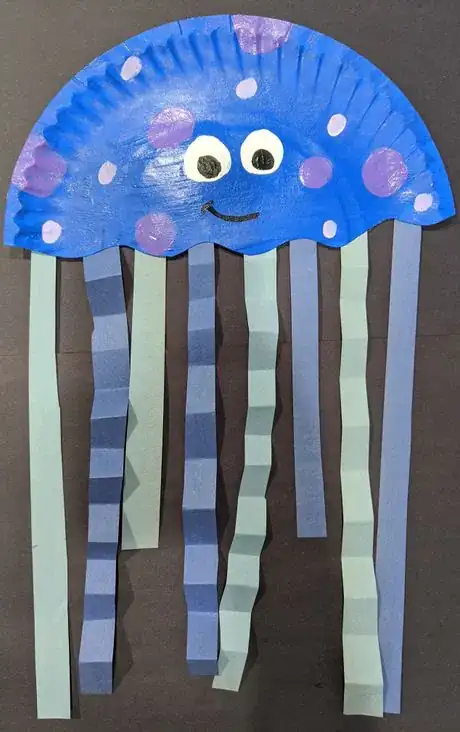
In this wikiHow you will learn how to make a jellyfish using paper plates, construction paper, paint, and glue. This activity is part of the Ocean Conservation virtual quests from the WCS Queens Zoo.
Steps
Part 2
Part 2 of 2:
Making the Jellyfish
-
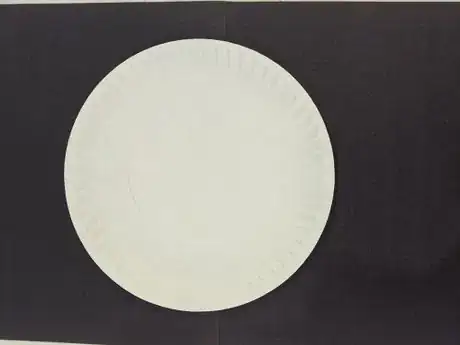
1Place the paper plate on a flat surface to start to decorate.
-
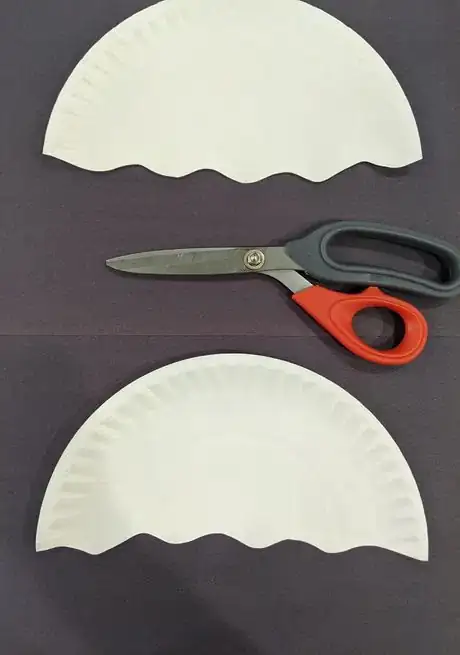
2Cut a curve. Use your scissors to cut the middle of the paper plate in a curve pattern.
-
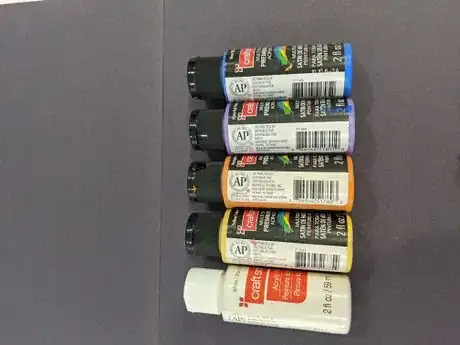
3Begin to paint the jellyfish on the style that you want to create.
-
4Add the face to the jellyfish using paint or other materials.
-
5Let the paint dry. The time it takes will depend on the type of paint used for the body of the jellyfish.
-
6Start working on the stingers of the jellyfish. While the paint for the body is drying, you can start on the stingers.
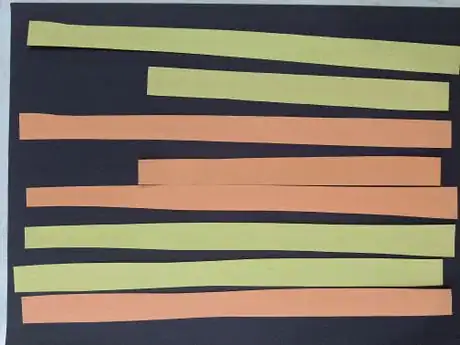
- Get the construction paper and begin to cut the paper in 1/2 inch wide pieces. You can make them as long as you'd like the stingers to be. You will need 8 pieces.
- Using two colors for the construction will need 4 pieces of each color.
- If you are using string, ignore the next step and move ahead.
-
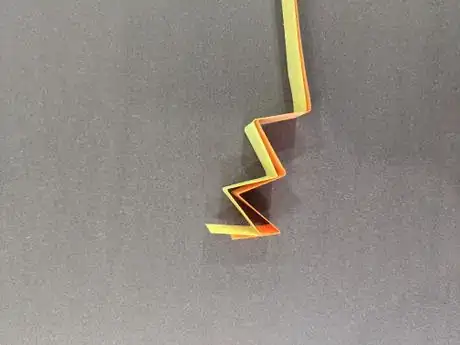
7Fold 4 of the pieces of construction paper to create a pattern.
- Fold the paper up one inch from the bottom every time until you get to the top of the paper.
- You can place multiple pieces of construction paper on top of each other to make it faster.
-
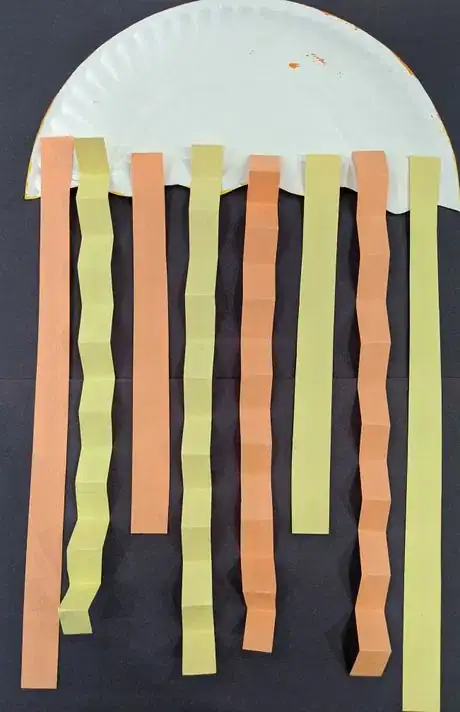
8Attach the stingers. Take your paper plate and turn it over to the side without any paint. Tape the stingers to the back, in the pattern that you would like.
-
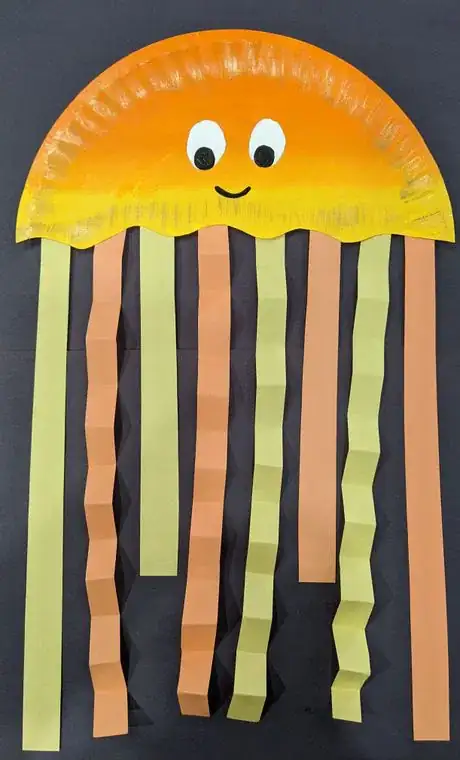
9Complete. You have finished the paper plate jellyfish! Congratulations! Now you can decorate it more if you want.
Advertisement
About This Article
Advertisement
