This article was co-authored by Kelly Medford. Kelly Medford is an American painter based in Rome, Italy. She studied classical painting, drawing and printmaking both in the U.S. and in Italy. She works primarily en plein air on the streets of Rome, and also travels for private international collectors on commission. She founded Sketching Rome Tours in 2012 where she teaches sketchbook journaling to visitors of Rome. Kelly is a graduate of the Florence Academy of Art.
This article has been viewed 508,618 times.
Ever want to make a map to flesh out your fantasy novel, or make a personal memento of a place you visited? With just a bit of planning and designing, you'll be a regular cartographer in no time!
Steps
Designing Your Map
-
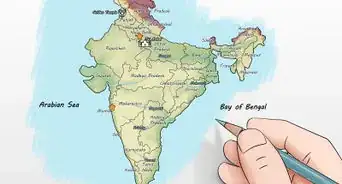
1Determine the scope of your map. Before you start drawing, you need to decide just how large of a map you’re going to create. Do you plan on showing an entire planet (perhaps even Earth) stretched out, a hemisphere, a single continent, a country, or just a state or city? This goes for both true-to-life maps and fantasy maps that you create from your imagination.
-
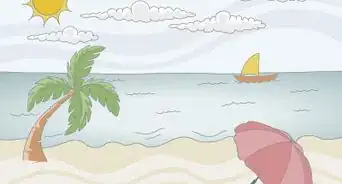
2Decide on the ratio of land to water for your map. With very few exceptions, you will need to create a map (unless it’s an extreme close up) that includes both water and land. However, you’ll need to decide exactly how much of each you’re showing. For larger scale maps, you should be showing oceans, rivers, and lakes. Smaller scale maps may only show portions of an ocean, rivers, or a few lakes and ponds. If your map has only a few landmasses in an archipelago-type setting, you’ll likely have a page that is mostly water with a few islands.Advertisement
-
3Consider what you’ll include on your map. What style of map are you creating - geographical/physical, political, a road map, or something else? The type of map you make may change the way you outline or draw it, so determine this prior to starting your project. You can certainly create a map that is a combination of all three, but you’ll have to reduce the amount of detail you include in order to avoid overwhelming the viewer.
- You can create maps based on other characteristics as well, such as trade routes, major population points, or different languages.
-
4Determine how detailed your map will be. This goes hand in hand with determining what you’ll include/the scale of your map, but is important to note. Do you plan on only marking off the largest or most important places on your map? Or, are you interested in showing even the smallest aspects of the are you’re portraying? The detail you intend to include may have a big impact on how big you physically draw the map (on a very large piece of paper/file, or a small file size or piece of paper).
-
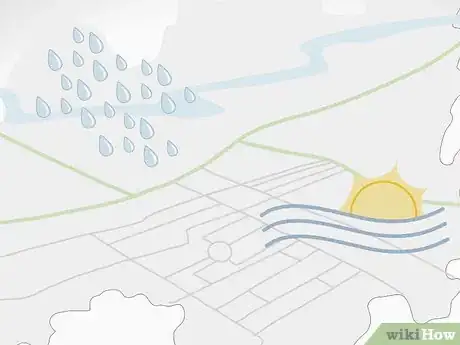
5Think about weather patterns.[1] Although this applies mainly to those creating their own fantasy maps, thinking about weather patterns is important to designating certain physical aspects on your map. Where will there be lots of rain or desert areas? Will these areas match up with the locations of seas/oceans, mountain ranges, and the location on the planet (as they do in real life)? You might consider the climate/environment and weather patterns of certain areas before sketching them out, to make a more detailed and realistic map.
-
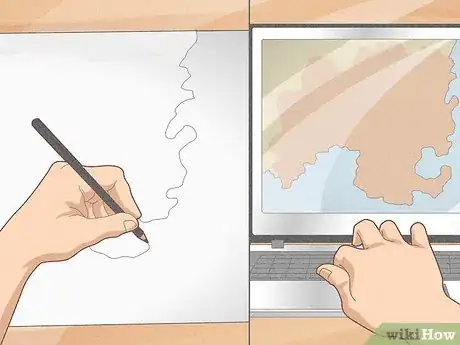
6Choose how you’re going to create your map. Do you plan on hand-drawing your map, using a computer program to draw it, or creating your map using an online interactive map creator? Each of these will require different preparations, particularly if you intend on hand-drawing it. There are dozens of online map-making programs as well, if you’re not interested in doing so much work or aren’t certain of your artistic capabilities.[2]
Drawing Your Map
-
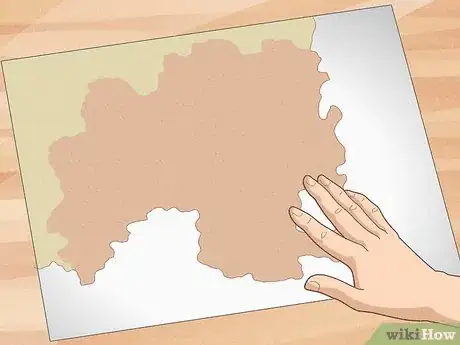
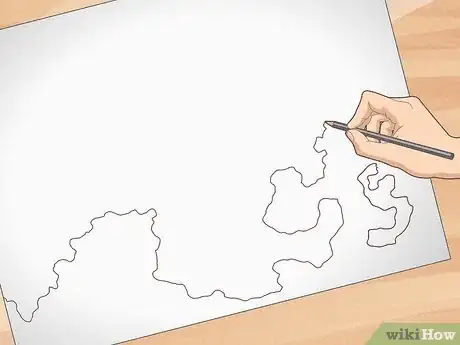
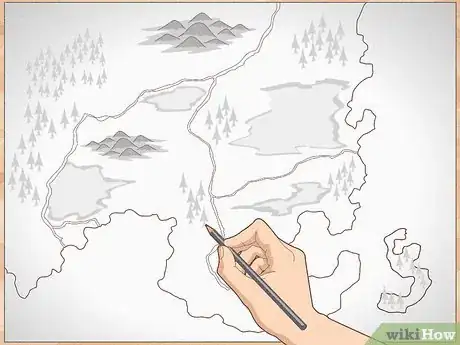
1Outline your landmasses. If you’ve already decided how detailed your map is going to be, you should have a good idea of how many landmasses you’re drawing and their general size. Start with just a rough outline using straight lines to sketch out the landmasses. When you’ve gotten the outline just the way you want it, go over it again to create a more detailed outline (typically a bit wavy) depicting coasts and borders.
- When outlining your landmasses, consider where tectonic plates (imaginary or real) would lie underneath. This will help you to form more a more realistic map, assuming you’re drawing it from your imagination.
- Add details like peninsulas, islands, archipelagos, deltas, or inlets to your main land masses.
-
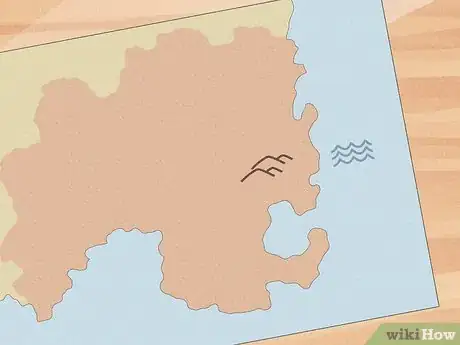
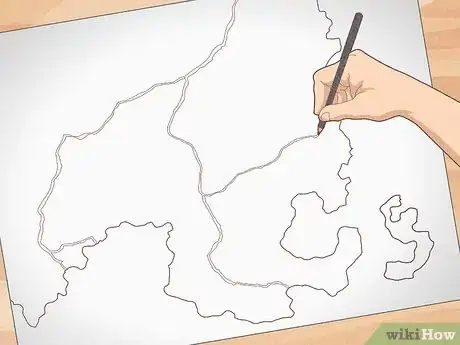
2Add your waterways. It is typically assumed that the area around your land masses are oceans or other large bodies of water. However, now you should add in other smaller bodies of water or waterways that you may want to include. These typically are rivers, lakes, seas, canals, and bays. Depending on how detailed you get, ponds, streams, creeks, and coves may also be included on your map.
- If a body of water is small but important (such as a cove or a canal) you may choose to mark it on the map and note that it is out of scale.
-
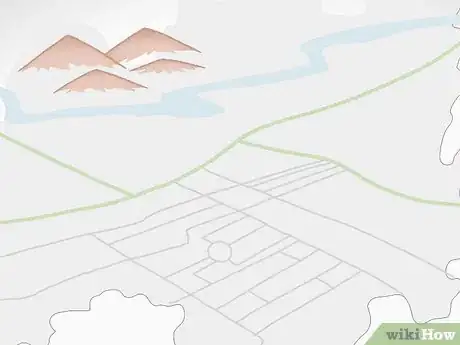
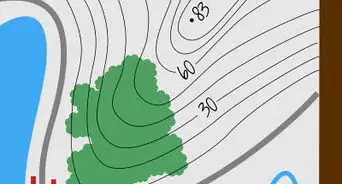
3Add details to your land masses. You may or may not add a lot of detail to your land masses depending on the style of map that you’re going for, but normally at least a little detail is added. Consider putting mountain ranges, valleys, deserts, forests, and plateaus on your land. Keeping weather patterns and climate in mind, you can add jungles, rainforests, swamps, tundra, grasslands, and coral reefs throughout your map.[3]
-
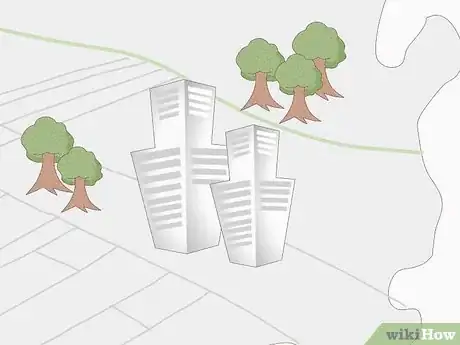
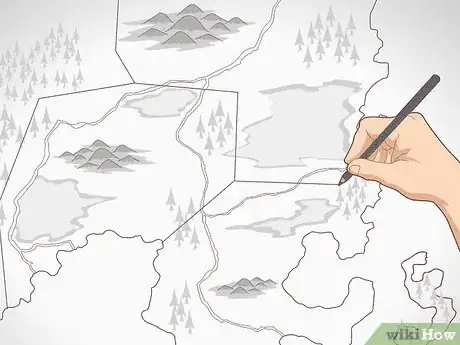
4Place countries or cities. Again, this will be different depending on the style of map you’re making, but it is generally helpful to add outlines for countries/territories and add a few major cities. Designate continental divisions, state lines, and territories with simple lines; these may follow natural boundaries like rivers or mountain ranges, or may be entirely of your own choice. You can show cities with a symbol of choice, typically a small dot of star.
-
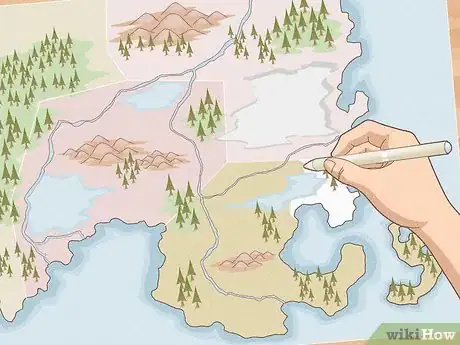
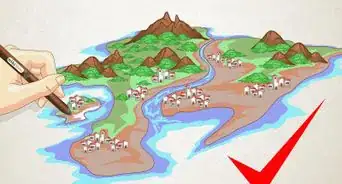
5Add color to your map. Maps are greatly enhanced with the addition of color.[4] Color can show different styles of land mass (as in a physical map), show different countries (like a political map) or simply be decorative. If you choose not to add color, at least add shading in black and white/gray. You may add detailed layers of color to show specific items like cities or forests using a broad color palette, or you may use only 2-3 colors for basic differentiations.
-
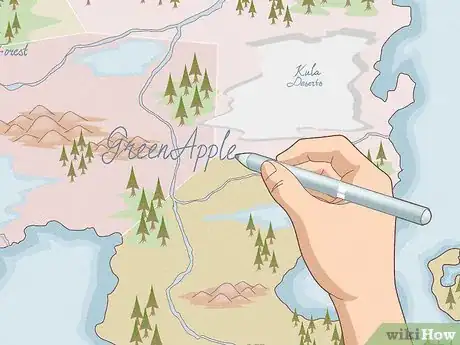
6Label your map. You aren’t technically required to add labels to a map, but it will be confusing indeed if you lack labels altogether. Start by labeling the largest and most important areas; you might show that these are the largest and most important by using a larger font/print than you do for the rest of your labels. If you want to create more detail, simply label more areas on your map. Use different styles of font to symbolize different types of labels, including italicized or bold font (or handwriting).[5]
Adding Information
-
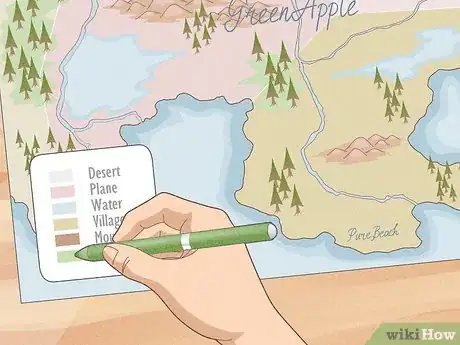
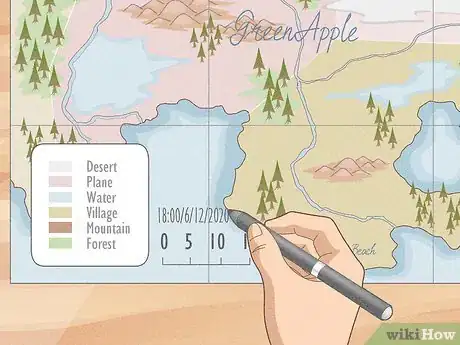
1Create a key.[6] The key is a small box that identifies the symbols or colors that you used throughout your map. These will help the viewer to understand what a type of line or mark means, as well as why you chose to use a particular color. Be sure to include every symbol you used in your key, so that you don’t confuse the viewers.
- The key is sometimes also called a legend.
-
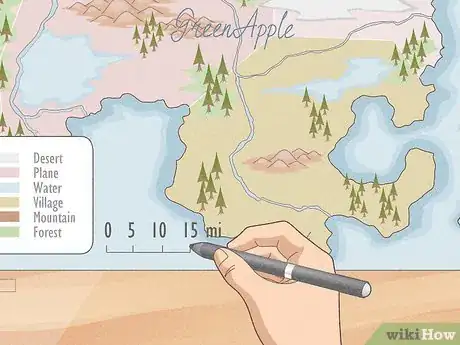
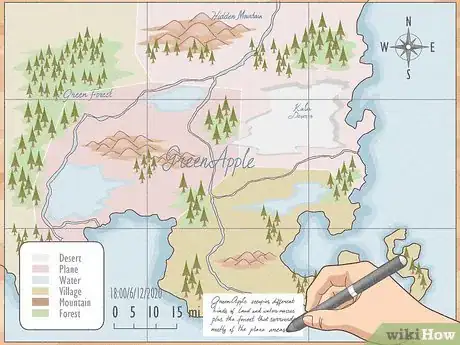
2Add a scale. The scale designates how many miles/kilometers are represented in a square inch/centimeter on the map. You can create a scale by drawing a small ruler on the bottom that shows how much distance is portrayed in a small section of area. You may also add an inset map of a zoomed in or zoomed out portion to show the scale more accurately. If you’d rather, you can add a ratio for your scale instead of drawing anything (such as 1”: 100 miles).
-
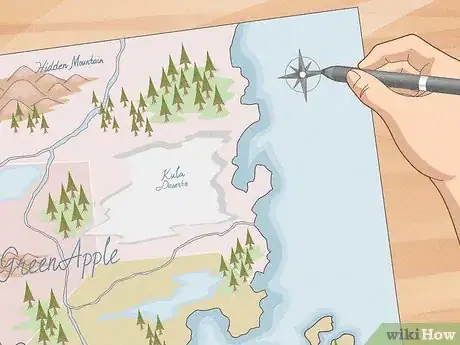
3Show the orientation. You can show the orientation of your map by adding a compass rose on some portion of the blank space. This will show the way the directions work, such as North/South and East/West. This is particularly helpful if the orientation of your map is non-traditional, such as having North located near the bottom.
-
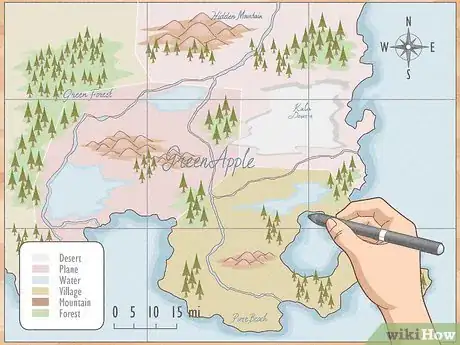
4Add latitude and longitude lines. Latitude and longitude lines may not need to be used on a fantasy map, but are almost always required on a true-to-life map. These lines divide the map vertically and horizontally, so that specific locations can be found by looking at coordinates within these lines. Be sure that these lines are perfectly straight and evenly spaced.
-
5Give a time/date. The area shown on maps, both physical and political, often change over time (even in a fantasy map). Therefore, you will need to make note of the time or date that the map is depicting somewhere on the page. You may also want to include the date that the map was originally drawn, although it is more important to make note of the date range the map depicts.
-
6Add any further explanatory notes. You may be interested in writing a few explanatory notes on your map somewhere. These are not required, but are particularly helpful if your map is not a traditional set-up or if it is a fantasy map you have created. These traditionally go along the very bottom border of the map, so that the reader knows they are not meant to match up with a specific location on the map.
- To become better at drawing and to sharpen your observation skills, spend time doing blind contour drawings every day.
- Go slow when observing what you are drawing.
- Do not worry about the results of the drawing. It is to train your eye to slow down and work simultaneously with your hand.
Sample Map
Expert Q&A
-
QuestionHow do you scale a drawing correctly?
 Kelly MedfordKelly Medford is an American painter based in Rome, Italy. She studied classical painting, drawing and printmaking both in the U.S. and in Italy. She works primarily en plein air on the streets of Rome, and also travels for private international collectors on commission. She founded Sketching Rome Tours in 2012 where she teaches sketchbook journaling to visitors of Rome. Kelly is a graduate of the Florence Academy of Art.
Professional Artist You can use ratios to scale a drawing to the proportions of a different size. You can buy a little wheel that will show you the ratios.
 -
QuestionWhat sort of pencil can you use for shading?
 Kelly MedfordKelly Medford is an American painter based in Rome, Italy. She studied classical painting, drawing and printmaking both in the U.S. and in Italy. She works primarily en plein air on the streets of Rome, and also travels for private international collectors on commission. She founded Sketching Rome Tours in 2012 where she teaches sketchbook journaling to visitors of Rome. Kelly is a graduate of the Florence Academy of Art.
Professional Artist Use a soft pencil like 4B or 6B for shading. You can turn it on its side to get a more uniform and even shading, especially in large areas.
 -
QuestionWhat is a cartographer?
 Community AnswerA cartographer is someone who makes maps for a living. They usually make actual geographical maps, but sometimes they can be employed by to make fictional maps in books.
References
- ↑ https://worldbuildingschool.com/how-to-weather-the-storm-of-prevailing-winds-and-oceanic-currents/
- ↑ http://worldbuildingschool.com/the-authors-guide-to-drawing-maps/#2
- ↑ http://www.ucmp.berkeley.edu/glossary/gloss5/biome/
- ↑ https://io9.gizmodo.com/10-rules-for-making-better-fantasy-maps-1680429159
- ↑ http://www.zompist.com/howto2.htm
- ↑ http://www.fantasticmaps.com/2015/02/how-to-draw-a-map/
About This Article
If you want to make a map, first determine the scale of the map. This will determine how much land you cover and the amount of detail included in the map. Start by drawing a rough outline of the landmasses and their general size, then go back over the outlines and add in detail along the coasts and borders. Add your waterways, then draw in details like mountain ranges and forests to your landmasses. If you like, you can add in borders, then label your map with the names of countries or cities and land features. To learn how to create a key for your map, keep reading!
