This article was co-authored by Claire Donovan-Blackwood and by wikiHow staff writer, Amber Crain. Claire Donovan-Blackwood is an Arts & Crafts Specialist and CEO of Heart Handmade UK, a site dedicated to helping people live a happy, creative life. With over 13 years of experience, Claire uses art as a form of therapy and focuses on mindfulness in the making of art. She makes crafting easy and accessible for those she works with. Claire received her B.A. in Photography & Visual Imagery from The University of Huddersfield.
wikiHow marks an article as reader-approved once it receives enough positive feedback. In this case, several readers have written to tell us that this article was helpful to them, earning it our reader-approved status.
This article has been viewed 452,774 times.
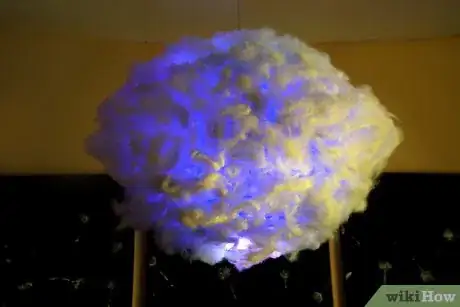
There are few things as relaxing and inspiring as clouds, but you can't always go outside to look at them. Make a hanging cloud to enjoy the sight of the sky anytime you’re stuck indoors.
Steps
Making a Basic Cotton Cloud
-
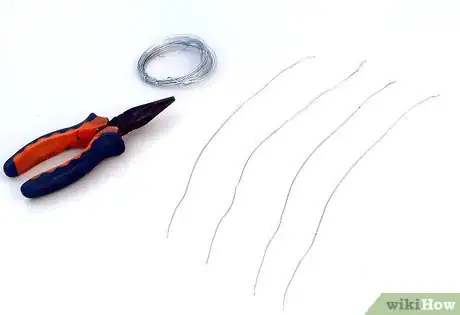
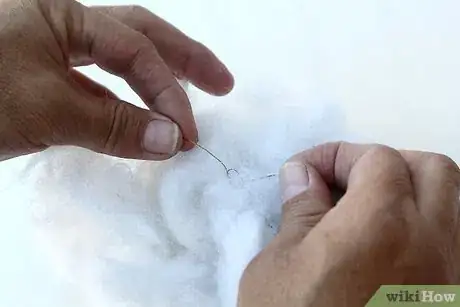
1Cut four equal strands of thin wire with wire cutters. How long the wires are will depend on how big you want your cloud to be. You will be folding these wires into a ring, so keep this in mind. Make sure that all of the wires are approximately the same length.
-
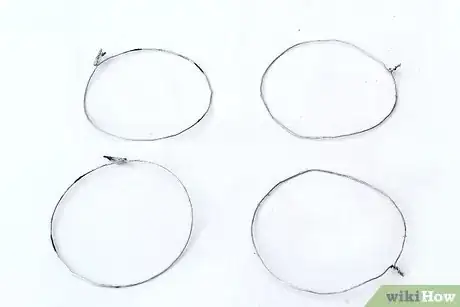
2Twist the wires into rings. Take your first wire, and overlap the two ends by 1 inch (2.54 centimeters). Twist the ends to hold the ring together. Repeat this step for the other wires.Advertisement
-
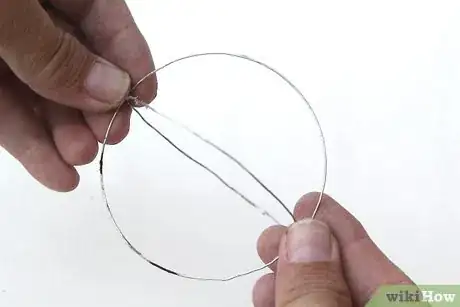
3Tuck the first ring into the second one, crosswise. Hold one wire horizontally. Hold the other ring above it, vertically. Slight the vertical ring into the horizontal one halfway. Your two rings will make a cross.
-
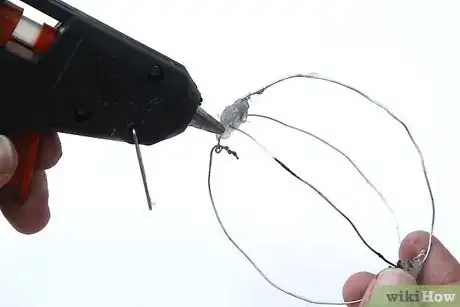
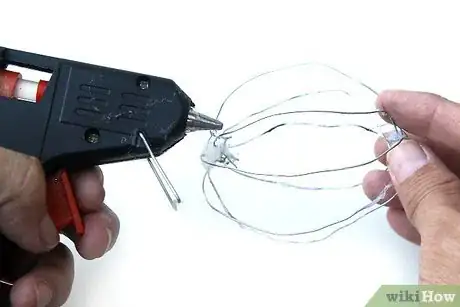
4Secure the cross with glue or wire. You can secure the crossed wires together by putting beads of hot glue on the joints between the two rings. You can also tie the joints together with some more wire. Be sure to tuck any sharp ends into the wire "orb."
-
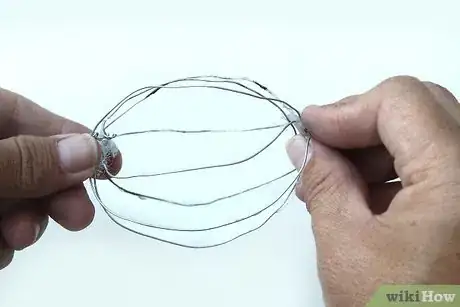
5Add the other two rings to form an X and complete your frame. Slip the third ring over your frame at a left angle. Secure it to the joints between the other rings with hot glue or more wire. Repeat this step with the fourth ring, but insert it at a right angle. These two new rings should form an X.
-
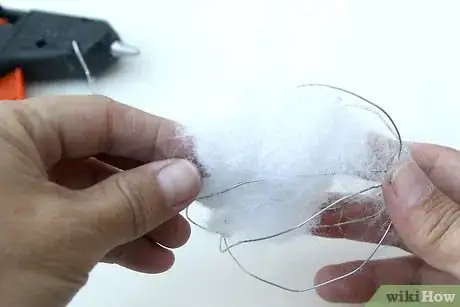
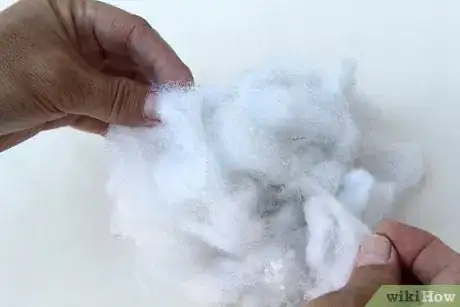
6Hot glue polyester stuffing to the wire frame. Pull off a long strip of polyester stuffing. Draw a squiggle of hot glue across it, then wrap it over your frame. Make sure that it covers at least two rings.
- Work quickly. Hot glue sets fast!
-
7Continue hot gluing polyester stuffing to the frame. Keep doing this until most of your frame is covered. Be careful not to wrap the frame too tightly, or you will distort the cloud shape.
-
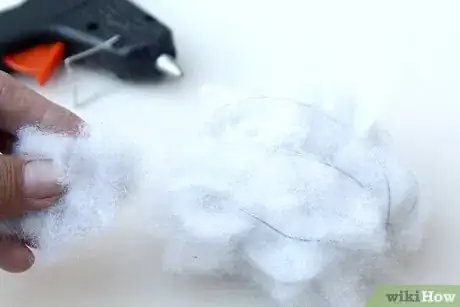
8Fill in the gaps with smaller tufts of polyester stuffing. Once you have most of your cloud covered, pull out smaller tufts of polyester. Draw a swirl of hot glue onto the tuft, then press it against the cloud.
-
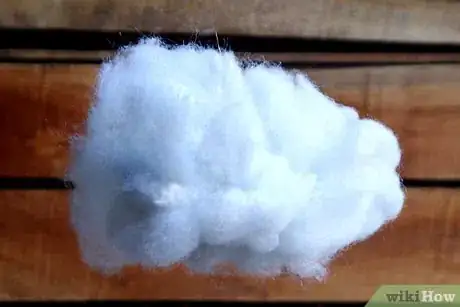
9Fluff the cloud out. If your cloud looks too much like a ball, gently pull here and there on the tufts to bring them out. This will make your orb look more lumpy and cloud-like. Don't pull too much, however, of the polyester stuffing won't hold together.
-
10Tie a piece of fishing line to your cloud. Cut a long piece of fishing line. Dig through your cloud until you find a joint between two wire rings. Tie the fishing line to the joint.
-
11Attach the cloud to the ceiling. Get some tape and tape your hanging cloud to the ceiling. For a stronger hold, screw a ceiling hook into your ceiling. Tie a loop into the end of the fishing line. Slip the loop over the ceiling hook.
Making a Lighted Cloud
-
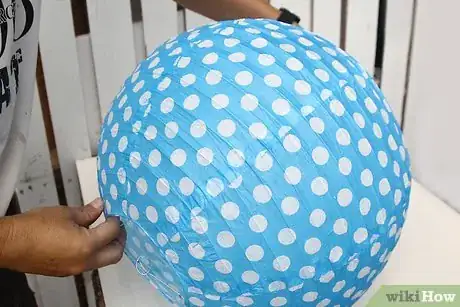
1Open up a white paper lantern. If you'd like a larger cloud, hot glue one or two smaller paper lanterns to a larger one.[1]
-
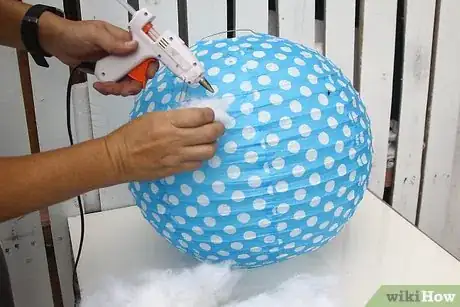
2Hot glue a clump of polyester stuffing to the lantern. Pick off a large, cotton candy-sized lump of polyester stuffing. Draw a swirl of hot glue on the clump, then press the stuffing against the lantern.[2]
-
3Continue hot gluing clumps to the lantern. Alternate between large, small, and medium-sized clumps. Be sure to cover the top and bottom of the lanterns as well.
-
4Fill in the gaps with smaller tufts of stuffing. This time, apply the hot glue directly onto the lantern, then quickly press the stuffing into the glue. If you glued multiple lanterns together, be sure to fill the seams between the lanterns.
-
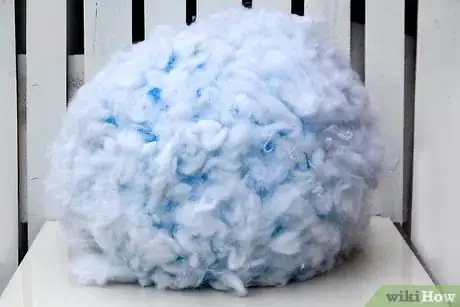
5Fluff the lantern out. Gently pull on the polyester tufts until the cloud is fluffy. Make some of the tufts larger than others. This will make your cloud look more cloud-like.[3]
-
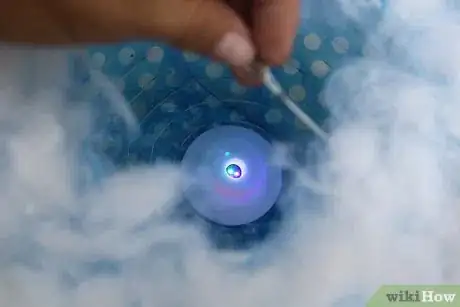
6Add some lights. For something quick and easy, tuck a battery-operated LED light into the lantern. Alternatively, you can fill the lantern with white string lights. If you use the icicle kind, you can even pull the strands out through the bottom of the cloud to make it look like rain.[4]
- Make sure that the lights doesn't generate too much heat and never leave them unattended.
-
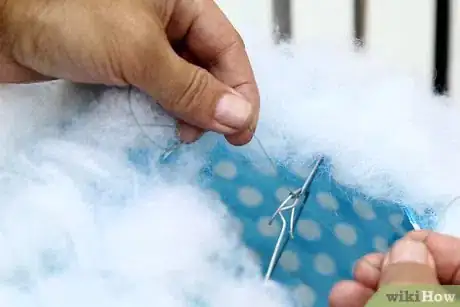
7Tie some fishing line to the top of your cloud. Dig through the fluff until you find the top hanging wire of your lantern. Tie some fishing line to it. If you attached multiple lanterns together, be sure to tie some fishing line to each one. Cover the gap at the top of the lantern back up when you are done.[5]
-
8Hang the cloud. Insert some hooks into the ceiling. Tie small loops into the ends of your fishing line. Slip the loops over the hooks. You will need one hook per lantern. This means that if your cloud is made from three lanterns, you will need three hooks.
Making 3D Paper Clouds
-
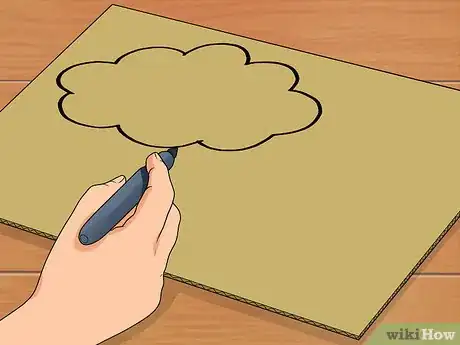
1Draw a basic cloud shape on thick cardboard. Use a pencil or marker to draw a simple cloud shape onto thick cardboard. This will serve as your template. Draw the cloud the same size you want the finished product to be.[6]
- If you need a little guidance for sketching the cloud, run a Google image search using the search term "cloud shape." Tons of options will come up for you to choose from!
-
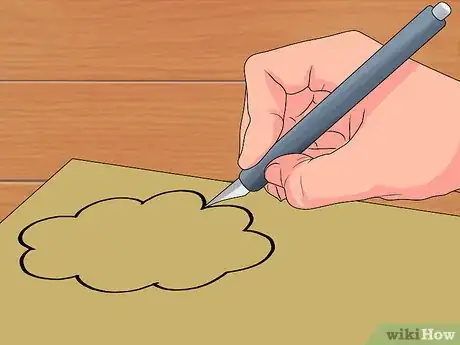
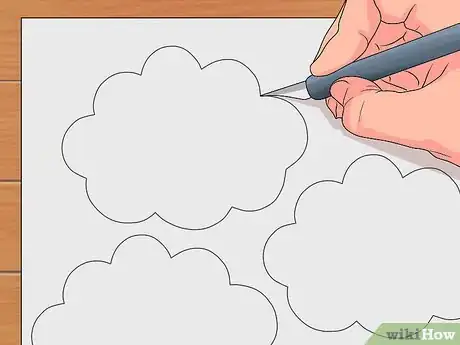
2Cut the cloud shape out of the cardboard. Use sharp scissors or an X-ACTO knife to cut along the lines you drew. Cut your cloud template out completely. Discard the excess cardboard.[7]
-
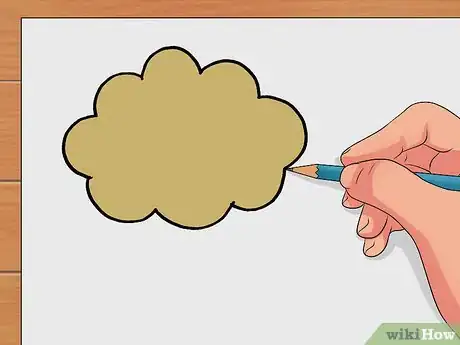
3Trace around the cloud template on thick white card stock. Pick a heavy stock so your 3D clouds are fairly durable. Trace around the cloud template on two sheets of the heavy white stock. Use a pencil and sketch lightly so you won't leave any dark marks on your white paper.[8]
-
4Cut out each white cloud shape carefully. Use scissors or an X-ACTO knife to cut out the cloud shapes. Cut just inside the drawn line so that your shapes won't have any visible pencil marks around the edges.[9]
- Lightly erase any pencil marks that accidentally make it onto the final shapes. Be careful not to bend the edges of the paper as you do so!
-
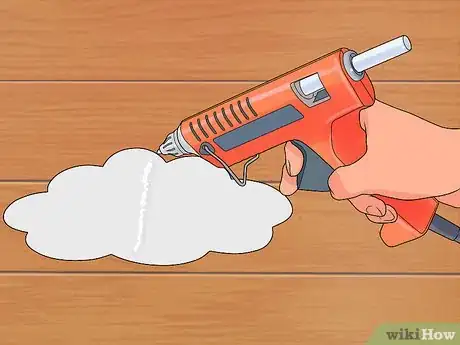
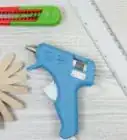
5Add a thin stripe of hot glue down the center of one cloud. Heat up your hot glue gun. Place one cloud shape on the table in front of you. Then, draw a thin line of hot glue directly down the center of one of the cloud shapes.[10]
-
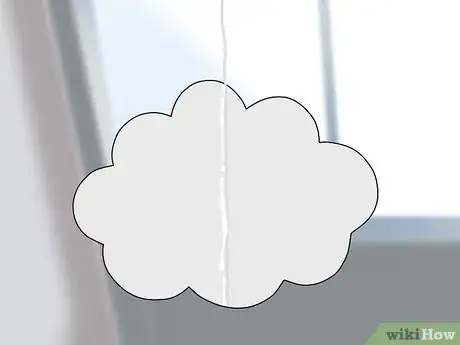
6Place a length of fishing line directly into the glue. Cut a piece of fishing line at the length you want to hang your 3D cloud. It can be as long or as short as you like. Anywhere from 6 to 18 inches (15 to 45 cm) would work great. Place the line vertically, directly into the line of glue.[11]
- There should be no fishing line dangling under the cloud; it should only extend from the top. You will use this to hang the cloud.
- Make sure you're using fishing line, which is transparent. That way, when you hang the cloud, it will look like it's floating in the air. Avoid fishing wire.
-
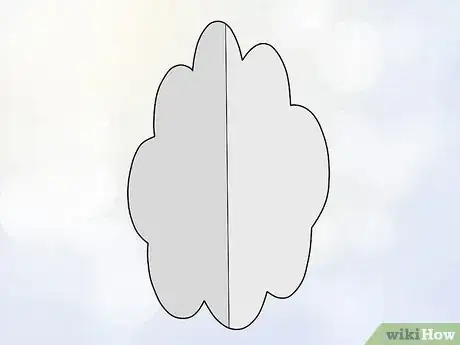
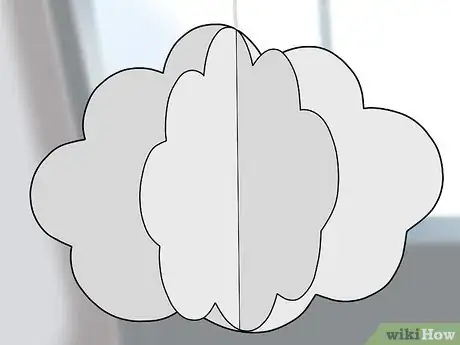
7Fold another cloud shape right down the center. Set the glued cloud aside for a moment. Take another white cloud shape and fold it in half horizontally. The crease should appear in the same place as the glue stripe on the first cloud -- right down the middle.[12]
-
8Place the folded edge into the hot glue. Once folded, line up the creased edge of the second cloud with the stripe of glue on your first cloud. Press the edge into the glue, right on top of the fishing line. Hold it in place for about 30 to 60 seconds to ensure you get a solid bond.[13]
- You may need to add some fresh hot glue if yours has dried up. Simply add a very thin line of it in the same place.
-
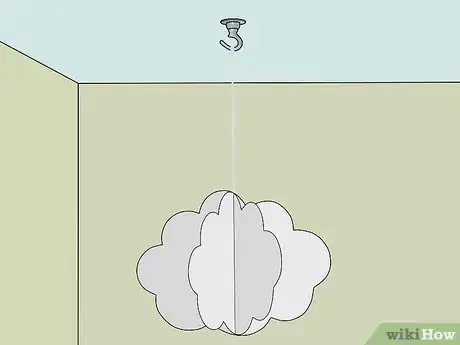
9Hang the cloud by the string. You can hang you 3D cloud anywhere you like! Use the fishing line to tie it to a light fixture, ceiling hook, the cord of a ceiling fan, or anywhere else you please.
-
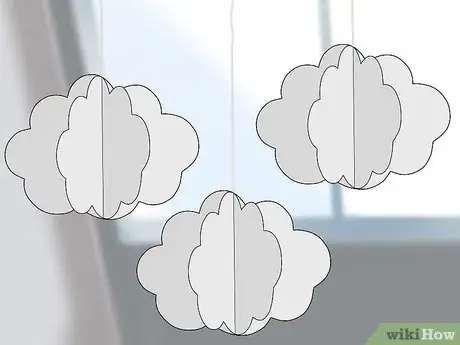
10Make multiple clouds. You don't have to stop at one cloud! Repeat these steps to make multiple clouds of same or varying sizes. Cut the fishing line at different lengths so the clouds will hang at different levels. You can also place more than one cloud on a string for a stacked effect.[14]
- Remember, each 3D cloud is made from two white cloud shapes. If you want your mobile to have six 3D clouds, you'll need to cut out 12 cloud shapes from the white card stock.
-
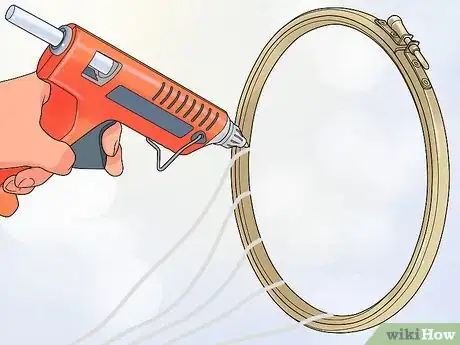
11Glue the strings around the inside edge of an embroidery hoop (optional). An embroidery hoop is circular, so it's perfect for a mobile. Let the clouds dangle at different lengths, but make sure all the strings extend from the top of the hoop at the same length. You'll use the strings extending from the top to hang your mobile.[15]
- Once the glue is dry, gather together the strings at the top. Create a knot to lock them altogether. Suspend the mobile by the knotted string wherever you like!
- If you've never seen an embroidery hoop before, it's a small wooden ring used for needlepoint and other sewing projects. It can be found at any craft or sewing store. It will also have a tiny metal tightening device on it, but you won't need that for this purpose.
Expert Q&A
-
QuestionCan I use my hanging cloud as a lantern?
 Claire Donovan-BlackwoodClaire Donovan-Blackwood is an Arts & Crafts Specialist and CEO of Heart Handmade UK, a site dedicated to helping people live a happy, creative life. With over 13 years of experience, Claire uses art as a form of therapy and focuses on mindfulness in the making of art. She makes crafting easy and accessible for those she works with. Claire received her B.A. in Photography & Visual Imagery from The University of Huddersfield.
Arts & Crafts Specialist Yes! If you're making a cloud of fusible wadding, pull the wadding apart gently until it's really fine and very fluffy. Then, try using hot glue to attach the wadding to paper napkins. After that, you can hang the cloud on your light as a lantern.
 -
QuestionHow do I get the lights in there?
 Community AnswerTry putting in the lights just before stuffing in the last layer, then turn them on to adjust. You could hide the wire in the wire you hang it up with, or, if it's battery operated, stuff the pack in there, too.
 -
QuestionI made a cloud using cotton balls and hot glue. How could I hang it up?
 Chantelle HegneyCommunity AnswerIf you are interested in hanging it, take some twine and hot glue your cloud onto it! Then hang it up in a desired spot!
Warnings
- Polyester stuffing is flammable. Do not put clouds near any heat source (lamps, ceiling lights, etc.)⧼thumbs_response⧽
Things You'll Need
Basic Cloud
- Polyester stuffing
- 24 gauge steel galvanized wire
- Wire cutters
- Thread or fishing line
- Tape or wall hook
Lighted Cloud
- White paper lantern
- Polyester stuffing
- Hot glue gun
- Hot glue sticks
- Fishing line
- Scissors
- Ceiling hooks
- Battery-operated LED lights or string lights
3D Paper Clouds
- Thick cardboard
- Thick white card stock
- Scissors or an X-ACTO knife
- Hot glue gun
- Hot glue sticks
- Fishing line
- Embroidery hoop
- Ceiling hooks
References
- ↑ http://apracticalwedding.com/diy-cloud-backdrop/
- ↑ http://apracticalwedding.com/diy-cloud-backdrop/
- ↑ http://apracticalwedding.com/diy-cloud-backdrop/
- ↑ http://diyprojectsforteens.com/how-to-make-a-diy-cloud-light
- ↑ http://diyprojectsforteens.com/how-to-make-a-diy-cloud-light
- ↑ https://www.paperkawaii.com/3d-cloud-decoration-tutorial/?cuid=c08cfc4f6de2ffebab98db3264009649
- ↑ https://www.paperkawaii.com/3d-cloud-decoration-tutorial/?cuid=c08cfc4f6de2ffebab98db3264009649
- ↑ https://www.paperkawaii.com/3d-cloud-decoration-tutorial/?cuid=c08cfc4f6de2ffebab98db3264009649
- ↑ http://www.hgtv.com/shows/hgtv-crafternoon/articles/diy-paper-cloud-mobile
- ↑ http://www.hgtv.com/shows/hgtv-crafternoon/articles/diy-paper-cloud-mobile
- ↑ http://www.hgtv.com/shows/hgtv-crafternoon/articles/diy-paper-cloud-mobile
- ↑ http://www.hgtv.com/shows/hgtv-crafternoon/articles/diy-paper-cloud-mobile
- ↑ http://www.hgtv.com/shows/hgtv-crafternoon/articles/diy-paper-cloud-mobile
- ↑ http://www.hgtv.com/shows/hgtv-crafternoon/articles/diy-paper-cloud-mobile
- ↑ http://www.hgtv.com/shows/hgtv-crafternoon/articles/diy-paper-cloud-mobile
About This Article
If you want to make a simple hanging cloud, cut a thin wire into four pieces. Twist each piece of wire into a ring. Tuck two of the rings together in an X shape and secure them with glue or more wire, then add the other two rings. Use a hot glue gun to glue polyester stuffing to your frame, then fluff it out to create your cloud shape. If you want to hang your cloud, tie a piece of fishing line to your cloud to hang it from the ceiling. Keep reading to learn how to make a lighted cloud.
