wikiHow is a “wiki,” similar to Wikipedia, which means that many of our articles are co-written by multiple authors. To create this article, volunteer authors worked to edit and improve it over time.
This article has been viewed 105,499 times.
Learn more...
It’s easy to make a garden flag using a length of robust material such as canvas or burlap. If you want to make the project as simple as possible you can just stick the flag using fabric glue, however it’s also an easy project to sew by hand or on a sewing machine. Once you've constructed the flag, you can design and decorate it any way you want to add a personalized touch to your garden.
Steps
Planning Your Flag
-
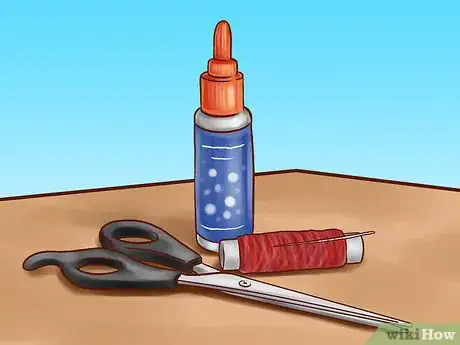
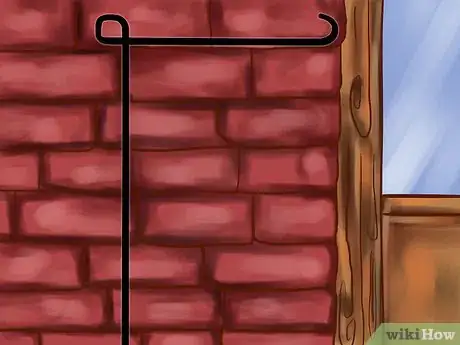
1Gather the necessary materials. This project requires a length of tough cloth, some paint or other decorations (such as material for applique), scissors and some fabric glue, a needle and thread, or a sewing machine.
- You’ll also need a way to hang your flag. One option is to get a steel, rust-resistant garden flagpole that inserts easily into a flower bed or large planter.
- A store like Home Depot will sell these for a few dollars.
-
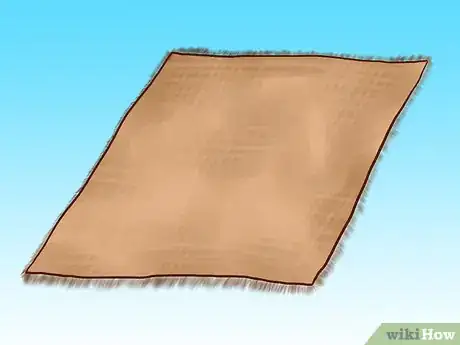
2Choose a type of cloth for your flag. Burlap makes a good rustic-looking choice for a garden flag.[1]
- However, you can also use any type of robust cloth, such as canvas. A heavier cloth will usually hang better.
- A place mat from a dollar store also makes a good choice, or you could consider cutting up an old, sturdy canvas bag.
Advertisement -
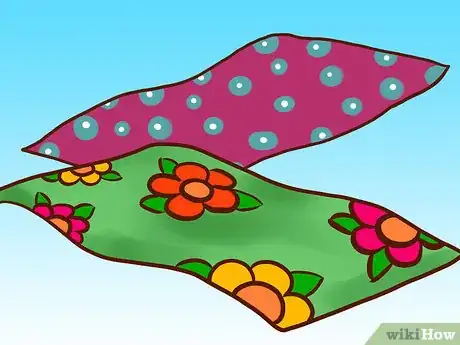
3Pick a design.[2] Bright colors are usually popular when making a garden flag. You can also use burlap or unbleached cotton or canvas for a more rustic look. For inspiration check out a site such as Pinterest or some craft blogs.
- With a garden flag that hangs vertically, it isn't all that important that the material can flutter in the breeze.
- Consider weighing your fabric down with heavier materials so that it hangs well and displays your design without wrapping around the flagpole.
-
4Get inspired. Here are some fun ideas to provide inspiration for your garden flag:
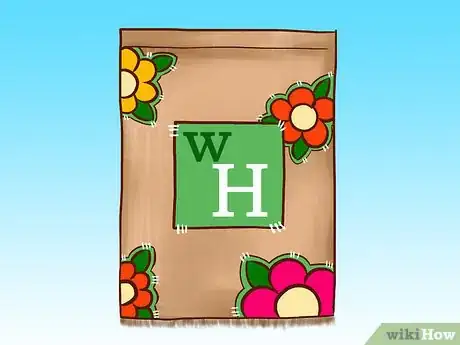
- Using applique techniques, add your house number or a word that has significance to you onto your canvas using a material that contrasts with the background.
- Use fabric paint to draw on your flag.
- Use a glue gun to paste objects onto your flag. Ideas include seashells, Christmas baubles, silk flowers or buttons.
- Make a patchwork garden flag by stitching clashing prints onto the background using bright contrast yarn for the stitches.
- Use stencils and a spray can to quickly create a design on your flag.
- Try using the same material or a contrasting material to add a bow or ruffle to your flag.
Making the Flag
-
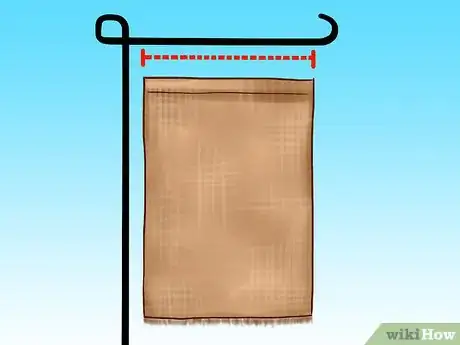
1Measure your material against the flagpole. It’s best to get your flag stand first so you can measure the material to fit. Cut a length of your main flag material to the width of the hanging bar of your flagpole.
- Most flag poles are around 12 inches (30.5 cm) wide on the horizontal pole from which the flag will hang. So cut your flag material to 12 inches (30.5 cm) width (or whatever the appropriate measurement it) or very slightly narrower..
-
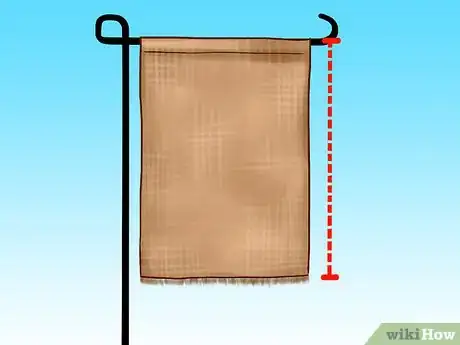
2Decide what vertical length you want your flag to be. Most flag poles are around 18 inches (45.7 cm) tall. Allow 4 inches (10.2 cm) length for the hanging flap, then cut your flag material an additional 18 inches (45.7 cm) long i.e. 22 inches (55.9 cm).
- If you are growing tall plants underneath the flagpole, consider making the flag shorter in length so it will all be visible above the plants. The main thing is that the material should not touch the ground as it will get wet and muddy.
- You might like to double it the flag length to provide extra weight and make it hang better.
-
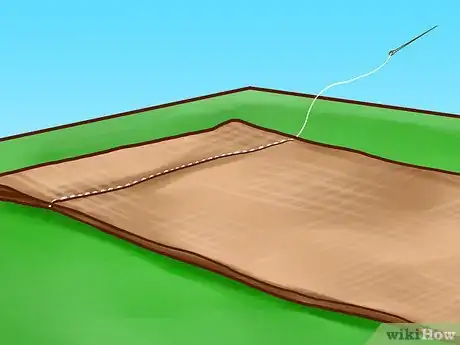
3Stitch or glue the flag. Lay your flag material out on a flat surface. If you are doubling up the material, do that now and glue the two sides together along the left, right and bottom sides.
- At the top of your flag, fold over a 4 inch (10.2 cm) piece of material. This will create the pocket that the flag rod will insert into in order to hang your flag.[3]
- Glue or stitch along the bottom horizontal side of this flap but do not glue the left and right sides as this is where the flap pole will insert into.
-
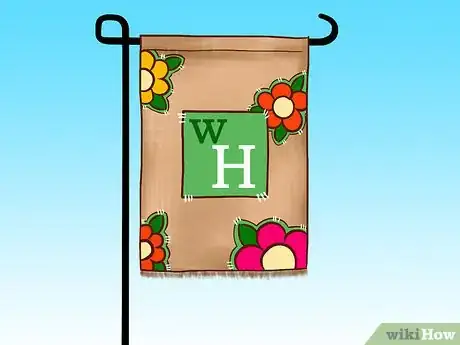
4Decorate your flag.[4] Now that you have made the main part of your flag, you can do the creative design using the ideas in the section above.
- Stitch, glue or paint your design onto the flag background you have created.
- A bright design can work very well, but remember some colors may fade over time.
Hanging Your Garden Flag
-
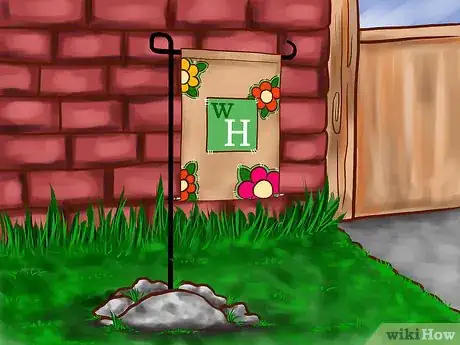
1Choose a sheltered location for your flag. A fairly sheltered place is usually the best location for your flag. Make sure the flagpole is erected in a secure manner.
- Usually it should be enough to drive the standing prongs deep into the earth, but remember the wind may catch your flag and try to topple it over.
- You might like to avoid planting the flagpole too near breakable objects such as a terracotta planter or a window just in case it tips over in a storm.
-
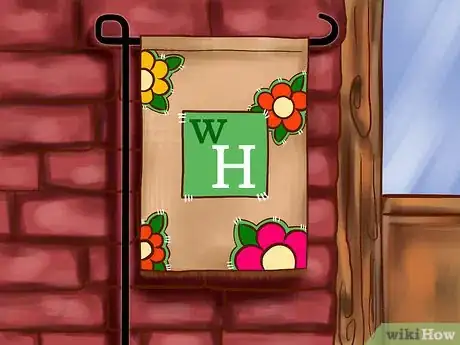
2Slip the flag onto the horizontal flagpole. Slip the top hanging flap of your flag over the horizontal hanging pole of the flagpole. If your flagpole has a loop end, this should be enough to hold the flag in place there.
- If the flag doesn't seem secure enough, you can try pinching the hanging flap in a bit and using a safety pin to secure it so it is less likely to come off.
-
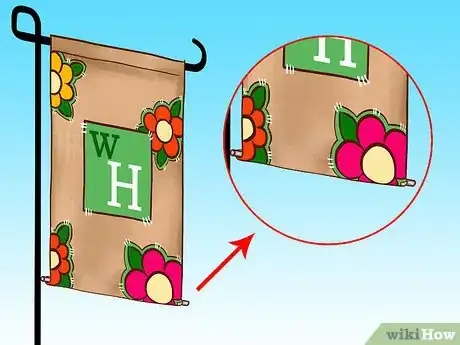
3Prevent the flag from twisting and turning by weighing it down. If your flag is too lightweight it will twist and turn easily. Consider weighing the flag down by stitching a metal rod into the lower edge. This will also help stop your flag twisting itself around the flagpole.
-
4Consider concreting the flagpole into place. If you really have trouble getting your flagpole to stand tall without falling over, consider concreting it into place. To do this, dig a hole, insert the flagpole base and temporarily secure it at the right angle using bricks or similar.[5]
- Whilst it is held in place, pour concrete or post mix into the hole. Post mix can be easily stirred up in the hole so that’s easy to use. Fill the hole to slightly below the surface.
- Once the mix is set, remove the bricks securing the flagpole in position and cover the concrete with dirt to hide it. Now you can hang your flag.
Community Q&A
-
QuestionCan burlap be waterproofing?
 Community AnswerBurlap should never be washed. To make it waterproof, try spraying it with a shoe-waterproofing product.
 -
QuestionCan I use acrylic paints instead of fabric paint for my garden flag?
 Community AnswerYes. It should work just fine. Because it's a porous material, the paint should not rub or wash off.
 -
QuestionI want to use my dogs photo. Can I?
 Community AnswerYes. Just make sure it is sized correctly and you have enough space.
References
- ↑ https://www.coolcrafts.com/diy-garden-flags/
- ↑ https://www.coolcrafts.com/diy-garden-flags/
- ↑ https://www.prettyhandygirl.com/summer-garden-flag-from-a-dollar-store-placemat/
- ↑ https://www.youtube.com/watch?v=QQ5JcFtdPw8
- ↑ https://www.homedepot.com/c/ah/how-to-install-a-flagpole/9ba683603be9fa5395fab900b1622aa
- http://theturquoisehome.com/2014/02/no-sew-monogrammed-burlap-garden-flag/
About This Article
To make a garden flag, cut your flag material to be the same width, or slightly narrower than the length of your flagpole’s horizontal pole. Next, decide on the vertical length, making sure that the material doesn’t touch the ground. Stitch or glue the 2 sides of the flag, and fold over a 4 inch piece of material over the top to create the pocket for the flag rod. Decorate your flag and hang it in a sheltered location. For more tips on how to make a garden flag, including how to keep your flag from twisting and turning, scroll down.
