This article was co-authored by Melinda Meservy. Melinda Meservy is a Plant Specialist and the Owner of Thyme and Place, a botanical boutique offering plants and gifts in Salt Lake City, Utah. Before starting her own business, Melinda worked in process and business improvement and data analytics. Melinda earned a BA in History from the University of Utah, is trained in lean and agile methodologies, and completed her Certified Professional Facilitator certification. Thyme and Place offers indoor plants and containers, a fully stocked potting bench, and tips on plants to suit your space and lifestyle.
wikiHow marks an article as reader-approved once it receives enough positive feedback. In this case, 100% of readers who voted found the article helpful, earning it our reader-approved status.
This article has been viewed 331,605 times.
If you're tired of expensive, flimsy pots that tip over in a windstorm and freeze in the winter, consider making your own homemade concrete pots. Once you devise a mold, you can make as many pots as you like. The sturdy flower pots are inexpensive and will last for many years.
Steps
-
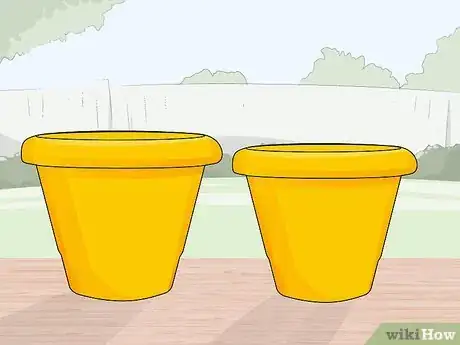
1Create a mold for your concrete flower pot. Use two identical containers, with one container slightly larger than the other. For example, use two bowls or two buckets, as long as the smaller container is at least an inch smaller than the larger container. You can also build square or rectangular containers from plywood.
-
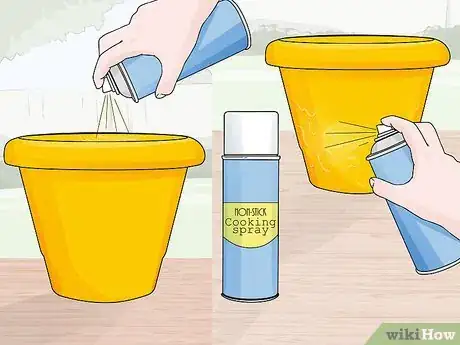
2Coat the inside of the outer container and the outside of the inner container with cooking oil or non-stick cooking spray.[1] For wooden containers, use a paste wax.Advertisement
-
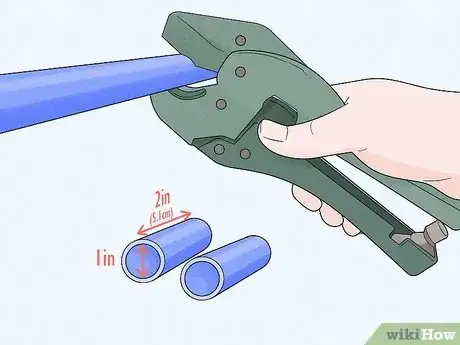
3Cut at least two or three pieces of 1-inch PVC pipe. The pieces of pipe, which will be used to create drainage holes in the concrete pots, should be 2 inches (5.1 cm) long.
-
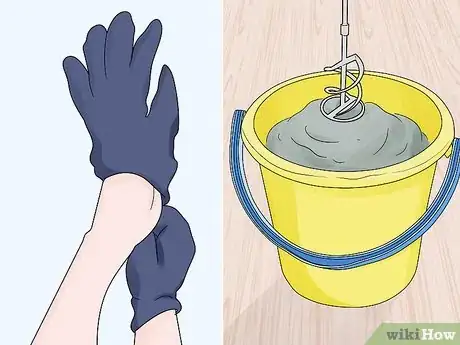
4Put on a pair of gloves to protect your hands from the concrete mixture.[2] Mix a batch of quick-setting concrete, according to the directions on the package. Add concrete color at this point, if desired.
-
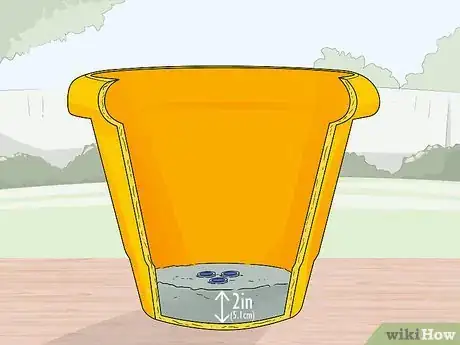
5Pour 2 inches (5.1 cm) of the concrete mixture into the larger container. Poke the pieces of pipe into the concrete, with 3 to 4 inches (7.6 to 10.2 cm) between each pipe. Smooth the concrete around the pieces of pipe, but be sure not to cover the pipe, as the pipes must be left open to create the drainage holes.
-
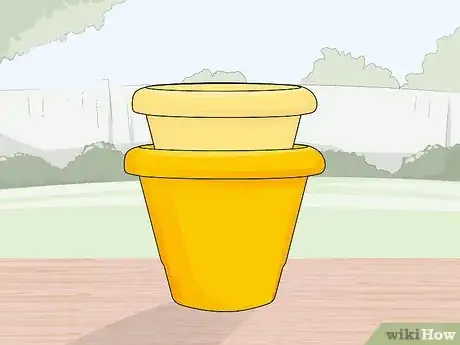
6Place the smaller container carefully on top of the concrete in the center of the larger container. Press the smaller container into the concrete until the bottom of the smaller container rests on top of the pipes.
-
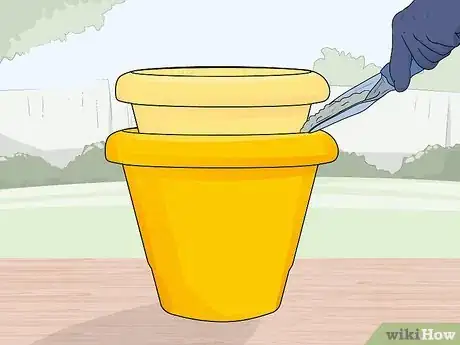
7Finish adding the concrete mixture to the space between the larger and smaller container. Bounce the container lightly on a hard surface to settle the concrete, then add more to bring the concrete to the top of the container. Smooth the concrete with a putty knife.
-
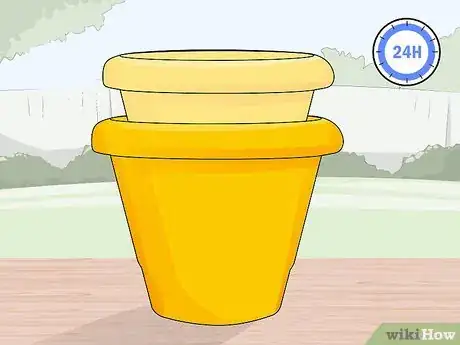
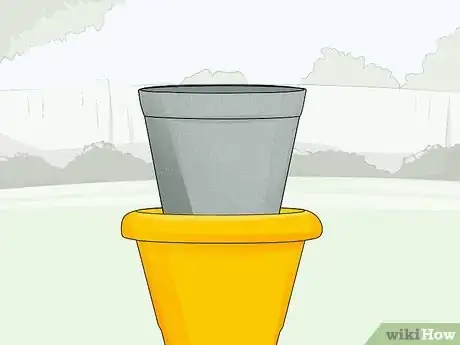
8Allow the concrete to set for at least 24 hours, then remove the smaller container to reveal your concrete pot.[3] Mist the concrete pot lightly with a spray bottle filled with cool water. Don't remove the larger container.
- Be careful, as the chemical reaction can make quick-setting concrete really hot.
-
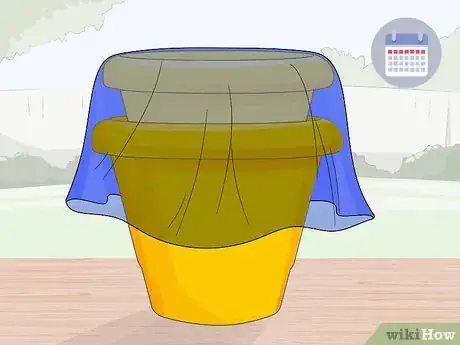
9Cover the concrete pot with a large piece of plastic and allow the concrete to set up for one week. Mist the concrete pot as often as needed to keep the concrete damp.
-
10Thump the bottom of your concrete pot lightly but firmly with the heel of your hand to dislodge the pot from the container, then slide the container from your concrete pot.
-
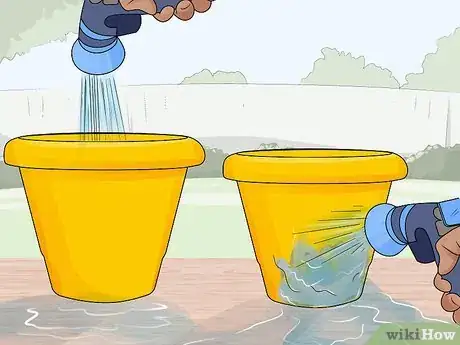
11Clean the concrete mixture from the small and large container. The containers can be used to make more concrete pots.
-
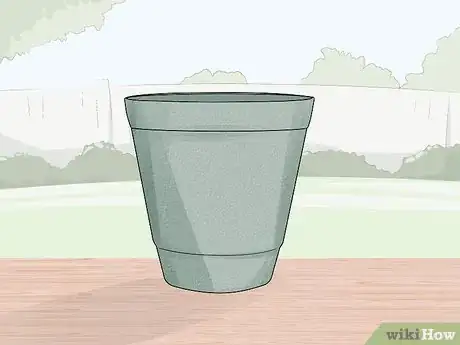
12Finished.
Community Q&A
-
QuestionWhat is the formula for the concrete mix?
 Dtown2002Community AnswerThe formula for the concrete mix is one part cement, two parts sand and three parts gravel or crushed stone.
 -
QuestionWill concrete plug up the pipes when they're pushed in?
 Community AnswerIf it does, you can always scrape it out at the end, but I would tape some plastic around the bottom of the tubes before inserting. When everything is finished, just cut the plastic away from the tubes at the bottom of the pot.
 -
QuestionWhat does "part" mean in the first question for the cement mix? Is the measurement one cup like for baking, or what is it exactly?
 T. ChinsenTop AnswererThe "part" is a reference to the portion used to measure the material. Whatever container is used for one material, it is used for the next material. It is similar to the use of a one-cup measurement in baking. A part can be any measure, as long as other ingredients use that same proportional measure.
Things You'll Need
- 2 identically-shaped containers, one larger
- Cooking oil, non-stick cooking spray or paste wax
- 1-inch PVC pipe
- Gloves
- Quick-setting concrete
- Concrete color (optional)
- Putty knife
- Spray bottle
- Larger plastic sheet
