This article was co-authored by Donna Serino. Donna Serino is a Dry Cleaning and Alterations Specialist and the Marketing Director for Hallak Cleaners, based in Manhattan, New York and Hackensack, New Jersey. She has expertise in tailoring and alterations, couture and casual wear, designer handbag cleaning, and suede, leather, and furs care. Donna and Hallak Cleaners are part of the National Cleaner’s Association, Drycleaning and Laundry Institute, and Leading Cleaners Internationale.
This article has been viewed 36,671 times.
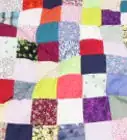
Fleece is a soft and warm material that is fun and easy for crafts. One great way to use fleece is to make a quilt. Fleece quilts are typically made of squares of fabric. Most elaborate patterns typical of other quilts cannot be done on fleece because of the thickness of the material. Whether you know how to sew or have no clue, you can have a good time making a fleece quilt that will keep you warm for years to come.
Steps
Preparing Your Materials
-
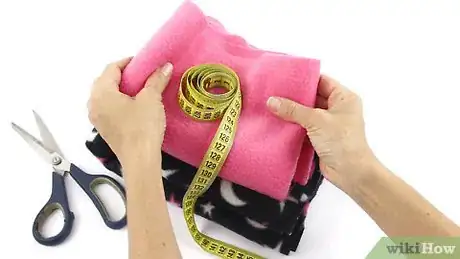
1Determine the size of your blanket. Fleece quilts are made by putting together squares of fleece. Before you can make your blanket, you need to know how big you want your blanket to be. This will determine the amount of fleece you need for the blanket. The size of your square will dictate the number of rows and columns and the overall number of squares needed for each blanket. For example, if you use a 10 inch square, you can get 12 squares out of a yard.
- This is based on the common height of 44" for the fabric.
- A twin quilt is 68 x 88 inches. You need to make a 7 column by 9 row quilt. For this size, you need approximately 5 1/4 yards of fleece.
- A full quilt is 81 x 88 inches. You need to make a 8 column by 9 row blanket. For this size, you need approximately 6 yards of fleece.
- A queen quilt is 88 x 96. You need to make a 9 column by 10 row blanket. For this size, you need approximately 7 1/2 yards of fleece.
- A king quilt is 107 x 108. You need to make a 11 column by 11 row blanket. For this size, you need approximately 10 1/8 yards of fabric.[1] [2]
-
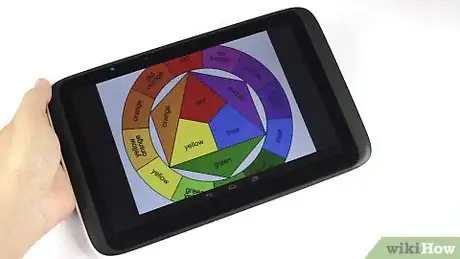
2Decide on a color scheme. You need to decide what colors you want in your blanket. If you want it all one color, then you need to get enough of that one fabric to make the whole blanket. If you are using multiple colors or patterns, you need to buy enough of each color to make part of the blanket.Advertisement
-
3
-
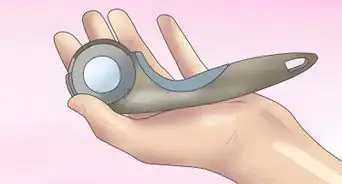
4Measure and cut the fleece. Now that you have your chosen fleece material, you need to cut out the squares for your quilt. For example, if you are making the full quilt, you will need 72 squares in all. Pick a sturdy piece of cardboard and cut it into a perfect 10 x 10 square. Use that as the stencil. Cut the necessary amount of fleece squares from all the different fleece you bought.
- The amount of each design of fleece you need will depend on how many different designs you bought. It helps is you buy an amount of designs that can be evenly divided into the number of squares you need. For example, if you bought 3 different designs for the full quilt, you will need 24 squares of each design. If you bought 6, you will need 12 of each design. However, if you bought 5 kinds of fleece, you would need 14 of 3 of the designs and 15 of the last 2.[7] [8]
Making a No-Sew Quilt
-
1Cut the fringe. To make the no-sew quilt, you have to tie together your squares by hand. To do this, you have to add fringe on the edges of the squares. Mark a line 1 inch from the edge of the square on each side of the square. Starting from the edge that you marked, take a sharp pair of scissors and cut slits to the 1 inch line into the fleece. Continue all along the sides at even intervals of about 1/8 inch to 1/4 inch across. Once you hit the edge of one side, turn the fleece 90 degrees to start on the next side. Continue along all sides of all the squares.
- The corners of each square will be cut off during this process as the slits from each side meet each other in the same spot.[9]
-
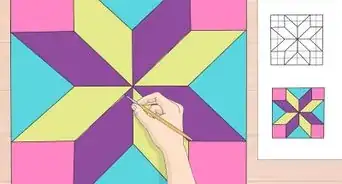
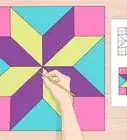
2Design your quilt pattern. Now that you have all of your squares cut, you need to layout your blanket pattern. If your blanket is all one color, you can skip this step. If you have multiple colors, you need to decide on a design. There are many different options. You can make stripes, checkerboards, a rainbow, or a random pattern. Lay out your squares in whatever pattern you want across the floor or a large table.
- Decide what is best for you. It is a personal choice and will depend on the number of different designs you have.
-
3Tie together the rows. Now you can start assembling your rows. Take two fleece squares that are beside each other in a row of your design. Lay them side by side with the fringe touching. Take the top piece of fringe on the sides of the squares that are touching. Double knot the fleece fringe together. Continue down the whole side of the square. Once two are connected, take the next square in the row sequence of your blanket. On the opposite side of where the two squares are already connected, attach the next square in the same way as the first. Continue this until your row is completely knotted together. Do the same thing for the remaining rows of your blanket.[10] [11]
- Make sure you don't pull too much fabric through when you are knotting the fringe. It will cause your fleece to cinch and mess up the flow of the whole quilt.[12]
-
4Attach the rows together. Once you have all your long rows attached together, you need to attach the rows together to finish the blanket. Starting in the same fashion as with the singular squares, knot the fringe of the rows together. Continue all the way down the rows until the two are attached together. Do the same thing for the remaining rows. Once the last rows are joined, you should have a complete blanket.[13] [14]
Making a Sewn Quilt
-
1Decide your pattern. If you want to sew together a blanket instead, you first need to decide what kind of pattern you want your blanket to have. Lay out your squares in the desired pattern on the floor or a large table. There are various options to choose from. You can make checkerboards, a rainbow, stripes, or a random pattern. Any pattern works as long as you like it.[15]
- This project is easier for beginners that more elaborated versions of quilts. You will be simply sewing the squares of fabric together.
-
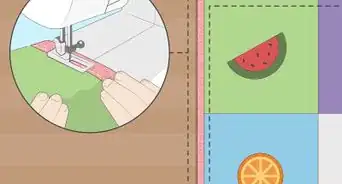
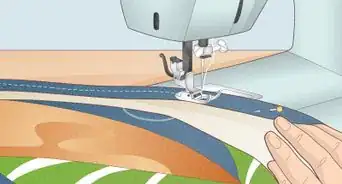
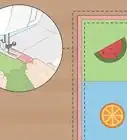
2Sew together the squares. Once you have your pattern laid out, you can start to sew together your squares. Take two squares and place them on top of one another. Make sure the edges match up. Using a 2-3 inch stitch and a 12/80 or 14/90 universal needle on your sewing machine, sew along the edge of the fleece. Loosen the thread tension. Your seam allowance, which is the amount of fleece you allow out of the seam, can be as big or as small as you want. If you want fringed edges, sew about 1/2 inch from the edge. If you want a mostly flat surface, sew as close to the edge as you can without losing the strength of the stitch.
- Do this for every square in your row. Then, sew together all of the remaining squares into rows.[16]
-
3Sew your rows to each other. Now that you have all of your rows sewn together, sew the rows to one another using the same seam allowance as you did on the squares within each row. Continue to do this for each row until all of your rows are sewn together. Your blanket is now complete.
- If you left more of a seam allowance between your squares, you can make them into fringe. Use scissors to cut the edges evenly. This will leave lines of fringe along the outside of each square.[17]
Community Q&A
-
QuestionI would like to use fleece as blocks, and a flannel sheet as the back. How should I do this?
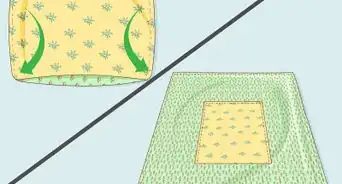
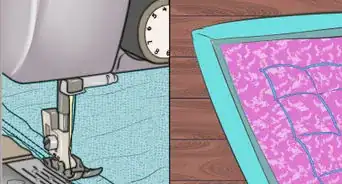
 Community AnswerThe easiest way is to "pillowcase the quilt". Place the front of the fleece blocks on top of the front side of the flannel sheet. Pin all the edges carefully. Sew a 1/4 inch seam around 3 1/2 sides of the quilt. Turn the fabric inside out -- now the right sides should be on the outside. Sew the remaining 1/2 side. To quilt the quilt, follow the blocks on the fleece and "stitch in the ditch".
References
- ↑ http://www.piecesbypolly.com/2011/11/double-layered-no-sew-braided-fleece.html
- ↑ http://www.fleecefun.com/how-to-make-rag-quilt-beginners-guide.html
- ↑ http://wellnessmama.com/3715/tshirt-quilt-tutorial/
- ↑ http://www.fleecefun.com/how-to-make-rag-quilt-beginners-guide.html
- ↑ http://wellnessmama.com/3715/tshirt-quilt-tutorial/
- ↑ http://www.fleecefun.com/how-to-make-rag-quilt-beginners-guide.html
- ↑ http://wellnessmama.com/3715/tshirt-quilt-tutorial/
- ↑ http://www.fleecefun.com/how-to-make-rag-quilt-beginners-guide.html
- ↑ http://www.piecesbypolly.com/2011/11/double-layered-no-sew-braided-fleece.html
- ↑ https://www.youtube.com/watch?v=bDbRUXnav5k&feature=youtu.be&t=36
- ↑ http://www.piecesbypolly.com/2011/11/double-layered-no-sew-braided-fleece.html
- ↑ https://www.youtube.com/watch?v=bDbRUXnav5k&feature=youtu.be&t=71
- ↑ https://www.youtube.com/watch?v=bDbRUXnav5k&feature=youtu.be&t=80
- ↑ http://www.piecesbypolly.com/2011/11/double-layered-no-sew-braided-fleece.html
- ↑ http://www.fleecefun.com/how-to-make-rag-quilt-beginners-guide.html
- ↑ http://www.fleecefun.com/how-to-make-rag-quilt-beginners-guide.html
- ↑ http://www.fleecefun.com/how-to-make-rag-quilt-beginners-guide.html
