This article was co-authored by wikiHow Staff. Our trained team of editors and researchers validate articles for accuracy and comprehensiveness. wikiHow's Content Management Team carefully monitors the work from our editorial staff to ensure that each article is backed by trusted research and meets our high quality standards.
There are 18 references cited in this article, which can be found at the bottom of the page.
The wikiHow Video Team also followed the article's instructions and verified that they work.
This article has been viewed 46,420 times.
Learn more...
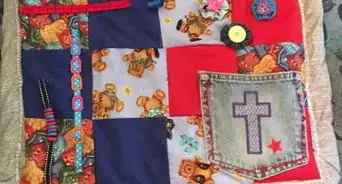
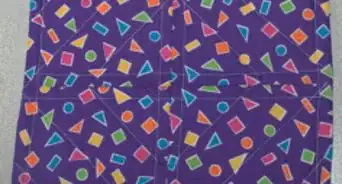
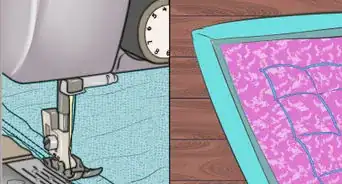
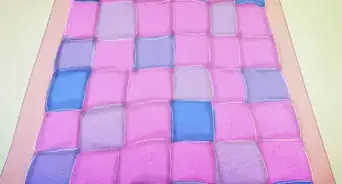
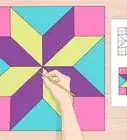
Patchwork is a sewing technique that you can use to make a quilt, a patchwork apron, or any other type of sewing project that you would like to have a multicolor, patchwork look! To make patchwork blocks for sewing, you will first need to cut out your fabric pieces to specific dimensions. Then, you can sew the blocks together as desired, and add a backing fabric to complete your patchwork piece!
Steps
Cutting Fabric for Patchwork
-
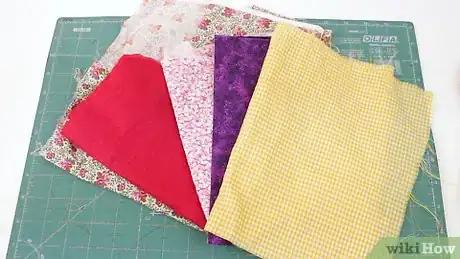
1Choose a variety of different print and/or color fabrics. You can use any colors and/or print fabrics you want to create your patchwork project. You can choose prints and solids that are within the same shade for a monochromatic piece of patchwork, or opt for a few different colors or more for something extra colorful. This is a great way to use up scrap fabric![1]
- For example, you could use different shades of blue for a blue patchwork project, or use fabrics in blue, red, yellow, green, orange, purple, for a rainbow of patchwork colors.
-
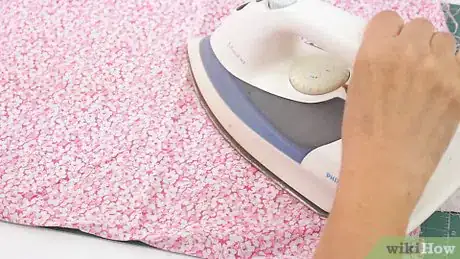
2Prewash and iron your fabric. Wash and dry the fabric before you work with it to ensure that it will not shrink after sewing, since this may warp the appearance of your finished project. Then, use an iron to flatten out the fabric and prepare it for cutting.[2]
- Use the lowest possible setting on your iron to help prevent damage to your fabric.
- You can place a t-shirt or towel over more delicate fabrics when you iron them to protect them from the heat.
Advertisement -
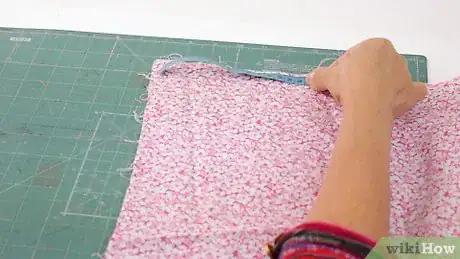
3Place the desired amount of fabric on a cutting mat. Check your project's instructions to determine the amount of fabric you will need. For example, you could use 0.5 yards (0.46 m) of fabric if you are trying to make a large number of squares, such as for a quilt, apron, or tablecloth. Or, you could use a small 6 by 6 inches (15 by 15 cm) piece to make strips for a set of coasters.[3]
- If you are just trying to use up scrap fabric and don't care about having an equal amount of each color fabric, then lay a piece of scrap fabric down on the mat.
-
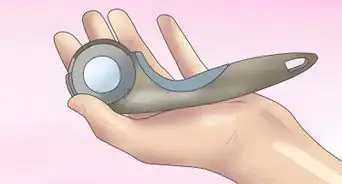
4Square the edges of the fabric using a clear ruler and rotary cutter. Place the clear ruler over the end of the fabric piece you are working with and check to see if the corners of the fabric are at 90 degree angles. If not, cut them along the edge of the ruler to get 90 degree angle edges.[4]
- Always do this before you start cutting your fabric into strips and squares to make sure that the edges of your larger fabric pieces are at 90 degree angles. This will help to ensure that all of your pieces will be even and ready to sew!
-
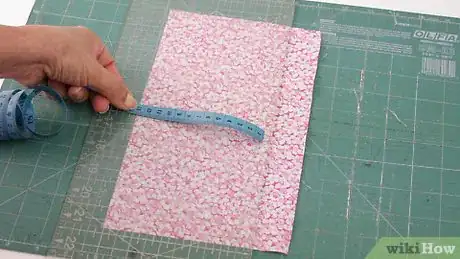
5Place the clear ruler over your fabric to find the width. Next, use the clear ruler to find the width that you want your pieces to be. Place the ruler over the end part of the fabric and line it up so that the edge is where you want to make the first cut. You can make the pieces any width you like to meet the needs of your project.[5]
- If you are making squares for a quilt then you might make the squares 4 by 4 inches (10 by 10 cm) or larger depending on how many squares you want to use and what size you’d like them to be.
- If you want to make piece for coasters, then cut the fabric to the desired width of the coasters, such as 5 in (13 cm).
-
6Use the rotary cutter to cut along the edge of the ruler. Hold the rotary cutter right next to the edge of the ruler that is over your fabric and cut along this edge. This will create a strip of fabric that is the width you want the pieces to be.[6]
- Make sure to press down firmly and cut the fabric in 1 even, smooth movement for best results. Do not move the rotary cutter up and down the fabric multiple times.
- Repeat this as many times as needed to cut the fabric piece into multiple strips.
-
7Cut the strip into sections to make squares or rectangles. After you have a strip of fabric, you can cut it width-wise to get it to the required dimensions. Place the ruler over the fabric at the desired measurement and use the rotary cutter to cut along the edge of the ruler.[7]
- To cut squares, cut the pieces to the same length as the width of the strip, such as 4 inches (10 cm) for 4 by 4 inches (10 by 10 cm) squares.
- If you want to create rectangles to use for patchwork, then cut the strip into sections that are shorter or longer than the width of the strip.
- To make pieces for coasters, cut out 1 in (2.5 cm) strips from a 5 in (13 cm) wide piece of fabric.[8]
-
8Continue cutting out pieces until you have the desired amount. You may need lots of pieces to make a large project, such as a blanket or apron, or you might only need a few for a smaller project, such as coasters or a table runner. Keep cutting out pieces until you have the required amount. Check your pattern or project instructions to determine how many pieces you will need.
- You can use the patchwork squares to make a patchwork quilt or another type of project that requires patchwork squares.
Sewing Patchwork Pieces Together
-
1Pin 2 pieces side-by-side with the right (print) sides facing each other. When you are ready to sew together the patchwork pieces you have cut out, pin the edges of 2 of them together so that they are side-by-side and the right sides of the pieces are facing each other. Plan to leave about 0.25 to 0.5 in (0.64 to 1.27 cm) of fabric as the seam allowance for each piece.[9]
- Insert the pins perpendicular to the edge of the fabric so that they will be easier to remove as you sew. You will need to remove each of the pins before you sew over a pinned area to avoid damaging your sewing machine.
-
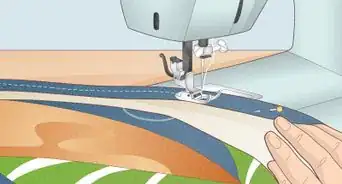
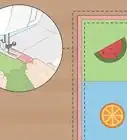
2Sew a straight stitch along the edges to join 1 pair. When you have all of your pieces pinned, begin sewing them. Sew a straight stitch along the pinned area to secure 2 pieces together, and then sew the next piece onto the edge of one of the pieces. You can connect the pieces in a long strip of patchwork or create a patchwork square or rectangle with the pieces depending on what you need for your project.[10]
- Keep sewing your pieces until you have as many pieces as needed and your block of patchwork is the desired dimension.
- For example, if you are making a queen size quilt with 4 by 4 in (10 by 10 cm) wide squares, then you would need to create a block of squares that measures 60 by 80 inches (150 by 200 cm).[11]
- For a coaster, you would need to sew together enough 5 in (13 cm) long strips to make a 5 by 5 in (13 by 13 cm) square.
-
3Iron the seams on the back of the joined strips. After you have finished sewing together all of your pieces, turn the block of patchwork over so that the seams are facing up. Then, iron the seams to flatten them out. This will help the finished patchwork block to lay flat against your backing material.[12]
- Use a towel or t-shirt to cover your fabric while you iron it if you are worried about damaging it.
Cutting and Pinning Patchwork Blocks and Backing Fabric
-
1Cut the connected pieces to the desired dimensions. After you have your patchwork block all finished, use a clear ruler and rotary cutter to trim the edges of the block to the exact dimensions required by your project. This may not be necessary if you have some wiggle room with the dimensions, such as for a quilt or throw. However, you might need exact dimensions to turn the block of fabric into something that requires a specific or uniform size, such as an apron or coasters.
- For example, if you are making a coaster, cut the block of strips that you have sewn together to make it into a 5 by 5 inches (13 by 13 cm) square.[13] Repeat this for all of your blocks to create uniformly sized coasters.
-
2Cut out the required size of backing fabric. You will need to have a piece of backing fabric that is the same size as your block of fabric. Measure the dimensions of your block to be sure, and then measure and cut the same dimensions in your backing fabric.
-
3Pin the backing fabric and patchwork block with the right sides together. Lay the backing fabric on a flat surface with the right (print or outer) side facing up, and then lay the patchwork block over it with the right side facing down. Make sure that the edges of the 2 pieces of fabric are completely even with each other. Insert pins into the edges all around the 2 pieces.[16]
- Make sure to insert the pins so they are perpendicular to the edges of the fabric. This will make it much easier to remove them as you sew.
Sewing Patchwork Blocks to Backing Fabric
-
1Sew all but 3 to 12 inches (7.6 to 30.5 cm) of the patchwork and backing. Sew a straight stitch along the edges of the patchwork and backing fabric to connect them. Leave about 0.5 in (1.3 cm) of fabric along the stitching for the seam allowance. Sew along all 4 edges of the piece, except for a small section that you will use to invert the fabric through.[17]
- For a small project, such as a coaster, you can leave just 3 inches (7.6 cm) of space. For a larger project, such as a quit, leave the full 12 inches (30 cm). If you are unsure, leave the maximum size opening to ensure that you can easily pull the fabric through it.
- Make sure to remove the pins as you go and do not sew over them because this may damage your machine.
-
2Backstitch 1 to 2 in (2.5 to 5.1 cm) and turn when you reach an edge. Keep sewing all the way around the block of fabric until you get to the very end. Sew to the edge of the fabric, and then press down on the lever on the side of your machine while still keeping gentle pressure on the pedal. This will reverse the direction of your sewing machine. Sew 1 to 2 in (2.5 to 5.1 cm) in this direction, and then release the lever to sew forward again. Stop sewing when you reach the edge, and turn the fabric 90 degrees before continuing.
- Repeat this for each edge of your fabric to ensure that the stitches are secure.
- Cut the thread to release it from the sewing machine after you reach the end.
-
3Cut the excess fabric in the corners of the block to reduce bulk. After you finish sewing and before you invert the fabric, cut off the excess fabric at the corners of your block. This will help to reduce bulk in the corners when you invert the piece. Leave about a 0.25 in (0.64 cm) seam allowance at the corners.[18]
- Don’t cut too much or you may cut through the stitching!
-
4Invert the fabric through the opening. Next, reach into the patchwork and backing, grasp the fabric, and begin pulling it through the opening you have left. Continue doing this until the entire piece is right-side out. Then, push into the corners with your fingers to ensure that the fabric is all pressed out on the inside.
- If the opening is not wide enough, you can use a seam ripper to widen it. Cut along the stitches next to the opening to create the size opening you need.
-
5Sew the opening closed to finish your patchwork. After you have finished inverting the piece, tuck the raw edges of the patch work and backing fabric inwards along the opening, and sew a straight stitch to close up this open space. Tuck in about 0.5 in (1.3 cm) of fabric to ensure that this edge will be even with the rest of the patchwork’s edges.[19]
- If desired, you may place pins into the fabric along the opening to secure it before you sew.
Community Q&A
-
QuestionIn what order do I piece them together?
 Community AnswerMost patchwork patterns have a suggested order on the pattern. If you are just making squares and sewing them into patches, it doesn't matter which order. Quilting them should be from the middle outward.
Things You’ll Need
- Plastic cutting mat
- Clear plastic ruler
- Rotary cutter
- Fabric (for patchwork and backing)
- Sewing machine
- Thread
- Iron
References
- ↑ https://www.youtube.com/watch?v=kvE9qmIqDSs&feature=youtu.be&t=38s
- ↑ https://www.youtube.com/watch?v=c8QhWh5KrYU&feature=youtu.be&t=52s
- ↑ https://www.youtube.com/watch?v=c8QhWh5KrYU&feature=youtu.be&t=1m15s
- ↑ https://www.youtube.com/watch?v=c8QhWh5KrYU&feature=youtu.be&t=1m55s
- ↑ https://www.youtube.com/watch?v=c8QhWh5KrYU&feature=youtu.be&t=2m26s
- ↑ https://www.youtube.com/watch?v=c8QhWh5KrYU&feature=youtu.be&t=3m1s
- ↑ https://www.youtube.com/watch?v=c8QhWh5KrYU&feature=youtu.be&t=3m36s
- ↑ https://www.youtube.com/watch?v=kvE9qmIqDSs&feature=youtu.be&t=1m36s
- ↑ https://www.youtube.com/watch?v=kvE9qmIqDSs&feature=youtu.be&t=1m53s
- ↑ https://www.youtube.com/watch?v=kvE9qmIqDSs&feature=youtu.be&t=2m5s
- ↑ http://www.allpeoplequilt.com/sites/allpeoplequilt.com/files/uploads/pdfs/QuiltSizeCharts.pdf
- ↑ https://www.youtube.com/watch?v=kvE9qmIqDSs&feature=youtu.be&t=2m27s
- ↑ https://www.youtube.com/watch?v=kvE9qmIqDSs&feature=youtu.be&t=2m41s
- ↑ https://www.youtube.com/watch?v=kvE9qmIqDSs&feature=youtu.be&t=2m51s
- ↑ http://www.allpeoplequilt.com/sites/allpeoplequilt.com/files/uploads/pdfs/QuiltSizeCharts.pdf
- ↑ https://www.youtube.com/watch?v=kvE9qmIqDSs&feature=youtu.be&t=2m55s
- ↑ https://www.youtube.com/watch?v=kvE9qmIqDSs&feature=youtu.be&t=3m9s
- ↑ https://www.youtube.com/watch?v=kvE9qmIqDSs&feature=youtu.be&t=3m37s
- ↑ https://www.youtube.com/watch?v=kvE9qmIqDSs&feature=youtu.be&t=3m41s
