This article was co-authored by wikiHow Staff. Our trained team of editors and researchers validate articles for accuracy and comprehensiveness. wikiHow's Content Management Team carefully monitors the work from our editorial staff to ensure that each article is backed by trusted research and meets our high quality standards.
There are 9 references cited in this article, which can be found at the bottom of the page.
This article has been viewed 33,271 times.
Learn more...
There’s no better way to show your love, than to hand make items for the new baby coming into your life. Baby bibs are a quick, easy and cost efficient way to show this love. They’re also fairly simple to make, so you can try your sewing skills at one or several if you have time. Whether they’re for your own bundle of joy or you want to give them as a gift, you can rest assured they will come in handy. Any seasoned parent knows that babies drool a lot!
Steps
Choosing a Bib Pattern and Fabric
-
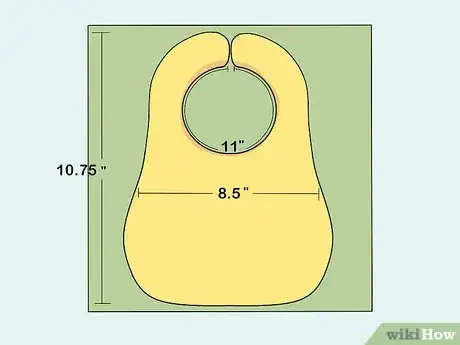
1Trace a bib pattern. Bib patterns are easy to make yourself. Make sure you draw neck straps about an inch wide to leave room for the snaps on each end. Baby bibs should be about:
- 10.75 inches from top to bottom.
- 8.5 inches from side to side.
- 11 inches around the neck.[1]
-
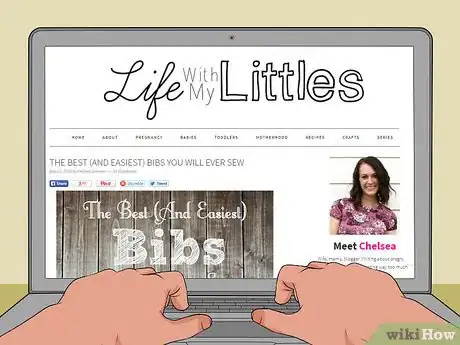
2Find a bib pattern online. As easy as bib patterns are to make yourself, you may want to use one already tested out.Advertisement
-
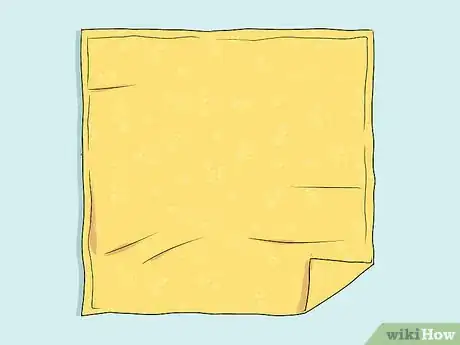
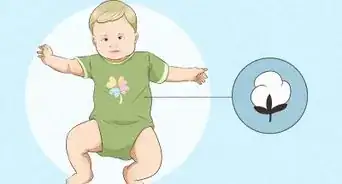
3Choose fabric that is good for a baby. Pick something soft and absorbent, like terrycloth or one called minky fabric. Minky is extra soft for wiping around babies' mouth. Look for cotton fabric, since it won't irritate your babies skin and is hypoallergenic.[2]
Cutting Out the Pieces
-
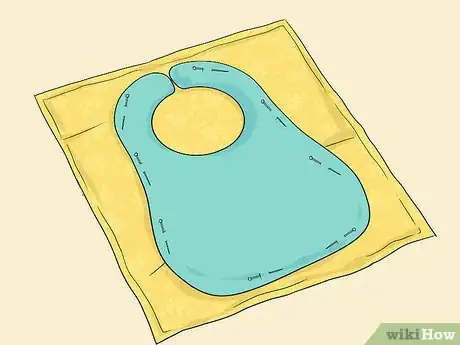
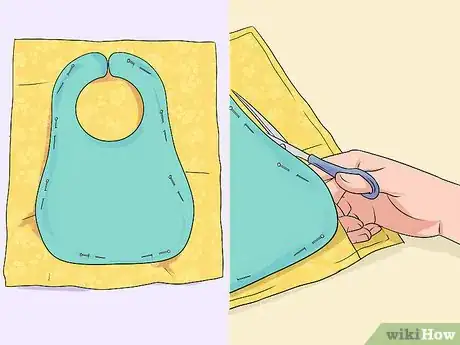
1Pin the pattern to your first piece of fabric. You will need two pieces of fabric total, one for each side of the bib. Pin your pattern parallel to the perimeter of the fabric with sewing pins that are spaced about four inches apart.[3]
-
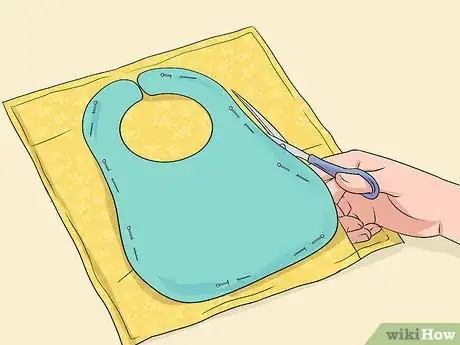
2Cut the fabric around your pattern. It’s best to use scissors designed for and used solely on fabric. Simply cut the fabric around your pinned pattern with sharp scissors, so it doesn’t fray.[4]
-
3Repeat step two and three with your second piece of fabric. Use a complementary pattern for the fabric on the back of your bib. You can also use the same fabric you decided to use for the front.
-
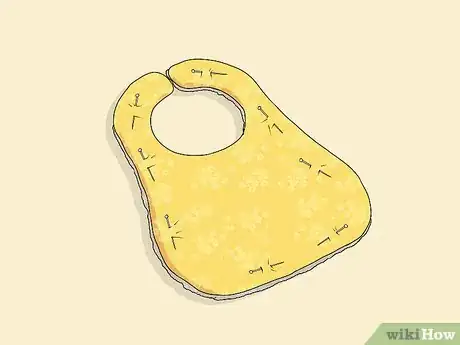
4Pin both fabric pieces together. Take both pieces of cut fabric and lay them together so the right sides are facing each other. Place your pins parallel to the edges and about an inch from the perimeter. Place as many pins as you think is necessary to keep the fabric pieces securely together.
Sewing the Bib Together
-
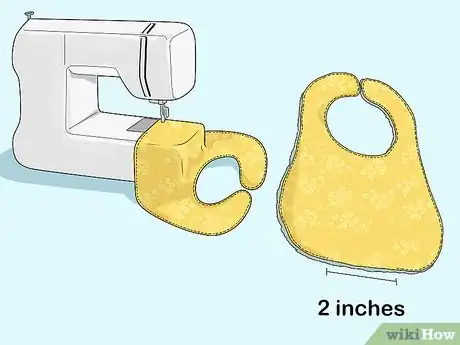
1Sew around your bib, but leave a gap at the bottom. Use a sewing machine to stitch around the pinned pieces of fabric. Place your stitch as close to the edges as possible. Do not sew all the way around the bib. Leave two inches of space open at the bottom.
-
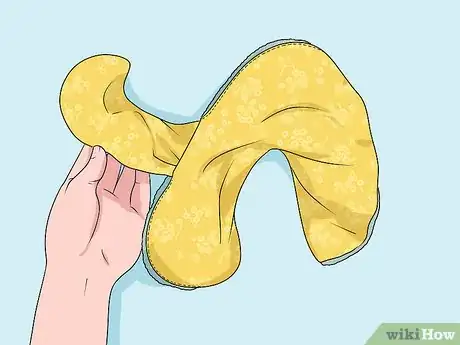
2Turn the bib right side out. Grab ahold of the two inches you left open at the bottom, and turn the fabric right side out. This may take a bit of tugging around the neck straps, since they’re not as wide as the body of the bib.
-
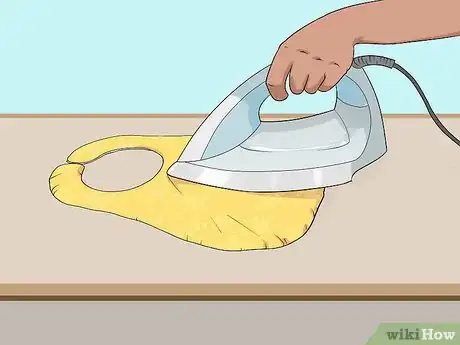
3Iron the bib flat. To make the next steps easier, it’s best to iron your bib flat. The two pieces of fabric may have a gap between them and look wrinkled, after you turn them right side out. Smooth them down with your hands first. Then use a properly heated iron to flatten out the fabric thoroughly.[5]
- For cotton fabric use high heat.
- For polyester-cotton blends use medium heat.[6]
-
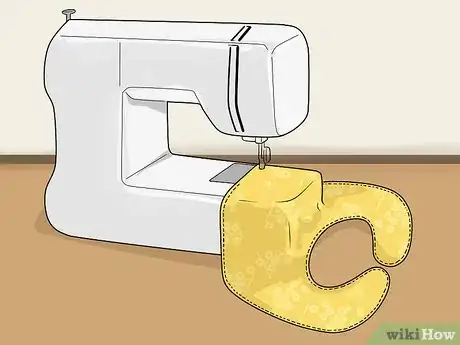
4Sew a topstitch all around the bib. Now that your bib is right side out, you can sew all the way around it. Sew a topstitch 1/8th of an inch from the edges with your sewing machine. It will make your bib look professional and put-together. Keep the following things in mind:[7]
- Use an all-purpose thread.
- Adjust the tension on your machine so it is not too loose or too tight.
- Make your stitches 3 mm wide.
- Don’t backstitch to secure the topstitch. Shorten the stitch length as much as possible towards the end instead.[8]
-
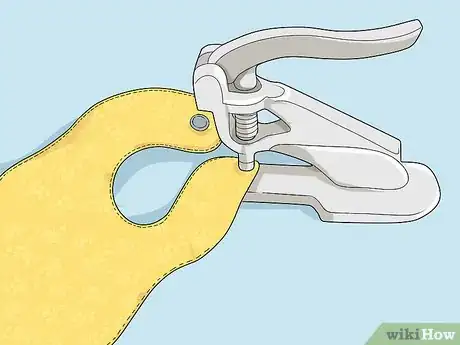
5Attach snaps with snap pliers. Plastic snaps are great to use on baby bibs, because they don’t weigh as much as metal ones and snap pliers will quickly and easily attach snaps to your baby bib. Make sure you attach snaps on opposite sides of each neck end.[9]
- Place each snap a half inch from the tip of each neck end and center them.
- Place the appropriate plastic stud on the fabric and use your pliers to secure it in place.
Community Q&A
-
QuestionHow do I make a baby bib with padding?
 ZackTop AnswererTo make the bib with padding, cut an extra layer of thicker fabric, such as a terry cloth layer, and place it with one of the other layers. Finish as instructed.
Things You'll Need
- Cotton fabric
- Sewing thread
- Sewing machine
- Scissors
- Paper
- Pen
- Sewing pins
- Plastic snaps
- Snap pliers
Warnings
- Top-stitching can be tricky. Practice on scrap pieces first or use thread that will blend into the fabric.⧼thumbs_response⧽
References
- ↑ https://mallydesigns.com/content/how-large-are-toddler-size-bibs-compared-baby-size
- ↑ http://www.healthguidance.org/entry/11489/1/Why-Cotton-Is-the-Choice-for-Babies.html
- ↑ http://www.lifewithmylittles.com/2015/07/best-and-easiest-bibs/
- ↑ http://www.textileartist.org/best-fabric-shears-ask-experts/
- ↑ http://www.makeit-loveit.com/2009/09/catch-all-laminated-bib.html
- ↑ https://faultless.com/ideas-and-tips/how-to-iron-different-fabrics/
- ↑ https://blog.colettehq.com/tutorials/8-tricks-for-perfect-topstitching
- ↑ https://www.craftsy.com/blog/2014/11/topstitching-techniques/
- ↑ http://projectnursery.com/2015/11/diy-sew-bandana-bib/
