This article was co-authored by Natalie Kay Smith. Natalie Kay Smith is a sustainable fashion writer and the owner of Sustainably Chic, a sustainability-focused blog. Natalie has over 5 years of sustainable fashion and green living writing and has worked with over 400 conscious brands all over the world to show readers fashion can exist responsibly and sustainably.
This article has been viewed 26,128 times.
Toys have been made from recycled objects throughout history; it's what humans are good at, being ingenious about turning old things into new things. When making recycled toys, always use items that are safe and non-toxic for children or pets, taking into consideration their age, abilities and likely behavior. Apart from that caution, you are free to roam reinvent many items, whether made from paper, cardboard, plastic or wood, there is bound to be something you can invent.
Steps
Cardboard toys
-
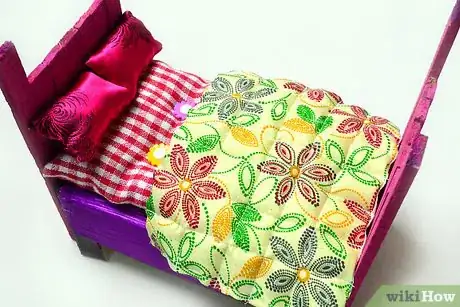
1Make a cardboard dollhouse. Cardboard dollhouses are the best because the owner of this wonder can decorate it in any way that she or he likes. You could involve the child in making the dollhouse from the beginning, present the dollhouse when built but in need of decorating, or go the whole way and give a completely finished dollhouse. For ideas on how to make this, see How to make a cardboard dollhouse, How to build a cardboard dollhouse and How to make a cardboard dollhouse from a box. And why not make some cardboard dollhouse furniture too?
-
2Make a cardboard stove top. This cute little number is perfect for the budding little "Master chef". All you need is a cardboard box, scissors and markers and you can put together a very cute stove.
- Find a short, square box. Tape it up so that it is completely closed.
- Choosing one square side to the be top, divide it into four quarters. Mark these with a pen or pencil.
- Stick opaque tape (black, white or any color the child likes) on the dividing lines. Also take the tape around all of the edges of the box. This will make it look sturdy and stove-like.
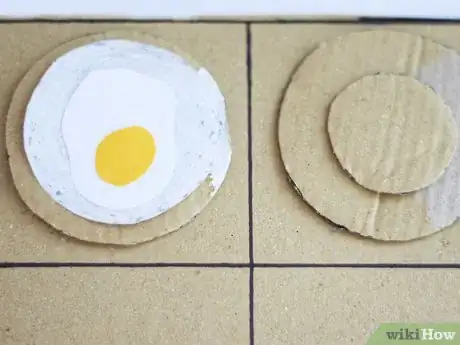
- Make the hotplates. For each hotplate, make a cross from two popsicle sticks. Glue on diagonally for each quarter. For the round part, glue on varying sizes of cardboard circles. Black is a good color for the circles, but you can use colors to match the tape if preferred.
- Add knobs. Screw or glue on drink bottle caps to the front side of the box. Have at least four knobs (one for each hotplate) and an on/off knob. You can add letters or pictures to the knobs if desired.
- Make a splashback from cardboard. Choose a square piece of cardboard as wide as the stove. It must be box cardboard or strong cardboard, to withstand having things hang from it. Glue or staple it to the back of the stove.
- Hang some cooking items from it. Use two bottle caps as holders and glue them towards the top of the splashback. Drill holes into the caps in the same place to allow for a wooden skewer to slide across as a hanging bar. Alternatively, glue it in place.
- Hang little cooking items from the skewer bar. Open up paperclips to form S-shaped hooks, then hang off toy scoops, etc.
- Done. The stove is now ready for fun.
Soft toys from old clothing
-
1Turn old clothes and scrap fabric into soft toys. Here are some possibilities for you to try:
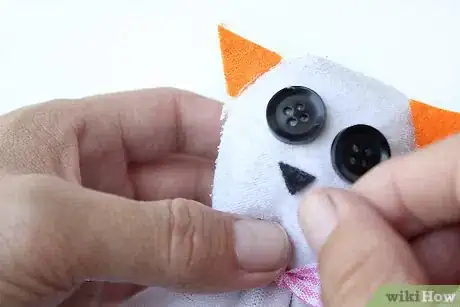
- Sew a simple cat doll from scrap fabric.
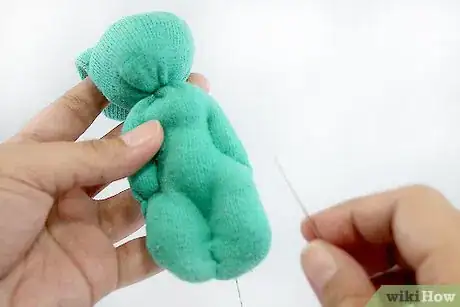
- Cut up old clothing and turn the fabric into a stuffed animal.
- Make a sock monkey from lost socks
- Make rag dolls from... rags! You can also make a costume for the rag doll from scrap fabric.
-
2Make baby toys from soft old clothes or scrap fabric. For example, you could sew an Amish puzzle ball, sew a cloth baseball or make a stackable cloth baby toy.
Car tire toys
-
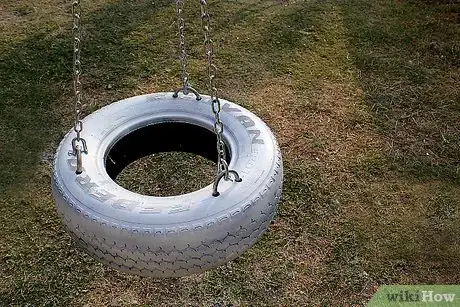
1Make a car tire swing. A car tire swing is a great way to use up old tires for another year or more. For directions on making this, see How to make a tire swing.
-
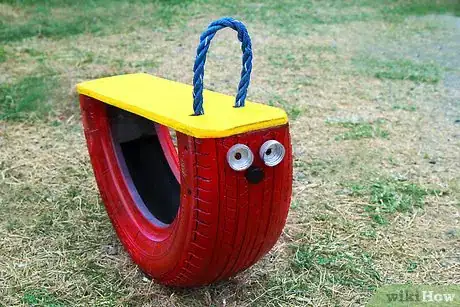
2Make other toys from car tires. If you have an outdoor playground area, there are lots of fun things you can do with old car tires to make it even more fun, including making a car tire rocker, a car tire seesaw or a car tire sit-on animal.
- For a car tire rocker seat, cut an old tire in half. This requires serious sawing ability, so if you don't know what you're doing, ask someone who does or have a hardware place do it for you. Bolt cutters are also helpful for cutting away edges that are difficult to saw away. Clean the tire half well. Measure a slat of wood that is wide enough for a child to sit on and slightly longer each side than the tire half. Cut two brace pieces of wood for sitting between the tire and the wooden seat as well. Sand the wood well, then spray paint. Also spray paint the tire half, using the same color. Spray with an outdoor sealant to protect the paint finishes. Use long wood screws with washers to hold the open sides of the tires together, then attach the braces and finally, nail the seat in place. Handles are also a good idea, so you might like to attach these at the end too.
Warnings
- Make sure the objects are safe to use if they're intended for children or pets.⧼thumbs_response⧽
- Always sand down wood and metal pieces after cutting, to remove sharp edges and pieces.⧼thumbs_response⧽
Things You'll Need
- Scrap and recycled items
- Nails, screws, glue, etc. for attaching items
- Tools for building with, crafting with, etc.
References
- http://accordingtoboyle.wordpress.com/2012/05/07/shes-crafty-tired-out/ – research source for the tire rocker seat
