X
This article was co-authored by Maha Mohamed. Maha Mohamed is a Custom Dessert Artist and the Owner of Sweet Treats SJ. Maha has over ten years of experience creating custom treats for special occasions. She specializes in custom cakes, cupcakes, cookies, and chocolate-covered treats.
This article has been viewed 67,430 times.
Making fondant roses can be time consuming and fiddly. This article explains how to simplify the process and create fondant roses that are simple yet effective.
Ingredients
- Fondant
Steps
-
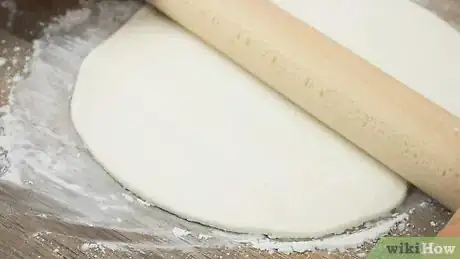
1Roll out the fondant to a thickness of about 0.5 centimeter (0.2 in). If you are colouring it, do this beforehand.
-
2Cut a small teardrop shape. This will be the centre of your rose, so change the size depending on how big you want your rose to be.Advertisement
-
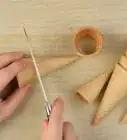
3Wrap the teardrop vertically with the pointy end at the bottom around a toothpick. Pinch at the bottom.
-
4Cut out two teardrops slightly bigger than the last one. Wrap this in the same manner around the first 'petal'.
-
5Repeat. Occasionally add another petal until your rose is the desired size. As you add more layers, make sure that they are not pressed right up against the last layer at the top.
-
6Start gently pinching the edges and bending the layers outwards as you add each petal. You can also make the rounded end of the tear drop wavy or uneven, to give the rose a more natural look.
-
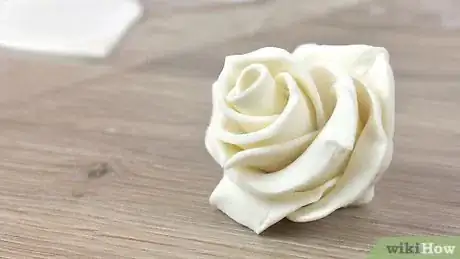
7Allow to dry. Once you are happy with your rose, leave to dry in a cool, dry area, to prevent the fondant from becoming sticky, for one day. They can be left for less time, but this is for best results.
- Avoid storing the fondant roses in the fridge, as that will create condensation on the fondant when you move them to a room-temperature location.
-
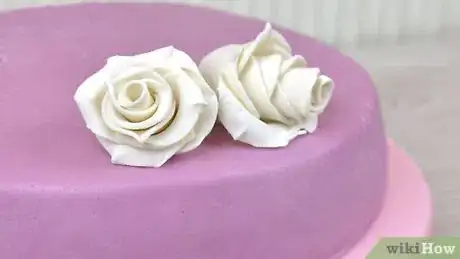
8Use as required. Once dried, the roses can be placed on cakes, cookies or other baked goods as needed.
Advertisement
Things You'll Need
- Rolling pin
- Marble board
- Cutting tool
- Toothpick
- Drying plate or tray
About This Article
Advertisement
