Impressing your friends and family is easy with a little bit of melted chocolate. You can add decorations to your cakes, cookies, cupcakes, and muffins to make them look like they came straight from a bakery! No matter what dessert you’ve whipped up, you can use these melted chocolate decorations for a bit of added flair.

2

Pipe garnishes and fun designs.

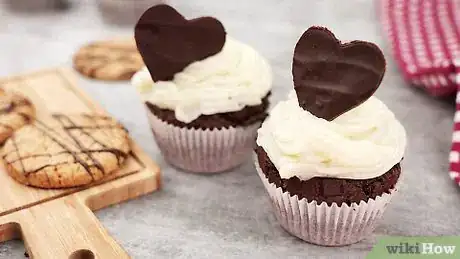
  1. Create unique decorations with a piping bag. Fill up your piping bag with melted chocolate, then cut the tip off. Roll out a sheet of wax paper and pipe hearts, zig zags, or triangles that are about 1 to 2 in (2.5 to 5.1 cm) big. Put your garnishes in the fridge for 10 minutes, then decorate your desserts.[2]
    • If you’re making a birthday cake, try spelling out the birthday boy or girl’s name.
    • For a classy, sophisticated decoration, stick to abstract shapes and lines.
3

Make chocolate teardrops with the back of a spoon.

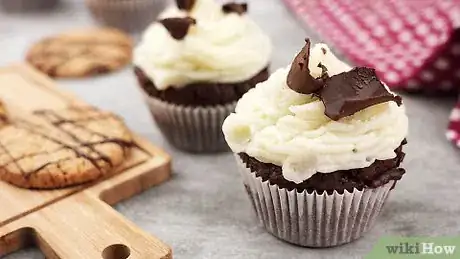
  1. Spread out a sheet of wax paper and grab your melted chocolate. Use a piping bag to add quarter-sized dots onto your wax paper, leaving about 1 in (2.5 cm) in between them. Push the back of a spoon into the drop of chocolate, then quickly swipe upward to create a teardrop shape. Freeze your decorations for about 1 hour until they’re hard.[3]
    • These are fun decorations to add to vanilla ice cream or a cupcake.
  2. Advertisement
5

Add edible leaves to your desserts with chocolate.

  1. Pick out 5 to 6 small herb leaves, like thyme or basil. Spread the leaves out on a baking sheet, then pour melted chocolate on top of each one. Freeze the leaves for about 1 hour, then peel the leaves off the back of the chocolate.[5]
    • You’ll see the imprint of the veins on the back of the chocolate when you peel the leaves off.
    • To make your chocolate taste good, try using mint leaves.
  2. Advertisement
6

Create a chocolate honeycomb design with bubble wrap.

  1. Spread a sheet of bubble wrap out on a flat surface. Pour a thin layer of melted chocolate onto the bubble wrap, then freeze it for about 1 hour. Peel the bubble wrap off the chocolate, then break your honeycomb into small pieces.[6]
    • This is a perfect decoration for desserts made with honey, like honeycomb cupcakes or cookies.
7

Make chocolate curls for a classy decoration.

8

Dip shortbread cookies into chocolate for extra flavor.

  1. Make your favorite shortbread cookies, then let them cool. Pour your melted chocolate into a small bowl, then dip each cookie into the chocolate halfway. Place your cookies on a baking sheet and let the chocolate set for about 1 hour before digging in.[8]
    • If you don’t want to eat your cookies right away, keep them at room temperature in an airtight container.
    • For a little extra crunch and flavor in your cookies, sprinkle on some chopped pistachios while the chocolate is still warm.
9

Make a chocolate drip cake for a chocolate lover.

  1. Whip up your favorite chocolate cake recipe and add a layer of white frosting. Pour your melted chocolate in a bowl, then gently pour the whole bowl onto the center of the cake. Let the drips run down the side, then chill the cake for 30 minutes to let the chocolate set.[9]
    • Melted chocolate may be a little too thin to stick to the top of the cake. If that’s the case, mix in 1 US tbsp (15 mL) of corn syrup before you pour your drizzle.
    • You can use this on any cake that you’d like!
  2. Advertisement
10

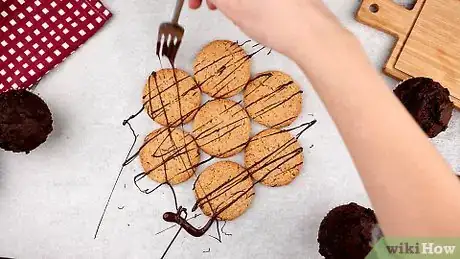
Wrap your cake in chocolate for a fancy decoration.

  1. Cut out a sheet of wax paper that spans the circumference of your cake. Spread the wax sheet out on a flat surface, then pour your melted chocolate into a piping bag. Drizzle the chocolate back and forth over the wax paper, leaning your lines slightly to the left. Go back over the drizzle a second time, leaning your lines to the right to create a zig zag pattern. Freeze the chocolate for 30 minutes, then wrap it around the outside of your cake.[10]
    • Try not to freeze your chocolate for much longer than 30 minutes when you’re making a wrap cake. If the chocolate gets too hard, it could crack as you move it around your cake.

About This Article

Hannah Madden
Co-authored by:
wikiHow Staff Writer
This article was co-authored by wikiHow staff writer, Hannah Madden. Hannah Madden is a writer, editor, and artist currently living in Portland, Oregon. In 2018, she graduated from Portland State University with a B.S. in Environmental Studies. Hannah enjoys writing articles about conservation, sustainability, and eco-friendly products. When she isn’t writing, you can find Hannah working on hand embroidery projects and listening to music. This article has been viewed 26,730 times.
99 votes - 61%
Co-authors: 7
Updated: August 25, 2021
Views: 26,730
Categories: Chocolate and Candy
Advertisement