This article was co-authored by wikiHow Staff. Our trained team of editors and researchers validate articles for accuracy and comprehensiveness. wikiHow's Content Management Team carefully monitors the work from our editorial staff to ensure that each article is backed by trusted research and meets our high quality standards.
There are 7 references cited in this article, which can be found at the bottom of the page.
This article has been viewed 75,792 times.
Learn more...
Making your own patch is a great way to add style to your jackets and bags. Painting the patch by hand will give it a grungy, punkish look, making it ideal for band logos. Once you know the basics of making a patch, you can combine different methods to create a more unique look.
Steps
Using Freezer Paper
-
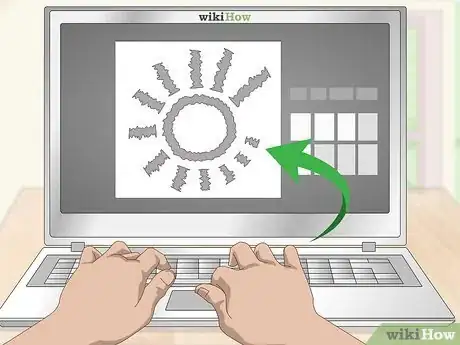
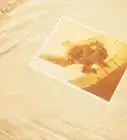
1Find an image online that you want to use. A simple, black-and-white image will work the best. If your image is in color, use an image editing program, such as Photoshop, to change the image to black-and-white so that it looks like a silhouette.[1]
- If you are good at drawing, you can trace the image directly onto your fabric with a pencil.[2]
- Band logos work great, but you can use any image you want.
-
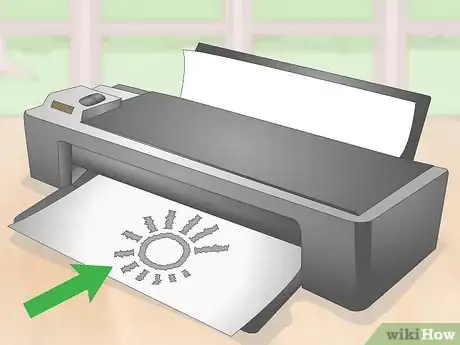
2Transfer your design onto freezer paper. Cut a sheet of freezer paper down to 8 1⁄2 by 11 inches (22 by 28 cm). If you have a top-loading printer, insert the paper with the glossy side facing down. If you have a bottom-loading paper, insert the paper with the glossy side facing up. Print your image, then let the ink dry.[3]
- Freezer paper has a glossy side and a papery side. Make sure that you are printing onto the papery side.
- You can find freezer paper in the plastic wrap and tinfoil section of a grocery store. It is not the same thing as parchment paper or wax paper.
- Alternatively, you can lay the paper over your computer screen, then trace the image onto the papery side with a pen.[4]
Advertisement -
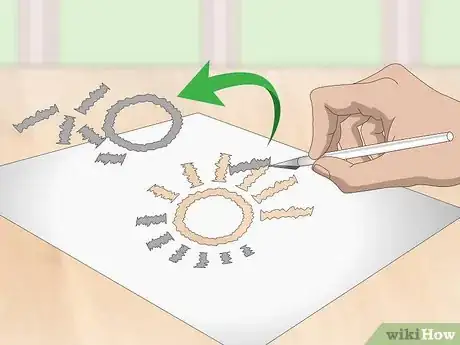
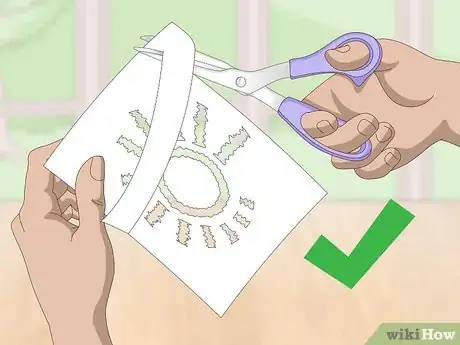
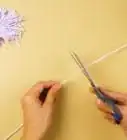
3Cut your traced lines out using a craft blade. Work on top of a cutting mat, and use a brand-new craft blade. If you need to, leave thin lines or bridges between the negative spaces, like in a stained glass window. You can always go back and fill these spaces in later, if needed.[5]
- Don't use an old craft blade. It won't give you sharp, clean cuts.
-
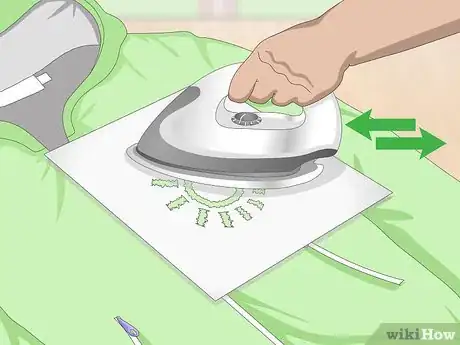
4Iron the glossy side of the freezer paper to your fabric. Place the freezer paper onto your fabric. Make sure that glossy side is facing down, and the paper side is facing up. Use a low to warm, no-steam setting on your iron. Press the iron against the paper for a few seconds until it sticks to the fabric.[6]
- Canvas or denim fabric will work the best, but you can use other types of fabric too. The color does not matter here.
-
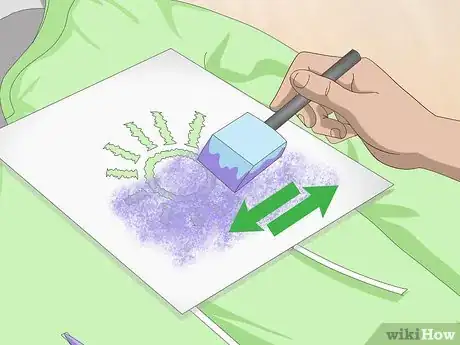
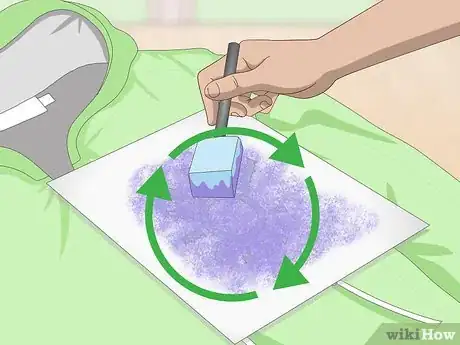
5Paint over the image with a foam brush. Squirt some acrylic paint onto a lid, then dab a foam paintbrush or pouncer into it. Lightly tap the brush against your stencil; do not rub it up and down across the fabric. Apply the paint to the fabric in this manner, working your way from outside-in.[7]
- Do not apply globs of paint. Even though the freezer paper is stuck to the fabric, there is still a chance that the paint may seep under the paper.
-
6Let the paint dry completely, then add another coat, if needed. Acrylic paint dries quickly, so you should only wait 15 to 20 minutes. If the fabric is still showing through the paint, apply another coat using the same method as before. Let the paint dry completely before moving on.[8]
-
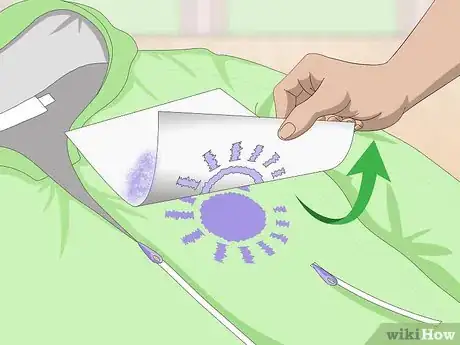
7Peel the paper off, then touch up any mistakes. Carefully peel the paper away first. If you left any gaps or bridges in between your negative spaces earlier, you can fill these in now. Use a thin, pointed paintbrush and extra paint to do this. You can also clean up any blurred or fuzzy lines as well.[9]
- Save your stencil for another project. Most freezer paper stencils can be reused 2 to 3 more times. They will lose their tack with each use.
-
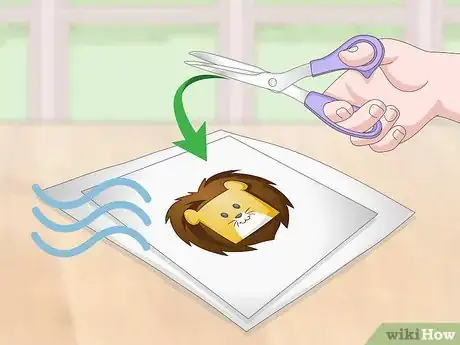
8Cut the patch down to size, if desired. If you painted the stencil onto a larger sheet of fabric, you might want to cut the fabric down. If your stencil has a painted border, trim the fabric down to within 1⁄8 inch (0.32 cm) of the border. If your stencil does not have a border, cut the fabric into a square, rectangle, circle, or triangle around the image instead.[10]
Using Iron-On Transfers
-
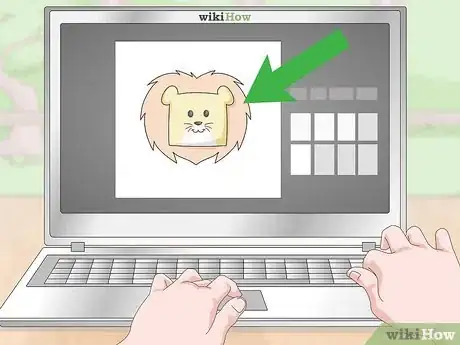
1Find an image online that you like. Copy and paste the image into an image editing program, such as Paint or Photoshop. Use the program to mirror the image and resize it. Some word processing programs, such as Microsoft Word, can also do this.[11]
- Simple images with limited colors and little-to-no shading will work the best.
- Alternatively, you can buy a sheet of pre-printed iron-on transfers in a design that you like.
-
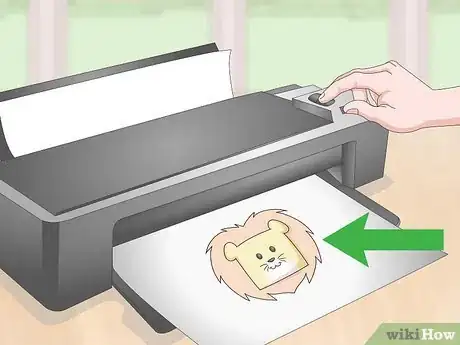
2Print your desired image onto iron-on transfer paper. Feed the paper face-up (waxy side) if you have a top-loading printer, and face-down if you have a bottom-loading printer. Print the image, then let the ink dry. You can find iron-on transfer paper in fabric stores and craft stores.[12]
- Make sure that the paper is suitable for your printer: ink-jet or laser. Read the label on the package.
- Skip this step if you bought a pre-printed iron-on transfer from the store. It already has images printed onto it.
-
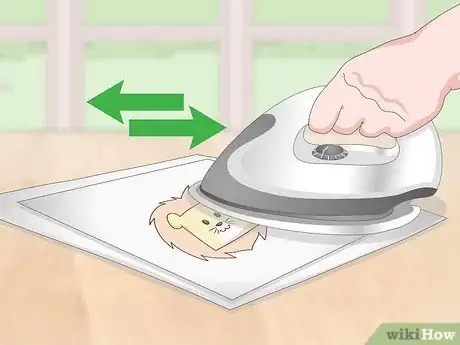
3Iron your image onto white fabric. Get some white canvas fabric. If you can't find canvas fabric in white, you can use neutral/un-bleached canvas instead; it is very light beige. Each brand of iron-on transfer paper is different, so follow the instructions on the package.[13]
- Do not use colored fabric, or the image won't show up.
- If you can't find canvas, try another thick, sturdy material, such as denim or linen.
-
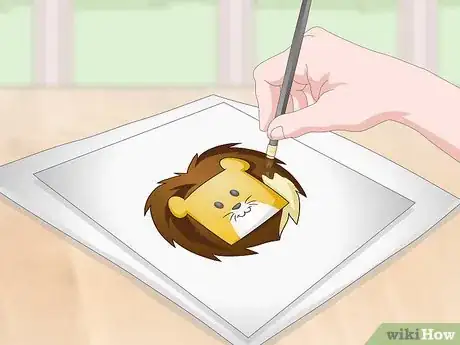
4Use a thin paintbrush to paint over your design. Note the colors in your image, then get acrylic paint in those colors. Squeeze out a dollop of each color onto a palette. Use a thin paintbrush to apply each color to your image. Save any details, such as outlines, for last.[14]
- Use a synthetic taklon paintbrush for best results. Don't use camelhair or boar bristle.
- Don't worry if you have visible brushstrokes. This will give your patch some texture, just like in a real patch!
-
5Let the paint dry before you cut the patch out. If you want to embroider the edges of your patch, leave a thin border all around it. Make the border about 1⁄8 inch (0.32 cm), or thinner.[15]
-
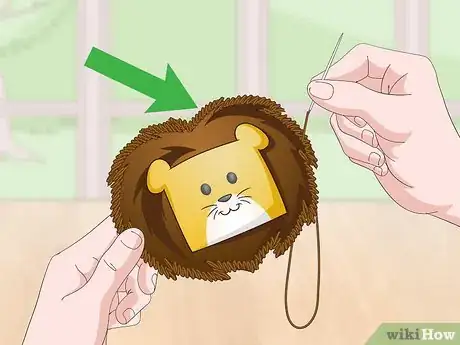
6Embroider around the patch, if desired. Choose embroidery thread that matches the outline of your image. Whipstitch all around the patch until you are back to where you started, then knot and cut your thread. Keep the stitches close together so that you can't see the 1⁄8 in (0.32 cm) border any more.[16]
- A whipstitch is where you wrap the thread around the edge of the fabric.
Upgrading Your Patch
-
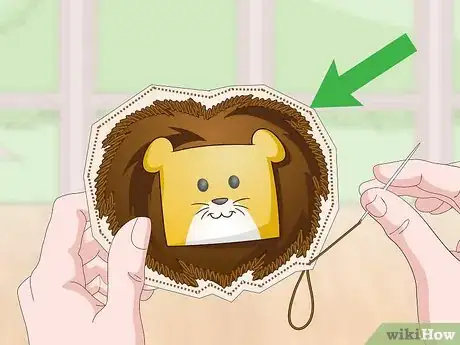
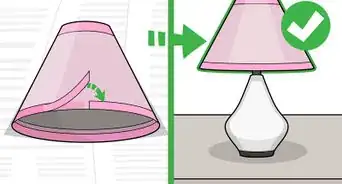
1Sew the patch onto a larger sheet of fabric if you want a layered look. Create your patch first, then cut it down to the size you want. Sew it onto a second sheet of fabric using embroidery thread in a contrasting color and a straight stitch or running stitch. Trim the second fabric so that you have a thin border around your patch.[17]
- A straight stitch/running stitch is where you weave the needle up and down through the fabric.
-
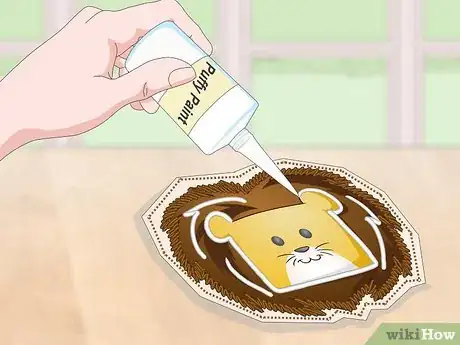
2Outline the patch with puffy paint if you want to give it more dimension. Create your patch first, then let it dry. Go over the outlines using puffy paint or dimensional fabric paint. You can find it in fabric stores or in craft stores, and it comes in little bottles with pointed tips. Let the paint dry completely before using the patch.
- Puffy paint and dimensional fabric paint take much longer to dry than acrylic paint. Give your patch at least a full day to dry.
-
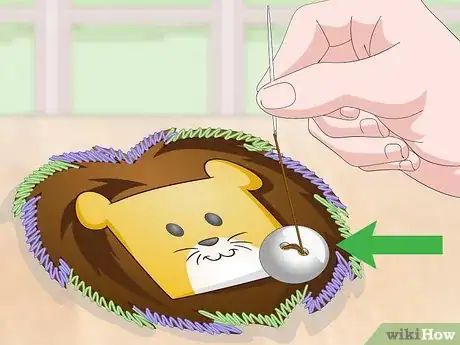
3Embellish your patch with embroidery or buttons if you want a fancier patch. Create your patch first, then let the paint dry. Outline the edges using embroidery thread in a contrasting color and a straight/running stitch. Sew a button onto the patch to make it look more interesting. Match the button to the theme of the patch. For example:[18]
- Use a simple black or white button to create eyes.
- If your patch features a character, give it a matching button, like a spider button for a witch patch.
-
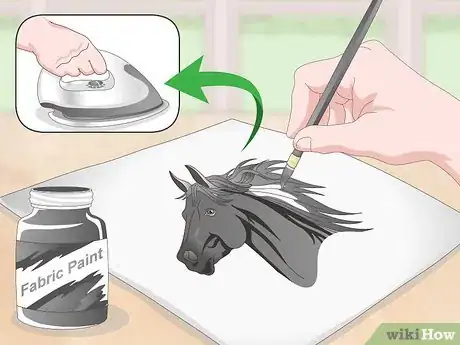
4Make your patch last longer with fabric medium and heat setting. Get a bottle of fabric paint medium, and mix it into your acrylic paint following the instructions on the bottle. Create your patch, then let it dry for 24 hours. Iron it for 3 to 5 minutes using a low-to-medium setting and no steam.[19]
- You can find fabric paint medium alongside the acrylic paint in a craft store.
Community Q&A
-
QuestionAre these patches washable?
 Community AnswerThese patches will hold up pretty well to handwashing, but they will start to fade eventually. If you want to make them last longer, mix some fabric medium (sold alongside acrylic paints in the craft store) into the paint first, then heat-set it with an iron.
Warnings
- If the stencil is loose, you have more of a chance of the paint slipping under the stencil and messing up your designs. Make sure that your stencil is secure, and push the paper down as you paint.⧼thumbs_response⧽
- Be careful when using the razor or x-acto knife! It's easy for them to slip.⧼thumbs_response⧽
Things You'll Need
Using Freezer Paper
- Freezer paper
- Iron
- Canvas fabric
- Foam brush or pouncer
- Acrylic paint
- Plastic lid or palette
Using Iron-On Transfers
- Iron
- Canvas fabric (white or other light color)
- Thin, pointed paintbrush
- Acrylic paint
- Plastic lid or palette
- Embroidery thread and needle (optional)
Upgrading Your Patch
- Extra fabric
- Embroidery thread
- Buttons
- Puffy paint or dimensional paint
References
- ↑ http://www.rookiemag.com/2013/05/diy-stenciling/
- ↑ https://www.youtube.com/watch?v=D4JC4RRRBYI&feature=youtu.be&t=9s
- ↑ http://www.rookiemag.com/2013/05/diy-stenciling/
- ↑ https://diyconspiracy.net/how-to-make-your-own-patch-the-easiest-way/
- ↑ http://www.rookiemag.com/2013/05/diy-stenciling/
- ↑ http://www.rookiemag.com/2013/05/diy-stenciling/
- ↑ http://www.rookiemag.com/2013/05/diy-stenciling/
- ↑ http://www.rookiemag.com/2013/05/diy-stenciling/
- ↑ http://www.rookiemag.com/2013/05/diy-stenciling/
- ↑ http://www.rookiemag.com/2013/05/diy-stenciling/
- ↑ https://www.brit.co/diy-emoji-beanies/
- ↑ https://www.brit.co/diy-emoji-beanies/
- ↑ https://www.brit.co/diy-emoji-beanies/
- ↑ https://www.brit.co/diy-emoji-beanies/
- ↑ https://www.brit.co/diy-emoji-beanies/
- ↑ https://www.brit.co/diy-emoji-beanies/
- ↑ https://www.youtube.com/watch?v=H0mLaJZzte0
- ↑ https://www.ilovetocreate.com/DIY-Fabric-Patch-Library-Tote-Bag
- ↑ https://blog.udemy.com/acrylic-paint-on-fabric/
