X
wikiHow is a “wiki,” similar to Wikipedia, which means that many of our articles are co-written by multiple authors. To create this article, 42 people, some anonymous, worked to edit and improve it over time.
This article has been viewed 670,435 times.
Learn more...
Applying an iron-on transfer to a t-shirt is a great way to personalize it with your own unique style
Steps
-
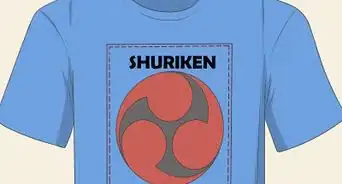
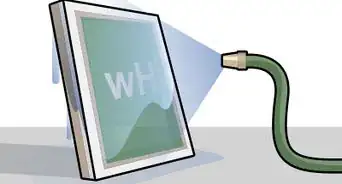
1Create your design transfer in any picture editing program or open a picture you wish to have on your shirt.
- Flip the image horizontally as per the directions on the transfer paper you have. You want the picture to appear backwards because when you transfer it to the shirt it will be on correctly. In this example we are using A very Dark T-shirt Transfer that doesn't tell you to flip the image.
- Flip the image horizontally as per the directions on the transfer paper you have. You want the picture to appear backwards because when you transfer it to the shirt it will be on correctly. In this example we are using A very Dark T-shirt Transfer that doesn't tell you to flip the image.
-
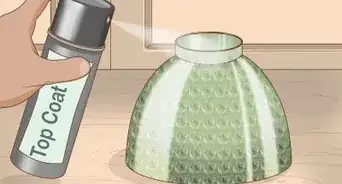
2Print the picture onto transfer paper.Advertisement
-
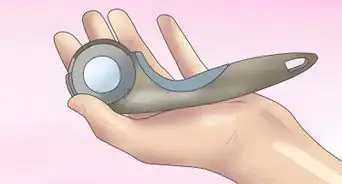
3Trim the transfer paper as necessary. Whatever you have left will all be transferred to your t-shirt.
-
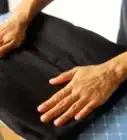
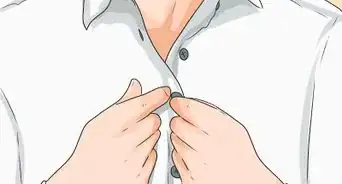
4Place the T-shirt on a flat, hard surface like a table. Use a clean plain shirt you plan on applying the transfer to.
-
5Pre-heat a clothing iron.
-
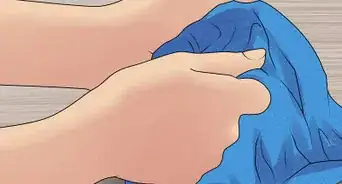
6Iron out the creases in your shirt. Make sure it lies completely flat before the transfer.
-
7Peel the backing off the transfer paper.
-
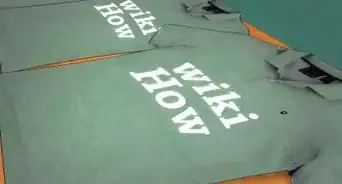
8Place the transfer onto the shirt in the location you want the design.
-
9Place a soft kitchen towel, terry cloth towel folded in half or the parchment paper from the transfer package on top of the transfer.
-
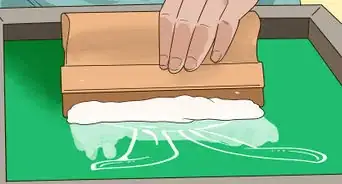
10Place the hot iron onto the towel and work in a circular motion from the middle of the transfer to the edges. How long you do this for is dependent on the instructions included with the transfer paper.
-
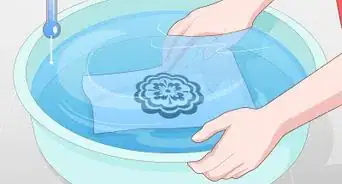
11Allow the transfer to cool completely.
-
12Remove the parchment paper from the transfer. Pull slowly starting at a corner.
Advertisement
Community Q&A
-
QuestionCan I use normal printing ink?
 Community AnswerYes, you can use normal printing ink.
 -
QuestionWhat paper does it have to be?
 Community AnswerIdeally transfer paper, but you can also use parchment paper.
 -
QuestionHow do you reverse transfer text?
 Shayna LeighCommunity AnswerUsing Photoshop or Paint, select the "flip horizontally" option after you have finished your design. Your design or text should now look backwards. Save & print.
Advertisement
Warnings
- Clothes irons get VERY HOT, as does the steam coming out of them.⧼thumbs_response⧽
- If children are doing or helping with this project, adult supervision is a must at all times.⧼thumbs_response⧽
Advertisement
Things You'll Need
- Transfer Paper.
- Scissors to cut around design if needed.
- Clothes iron with heat settings and optional steam feature.
- Ironing board or hard clean surface you can place inside the shirt.
- Graphics Program with ability to Horizontally Flip image, or a lot of Transfer Paper packages come with free software to make transfers.
- Clean, new shirt (preferable) of preferred color. Recommended is having a color that makes the design stand out or something that blends with the outer edges.


References
- http://www.avery.com -- Avery, several ideas and Transfer paper.
About This Article
Advertisement